Making It Up as I Sew Along
  • Blog
  • About
  • Gallery
  • Shop

Fair Winnings

7/9/2016

1 Comment

 
Picture
Picture
Picture
Picture
Picture
Picture
Picture

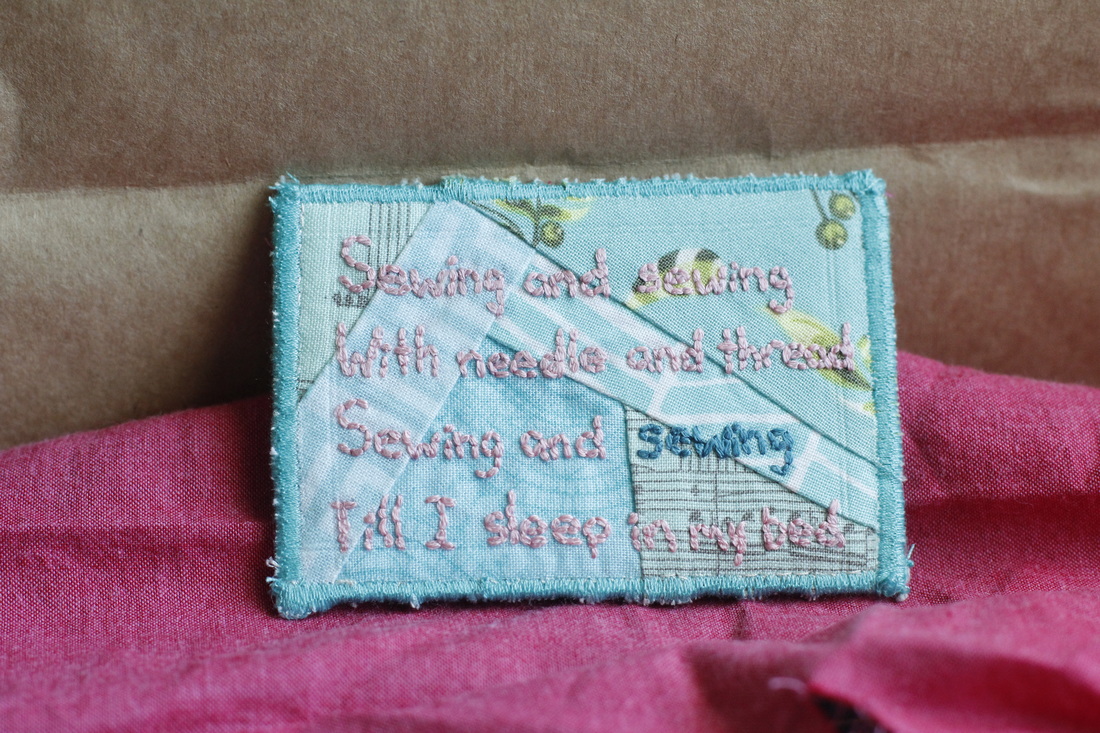
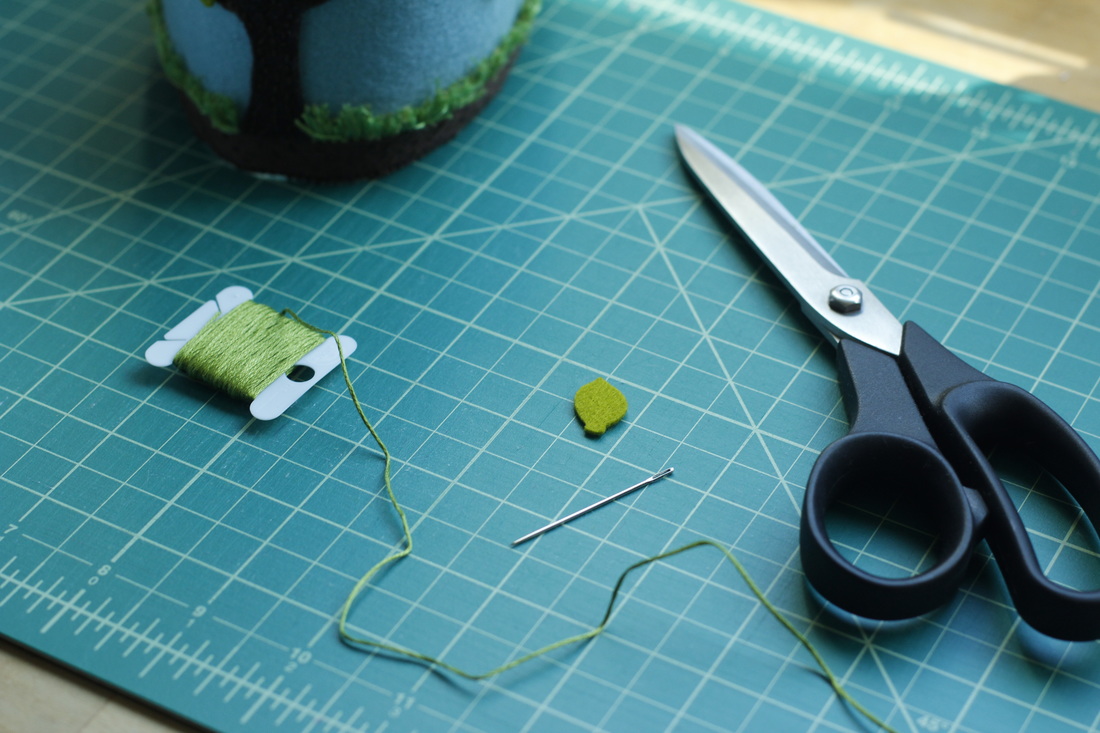
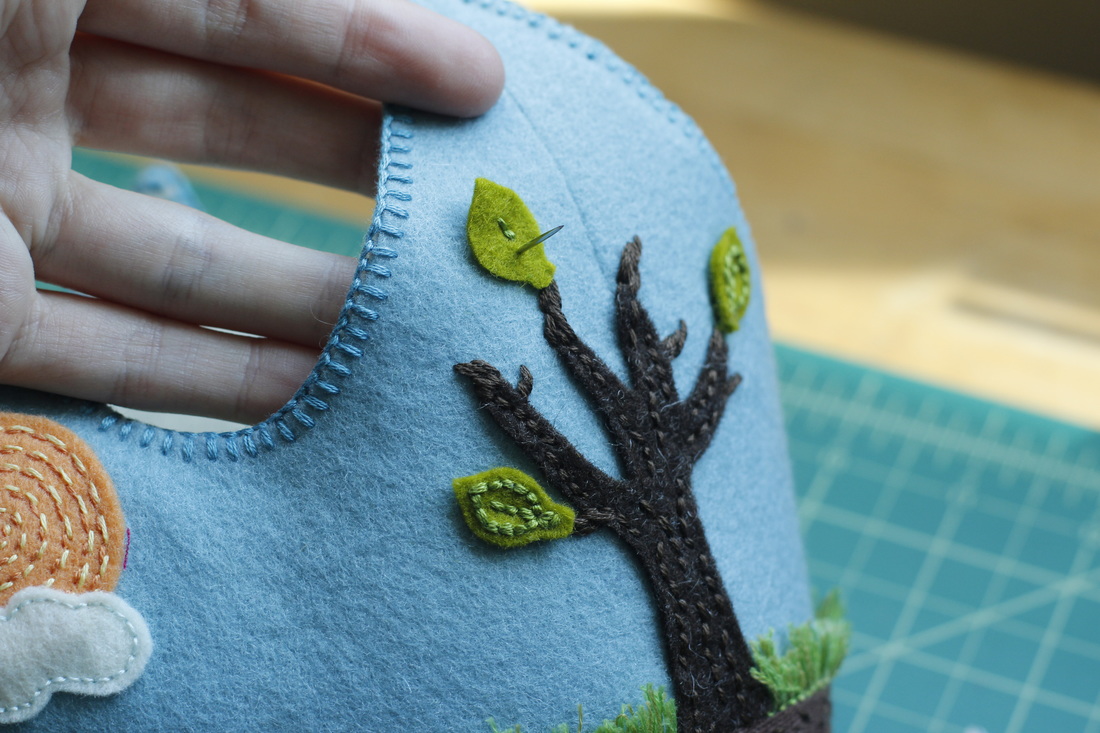
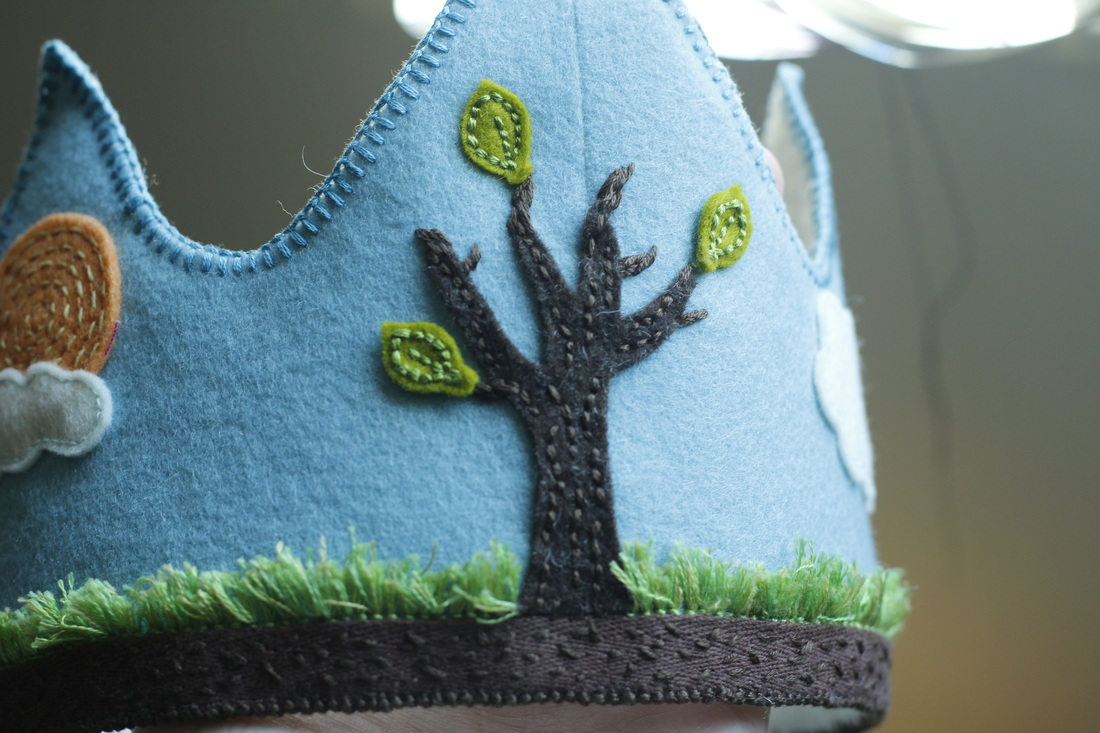
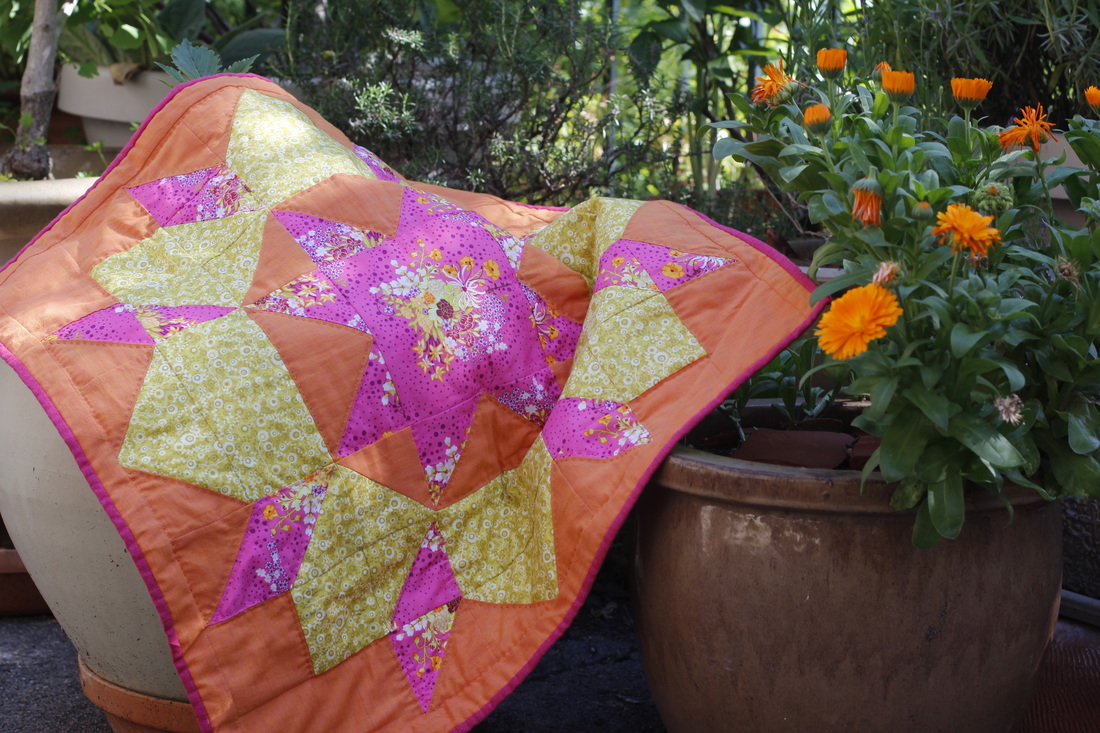
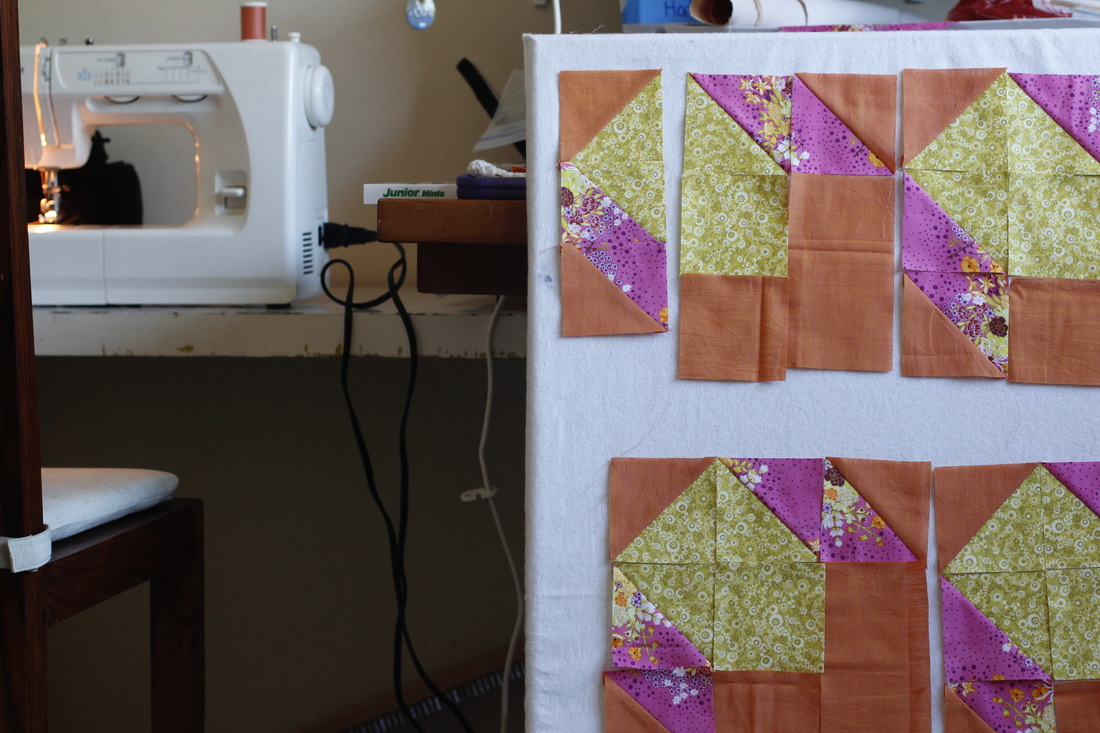
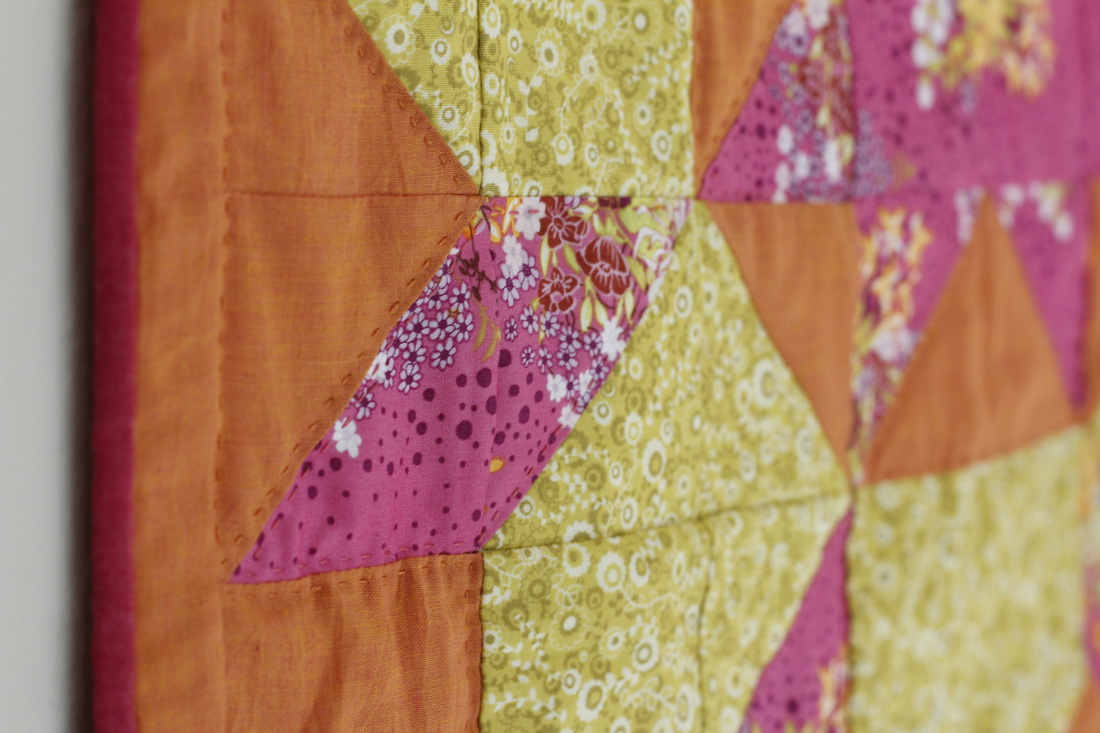
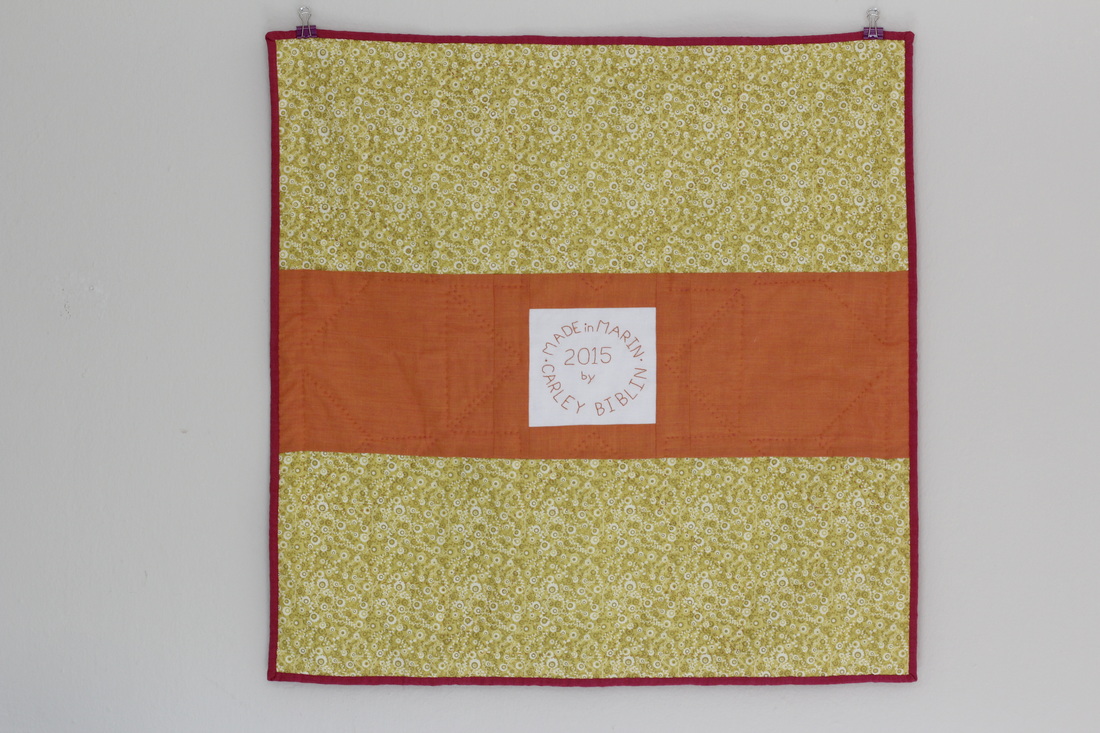
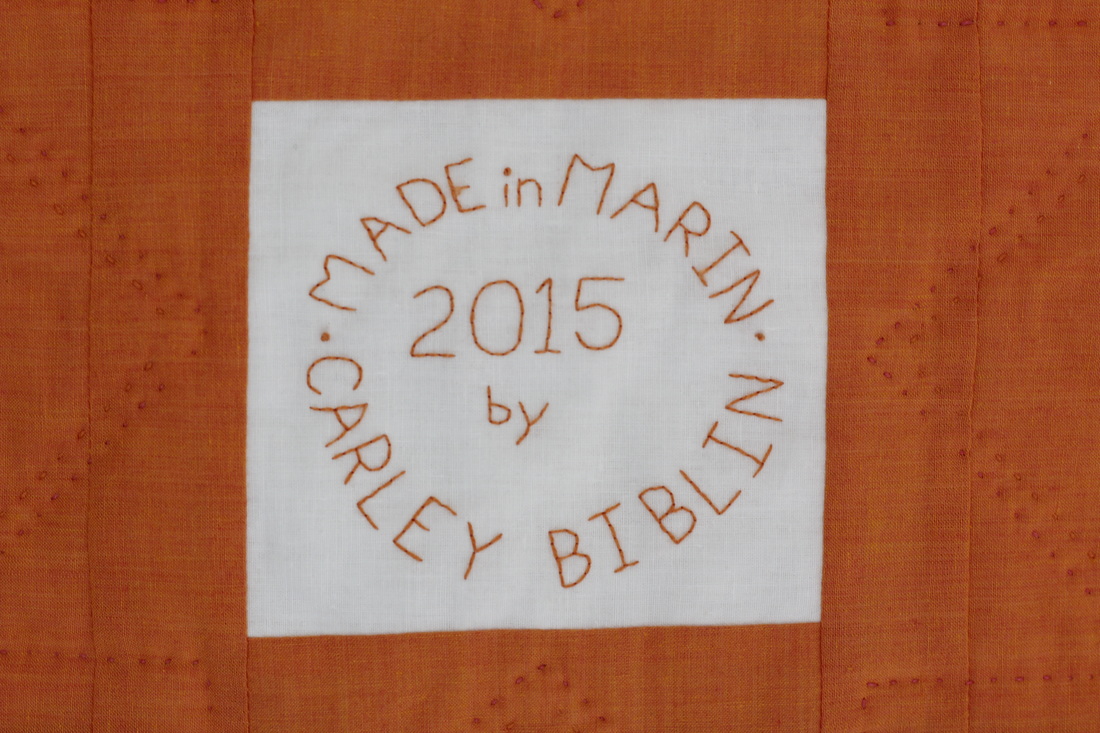
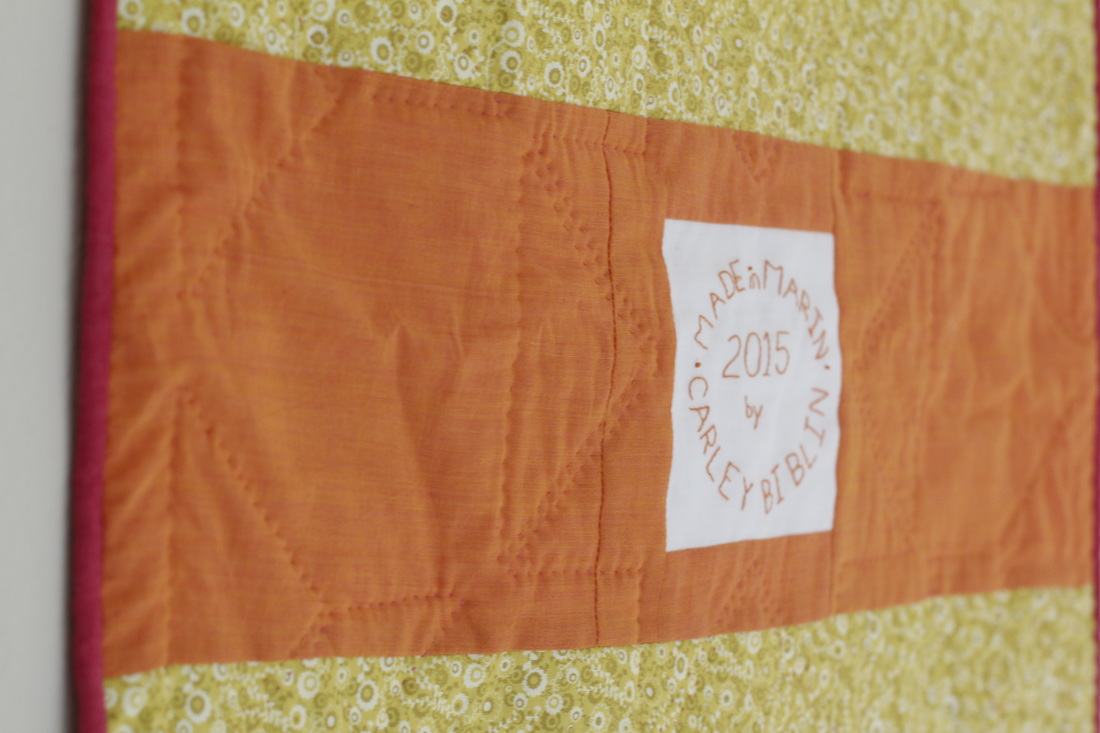
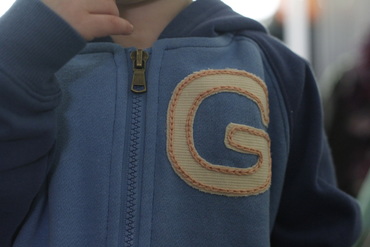
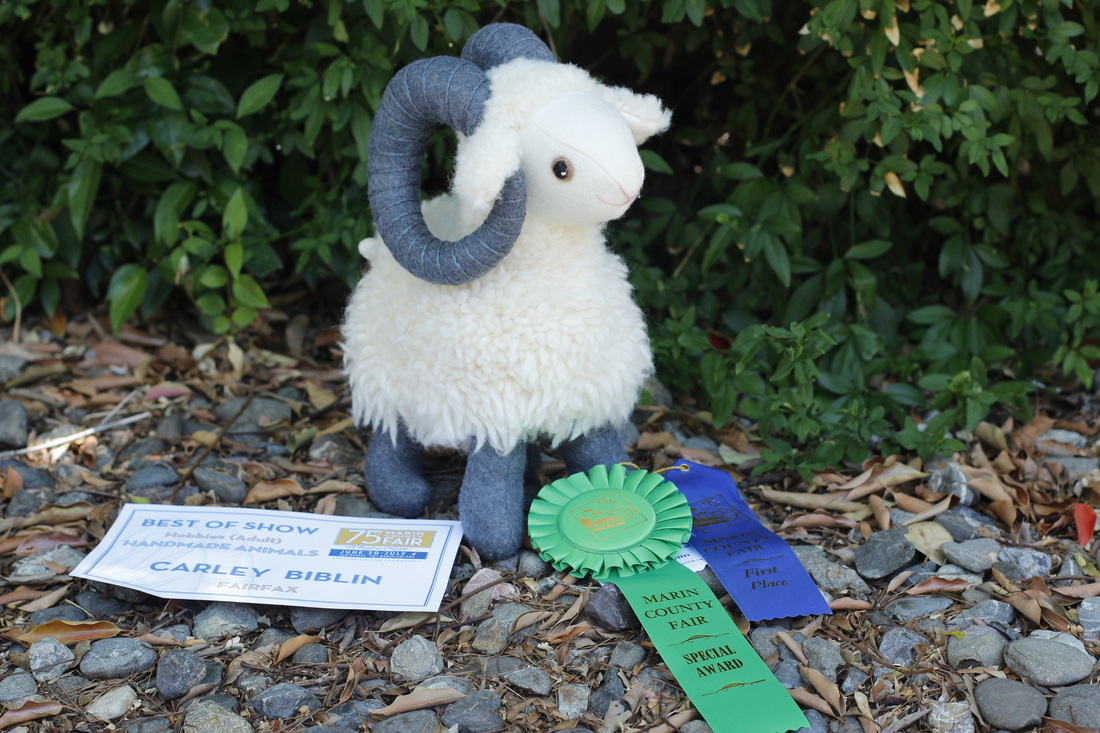
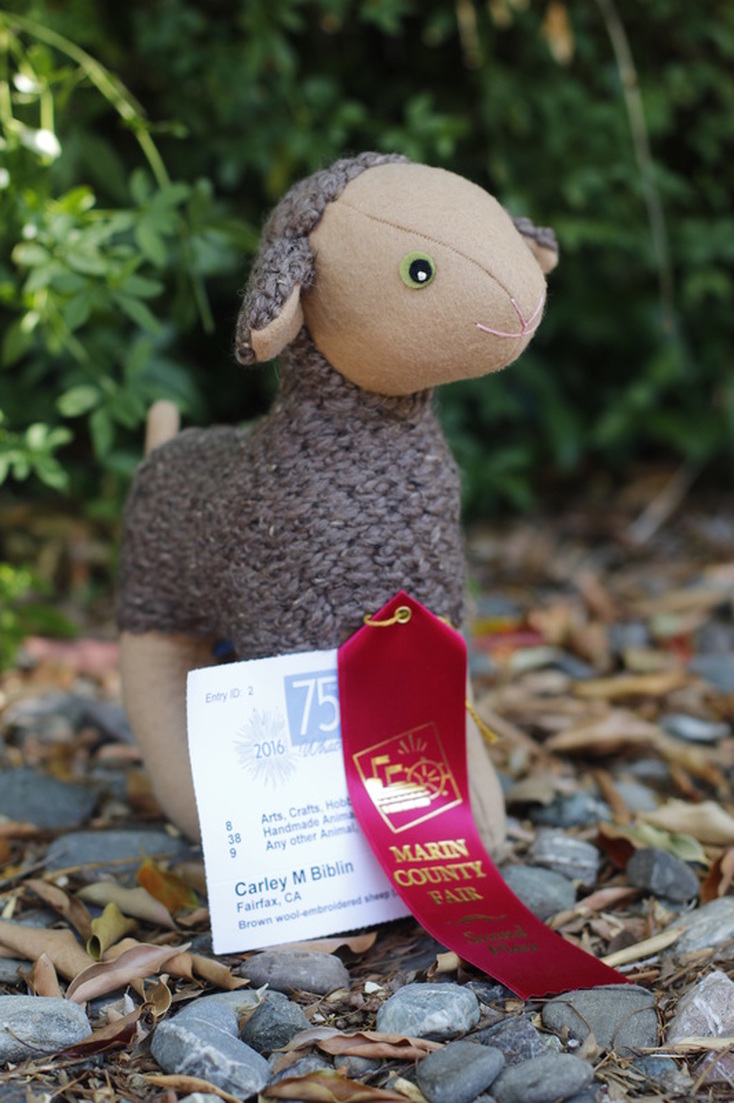
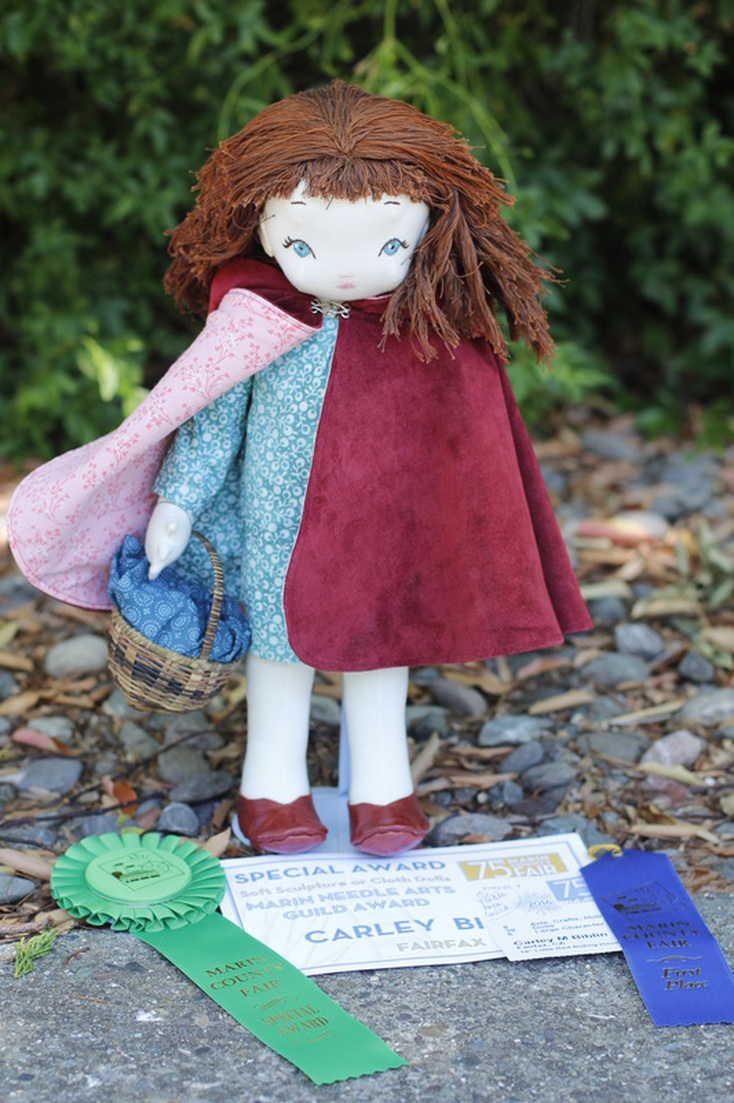
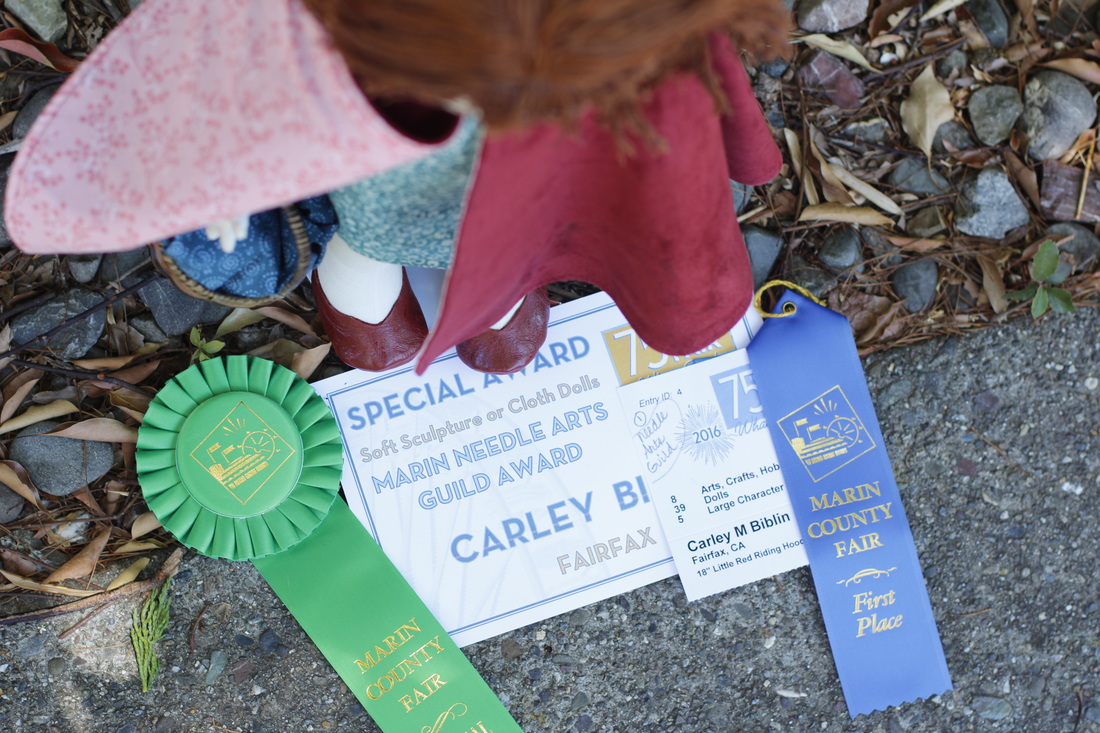
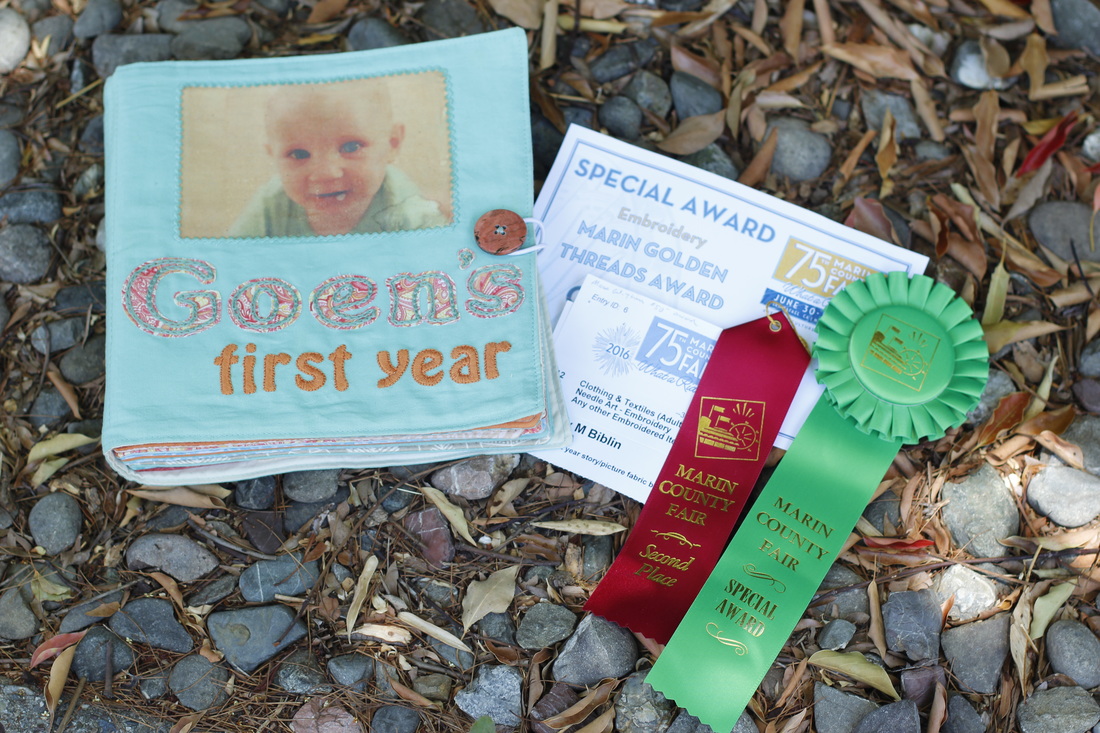
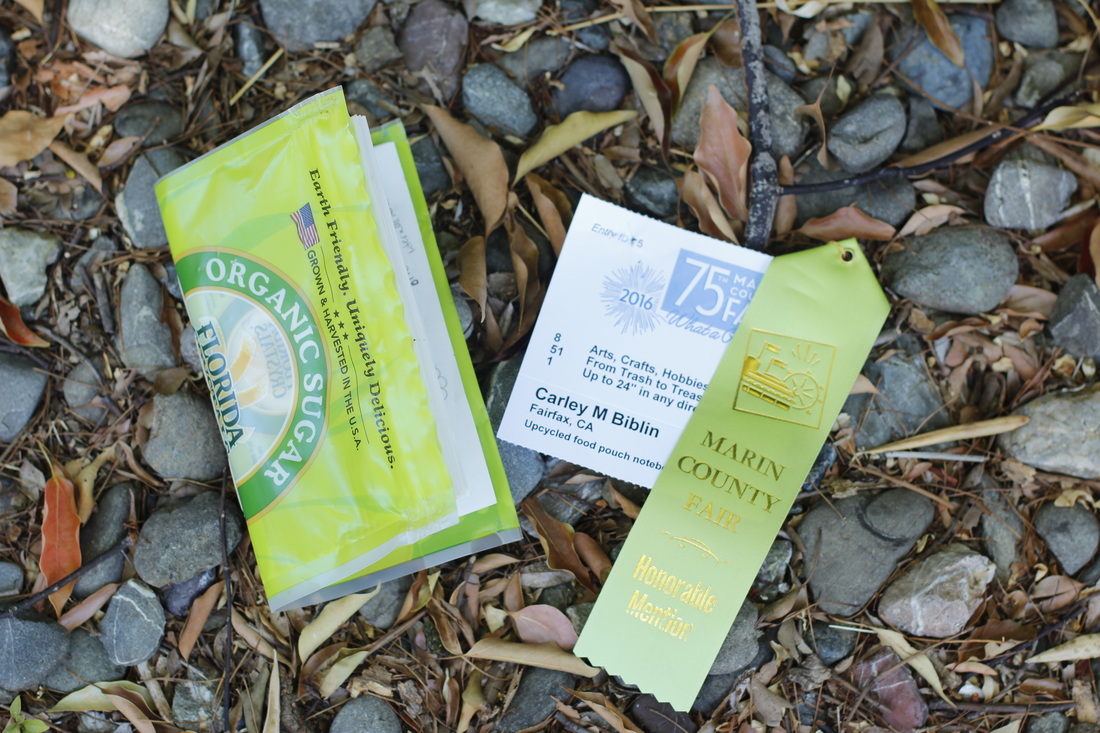
The 75th Marin County Fair took place last weekend.  I entered five different projects into four different categories, and every single entry won some sort of award.  Both my ram and ewe (pattern by Abby Glassenberg, surface embroidery based on a process I created) were submitted in the Handmade Animals category.  The ram won first place and Best in Show!  The ewe won second place, which means I took the top two spots in the category.  My Little Red Riding Hood doll was submitted in the Soft Sculpture and Cloth Dolls category.  She won first place and a special award from the Marin Needle Arts Guild.  My Goen's First Year book was submitted in the Embroidered Clothing and Textiles category.  It took second place and also won the Marin Golden Threads Award.  My final entry was my Upcycled Food Pouch, which was submitted in the Trash to Treasure category.  This entry received an honorable mention.

This was the first time I ever submitted anything to a fair, and I couldn't be happier with how it turned out.  Have you ever entered, or thought about entering, some handmade items to a fair?  I'm already looking forward to next time.
1 Comment

ATC Swap #3

6/25/2016

2 Comments

 
I finished off my third Artist Trading Card swap this week.  The card I send has an improvisationally pieced background using scraps of light blue and aqua fabric (some you may remember from past projects).  Over that I embroidered a short poem I wrote myself just for this ATC.  There is not as much contrast between the background and thread as I had hoped, but you can still read it if you look closely.  In case you can't read it, it says "Sewing and sewing/With needle and thread/Sewing and sewing/Till I sleep in my bed."  I chose to make one "sewing" in a darker teal color, which looks so neat.  It infuses a bit of myself in the card.  The back of the card has my name, the topic of the swap, and the date I finished it.  It's simpler than my other two cards (here and here), but I love it.  And I hope the recipient does, too.
​
Picture
Picture

And here is the ATC I received.  The background fabric is a fuzzy on-point square print.  Embroidered over it is a pair of lips with daggers flying from them.  On the back is written a quote from Shakespeare's Hamlet in gold pen.  It says "I will speak daggers to her, but use none."  Given the theatrical nature of the quote, I love the choice of fabric, which looks like something a jester would wear.  And the chain stitch for the daggers gives a great texture and feeling of movement.  
​
Picture
Picture

I love that you can get two so very different cards from the same theme of "Say Something."  Art is full of interpretation, and perhaps that's one of my favorite things about this swap.  Have you done a swap?  What's your favorite part?
2 Comments

A New Leaf

3/28/2016

2 Comments

 
Picture
Picture
Picture

Goen's third birthday is officially today, though we won't have a party until next Sunday.  Even so, I figured it would be fun to have his crown ready in case we decide to have some cake and blow out candles today, too.  For his first birthday I made a felt crown using a pattern I designed (which you can purchase through my Etsy shop).  In the center of the crown is a tree on which I plan to stitch a leaf for every one of his birthdays.  You can see pictures from his first year here and his second year here.  Each leaf is added with a simple backstitch to outline and stabilize the felt and to add texture.  I'm currently drawing up these designs and more to include with the pattern I have for sale, including a fully-photographed tutorial.  That means I'll be making another crown, which might make it into my shop.  I'll let you know when that happens.  Sign up for my newsletter near the top right if you'd like first access to the updated pattern, as well as a coupon code.

I've still got lots to do before party day next week.  I'll have at least one more party-themed tutorial to share, so stay tuned for that.  And I'll definitely have pictures of his party and all the decorations in action.  I can't wait!
2 Comments

Yarn-Embroidered Party Signs

3/19/2016

1 Comment

 
Picture

My little guy's birthday is creeping ever closer, and there is still so much left to do.  I gotta figure out what cake to bake, some favors to give to the guests, and a gift to sew for him.  For that last one I was thinking about "big boy" underwear using some really soft knit fabric I've got in my closet.  Any pattern suggestions?  Tips?  I don't sew with knit very often, so I'm a bit worried about how it will go.  I'll just have to decide on a backup in case it goes badly.

My tutorial is all about creating signage to direct guests to the celebration.  We're just doing the party at our local park, but some guests have never been there before and I want to make sure they find the right spot.  The supplies are pretty simple and the options for design are limitless and open to your imagination.  I went with a simple, two-word phrase and three arrows that can point any direction I want.  Here's what you'll need.


Materials:

 - Cardboard (I used cereal and cracker boxes)
 - Craft paint (acrylic, washable kid paint, etc)
 - Large paint brush
 - Pencil
 - Awl (or other strong pointed tool for poking holes)
 - Tapestry needle
 - Yarn
 - Scissors
 - Tape (optional)


Directions:

Picture
Gather all your supplies first.  Cut pieces of cardboard to the size you want.  It's best to cut out the creased sections and only use smooth, flat pieces.

Picture
Paint a base layer on your cardboard.  Mine warped from the wet paint, but it dried pretty flat so don't worry too much if it happens to yours too.  After the first layer dries, add any additional layers until you get the effect you want.

Picture
Use a pencil to sketch your chosen design on the painted side of cardboard.  Avoid touching the pencil lines because they can smudge onto your hands and across the painted surface.  Do this for all your pieces.

Picture
Use you awl to poke evenly-spaced holes along the pencil lines.  The distance between holes depends on the size of your letters or shapes.  Mine are 1/4" to 1/2" apart.  You may want to space holes closer along curved sections to get a smoother line.  Make the holes big enough to fit the eye of the needle through without hurting your fingers (trust me on this).  Also, try to poke holes along parallel lines at about the same level to achieve a more symmetrical look.

Picture
Once all the holes are poked you're ready to embroider

Picture
Thread a length of yarn onto your tapestry needle.

Picture
Push the needle up from the back to the front of the cardboard and pull the yarn through, leaving a 3" tail.  You can either knot the tail or tape it down to keep it in place.

Picture
To create fill lines, cross the yarn to the other side of the shape or letter and put the needle down through the appropriate hole.

Picture
Bring the needle back up through the next hole where you want a stitch to begin on the front.  Continue until all your fill stitches are complete.

Picture
As you can see, you may not use all the holes you made for your fill stitches.  Don't worry about that, though, because they can be covered up with a border stitch.  For the border stitch, you can use every hole or skip several.  Either way, try to keep the distance of each stitch under about 2" to help the yarn lay flush with the surface.

Picture
Continue the border stitch all around the shape alternating straight stitches and back stitches. 

Picture
For large letters with only an outline, the easiest thing to do is to go around once with a running stitch and then around a second time with a running stitch to fill in the gaps.  To end a length of yarn and begin another, take the yarn to the back side and tape or knot it.  Begin a new length in the same way as before.


Once all your embroidering is done, your signs are ready to lead your guests to the right place.  You can display them on steps, pin them to a wall, or use another length of yarn to hang them on a fence post.  No matter which way you show them off, your guests will be able to find the way.  Unless, of course, a wily toddler decides to flip the arrows around...

Picture
Picture
Picture
Picture
1 Comment

Making an Embroidered Patch

8/3/2015

0 Comments

 
The town I grew up in is just a few miles from the city of Oxnard, a place with some of the deepest topsoil in the world, which makes it an ideal place for food production.  And one of their biggest crops is strawberries.  We all looked forward to the day when a flat of strawberries came home.  Everyone would happily pick through the plastic crates looking for the biggest, juiciest red berries.  I have many vivid memories of driving to one of the many farm stands to buy strawberries.  They were always a part of any event or celebration, even if we had to trek across several state lines to have them there.  So strawberries will always have a special place in my heart.  

Last month, hen I heard that the &Stitches blog was looking for guest posts for their Summer Blogging event, I jumped at the chance.  Now, you may be wondering what this has to do with my story about strawberries.  Well, after giving quite a bit of thought to what I wanted to write about for my guest post, I hit on the idea to write a tutorial on yarn embroidery.  The design I chose is a strawberry.  Although similar to the embroidered starfish patch I made a year ago, this patch is embellished with some three-dimensional woven embroidery.  Here are a couple pictures of the finished project, but you can hop on over to the tutorial post to find out how to make one of your own.

Picture
Picture
0 Comments

My First Mini Quilt Swap

5/14/2015

3 Comments

 
Picture

Last week marked the end of the second round of the Itty Bitty Beginner Swap.  This time everyone was assigned to make a mini quilt for their swap partner.  Based on the likes and dislikes I was given from my partner, I chose the Swoon quilt block by  Thimbleblossoms, pink as the central fabric color, and some bright green to kick it off.  I was a little apprehensive about my color choices as I cut out the pieces because it's a bit outside my comfort zone.  When the top was all sewn together, though, I started to like it more, and the dark pink binding really brought it all together and finished it off nicely.

Picture

I learned a lot about making quilts.  Even though I've made a couple before, I'm a bit rusty.  Plus, the pattern I chose has a lot more seams to manage.  There are some spots that are a bit bulky because I pressed the seams the wrong way.  On the plus side, I got to use my flannel design board for the first time.  It really helped by keeping me organized and allowed me to see what the block would look like.  When it came to the binding, I really wanted to make sure it looked professional, so I went looking for the perfect tutorial.  The one I found, which you can read here, is well-written and clear, with good pictures as well.  It's the best one I've seen, and explains how to bind a quilt where the beginning/end is impossible to find.

Picture

Here are a few closeups of the quilting.  I gave machine quilting a couple attempts, but it was a complete failure.  So I did the whole thing by hand, using two strands of embroidery floss.  I used matching pink and orange to make it mostly invisible, though it does add a nice bit of texture.

Picture
Picture
Picture

For the back, I made a free-handed embroidered label with my name, the year, and the place I live.  The label is pieced onto some orange fabric and then the last bit of the green fabric.  I spent quite a bit of time centering the front and the back so that the label would be right in the center of the quilting stitches.  It turned out nicely.

Picture
Picture
Picture

I folded the mini and wrapped it in tissue paper.  The extras I included in the package are a quilting book, a notebook I made from an empty plastic food bag, a skein of purple Perle cotton, and a disappearing ink pen for fabric marking.  I sent the mini and the other goodies off last Friday and eagerly awaited my partners reaction to the pattern and color selection.  Most quilting patterns I've seen have white as the "background" color, but I chose to make mine orange, pulling it from one of the flowers in the pink print.  My partner mentioned that the mini would hang on a wall painted chartreuse, so I decided to include that in the color scheme, though perhaps more than I should have. 
I figured that anyone who would paint a wall chartreuse was pretty adventurous with color, though I still had my doubts.  I got more and more nervous as the days went by, which wasn't helped by the weekend making it take longer to arrive.  Well, she received it yesterday and she loved it (phew!). 

Picture
Picture

It was such a fun mini quilt to make.  I want to give the pattern another go with other color combinations and make a larger quilt with it.  I definitely need more practice on aligning seams.  It was my first time doing flying geese blocks and, I must say, they are quite a bit of fun to do.

But I must move on to the rest of the swap.  Take a look at what I got from my swap partner.  She chose aqua fabric as the main theme and included some shades and prints that really pop.  As soon as I unwrapped it I could tell that it's well made by experienced hands.  The seams match up at the corners (which is not always easy) and the machine quilting is neat and even.  I love that she chose gray as the background.  It really kicks off the aqua.  She also included a set of notecards, some glittery clips, and chocolates, which aren't in the picture because they were eaten up faster than you can say "free motion quilting."

Picture
Picture

I've designated one wall in my sewing space as the "swap wall" where this will hang.  At the moment it's a bit lonely, being the first decorative swap item I've gotten, but I know it won't be the last.  I've already joined the Around The World Swap that will conclude sometime in October (if you know of any other sewing or embroidery swaps that will be starting soon, please let me know).  Until then, I'll just be in my sewing space admiring this little mini, and dreaming up more.

Picture
Picture
Picture
Picture

I'm so excited about the start of a collection that connects me to other makers and quilters from near and far.  It's such a neat thing to imagine something I made hanging on someone else's wall, and just as exciting to think that someone made this beautiful thing just for me.  Have you been involved in a swap recently?  What is it like for you to exchange a handmade item with another person you've never met?
3 Comments

Unbranding Clothing Tutorial: Knit Jacket

5/5/2015

1 Comment

 
Picture
Picture
Picture
Picture
Choose an embroidery stitch to outline the design and secure it to the fabric to prevent it from lifting off through washing.  If there are still visible puncture holes from the old design, use a finger nail to rub the knit fabric and ease the fibers back together.

Your unbranded jacket is now ready to show off your style, or, um, your child's style.

Picture
Once you are satisfied with the placement, iron the design onto the knit material.  Make sure to avoid any plastic zippers or other meltable parts.

I love to see projects from my tutorials.  If you make something, send me a link to your picture or post.  It's great to see other designs.  It inspires me to come up with more ideas to share.
Picture
Place the fusible shape over the spot where you removed the old design.  If you ripped any threads in the knit fabric, strategically place the piece over it.  Also, try to cover up as many of the puncture marks as possible.


I'm not a fan of overtly branded clothing.  I don't want to be a billboard for corporate advertising, and I don't want my son to be either.   When I was given a few toddler clothes a few months ago, one of the items was a jacket in a pretty two-tone blue color.  It was a nice jacket, but it had a large appliqued logo on the front.  I kept the jacket with the intention of removing the design and putting on one of my choosing.  Now, with my sewing stuff in disarray from the move, this simple project rose to the top of the queue.  Here's a quick tutorial so you can join my unbranding revolution.


How to Unbrand a Knit Appliqued Jacket

Materials:
 - Seam ripper
 - Fabric scrap (knit or woven)
 - Fusible web
 - Embroidery floss or thread
 - Needle

Steps:
Picture
Use the seam ripper to carefully remove the stitching from the embroidered and/or appliqued design.  Be careful not to cut through the knit material; however, if you do, it's easy to cover up and prevent raveling.

Measure the area you want to cover.  Since the puncture marks from the original design will still be visible, try to make your new design at least as big to cover up as many of the marks as possible.

Picture
Choose a scrap of fabric for your new design and iron fusible web to the back side.  Draw a box outlining the outer limits of your new design.  Trace your chosen design in reverse on the paper of the fusible web.  Cut out the design and remove the paper backing from the fusible web. 

1 Comment

Spring Stitching

4/27/2015

0 Comments

 
With all my fabric and sewing supplies still packed away in boxes, I was impatient to get to work on something to keep my hands busy during naps or the odd free moment.  I chanced upon the answer while glancing through boxes in preparation for sorting and getting rid of stuff.  My embroidery floss, needles, and hoops were easily visible in one box and a large bundle of fabric scraps was nearby.  I grabbed a piece of neutral, flower-print fabric, put it in a small hoop, and threaded three strands of green floss.  A moment of thought about what to stitch and then I got to work.  I knew I wanted to freehand something (especially since I didn't have any designs to transfer), and I've wanted to work on improving my handwriting for some time.  The simple word "spring" sprang to mind and I let it flow through through my needle and onto the fabric.  Considering that this was my first try, I think it turned out quite well.  I thought about hanging it on the wall as a decoration, until I realized that the fabric is almost the exact same color as the walls.  It doesn't exactly liven up the space.  Perhaps I should have taken that into account when choosing fabric.  Oh, well.  Live and learn, as they say.  Even though it doesn't look good on the wall, I noticed that it looks perfect next to some scraps from cutting the pages on my next fabric memory book for my son (you can see the full range of spring-inspired fabrics here).  Perhaps all it needs is a decorative ruffle or something to set it off properly and bring out the green.  And it needs some flowers or something embroidered on the bottom, and maybe some vines.  Hmmm, so much for a quick, simple stitching project.  What "quick" projects are you working on right now?  Have you tried freehanding a design before?

Picture
Picture
Picture
Picture
Picture
0 Comments
<<Previous
    Picture


    Carley Biblin

    Hi.  My name is Carley.  I love to sew, craft, and create. As a Jane-of all-crafts so to speak, I enjoy sewing, writing, cooking, drawing, photographing.  But the constant thread (if you'll excuse the pun) throughout my weeks is needle arts. 
    I hope you'll join me in
    Making It Up As I Sew Along.
    Learn More...

    My Etsy Shop

      If you'd like to sign up to receive my newsletter, type your email address in the box below and get news, tips, and other neat stuff delivered to your inbox.

    Submit
    Instagram

    Archives

    January 2017
    December 2016
    November 2016
    October 2016
    September 2016
    August 2016
    July 2016
    June 2016
    May 2016
    April 2016
    March 2016
    February 2016
    January 2016
    December 2015
    November 2015
    October 2015
    September 2015
    August 2015
    July 2015
    June 2015
    May 2015
    April 2015
    March 2015
    February 2015
    January 2015
    December 2014
    November 2014
    October 2014
    September 2014
    August 2014
    July 2014
    June 2014
    May 2014

    Categories

    All
    Arts & Crafting
    Books & Music
    Celebrations
    Embroidery
    Family Photos
    Fixing
    Guest Posting
    Inspiration
    Kids & Family
    My Week
    Parenting
    Photo Tour
    Present Moment
    Recap And Goals
    Recipes & Food
    Reviews
    Sewing
    Shop Update
    Swaps
    Tips And Techniques
    Travel
    Tutorials

Powered by Create your own unique website with customizable templates.