Making It Up as I Sew Along
  • Blog
  • About
  • Gallery
  • Shop

Schnitzel and Boo Mini Quilt Swap

11/24/2015

2 Comments

 
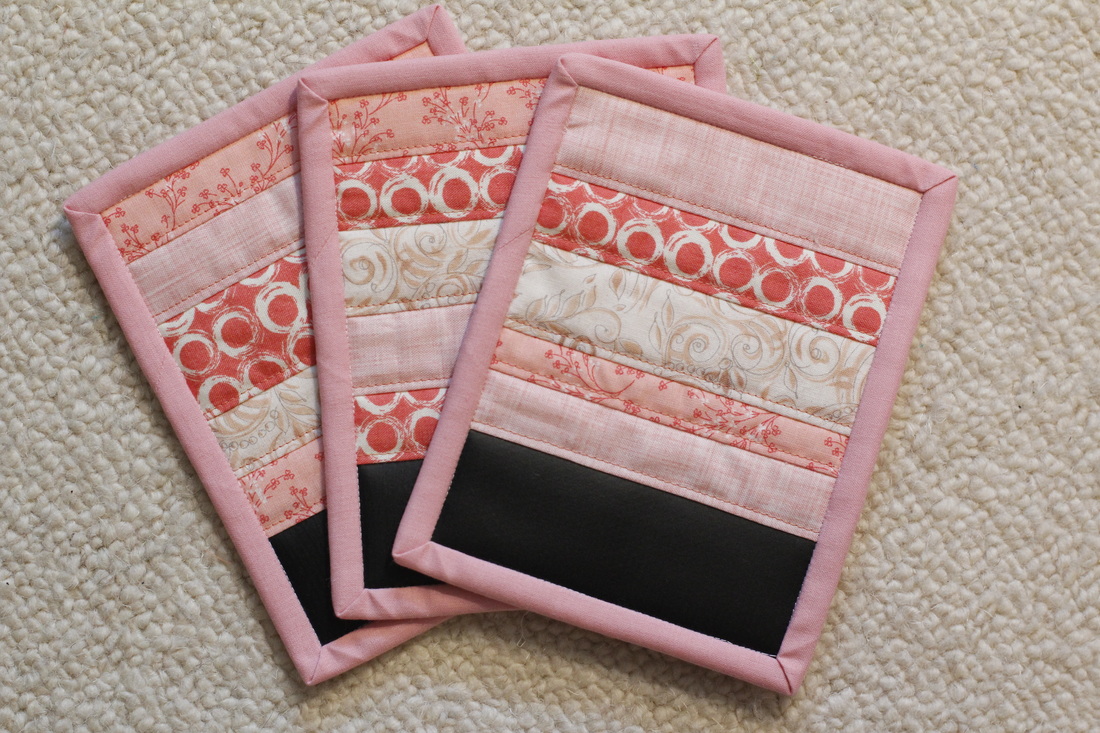
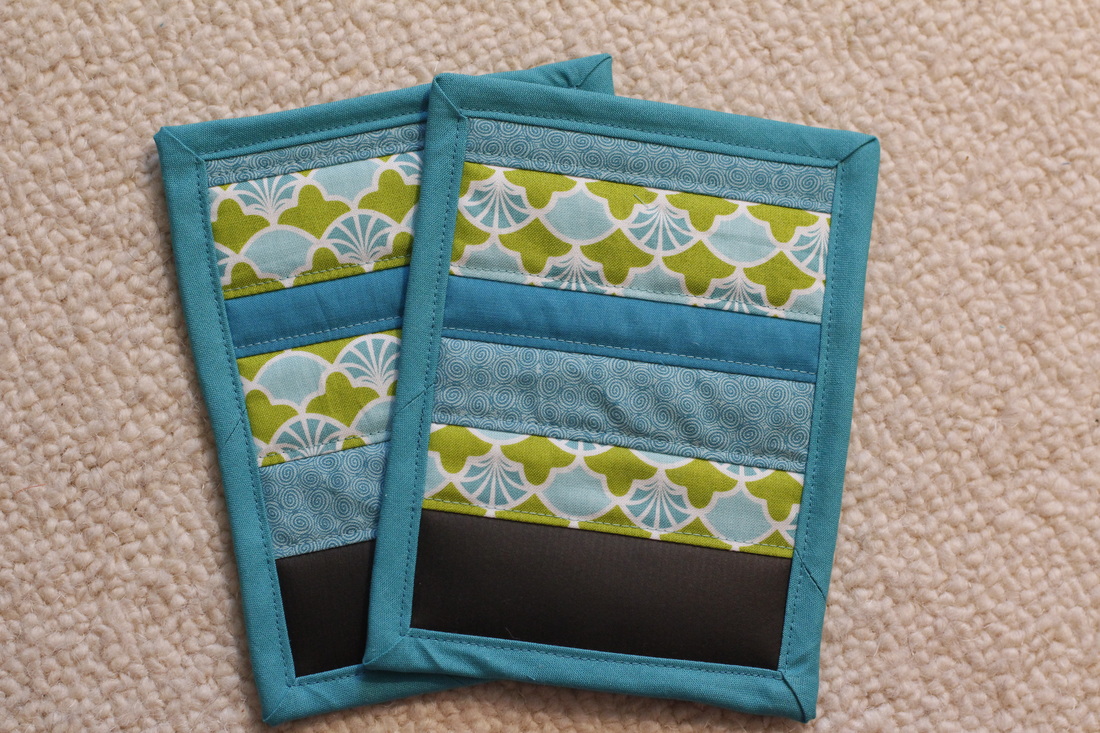
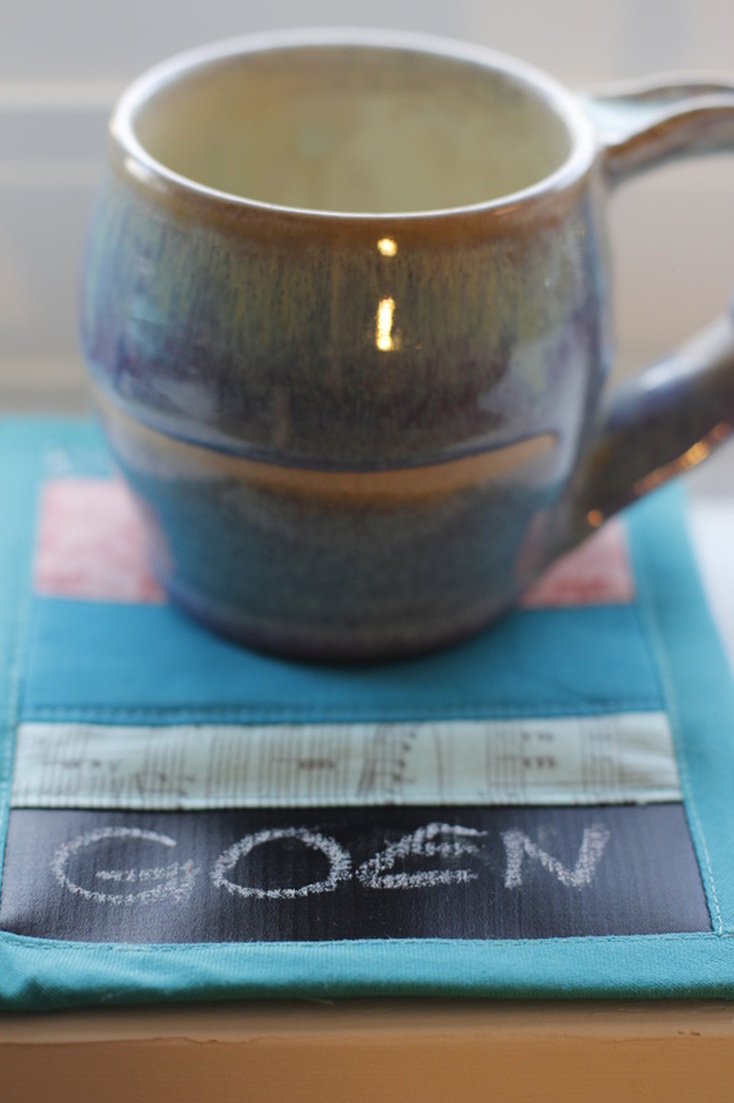
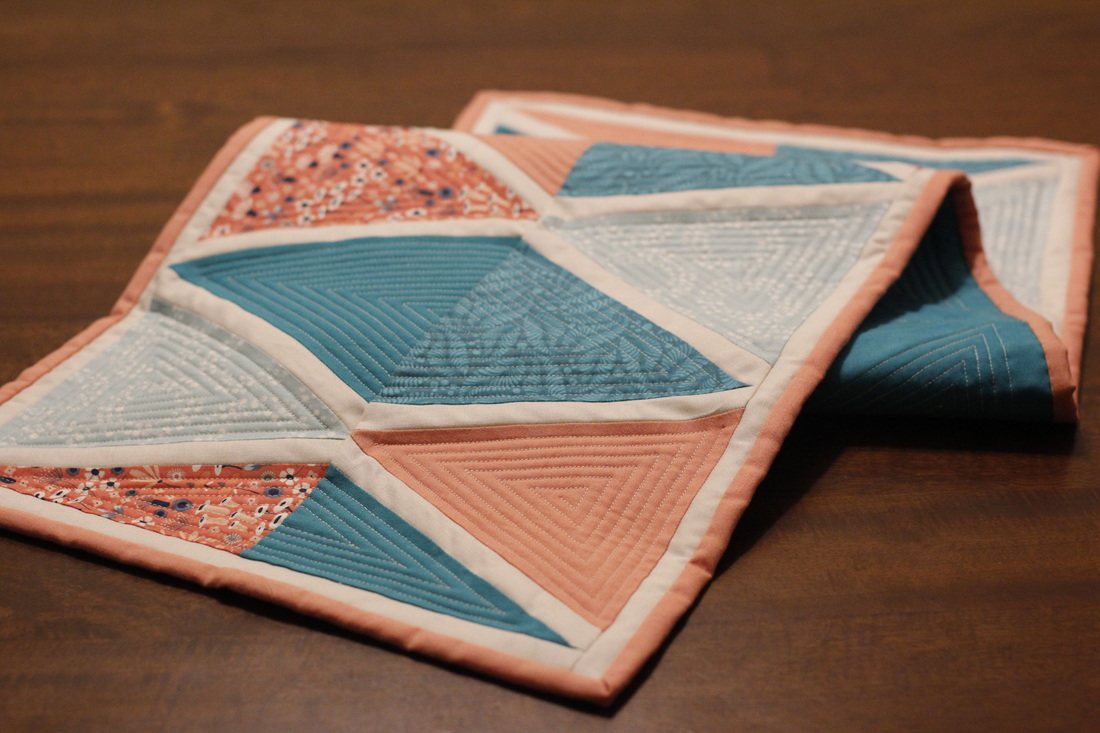
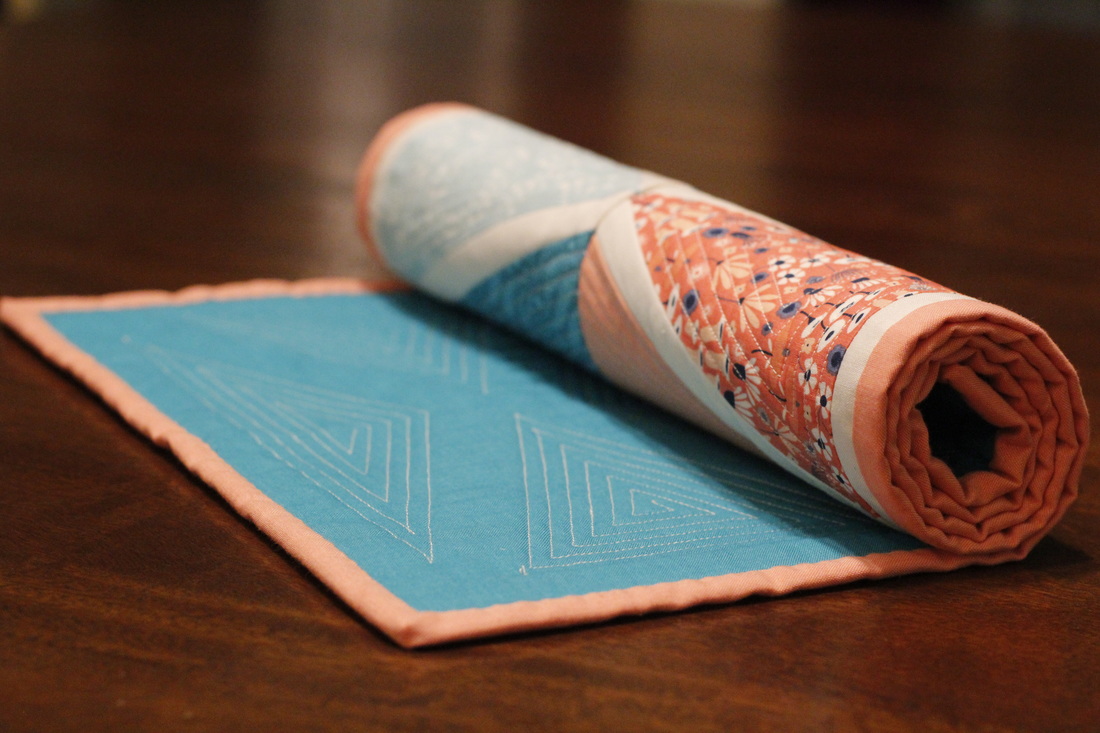
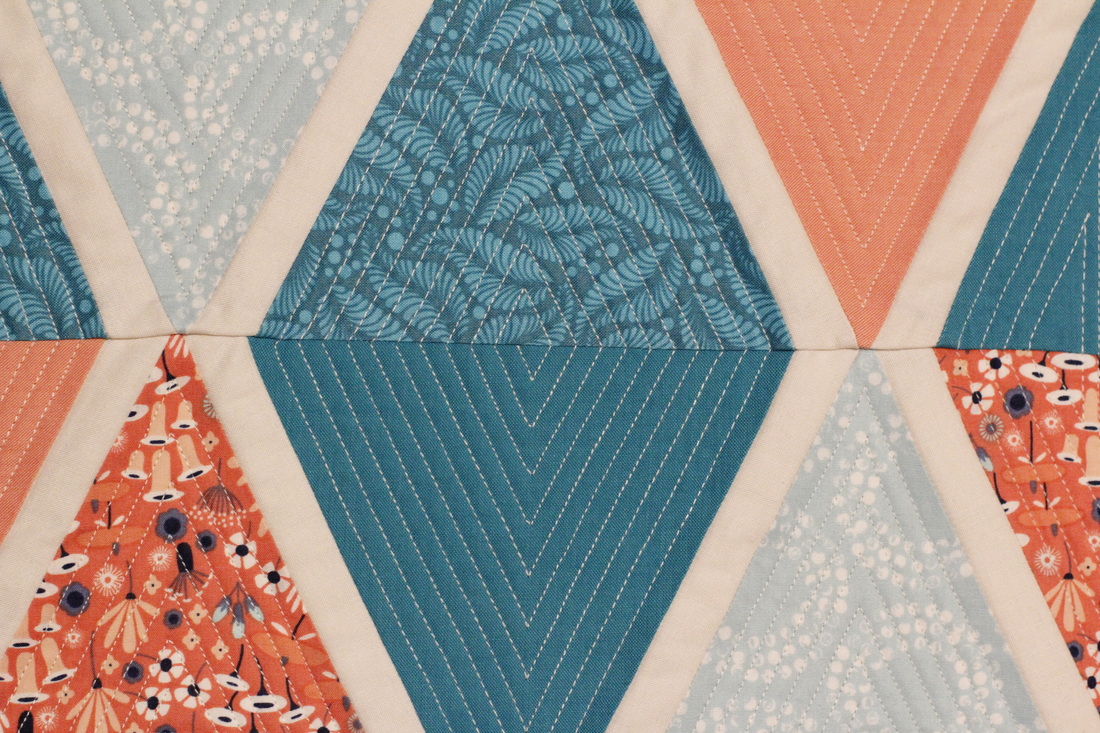
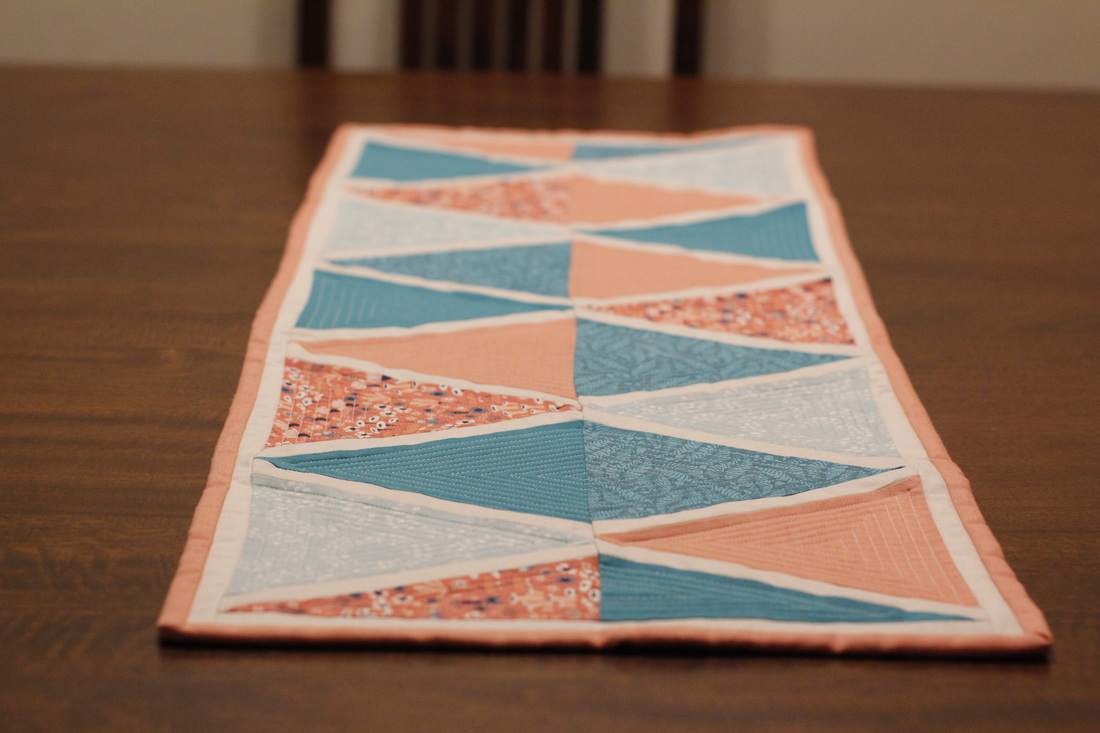
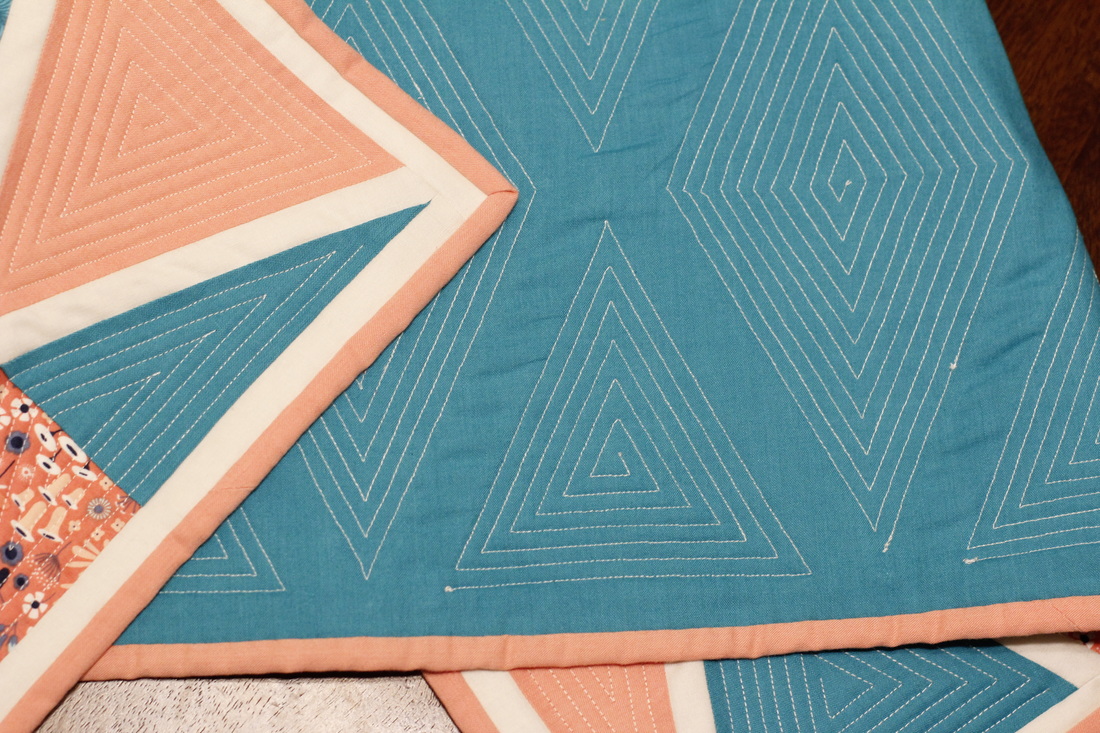
OK.  Another quick swap report.  I signed up for the super-popular Schnitzel & Boo mini quilt swap.  It was a fun one, but the time seemed to go by so fast that I found myself finishing almost at the last minute.  My partner, who lives in Germany, mentioned in her comments that she doesn't have much wall space and would actually like something that could double as a table runner.  I went with this idea and chose a simple design with bold fabric colors and equally bold quilting.  Most of the fabric is Cloud9 organic cotton.  When it was done, I realized it matched my own aesthetic so well that I wanted to keep it for myself (a first for me).

Picture
Picture
Picture
Picture
Picture

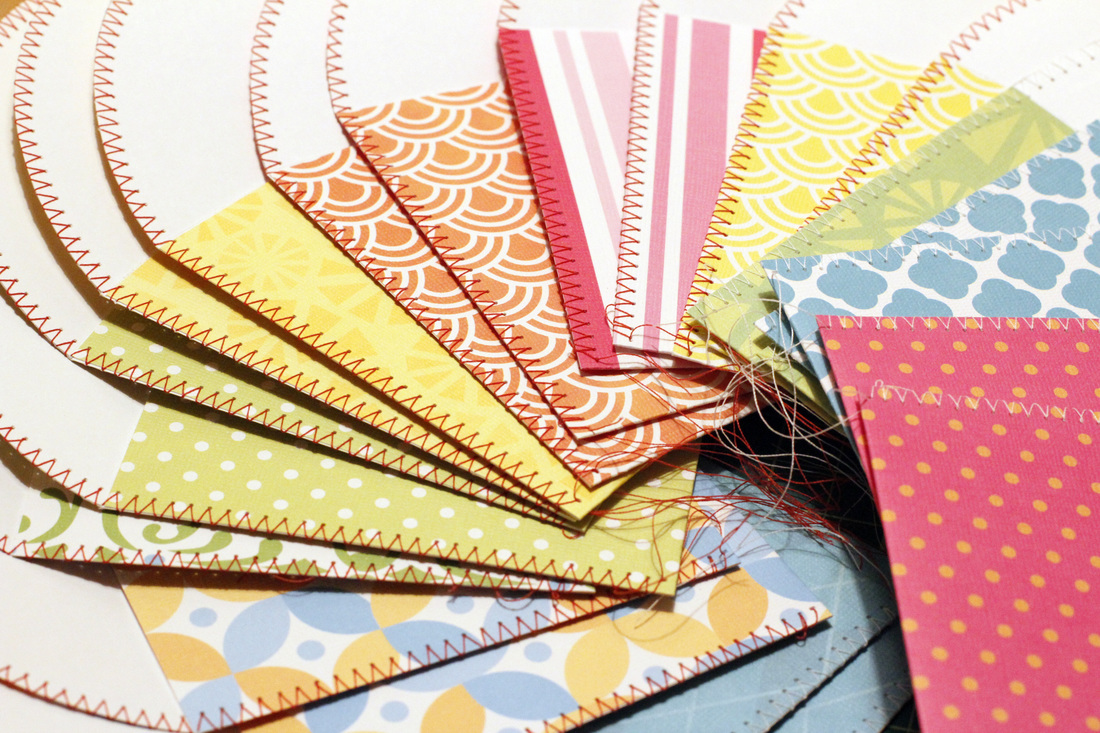
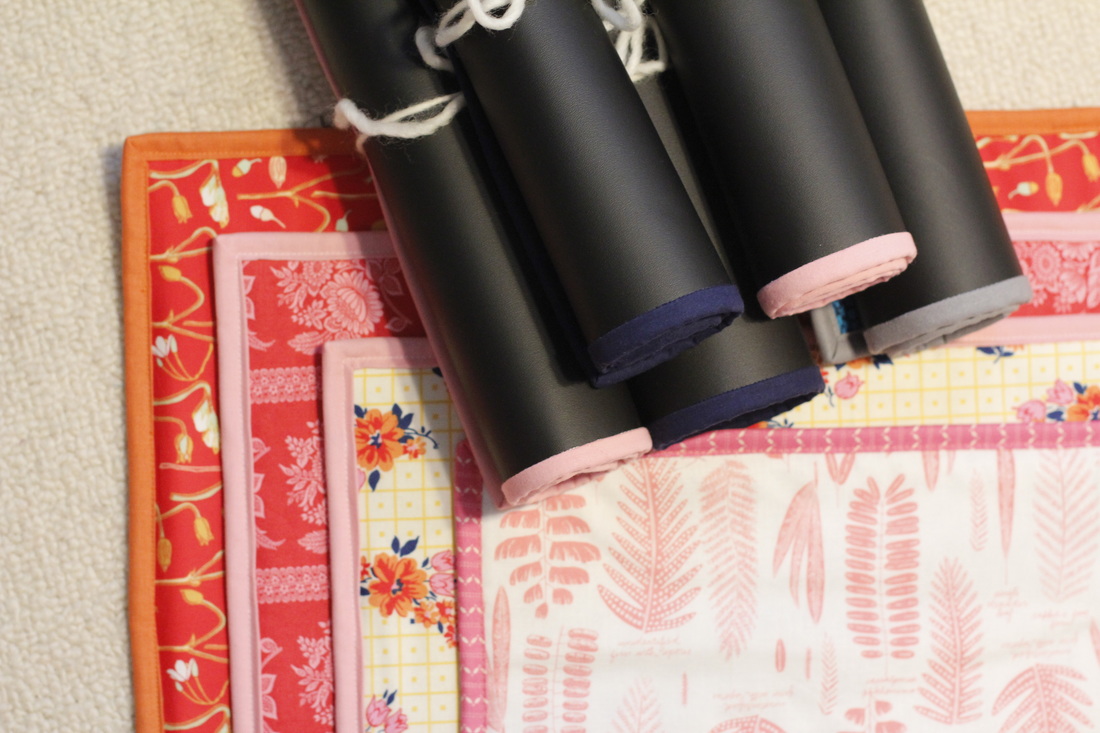
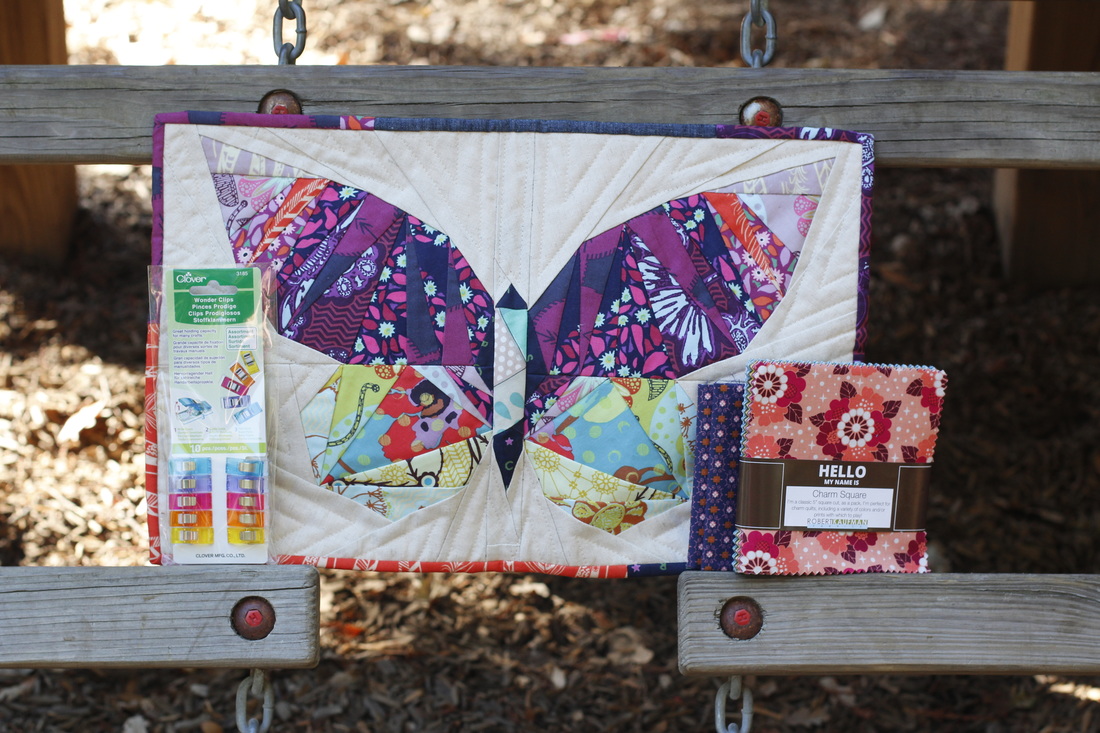
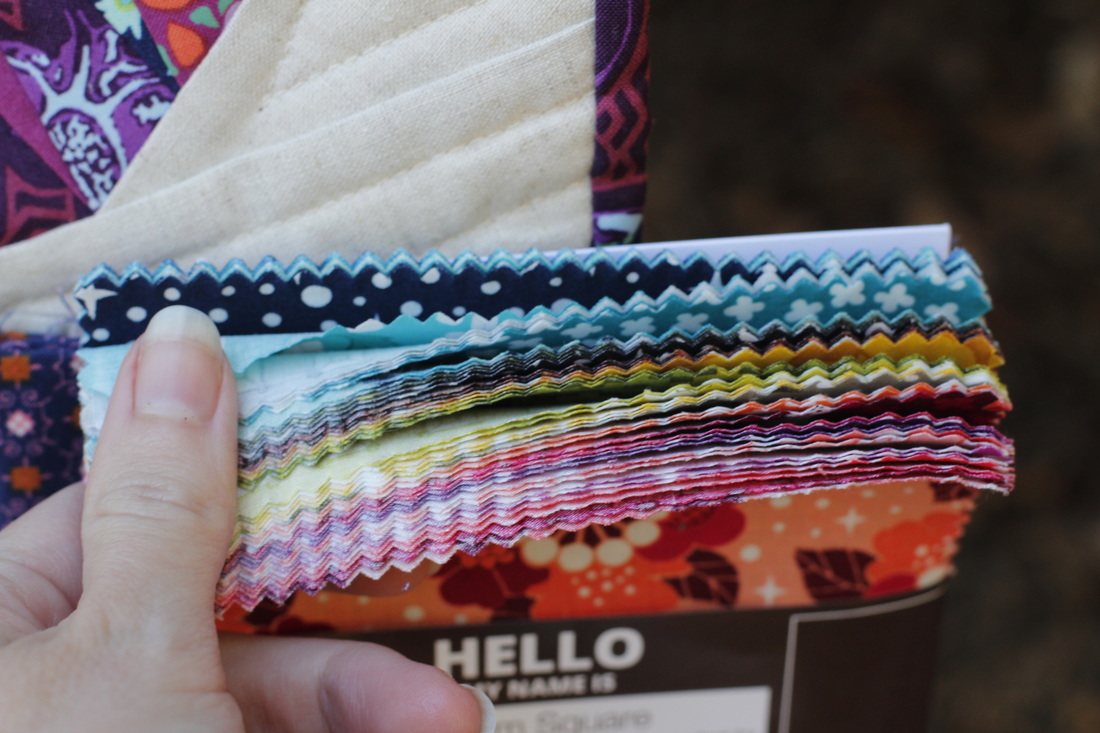
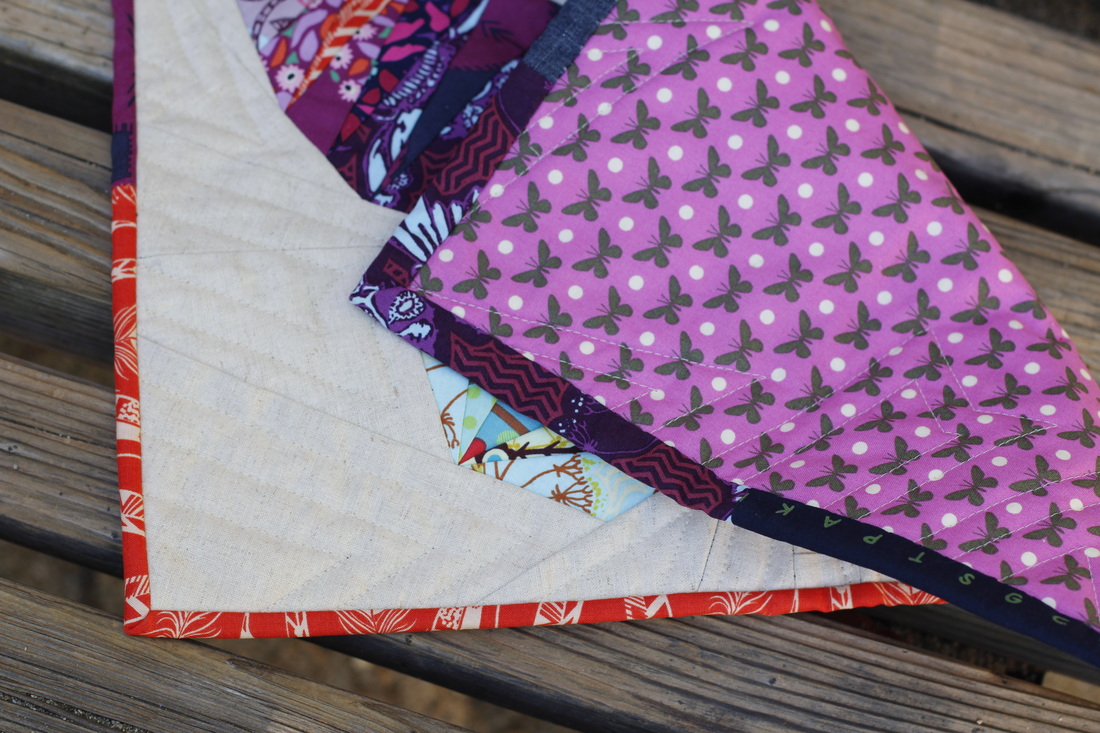
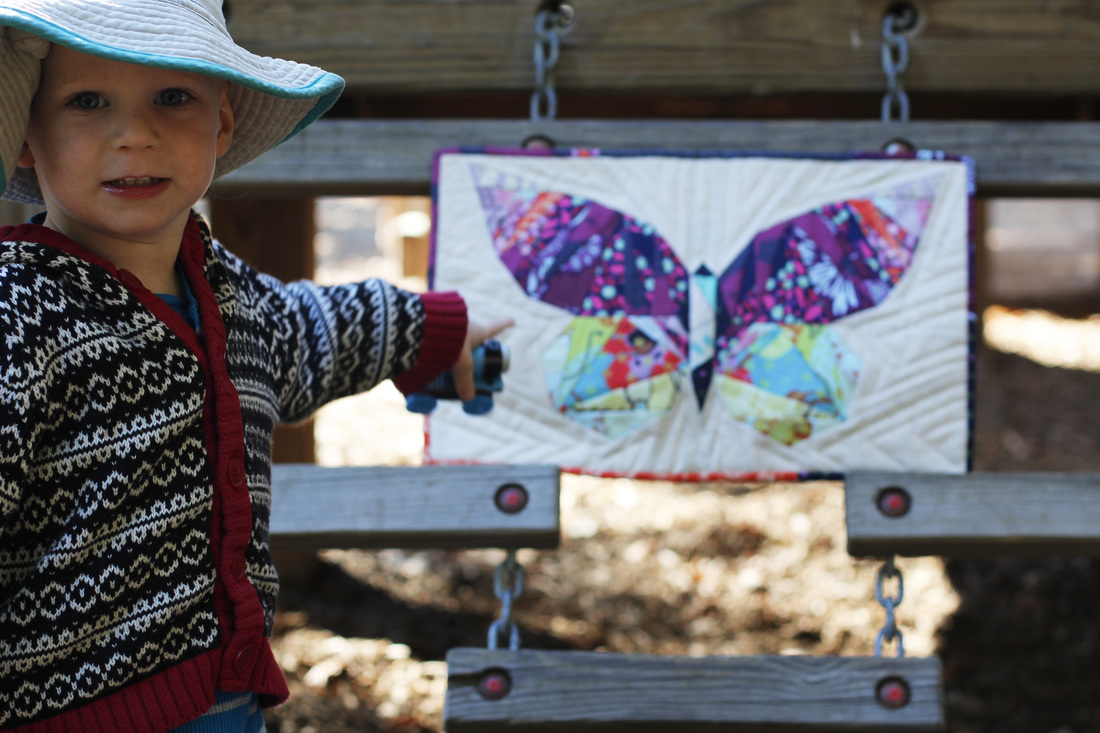
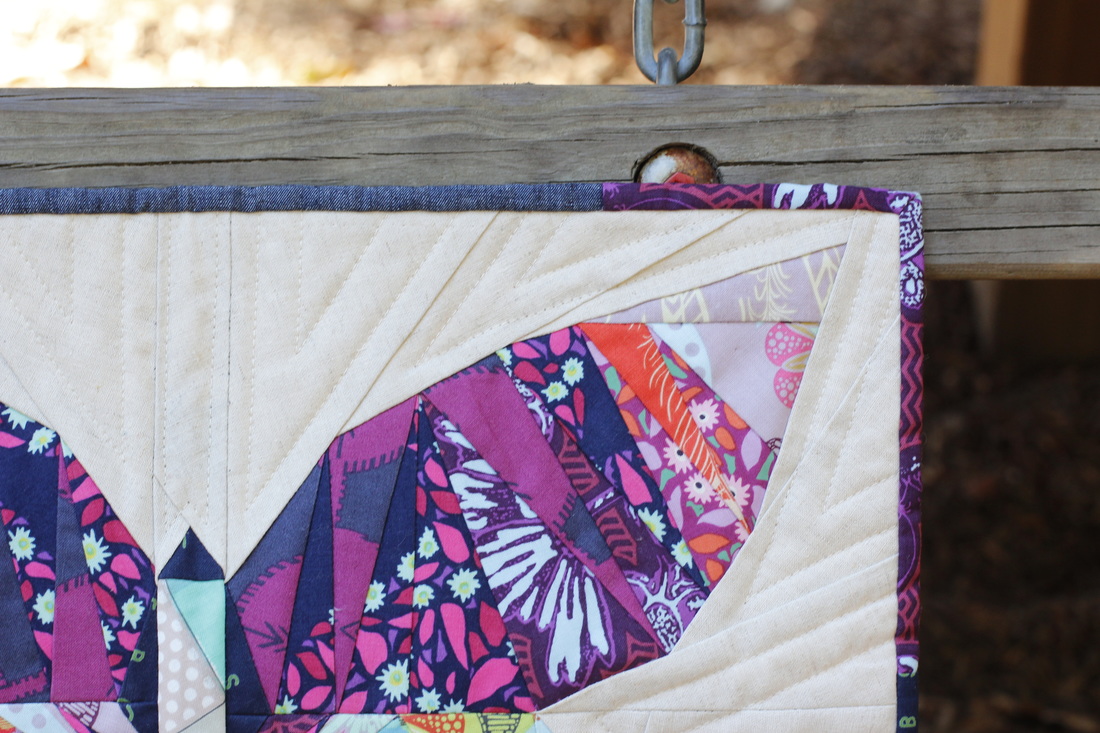
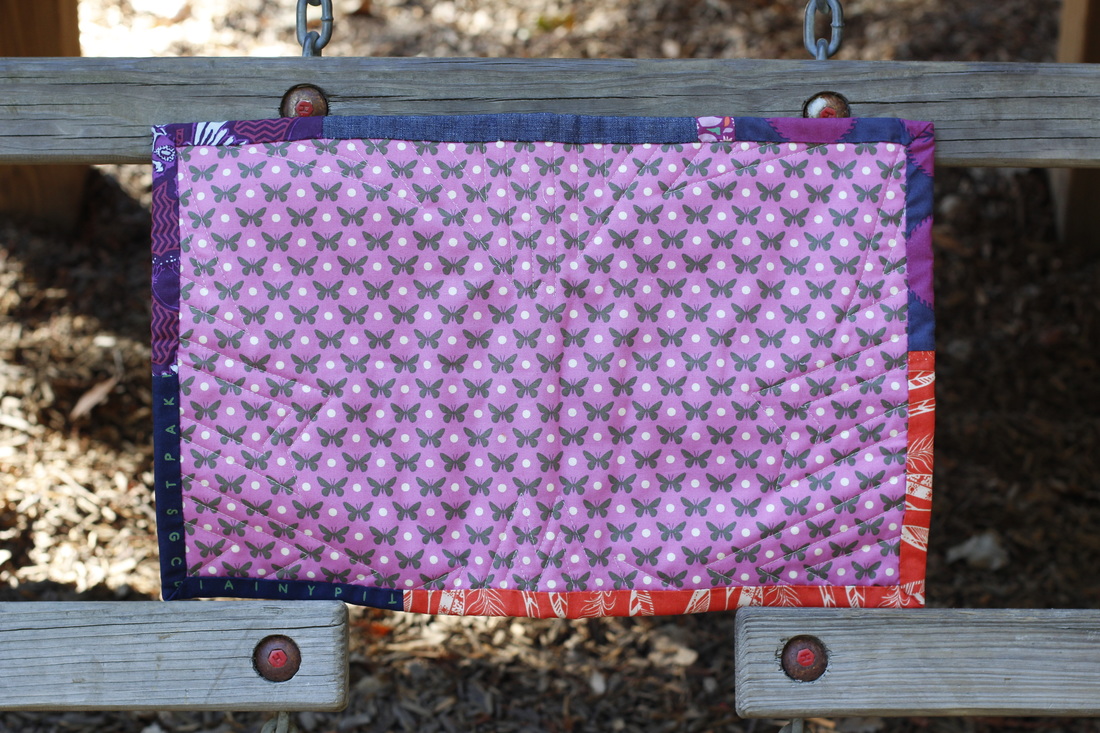
And here's what I received from my swap partner.  The design is the Take Wing pattern.  I love the colors she chose, as well as the texture of the linen.  She even matched the backing to the design on the front with purple butterfly fabric.  While I was photographing everything, my little guy kept pointing at the mini and saying "buh-fy."  It was so cute!  I think I'm going to copy her scrappy binding technique for my next mini.  It adds such an interesting feature and keeps your eye moving around the whole thing.  The extras she sent were amazing as well, but my favorite was the pre-cut squares.  So many beautiful colors in there.  Of course, the chocolate she also sent didn't make it to the photo shoot.  It's much too dangerous to have chocolate within sight of my son as he will snatch any within reach.
​
Picture
Picture
Picture
Picture
Picture
Picture
Picture

That's all my swap news for now, but I've got one more ending soon and I signed up for two more that will wrap up in January and February.  I'd love to hear if you've got any swaps you're working on as well.  I'm always interested in finding new ones to get involved in and seeing what other people make.
2 Comments

Stitched Envelope Tutorial

11/17/2015

2 Comments

 
Picture

​When everyone knows you like to make things, they tend to give you things that they think you'd find interesting.  Such was the case several months ago when my sister-in-law gave me an envelope she found.  It was simply a piece of textured brown card stock folded then stitched on the sides and around the flap.  I loved it immediately and put it on my list of things to make.  Of course, the list then sat untouched for a bit when other things came up.  Then one day I signed up for a polaroid quilt block greeting card swap (more details on this soon).  This envelope design was the perfect handmade touch to send each of the greeting cards and blocks in.  And I think everyone loved receiving one.

Picture

The envelopes I made are six inches wide and just over four inches tall (smaller than the one I was given), but they could be made in almost any dimensions.  You could even experiment with stitching two pieces of card stock together instead of folding one.  The downside of these dimensions, though, is that the envelopes don't exactly fit a standard 4 x 6 greeting card since the stitching on the sides takes up about a quarter inch total.  So, of course I had to make special cards to go inside them.  You could also trim standard cards to make them fit.  Either way, it's a fun and simple way to make snail mail even more special.  Here's how you can make some, too.


​Materials:

 - 12" x 12" sheet of card stock
 - Paper cutter or scissors
 - Ruler (preferably clear acrylic)
 - Cutting mat
 - Pencil
 - 6" bowl or plate
 - Scoring tool
 - White glue (optional)

​​
Instructions:
​
Picture
Use your paper cutter or scissors to cut the 12 x 12 sheet of card stock in half.  Set one piece aside for now.

Picture
Lay one of the sections of card stock on your work surface.  A cutting mat works best since it has measurements on the sides, top, and bottom.  Place your ruler so that one edge is at the 4 3/8" mark.  Make sure it is aligned properly.  Use your scoring tool to score along the 4 3/8" mark

Picture
Fold the card stock along the score line and use your thumbnail to press down on and smooth the crease.  This will be the back side of the envelope where the flap will rest.

Picture
Lay your paper so that the fold is on the left.  Place your ruler so that the edge lines up with the edge of the paper that you folded inward in the previous step.  It sounds confusing, but the picture is pretty clear.  Score the paper along the ruler edge of the ruler (in the picture, it is the right edge.  The scoring should appear on what will be the inside of the envelope).

Picture
Fold the card stock along the score line and use your thumbnail to press down on and smooth the crease.  This will be the flap of the envelope.

Picture
Unfold the flap you just made.  Set your bowl or plate so that the sides match up with the corners of the back side of the envelope.  Draw a line around the bowl, beginning at one corner of the back side and ending at the other.  This will give a rounded flap.  Feel free to experiment with other shapes.

Picture
Use a pair of paper scissors to cut along the line you drew.

Picture
Your envelope should now look like this.

Picture
Now to sew.  Set your machine to a zig-zag stitch.  The width is up to you, but keep in mind that the wider the stitch the smaller your greeting cards must be.  I set my zig-zag to just over 1/8" wide.

Picture
Manually move the needle to check where the edges of the zig-zag will be.  Place a bottom corner of the envelope under the presser foot so that the needle will sew just past the right edge.  In other words, the needle will pierce the paper on the zig but not the zag.  Continue sewing along the side of the envelope.  Make sure the flap is open.

Picture
As you approach the flap, slow down so that you can adjust the paper without sewing off the edge.  Continue sewing around the top and down the other side.

Picture
Cut the threads at both corners.

Picture
If you want to keep the stitches fro coming out, you can put a tiny dap of glue at each corner where you cut the threads.  Make sure to let it dry before stacking or using your envelopes.

Picture
Your envelope is now ready to use!  Repeat the steps with the other section of card stock, and as many more times as you want.  Don't forget to cut cards to go along with them.  My next project will be to make a complete set of notecards for myself so that I always have some on hand for birthdays or holidays or greeting card swaps.

Picture
Picture
Picture

I'd love to see what you make with this tutorial.  Drop me a line or tag me on Instagram so I can check it out.
2 Comments

Holiday Sewing

11/8/2015

1 Comment

 
A month ago I was invited to have a booth at a winter festival.  I almost declined because I've never done one before, but then I thought "If I never do one because I've never done one, then I'll never do one."  After all, you gotta start doing something do learn how to do it.  And so I said yes.  I immediately started planning what to make and what to bring from my current inventory in  my shop.  I'll be taking some of my diamond crocheted garland, a few mouse pincushions, and my hand embroidered sheep softie.  I'm also making reversible chalkboard placemats, quilted chalkboard coasters, sewing kits for kids, tree softies, and little wood people.  Even though I'm making all this to sell at the festival, I'll be sure to list a few in my shop in the next week or two.  In the meantime, I'll be sewing up a storm and crossing my fingers that I'll have enough stock and variety to make it all worth it.

Picture
Picture
Picture
Picture
Picture
Picture
Picture
Picture
Picture
Picture
1 Comment

Post-Pumpkin

11/1/2015

0 Comments

 
Picture
Picture
Picture
Picture
Picture
Picture
Picture
Picture
Picture
Picture
Picture
Picture
Halloween was a pretty restful day for us.  We avoided the crowds of trick-or-treaters by going to a small party in the afternoon and then hanging out at the (completely empty) park until dusk.  Goen fell asleep on the car-ride home.  All in all, we saw very few people in costume, which was fine with me since the little one doesn't really understand it all yet.  He was pretty clingy with the few costumed people we saw.

Last weekend we went on our first-ever family pumpkin picking.  We went to a nearby farm that was nestled in rolling golden hills.  It was dry and dusty and hot.  But it was nice, especially since winter will follow along soon enough and the cold weather will have me begging for summer heat.  Pumpkin patches have become something of a mini amusement park, so the tickets and rides were impossible to avoid.  The bouncy houses sure are a fun place to take pictures, though.

After looking and looking for the perfect pumpkin, we chanced on a small one that was perfect for Goen to carry.  I think that is the perfect size pumpkin to buy, one that your kid can carry.  That's a tradition I'd like to continue.  

I hope you had a fun Halloween, whatever it looked like.
0 Comments
    Picture


    Carley Biblin

    Hi.  My name is Carley.  I love to sew, craft, and create. As a Jane-of all-crafts so to speak, I enjoy sewing, writing, cooking, drawing, photographing.  But the constant thread (if you'll excuse the pun) throughout my weeks is needle arts. 
    I hope you'll join me in
    Making It Up As I Sew Along.
    Learn More...

    My Etsy Shop

      If you'd like to sign up to receive my newsletter, type your email address in the box below and get news, tips, and other neat stuff delivered to your inbox.

    Submit
    Instagram

    Archives

    January 2017
    December 2016
    November 2016
    October 2016
    September 2016
    August 2016
    July 2016
    June 2016
    May 2016
    April 2016
    March 2016
    February 2016
    January 2016
    December 2015
    November 2015
    October 2015
    September 2015
    August 2015
    July 2015
    June 2015
    May 2015
    April 2015
    March 2015
    February 2015
    January 2015
    December 2014
    November 2014
    October 2014
    September 2014
    August 2014
    July 2014
    June 2014
    May 2014

    Categories

    All
    Arts & Crafting
    Books & Music
    Celebrations
    Embroidery
    Family Photos
    Fixing
    Guest Posting
    Inspiration
    Kids & Family
    My Week
    Parenting
    Photo Tour
    Present Moment
    Recap And Goals
    Recipes & Food
    Reviews
    Sewing
    Shop Update
    Swaps
    Tips And Techniques
    Travel
    Tutorials

Powered by Create your own unique website with customizable templates.