Making It Up as I Sew Along
  • Blog
  • About
  • Gallery
  • Shop

Family Craft Swap - What I Received

6/24/2017

0 Comments

 
Up until a few months ago, I had been on such a roll with posting.  Life.  You know?

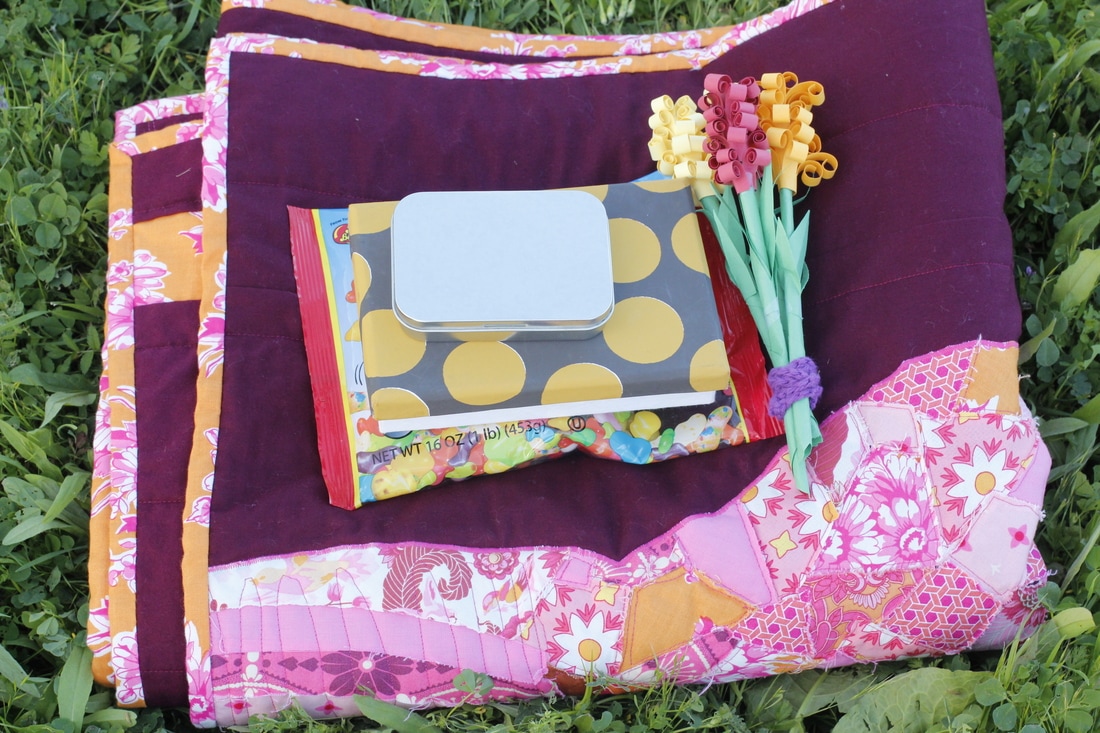
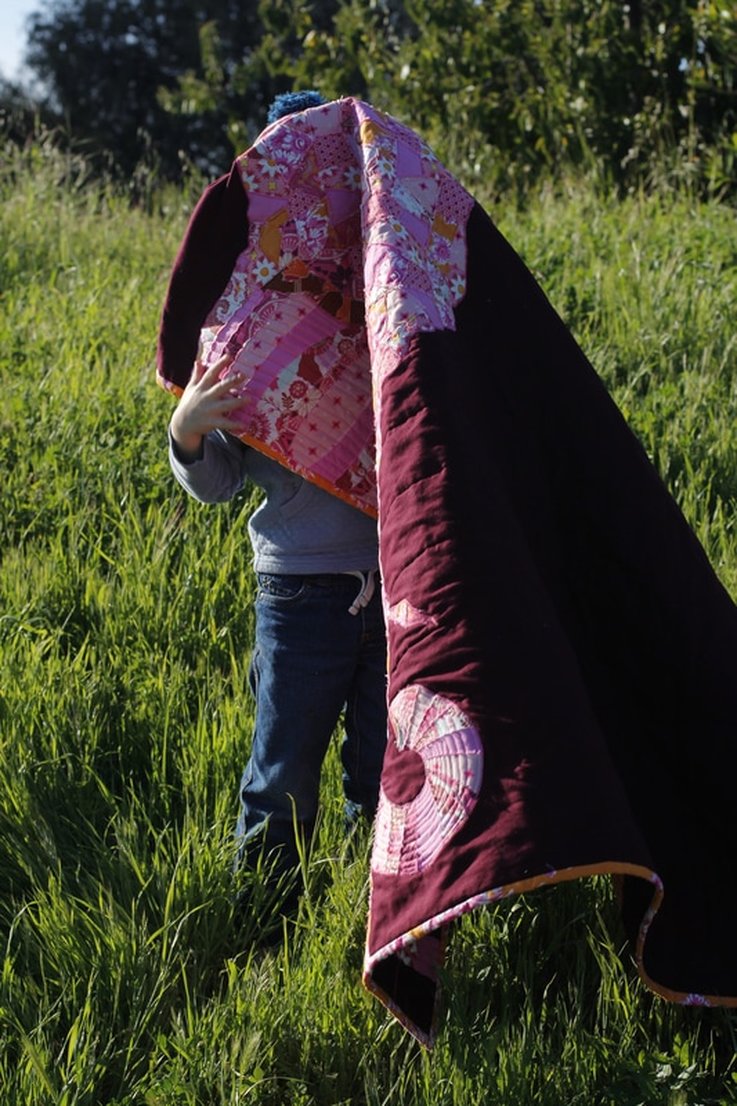
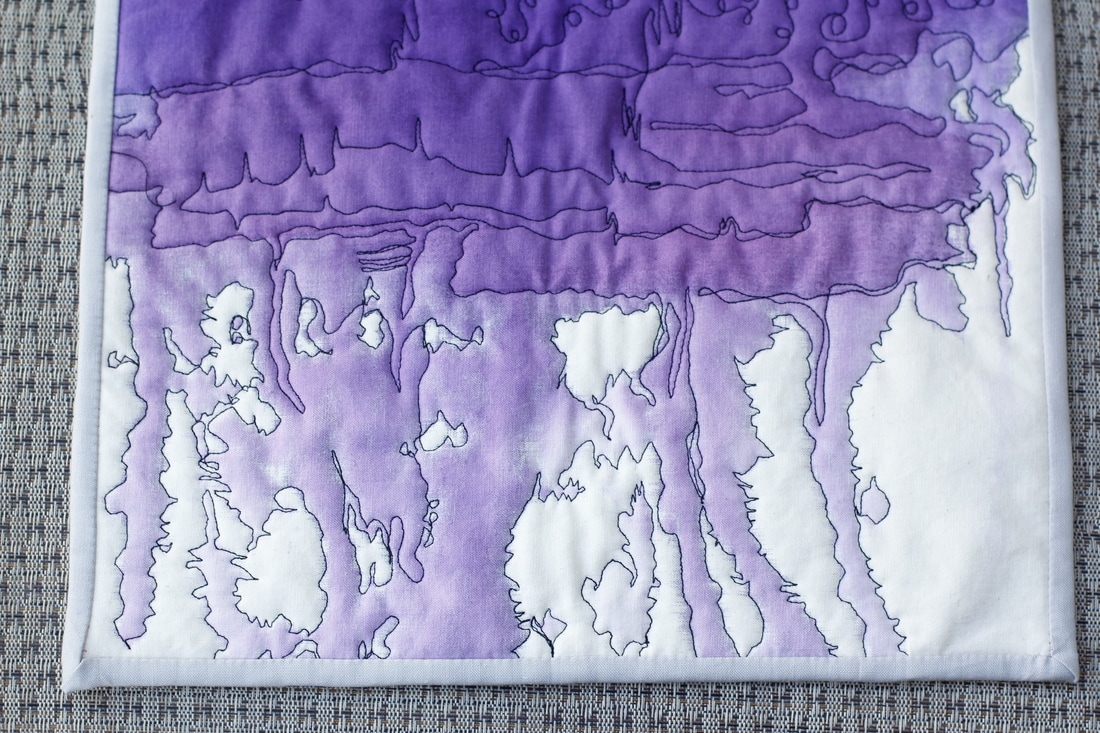
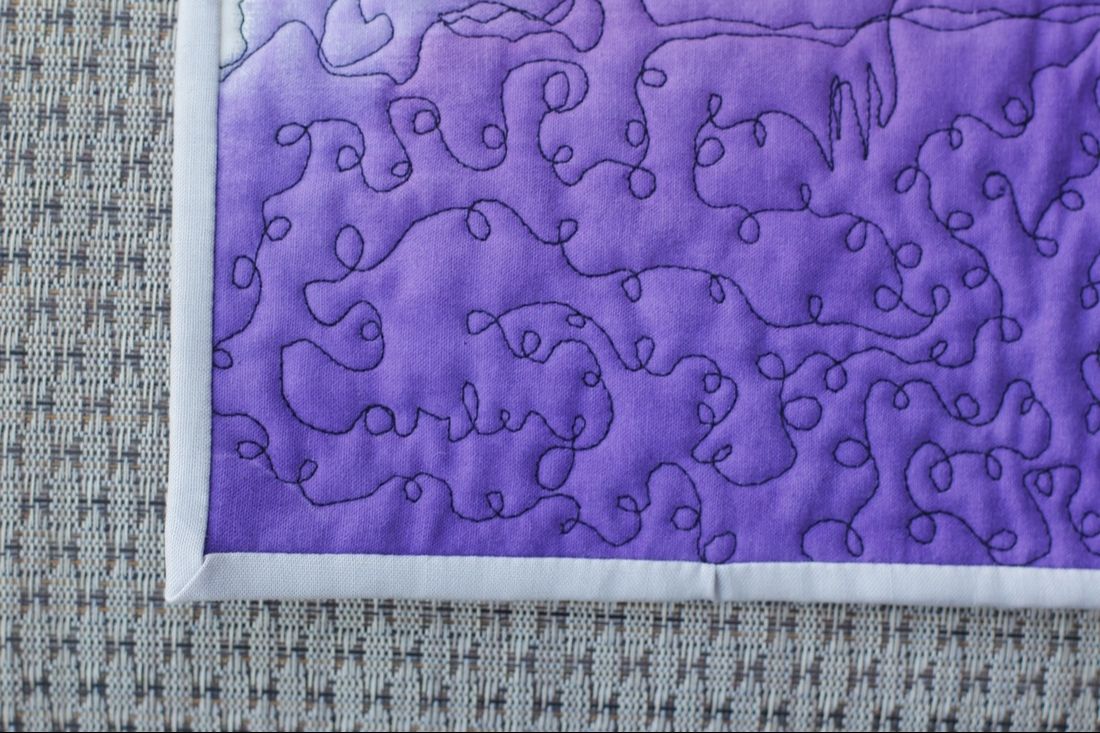
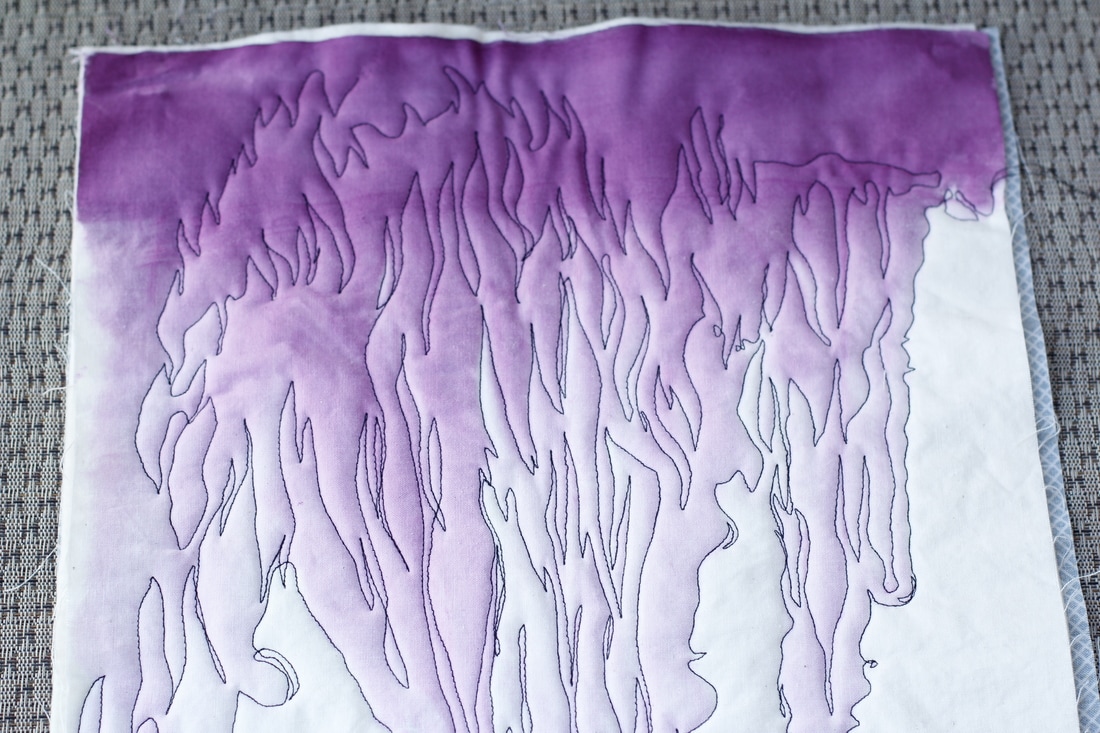
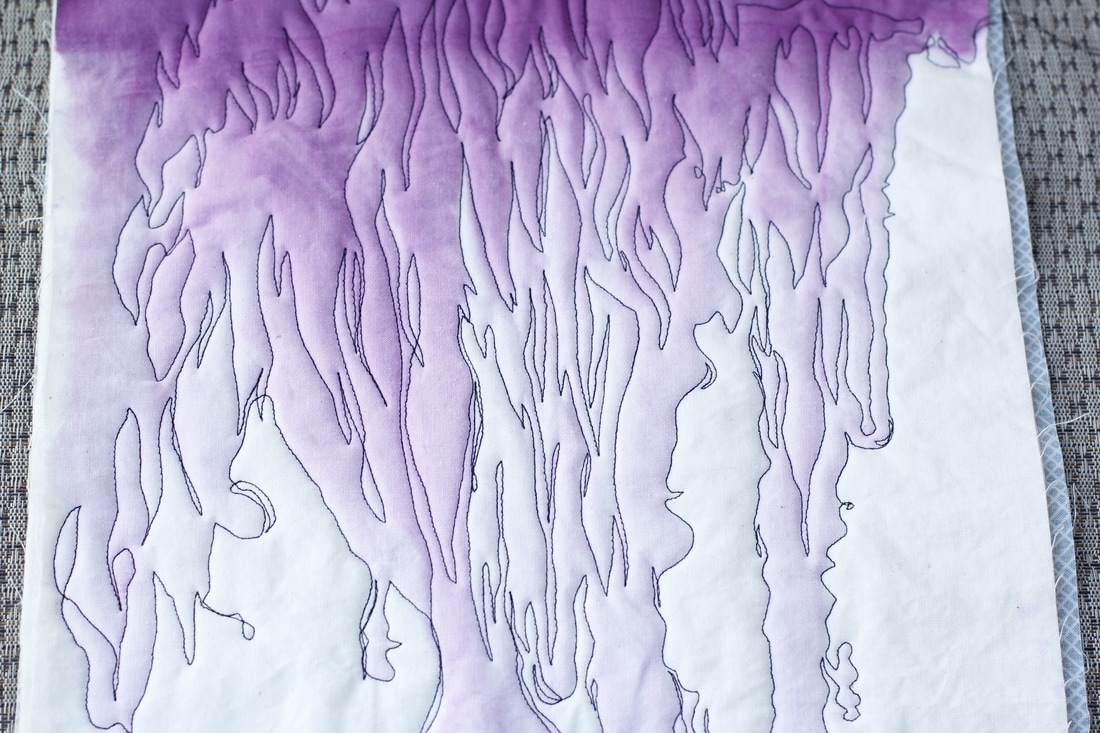
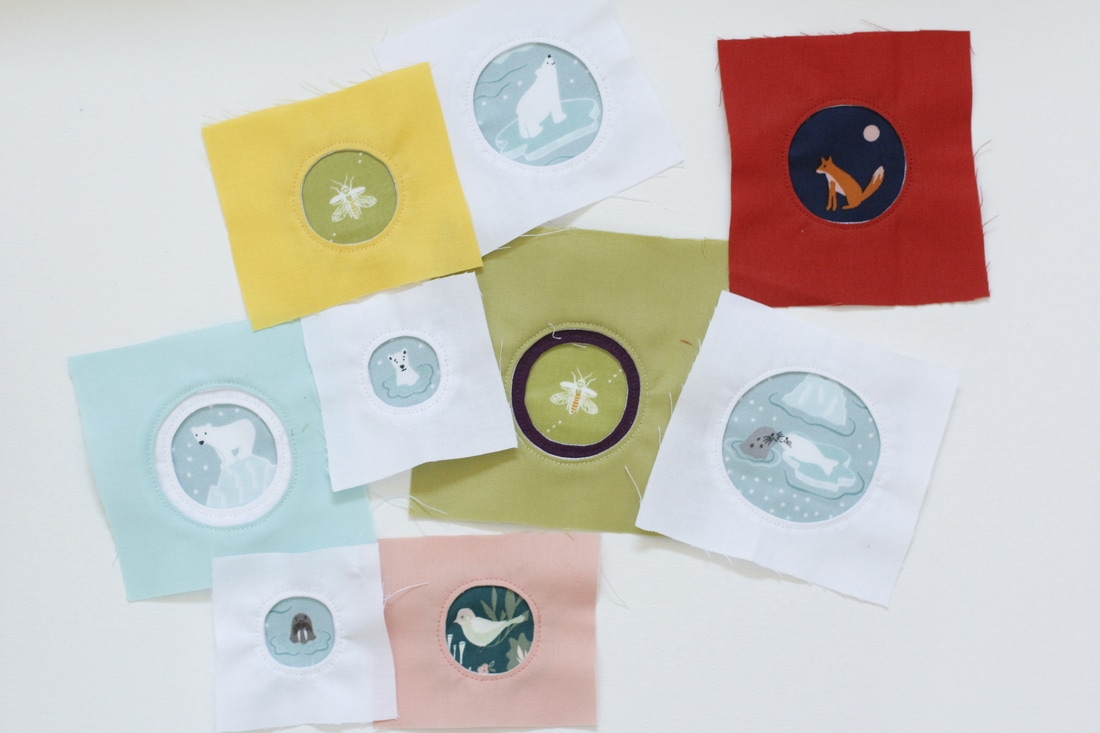
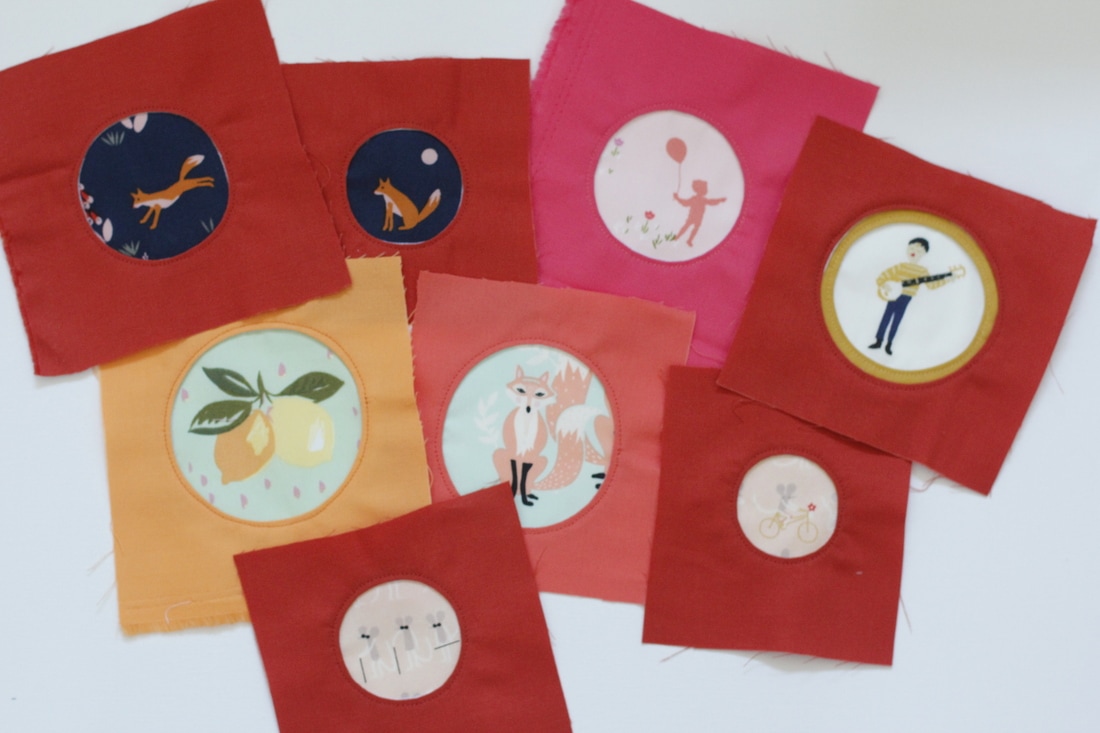
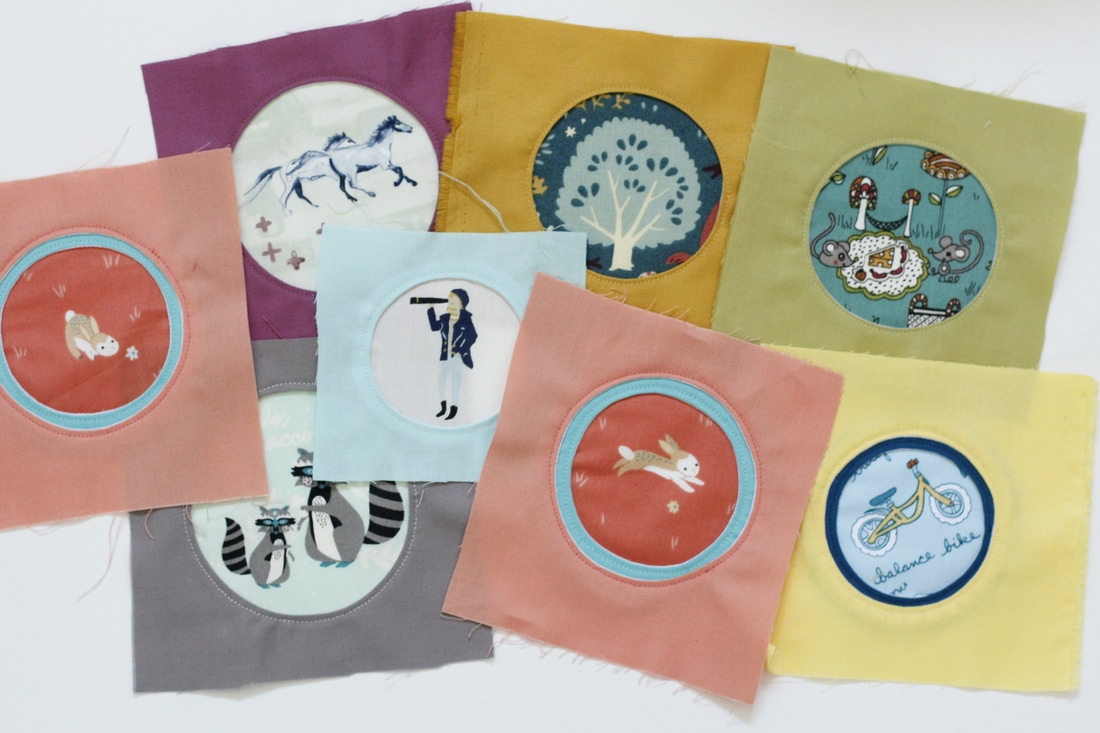
Anyway, with summer in full swing, I think I'll have more time to update you all on my progress on different projects (hint: new pattern release coming soon!).  You may remember that my Family Craft Swap finished up in March and I posted about what I made.  Now I'm finally getting to posting about what I received.  My younger sister drew my name out of the metaphorical hat.  She decided to get inspiration from a couple of my favorite books for her project.  My all-time favorite book is Shades of Grey by Jasper Fforde (the audio book version is read by the amazing John Lee and I highly recommend it) and the Lord of the Rings series is not far behind.  I don't want to get too much into the significance of each piece of the artwork because, really, I don't want to ruin the experience should you decide to read the books in the future.  So, I'll just show you what she made.
​
Picture
Picture
Picture
Picture
Picture
Picture
Picture

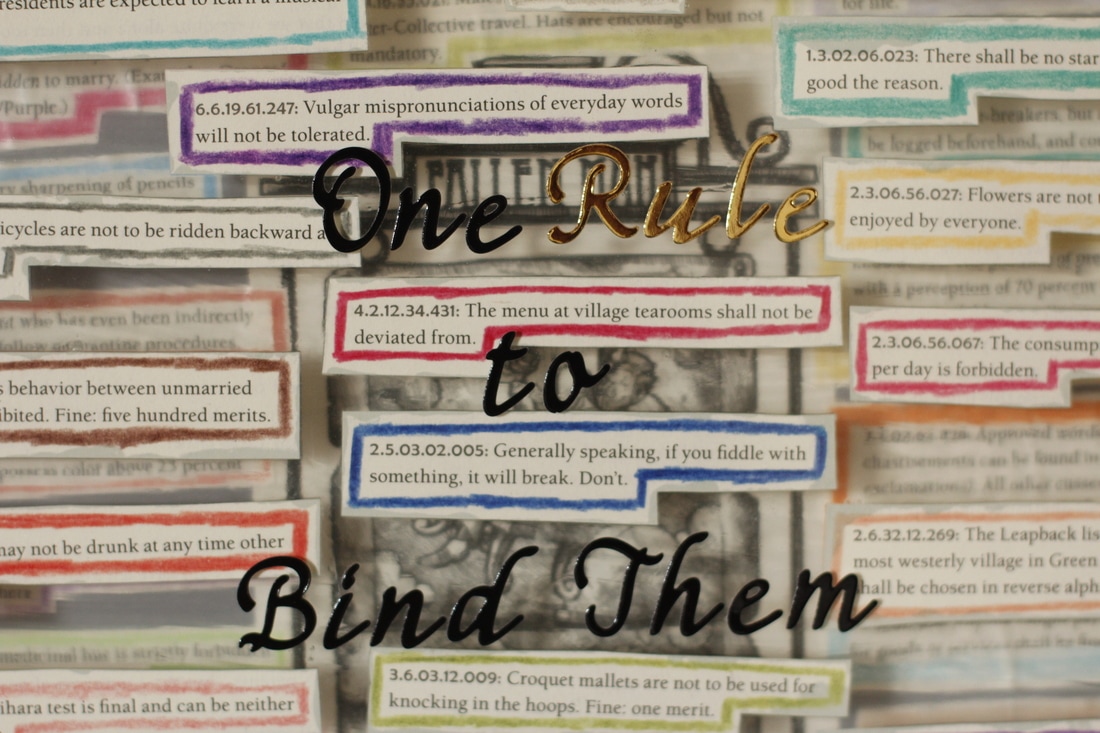
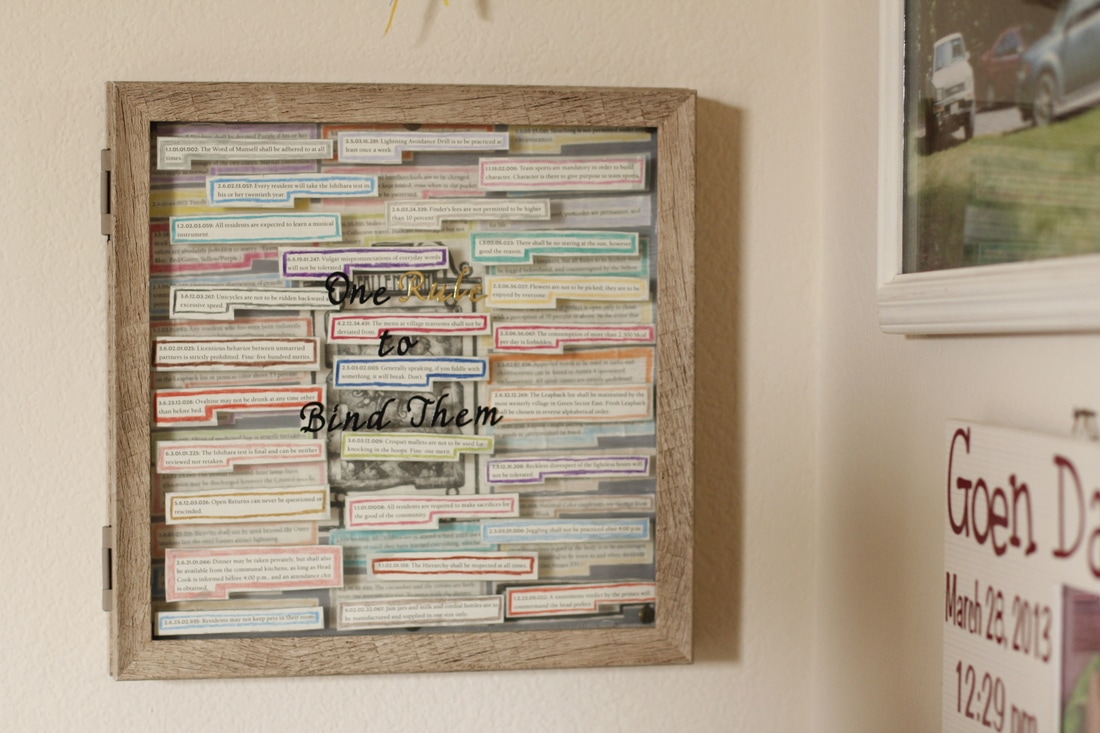
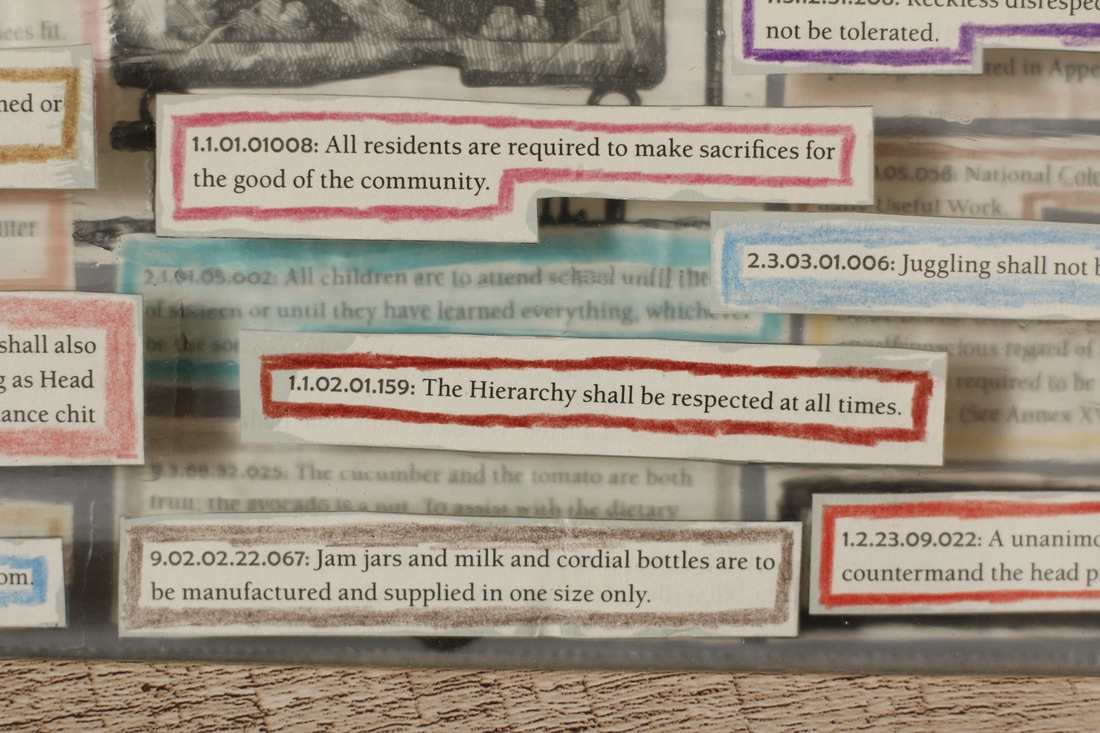
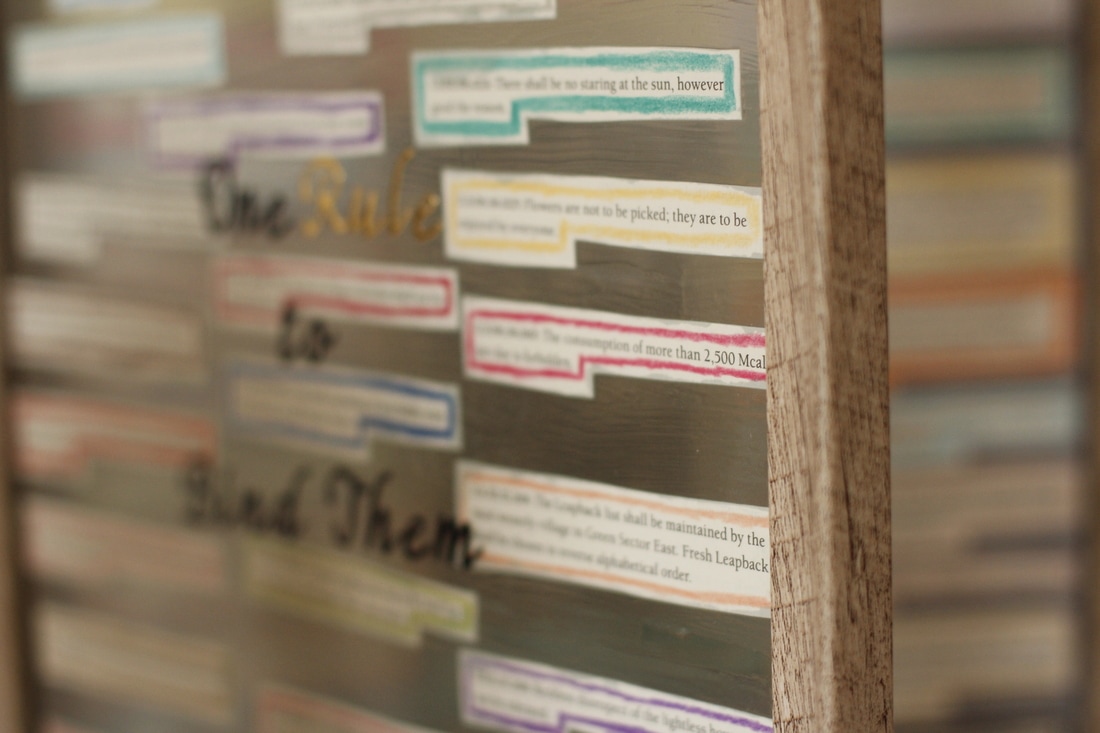
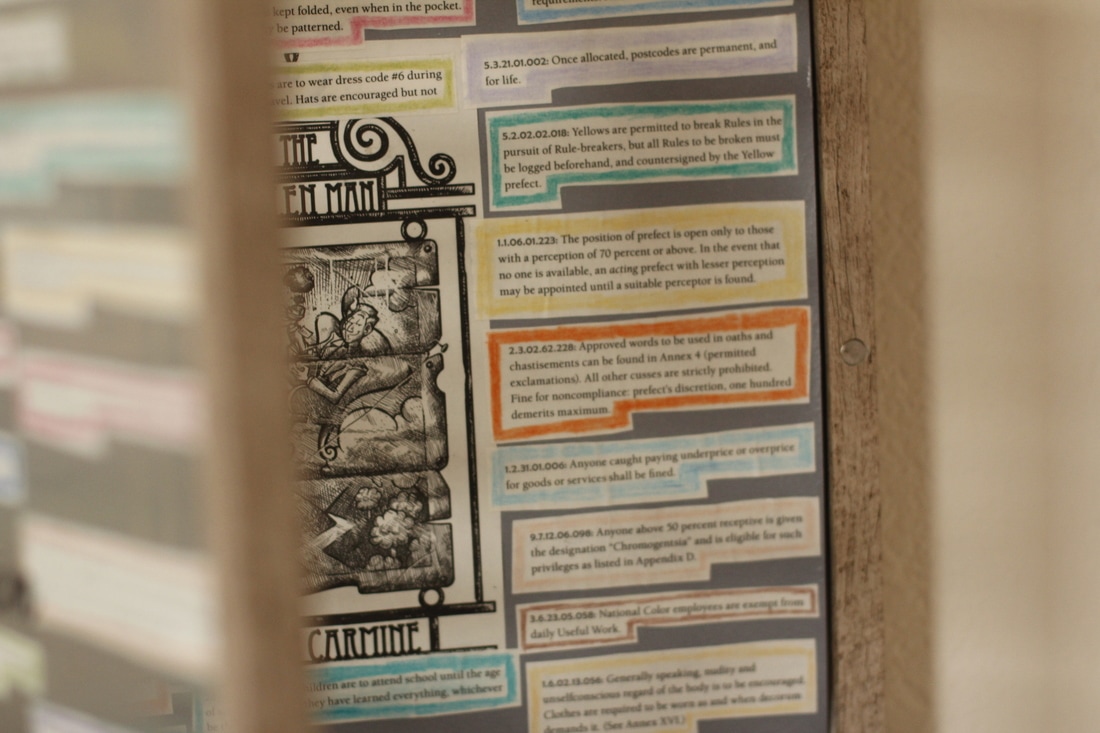
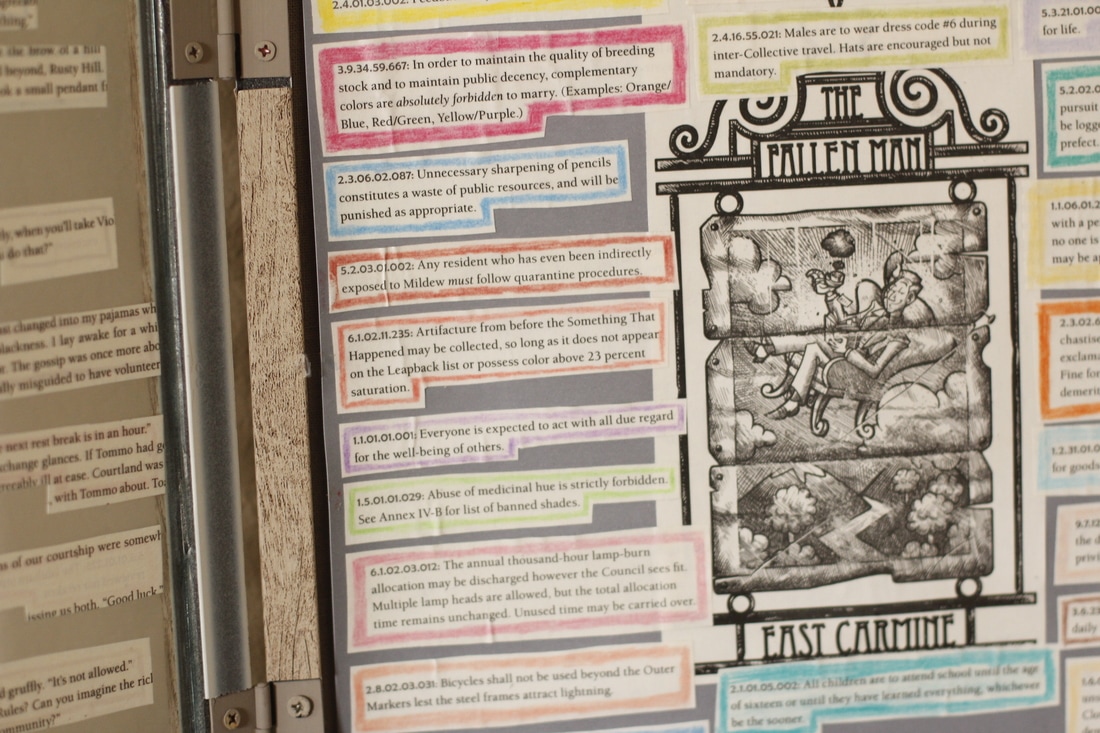
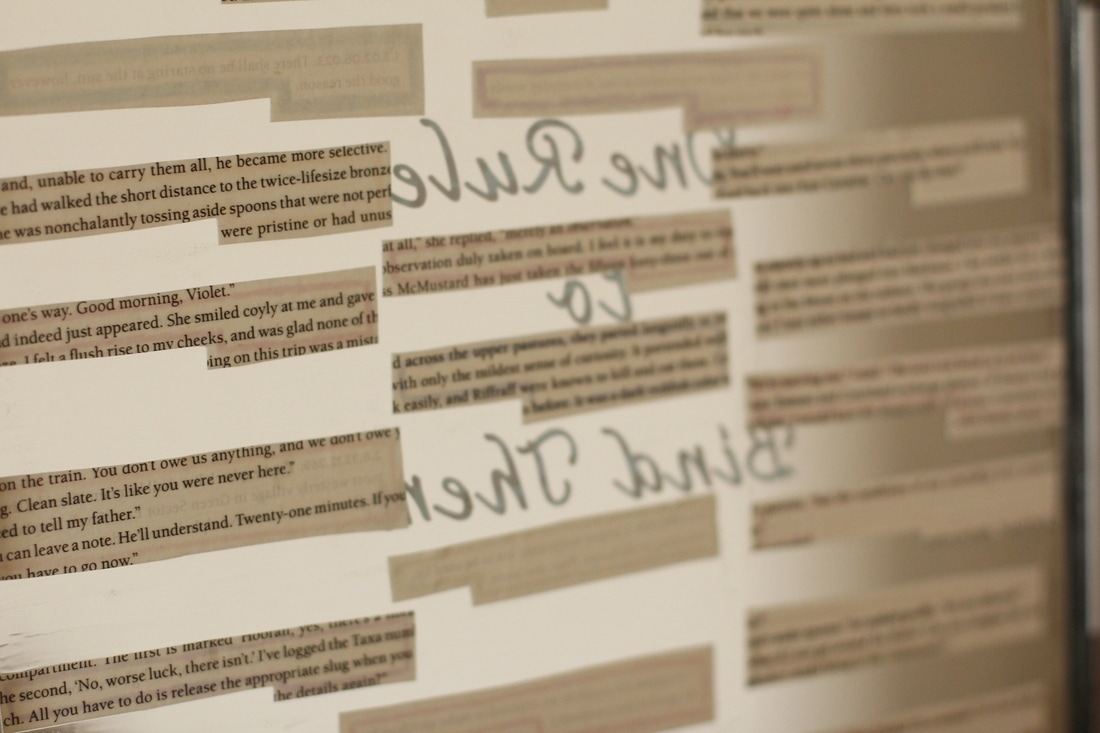
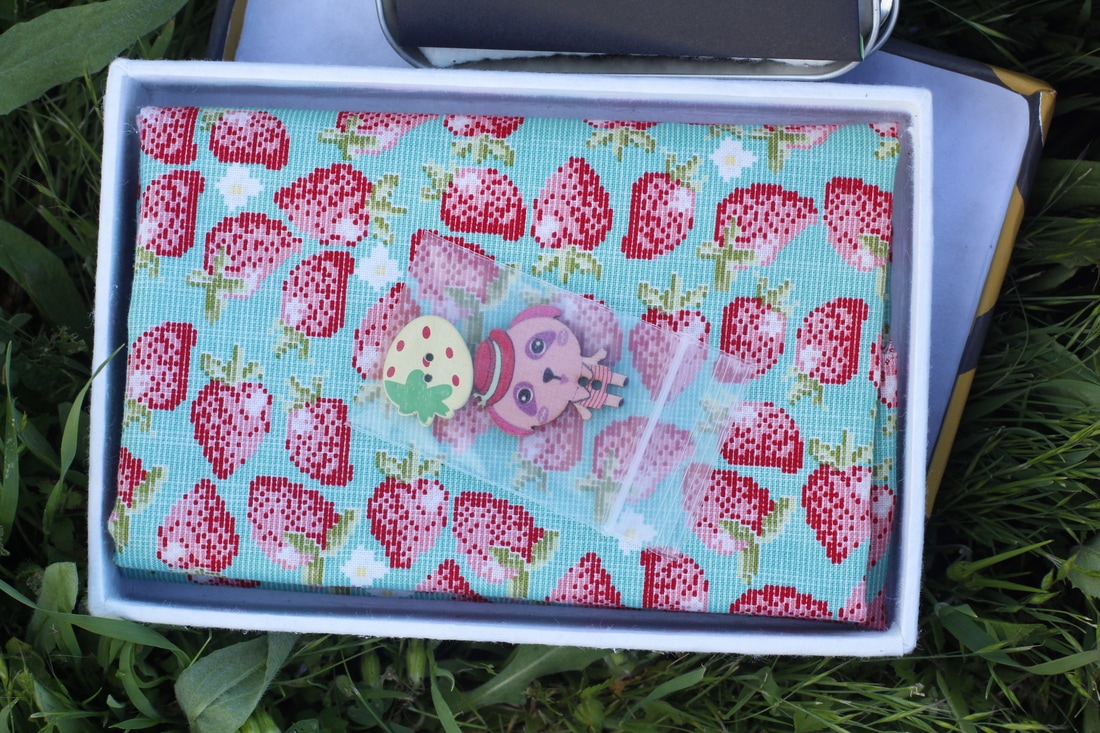
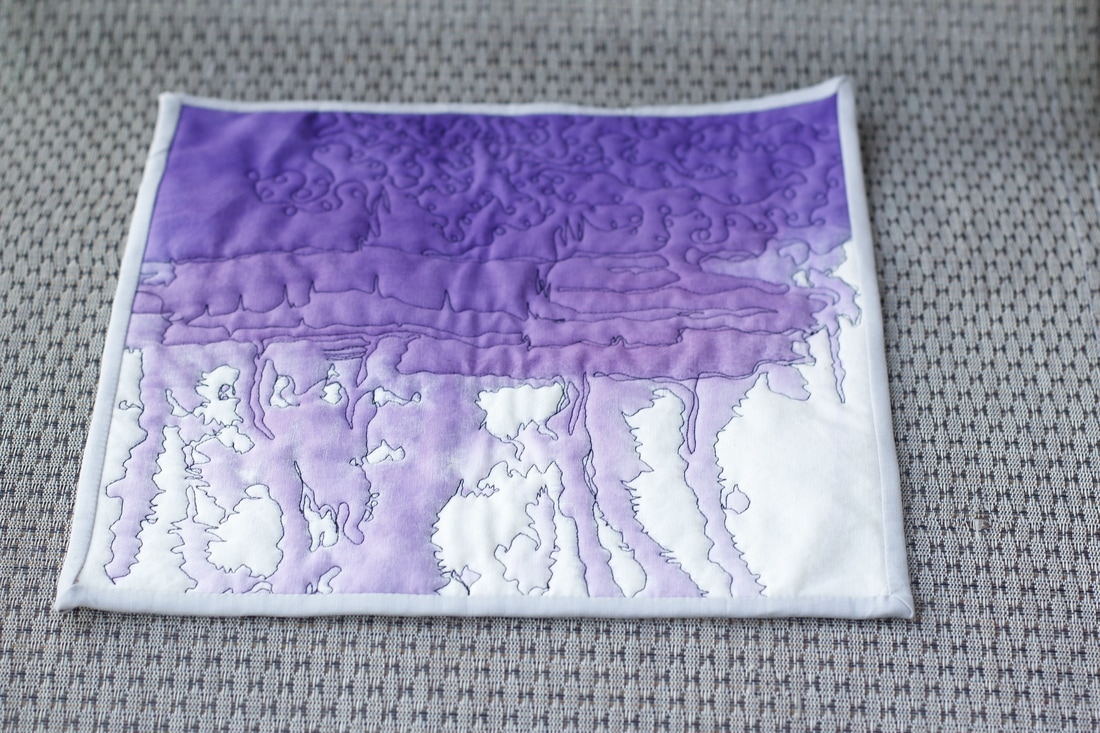
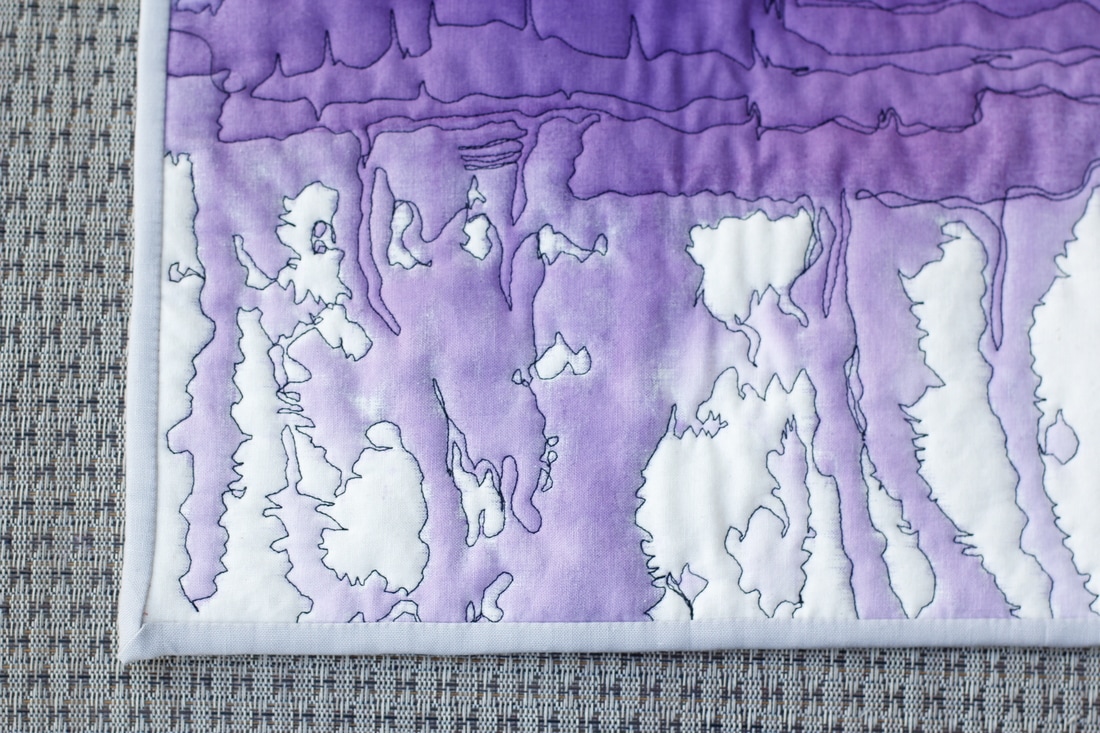
Getting this shadowbox framed artwork of pieces of my favorite book just makes me so happy.  Looking at it up on my wall reminds me of all the times I listened to the audio book (must be close to fifty times by now!) and gives me a chuckle just thinking about the words, especially since I don't get to listen to it as often as I used to.  

​Thanks sis!  I love it!!!
0 Comments

Family Craft Swap 2016

3/25/2017

2 Comments

 
Some months ago, people in my family expressed interest in doing a sewing/craft swap.  I was assigned to be the moderator since I have the most swaps under my belt of those in my family.  So, after whipping up a short questionnaire, and cajoling my dad into taking part, I assigned the six people who decided to sign up to a secret partner.  If you're familiar with secret swaps, you know how they usually go.  This was not much like that, though.  I pretty much assigned partners and just checked in a few times to make sure people were on track.  Here are a few pictures and some descriptions of what I made.

Picture
Picture

After a month of brainstorming and indecision, I decided to make an applique quilt for my assigned partner (one of my older sisters) using scraps arranged in the shape of an elephant.  For my pattern, I printed up a large-scale elephant at the copy shop for about $4.  I traced the elephant outline directly onto my fusible backing then cut the fusible into several pieces corresponding with distinct parts of the elephant (trunk, legs, tail, etc).  Then I chose some coordinating fabrics in pink and orange, cut them into random shapes for the main body and curved pieces for the trunk.  The pieces were then carefully fused to the glue side of the fusible web.  I tried to arrange the fabric pieces so that darker and lighter tones demarcated specific parts of the elephant to give it a more defined shape.  I think I mostly succeeded with that.
​

Picture
Picture
Picture
Picture
Picture
Picture
Picture

Once all the fusing was complete, I removed the paper backing and fused the individual pieces to a piece of Kona (burgundy, I think).  I pieced a backing using more of the Kona and some pieced strips using more of the fabric from the front.  After putting all the pieces together and basting, I had to figure out how to quilt everything without going nuts.  I decided to quilt over all the raw edges using free-motion techniques to avoid all the needle-down rotating stuff.  It was my first time doing free motion (I hadn't yet done the watercolor quilting workshop at Handcraft Studio School) and it turned out pretty good.  I also zig-zag stitched all around the elephant to give even more definition to the shape when viewed on the reverse.
​
Picture
Picture
Picture
Picture

The finished piece is a lap-sized quilt bound with more of the lovely orange and pink flower fabric used in the applique.  For some extras, I included a fat quarter of a strawberry print fabric, some adorable wood buttons, jelly beans, a gift card, and paper flowers.  I know my sister will enjoy it all!
​
Picture
2 Comments

Watercolor Quilting Workshop

3/25/2017

0 Comments

 
Picture
Picture
Picture
Picture
Picture
Picture
Picture

Last weekend I took part in a fun workshop at Handcraft Studio School in El Cerrito.  Watercolor quilting.  Yes, watercolor quilting.  It was so much fun!  We learned how to use special fabric dye to create an abstract watercolor painting on 10" squares of fabric.  Then we made a quilt sandwich and learned how to free-motion quilt using the painting as inspiration.  Some people did abstract quilting and some people made recognizable images, but they were all wonderful.  

I chose to stick to a single color in a couple shades, since I'm not too great at color mixing on the fly.  It was perfect, though, because it allowed me to really focus on the patterns that emerged from the paint and find interesting ways to emphasize certain shapes and lines.  The quilting on the back is just as interesting as the quilting on the front (maybe even more so since my paintings aren't that interesting).

Ashley, the instructor, is a professional quilter who teaches classes on Creativebug that are great for learning to make quilts.  In the workshop, she gave some tips on how to free-motion quilt without having to buy all the fancy tools, and recommended a few tools that she wouldn't want to do without.  She said the watercolor quilting class will appear on Creativebug sometime this year, so that is definitely something to be excited about!  I'll need some reminders for sure.
0 Comments

"On Cloud 9" - New Design Take One

3/12/2017

2 Comments

 
Picture
Picture
Picture
Picture
Picture
Picture
Picture
Picture

So, here it is.  Version one of a new pattern I'm designing.  Despite all its imperfections and mistakes, I'm happy with the way it turned out.  The design uses a few very basic block designs, including "lazy angle," half square triangle, and whatever that clipped corner square is called.  My intention was to create a cloud hovering over a gradient sky, and I included both solids and prints to create dimension and interest.  Since this was mostly a learning/practice project to perfect the design, I'll mostly talk about its flaws (though you're free to admire its glowing qualities as well).

First off, the gradient went too light at the bottom left corner, making the cloud too difficult to see.  The easy fix, of course, is to start darker.  The next glaring mistake was in my initial mental calculation for how to cut and assemble the clipped-corner-square blocks.  After talking it over with my math teacher husband, I made a line graph that quickly and easily solved my problem, so version two will have perfectly matched seams.  Lastly, I ran out of one of the fabrics I had selected, which threw off my gradient in the top left corner and required a bit of muddling to get right again.  Next time, buy more fabric!

One thing I'm completely happy with is the quilting design.  The simple wavy lines, overlapping in random spots, adds some movement, like wind, so I can almost imagine the cloud can move across the fabric background.  I also love, love, love the bright yellow fabric print I chose for the binding.  It pops so nicely with the blue and aqua shades and adds a feeling of sunshine coming through the clouds.  

I think my next version will be a larger, maybe lap-size, quilt with a repeating cloud motif or just larger-scale single cloud.  Either way, it's a design I love that I will pursue as soon as I wrap up a few more projects in the coming weeks.  Meanwhile, I think this mini will become a thank-you gift for a woman who was, in a way, an integral part in the creation of this piece.  I hope she likes it as much as I do!
2 Comments

Baked Almond-Crusted Eggplant Recipe

1/29/2017

0 Comments

 
Picture

For the life of me, I can't remember my almond-crusted eggplant recipe came about.  It might have been inspired by something I saw or someone who mentioned something, or it might have been a light bulb moment from me or my husband.  Either way, today I'm going to share with you my absolute favorite way to make and eat eggplant.  Even if you think you don't like eggplant, you should give this recipe a try.  I'm telling you, there's a chance you'll be converted and it will become your favorite thing ever.  It's pretty simple, so I'll just get right to it.

You will need:

 - 1 medium eggplant
 - 1 egg
 - 1 cup of almond meal/flour (I like the kind from Trader Joe's)
 - coarse-ground sea salt
 - bowl of salted water
 - baking sheet


Directions:

Preheat your oven to 350 degrees.
​
Cut off the top and bottom ends of your eggplant, then slice the eggplant into 1/2" rounds.  Place the rounds into the bowl of salted water and let them soak for about 30 minutes, flipping them over about halfway through to make sure the sides that float above the water get soaked as well.  In the meantime, beat your egg in a container large enough for your eggplant rounds to lay flat in.  After 30 minutes, drain and rinse the rounds, then pat them dry and stack them on a plate.  Pour about half the almond meal into a dish or plate.  To expedite the next process, place everything you need in the following order: plate of eggplant rounds, bowl of egg, plate of almond meal, baking sheet.

Begin by taking an eggplant round and dredging it in the egg so that all sides are coated.  Let the egg drip for a moment over the bowl.  Lay the eggplant round in the almond meal to coat the first side, then flip to coat the other side.  I like to sprinkle a bit of extra almond meal on each side and pat it with my hand to make sure there is a nice even coat.  Finish by laying the round on the baking sheet.  Continue this process for all the eggplant rounds, adding almond meal to the plate as necessary.  Once your baking sheet is full, sprinkle the eggplant with a bit of sea salt.  Slide the baking sheet into the oven and let the eggplant cook until the bottoms are lightly browned, then flip them over and cook for another 10 minutes or so until the other side is lightly browned as well.

Although the almond-coated eggplant will smell absolutely irresistible when it comes out of the oven, I highly encourage you to let them cool for 5-10 minutes or you will most assuredly burn your mouth (ahem).  My favorite part about biting into one is that the outside is slightly crispy, while the inside is moist (so long as you don't overcook it, of course) and the salt really brings out the almond flavor.  And, if somehow you can't manage to eat them all right then, they still taste good if you heat them up in a toaster oven on the toast setting the next day.  Once you eat one, I hope you'll let me know what you think.  Perhaps you'll want to make another batch right away.  I know I do!
0 Comments

Porthole Quilt Update

1/25/2017

1 Comment

 
Picture
Picture
Picture
Picture
Picture
Picture
Picture
Picture
Picture

I've been working on the porthole quilt for my soon-to-be-four-year-old son for about two months now (you can see my first few blocks here) and I've made so much progress.  I have a nice stack of single and double porthole blocks, most of which you can see in the pictures above.  I'm planning to add a few more once I find the perfect fabric and I'll likely weed out some that don't fit right.  As you can see, I went for a wide variety of colors and styles.  My main design parameter was that all the prints I chose should fit into the "whimsical realism" category.  You know, stylized but recognizable images.  I also wanted each print to have at least three colors (to maintain realism) and provide some sort of context so the images didn't look like they were just floating in space.  For the most part, I succeeded with these guidelines, though there are a few exceptions that I decided to include for significance reasons. 

Each porthole was created with a Kona solid to coordinate with the print.  In my original design idea, the portholes would be inserted behind yet another porthole stitched directly into the "whole cloth" quilt top.  I still don't have an exact layout in mind, though.  It'll be difficult to find a layout that works well with both the myriad sizes and colors I used.  A couple images I'm using for inspiration are here and here.  I especially like the "ghost" circles quilted in the second one.  I also have to decide on a size, which will be effected by my preferred layout, but I'm thinking lap quilt or a little bigger, something he can use for a while.

If you have any tips for quilting around circles in an interesting way, please let me know.  I'll probably machine quilt, though, since all the top-stitching for the portholes is already done by machine.  Once I'm done making porthole blocks, I'll have some tips to share with you in case you decide to make some yourself.  They're pretty easy, really, and can be used in more ways than I'm using them, so stay tuned for that.
1 Comment

Goals for 2017

1/15/2017

0 Comments

 
Picture

Before we get too far into January, I want to post about my goals for the year.  But, before I do that, I want to recap 2016, just to remind myself that it was, in fact, a productive year.  Cause sometimes I forget all that I've accomplished when I'm so stressed about all the projects I want to finish.

In last year's post I made a lot of goals.  I'll copy it here with notes on how I did even though it isn't pretty.

Recap for 2016:
 - Publish more tutorials on blogs that pay for content (I TRIED, BUT FELT TOO BUSY TO ATTEMPT MORE)
 - Finish at least two major projects that have been sitting on my shelf for too long (THIS RECENT FINISH WAS ONE)
 - Get rid of projects that no longer interest me (MAYBE ONE OR TWO, BUT I CAN'T REMEMBER)
 - Add listings to my Etsy shop until I have at least twenty different items (I ONLY ADDED TO NINE)
 - Learn how to take great product photos (FAILED, AT LEAST FOR MY SEWN ITEMS, WHICH CONTRIBUTED TO THE POOR RESULTS ABOVE)
 - Learn how to block print a proper pattern repeat (AFTER TAKING THE BLOCK PRINTING CLASS, I HAND-STAMPED MY OWN FABRIC)
 - Submit something to a magazine (I SUBMITTED A COUPLE SEWING PROJECTS, BUT IT WAS MY STITCHED NOTEBOOK THAT GOT MY NAME IN PRINT)
 - Apply to and sell at local Holiday craft fairs (I APPLIED, AND WAS ACCEPTED, TO PATCHWORK SHOW IN OAKLAND, PLUS I DID TWO OTHER SMALL EVENTS)
 - Restart the stitching group I began in the Summer (WE MOVED, SO IT NEVER WORKED OUT)
 - Make new connections to local artists and makers (I TALKED TO A COUPLE PEOPLE AT PATCHWORK SHOW AND THE OTHER EVENTS)
 - Take another workshop to learn or reinforce a skill (FAILED)
 - Develop another kit ( or series of kits) for kids (WEAVING KIT!)
 - Streamline my sewing studio by getting rid of unused or unwanted tools and materials and organizing what's left (MEH. I WON'T SAY I SUCCEEDED, BUT I GAVE IT SOME EFFORT)

A few other noteworthy occurrences include:
 - I won awards at the fair for my stitched sheep and fabric memory book
 - I finished my third English Paper Piecing pattern
 - I started sewing a quilt with my mom
 - I started (but didn't even get close to finishing) a quilt sampler
​
 - And I did a few sewing swaps of varying difficulty

Okay, I feel a little better now that I have posts to prove I made progress on my goals.  Not as much progress as I would have liked, but I'll take it.  Now for this year.

Goals for 2017:
​ - Submit at least one sewn project for publication in a magazine
​ - Take a sewing class to learn or expand on a skill (and I know just the place!)
 - Develop and design another kit in my Maker Kits series (an idea is already in brewing)
 - Finish my son's porthole quilt
 - Begin making the "On Cloud 9" quilt pattern I designed (no, I've never shown it here)
 - Figure out how to more efficiently sell my stock of items, either at craft fairs or on the web
 - Finish another EPP pattern for "publishing" in my Etsy shop
 - Find a way to sell my patterns through other sewing shops
 - Organize my sewing supplies
 - Do more small swaps
 - Make stronger connections to local makers
 - Learn about color balance settings on my camera so I can take better photos
 - Learn how to be a sewing teacher
 - Find teaching opportunities in the area

That feels like a good list.  Short enough to seem doable, but long enough to last the whole year.  Yep, that's about right.  Most of these are things I've been wanting to do lately, so I'm glad I have it written down to keep me accountable when next year rolls around.  Wish me luck!
0 Comments

My year of #dailysewing

1/12/2017

0 Comments

 
Picture
Picture
Picture

I know we're already at the end of February, but I wanted to post a follow-up for one of my yearlong Goals for 2016: a commitment to daily sewing.  The idea was to push myself to make a little bit of progress every day.  I used Instagram to keep myself accountable, posting one picture every day of what I was working on.  There's a sampling above, but you can see all my posts by searching the hashtags: #dailysewing and #yearofsewing (most posts are mine).  Although I did really well during the first half of the year (only missing a couple days), summer really put a hold on sewing.  We were travelling quite a bit and even a single stitch was impossible to squeeze in.  But I got back on track and finished out the year pretty well.  All in all, I think it was a great challenge to set for myself.  I plan to continue the challenge, though this cold winter we're having in the Bay Area is making park visits (my main sewing opportunity) few and far between.  Most of my sewing so far this year has been in the evenings or "stolen" bits of time.  I'm looking forward to working on so many projects!

If you'd like to keep up with my #dailysewing challenge, you can follow along with me on Instagram (@carleybiblin), or join in yourself!  I hope you tag me to let me know if you join in.
0 Comments
<<Previous
    Picture


    Carley Biblin

    Hi.  My name is Carley.  I love to sew, craft, and create. As a Jane-of all-crafts so to speak, I enjoy sewing, writing, cooking, drawing, photographing.  But the constant thread (if you'll excuse the pun) throughout my weeks is needle arts. 
    I hope you'll join me in
    Making It Up As I Sew Along.
    Learn More...

    My Etsy Shop

      If you'd like to sign up to receive my newsletter, type your email address in the box below and get news, tips, and other neat stuff delivered to your inbox.

    Submit
    Instagram

    Archives

    January 2017
    December 2016
    November 2016
    October 2016
    September 2016
    August 2016
    July 2016
    June 2016
    May 2016
    April 2016
    March 2016
    February 2016
    January 2016
    December 2015
    November 2015
    October 2015
    September 2015
    August 2015
    July 2015
    June 2015
    May 2015
    April 2015
    March 2015
    February 2015
    January 2015
    December 2014
    November 2014
    October 2014
    September 2014
    August 2014
    July 2014
    June 2014
    May 2014

    Categories

    All
    Arts & Crafting
    Books & Music
    Celebrations
    Embroidery
    Family Photos
    Fixing
    Guest Posting
    Inspiration
    Kids & Family
    My Week
    Parenting
    Photo Tour
    Present Moment
    Recap And Goals
    Recipes & Food
    Reviews
    Sewing
    Shop Update
    Swaps
    Tips And Techniques
    Travel
    Tutorials

Powered by Create your own unique website with customizable templates.