Making It Up as I Sew Along
  • Blog
  • About
  • Gallery
  • Shop

Making Your Own Paper Pieced Designs

7/23/2015

1 Comment

 
Picture
Picture

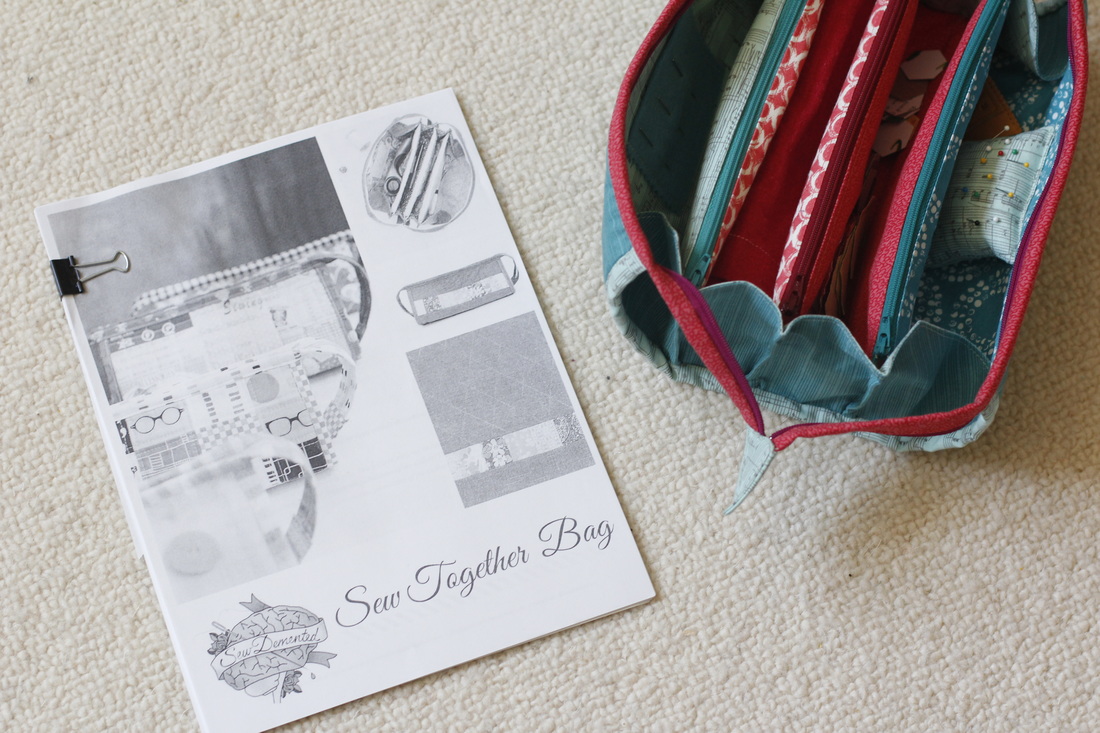
I'm excited to have a tutorial over on Sew Mama Sew today.  

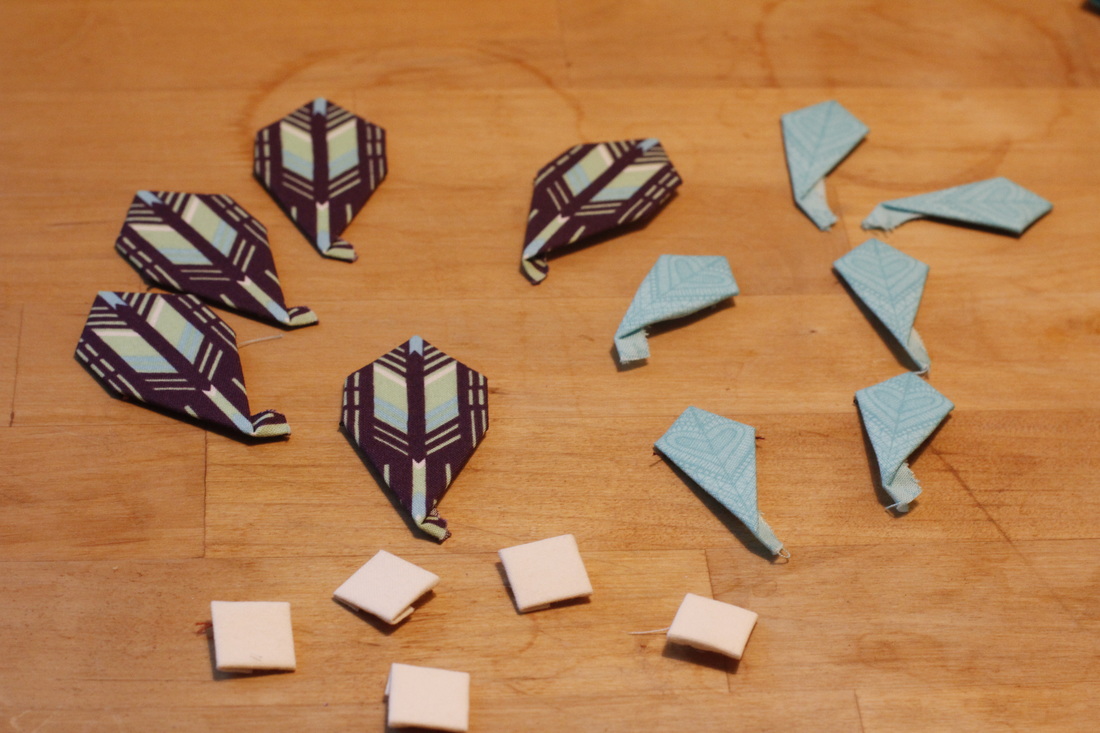
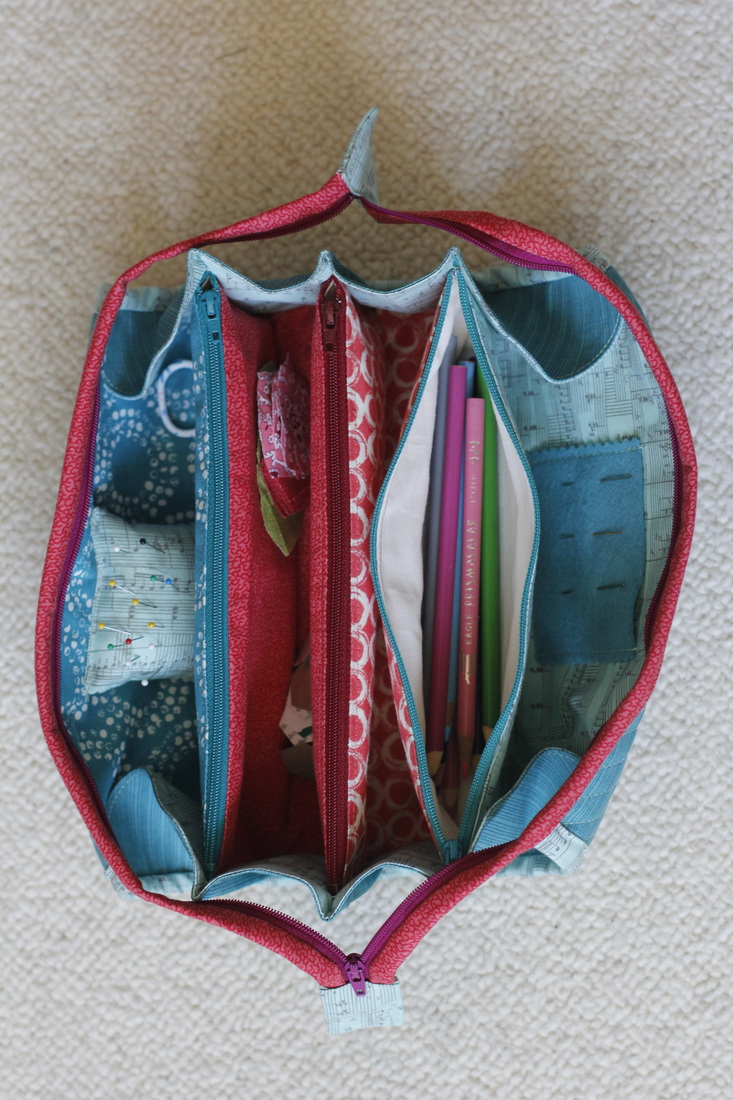
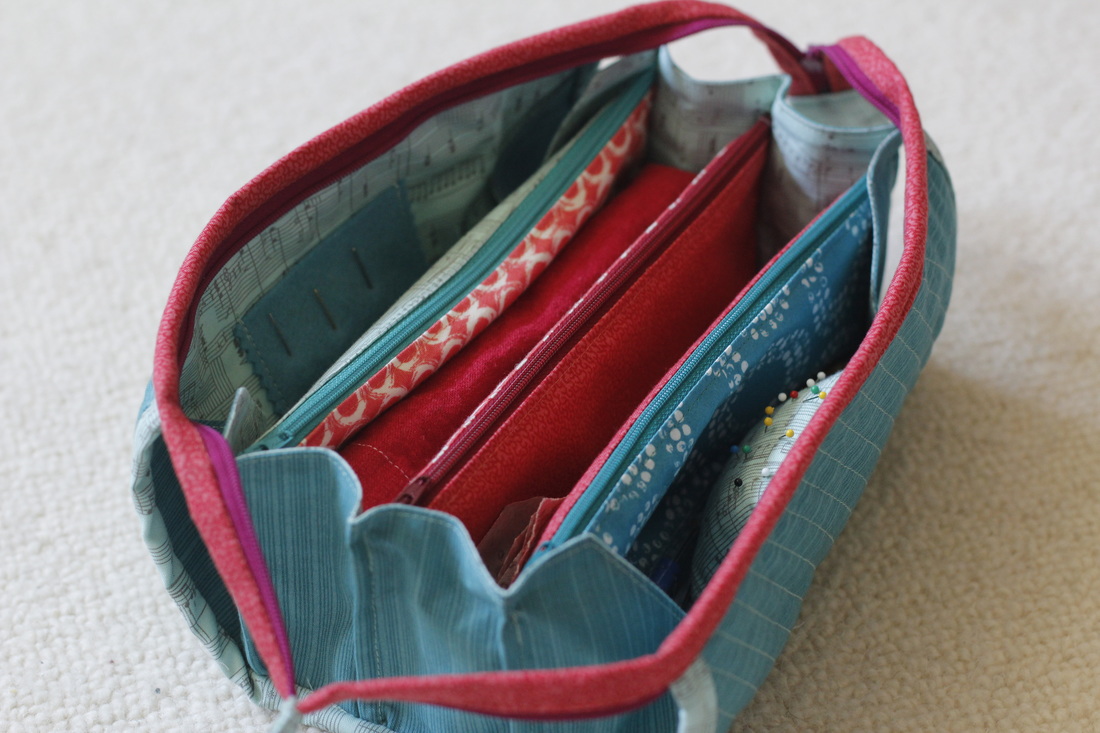
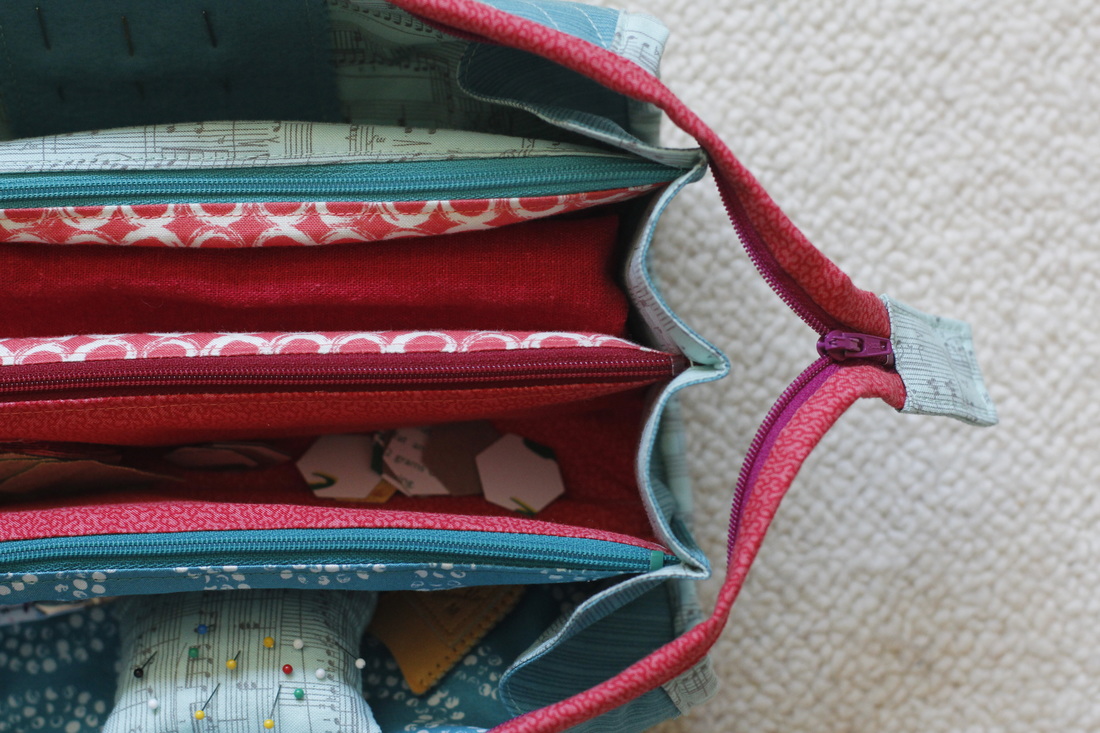
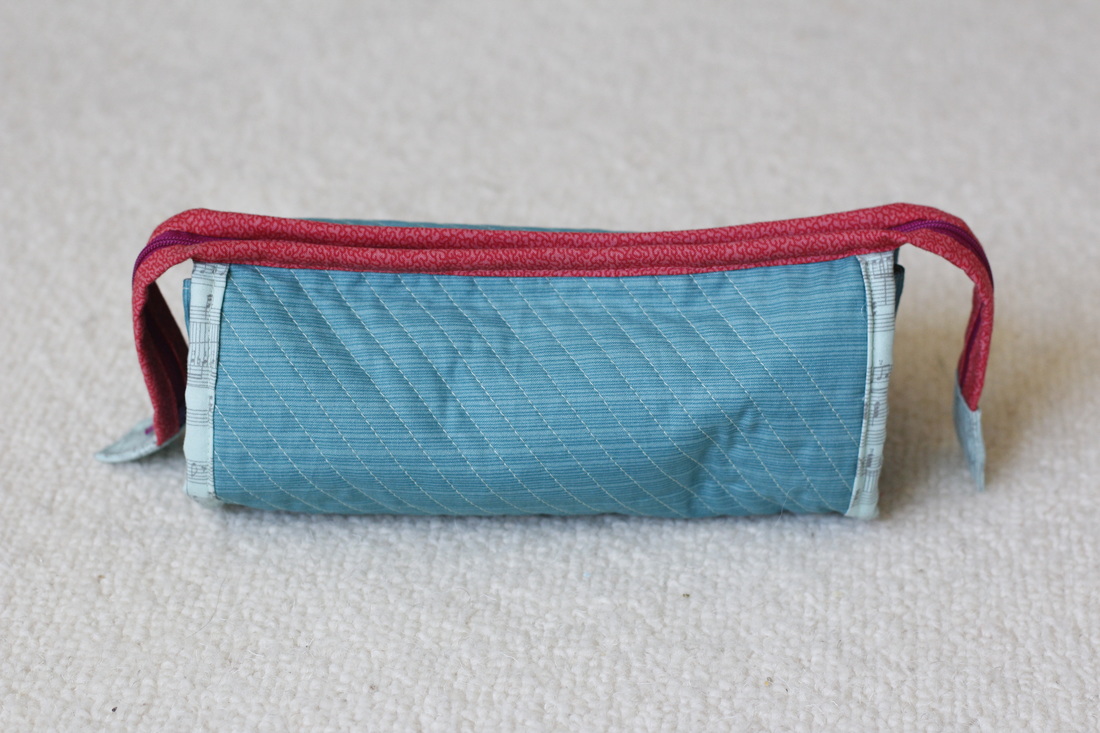
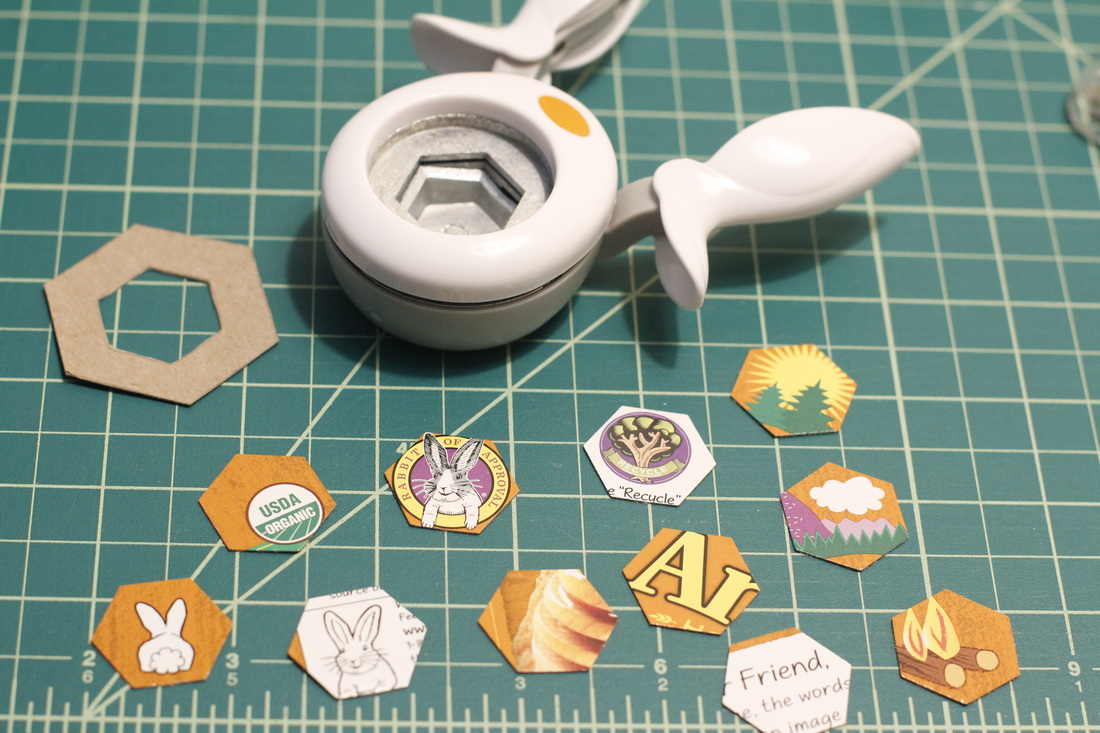
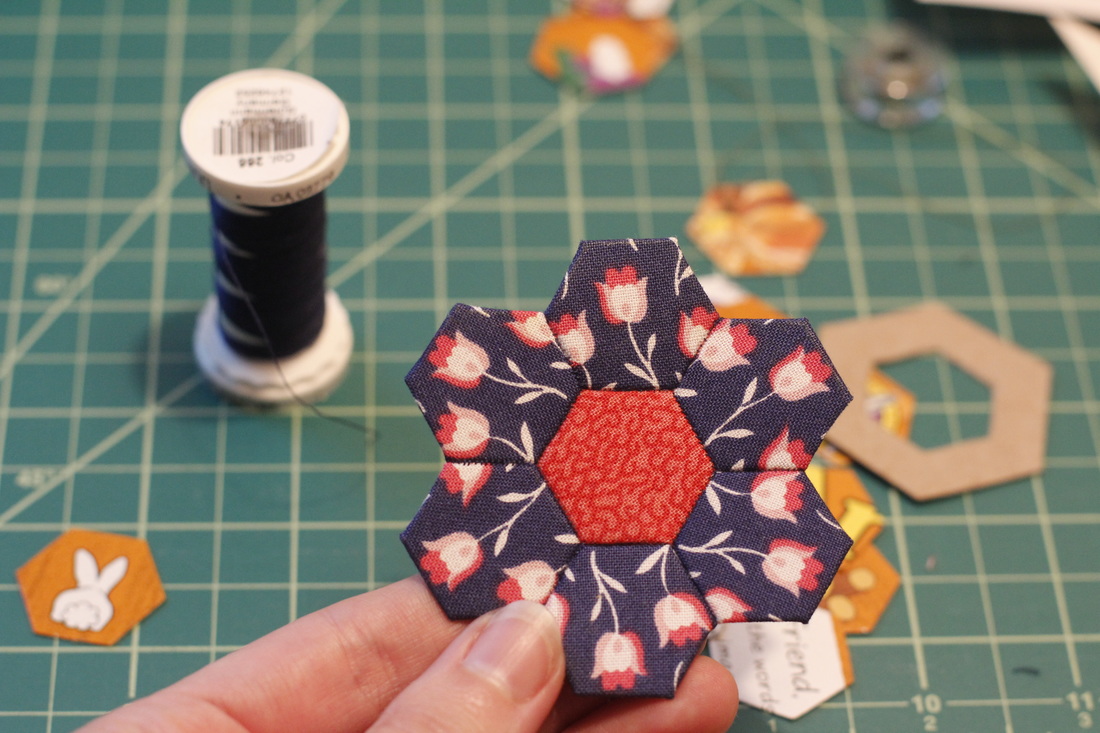
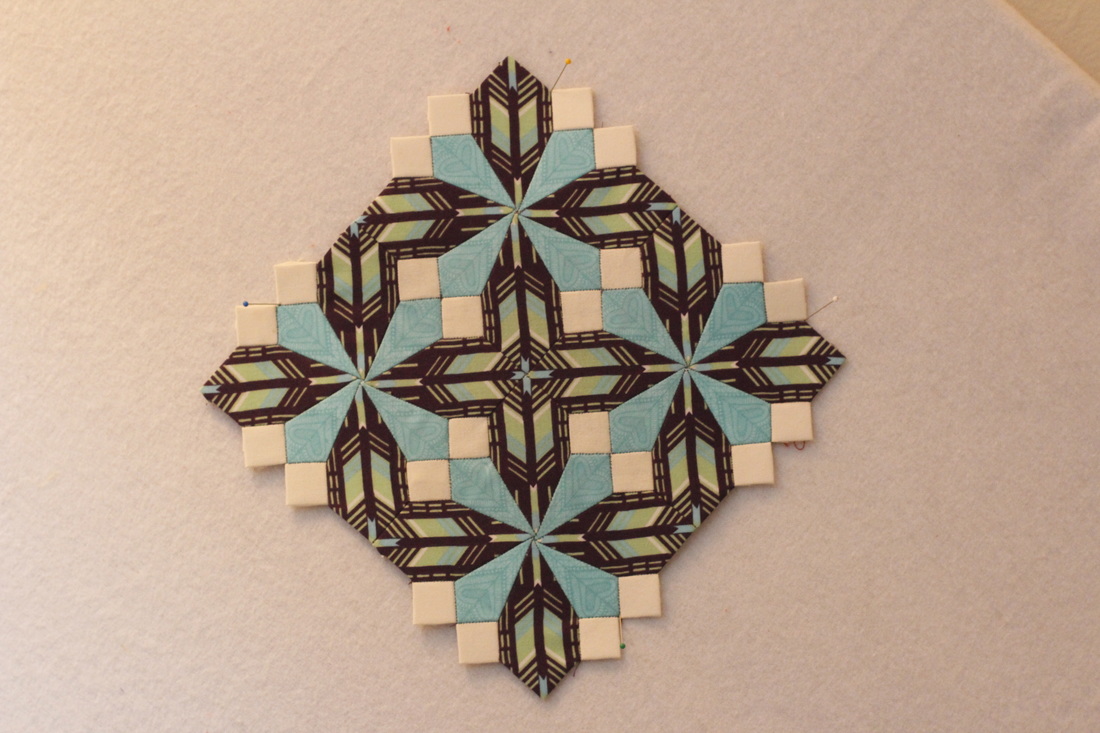
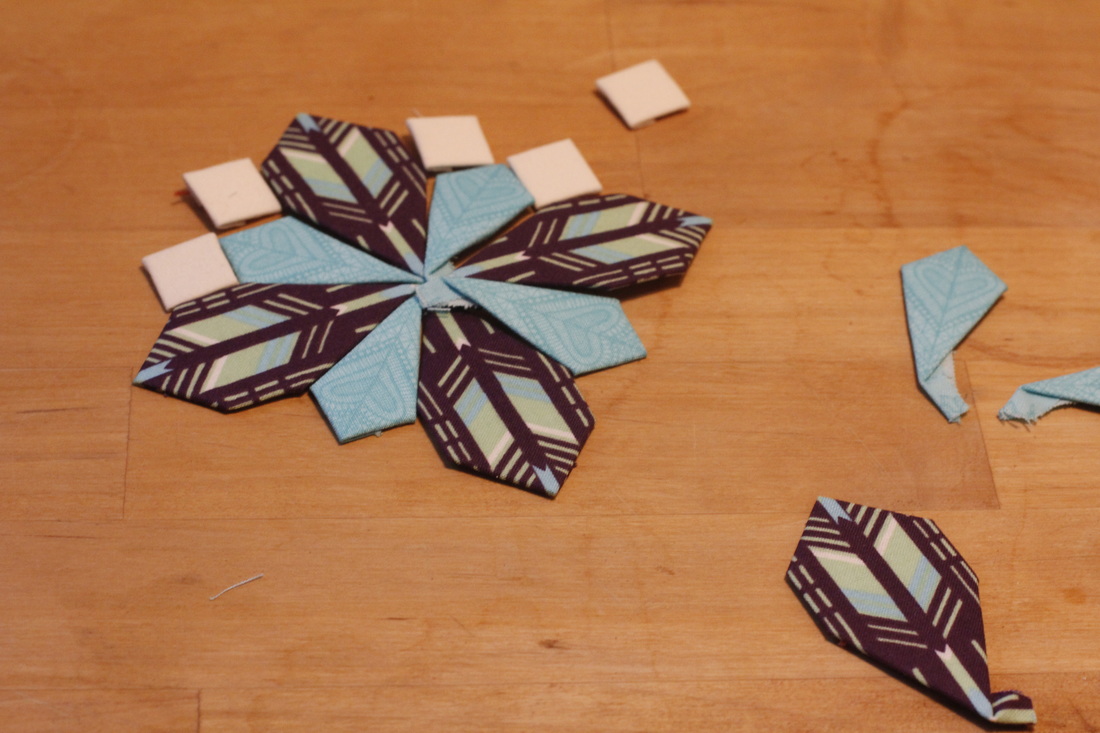
I started my journey into English paper piecing with hexagons.  As one of the few regular polygons that can tessellate all on its own, hexagons can be used to create many interesting designs.  But there is a limit to the type of designs you can make with them.  One day, as I was meditatively basting and sewing hexagons together, I started thinking about how I could make my own more complex designs.  Rather than starting from scratch, I decided to adapt a design I found in a geometric coloring book.  It's a simple technique that anyone can use to create interesting English Paper Piecing patterns that are unique to their taste and skill level.  I had lots of fun making this one here.  I've got a few more units in process, but I love how it looks so far.  I learned so much about EPP, such as what type of angles work well, how to get the fussy cutting just right, and how to line up seams.  But that's a post for another day.  In the meantime, head on over to Sew Mama Sew to read my tutorial on how to make your own EPP designs.  I'd love to see what you make.  Tag me on Instagram or send me a tweet so I can take a look.

Picture
1 Comment

Summer Concerts in the Garden

7/19/2015

0 Comments

 
Picture
Picture
Picture
Picture
Picture
Picture
Picture
Picture
Picture
Picture
Picture
Picture
Picture
Picture
Picture
Picture
Picture
Picture
Picture
Picture
Picture
Picture

At the beginning of summer, our local art and garden center began their annual summer concert series.  Two months of live music every Thursday... for free!  Last year was our first time going, but it was so much fun that I made sure to put it on my calendar for this year as well.  The first two concerts were lots of fun, with kids running and dancing and playing everywhere.  For the third one, a light drizzle reduced the crowd considerably, so the youthful energy was much lower.  But warm weather resumed for last week's concert.  There is such a wonderful variety of music and instruments.  I love that Goen is getting exposed to it all.  He has just as much energy as all the other kids (if not more) and gets involved in the dancing and chasing games that go on just in front of the stage area.  I love seeing the musicians take a moment to high five the kids or step off the stage to dance along with them.  It's impossible not to have fun.  And who doesn't enjoy any excuse to eat some snacks and listen to music with their favorite people?

At the intermission, we take a stroll around the grounds, taking in all the beautiful summer flowers.  Colorful blossoms, bees, butterflies, and more kids running down the path.  Sometimes they invite people to pick fruit or vegetables from the growing beds.  A fresh strawberry or two before going to check out the statuary, fountains, and old trees and buildings.  We're halfway through the concert series, and every week I look forward to the next one.  

What are you up to this summer?  Does your city have fun or interesting events for kids and families?
0 Comments

Pattern Review: Sew Together Bag

7/12/2015

5 Comments

 
Picture

To go along with all my recently-acquired hand sewing projects, I decided to make a travel bag so it will be easy to take a few tools and supplies with me on outings.  Although this was my first time ever making a bag, I went with something more complex than the open-topped "pillow-case-with-a-strap" style of bag.  I wanted something that was small enough to throw into my diaper bag, but large enough to hold my projects and tools.  The pattern I chose is called the Sew Together Bag designed by Michelle from Sew Demented.  The pattern costs $12 and is available on Craftsy as an instant download.  Overall, it's a great pattern, but there are a few things (good and bad) to be aware of if you want to sew this bag yourself.

Picture

The cutting directions are detailed, breaking everything up into sections so that you can see at a glance where each fabric will appear in the final bag.  Since I was making mine with several different fabrics, I found it helpful to make notes about which fabric would be used for each piece.  It helped me keep all my pieces in the order I wanted them when assembling the bag.  The cutting measurements for the exterior of the bag include a bit of wiggle room, which is especially helpful for beginner sewists.

Picture

The instructions are broken up into appropriate-sized chunks; however, it's easy to get lost in the wordiness of each instruction.  There are some instructions that are difficult to follow from the words alone.  Unfortunately, not all of these instructions include pictures or diagrams.  I made a few judgement calls that turned out to be wrong and made notes to help me for next time.  I recommend sewing a "practice" bag first so you can figure out where these sticky points are for you.  Be prepared to spend several hours on your first bag.  It took me at least six hours over the course of three days to make my first one, though I'm sure the next one will come together faster because of my added notes.

Picture

One of my favorite features of this bag is that it has a small profile when zipped shut.  It's narrow enough to fit in my diaper bag, yet long enough to hold a pair of full-sized scissors.  You will almost certainly want to tuck this bag in another bag, though, because the lack of real handles makes it difficult to carry.  You could hold one of the exterior zipper ends, but this means more shifting of the contents within.

Picture
Picture
Picture

My second favorite feature is the extra-long exterior zipper.  Since it extends past the sides on both ends, the bag is able to open wide.  It's a great design element because you are able to see everything inside without having to dig around in shadowed recesses.  The downside, of course, is that things can more easily fall out if the bag tips.  To keep this from happening, just leave the zipper part way zipped on one end so the bag can't open all the way.  You can still get the stuff inside, but there is less worry about it falling out.

Picture

The construction of the inner zipper pockets was, for me, the most difficult part.  There is a lot to keep track of, and getting the fabric facing the correct direction requires extra thought since there is no photograph to help visualize the instructions.  The inner zipper pouches are lined, which contributes to the difficulty.  I recommend using fabric where the right side and wrong side look the same so there is less that can go wrong.

Picture

For the binding on the outer zipper, the pattern says to stitch in the ditch after attaching and folding over the binding.  I recommend using a foot with lots of visibility for this, especially if your binding fabric and zipper are completely different colors.  If you don't get it exactly right, you'll end up with visible stitching.  If you have a hard time staying in the ditch, err on the side that matches the color of your thread. 

After all the intensive steps constructing the bag, the final step of adding the zipper tabs is satisfyingly simple.  Well, mostly.  The directions were unclear for me (perhaps because this was my first bag).  I'm pretty sure I did something different than the instructions wanted me to do, but I like the way it looks anyway.

Picture
Picture
Picture

When it's opened wide you can see that this bag can hold a lot of stuff.  I prefer not to fill it to capacity, though, keeping just a couple projects in it at a time.  It's much easier to actually do the projects I bring along when I can see everything and not be overwhelmed by a mess, or which project to do.  The zipper pockets are big enough for pencils and are a great way to keep small pieces in one place.

The pattern includes instructions for an optional pincushion and needle rest.  So far, the needle rest has been an absolute essential for me, while the pincushion, not so much.  Perhaps a later project, though.  I filled my pincushion with some of the leftover wool yarn from my sheep (I've been holding onto it for just such a project).  For the needle rest, I chose to only stitch it down on the two sides.  This allows the felt to bow out, which makes it easier to get the needles in without going through the bag lining fabric.

Picture

And there you have it!  My Sew Together Bag.  Have you tried this pattern yet?  Do you have any recommendations for other bags to try?

5 Comments

Making (Tiny) Hexies

7/5/2015

3 Comments

 
After reading up on English Paper Piecing in Diane Gilleland's book All Points Patchwork (you can read my review of it here) and some beginner-friendly tips, I got started on my first EPP project.  I was pretty excited about it after feeling cheered on by Diane's clear, simple guidelines.  Since it was my first go at it, and I'm not sure yet if I'm ready to add EPP to my regular sewing routine, I decided to only use tools that I already own.  I considered printing and cutting out templates from cardstock, but precision is so important, and I wanted my first try to have every chance possible of being successful.  So, instead, I used a hexagon punch I bought a while ago.  The only problem, if you want to call it that, is that the punch is for a 1/2" hexagon.  That means that each side is only 1/2" wide.  That's pretty small.  I'm sure there's an unwritten rule that says beginners shouldn't start on such a small scale.  Confident in my skills as a sewist, I went ahead with it anyway. 

Picture

I dug an empty graham cracker box out of our recycling bag and punched out a bunch of hexagons.  As you can see, I couldn't help practicing my fussy cutting on the cardboard.  The nice thing about the punch is that I could cut out lots of hexagons quickly.  And cardboard boxes are so plentiful!  If you have a hexie project, I highly recommend the punch method.  I also made my own fussy cutting template by cutting around a hexagon-punched hole so that it has a seam allowance.  You can see it in the first picture.  It was easy to make, and indispensable for creating interesting designs.

Picture

After playing with different arrangements, I stitched my hexagons (most people just call them "hexies") together into a flower design.  I'm sure I made my stitches closer together than they needed to be, but I still have that newbie nervousness about it falling apart.  It came together way faster than I thought it would.  Of course, that could have been partly due to its small size.  Even so, it was pretty satisfying.  And I'm amazed that I was able to do it with the barest of tools.  Needle, thread, scissors, bits of fabric, and pieces of cardboard.  You could almost carry all that around in your pocket if you wanted.


I've already started planning a couple more hexie flowers, though I'm not sure yet what I'm going to make with them.  Maybe just a simple patch on a pair of jeans, or an embellishment for a hat or other accessory.  The possibilities are endless (although that fact probably leads to more indecision than limited choices).  Even though I'm new to EPP, I've got so many ideas running through my head.  One of them has to do with designing patterns for EPP, which I'll share with you as soon as it's ready, or, rather, as soon as I finish the project I'm making with it.  And, as for whether EPP will become part of my routine, I'm starting to think the answer will be "yes!"

So, have you tried hexies yet?  Do you have a preferred method?  Favorite tools?  Favorite shape?  I'd love to hear what you think of it.
Picture
3 Comments
    Picture


    Carley Biblin

    Hi.  My name is Carley.  I love to sew, craft, and create. As a Jane-of all-crafts so to speak, I enjoy sewing, writing, cooking, drawing, photographing.  But the constant thread (if you'll excuse the pun) throughout my weeks is needle arts. 
    I hope you'll join me in
    Making It Up As I Sew Along.
    Learn More...

    My Etsy Shop

      If you'd like to sign up to receive my newsletter, type your email address in the box below and get news, tips, and other neat stuff delivered to your inbox.

    Submit
    Instagram

    Archives

    January 2017
    December 2016
    November 2016
    October 2016
    September 2016
    August 2016
    July 2016
    June 2016
    May 2016
    April 2016
    March 2016
    February 2016
    January 2016
    December 2015
    November 2015
    October 2015
    September 2015
    August 2015
    July 2015
    June 2015
    May 2015
    April 2015
    March 2015
    February 2015
    January 2015
    December 2014
    November 2014
    October 2014
    September 2014
    August 2014
    July 2014
    June 2014
    May 2014

    Categories

    All
    Arts & Crafting
    Books & Music
    Celebrations
    Embroidery
    Family Photos
    Fixing
    Guest Posting
    Inspiration
    Kids & Family
    My Week
    Parenting
    Photo Tour
    Present Moment
    Recap And Goals
    Recipes & Food
    Reviews
    Sewing
    Shop Update
    Swaps
    Tips And Techniques
    Travel
    Tutorials

Powered by Create your own unique website with customizable templates.