Making It Up as I Sew Along
  • Blog
  • About
  • Gallery
  • Shop

As a Kid in the Kitchen

9/29/2014

0 Comments

 
Picture
As a kid, I liked to make up different concoctions.  Most of them were edible (Chili beans and vanilla ice cream?  Yum!), some of them were not (Ramen noodles made with strawberry kiwi juice?  Never again!).  I kept a notebook that I would write recipes in as I came up with them.  They were what you might call "happy kid foods."  The majority required very little prep work, usually only one pan, and plenty of carbohydrates or chocolate depending on if I was making lunch or dessert.  I particularly enjoyed coming up with names for the dishes I created, finding a way to play with words and include as many of the ingredients in the name as possible.

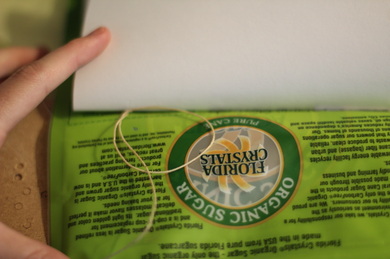
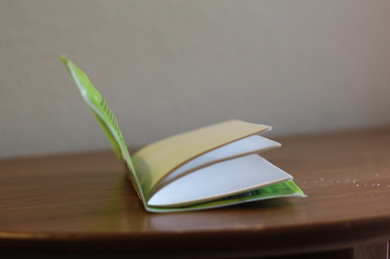
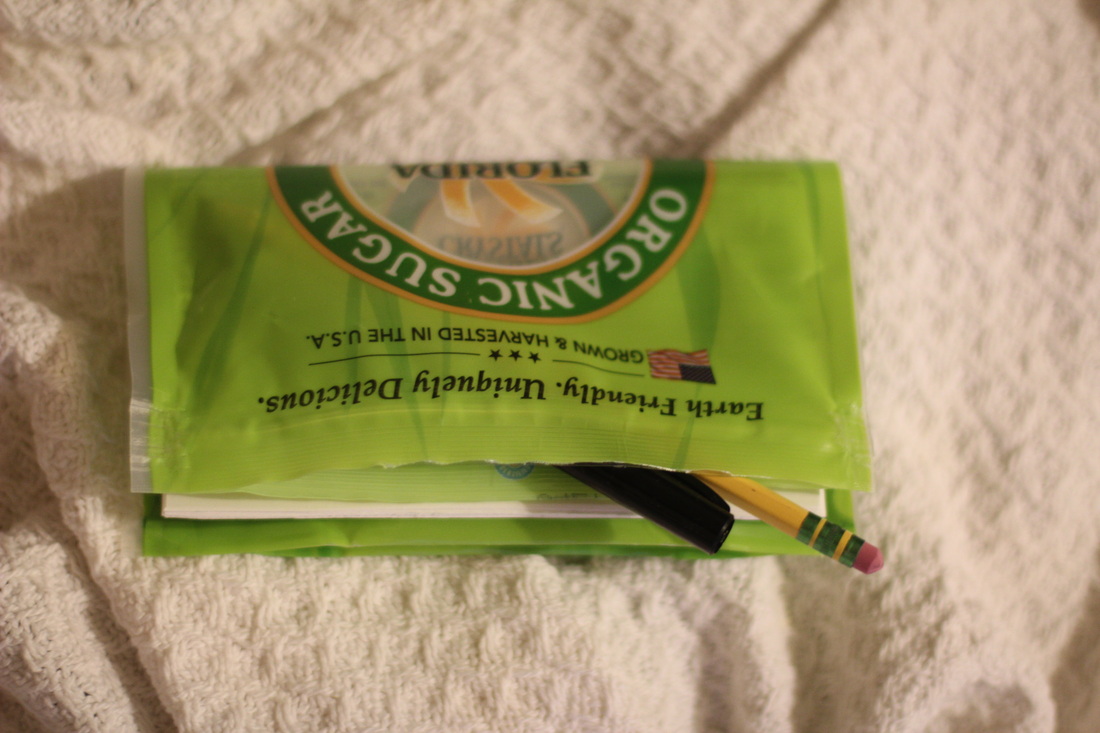
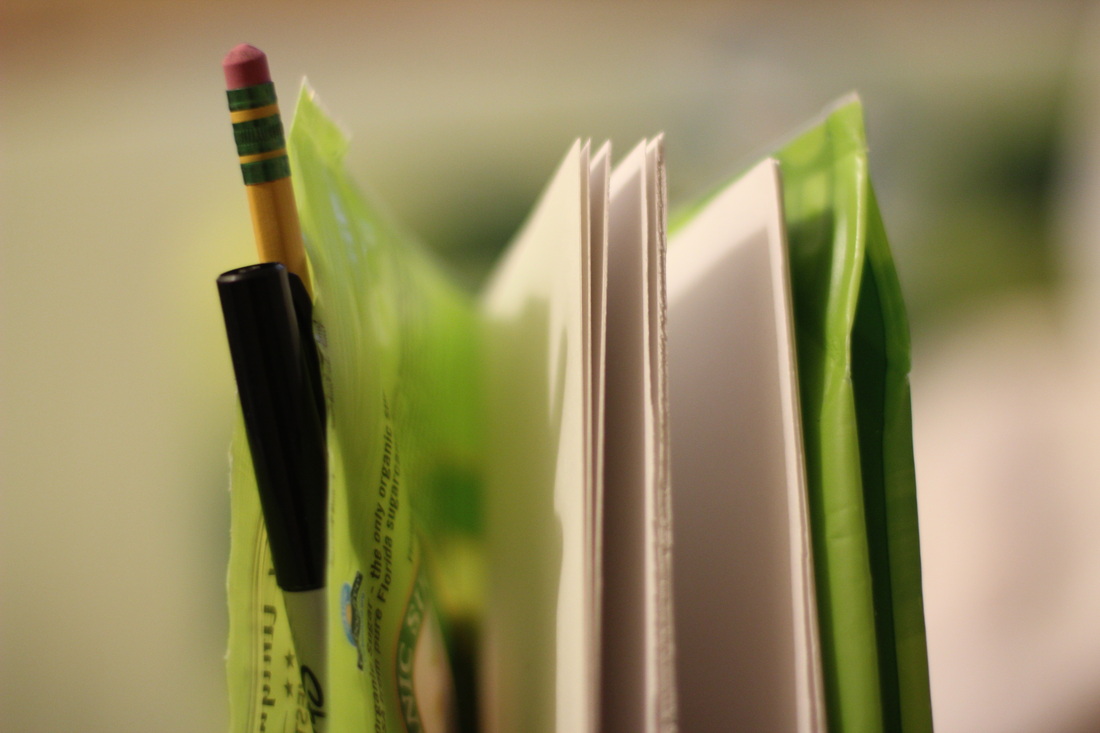
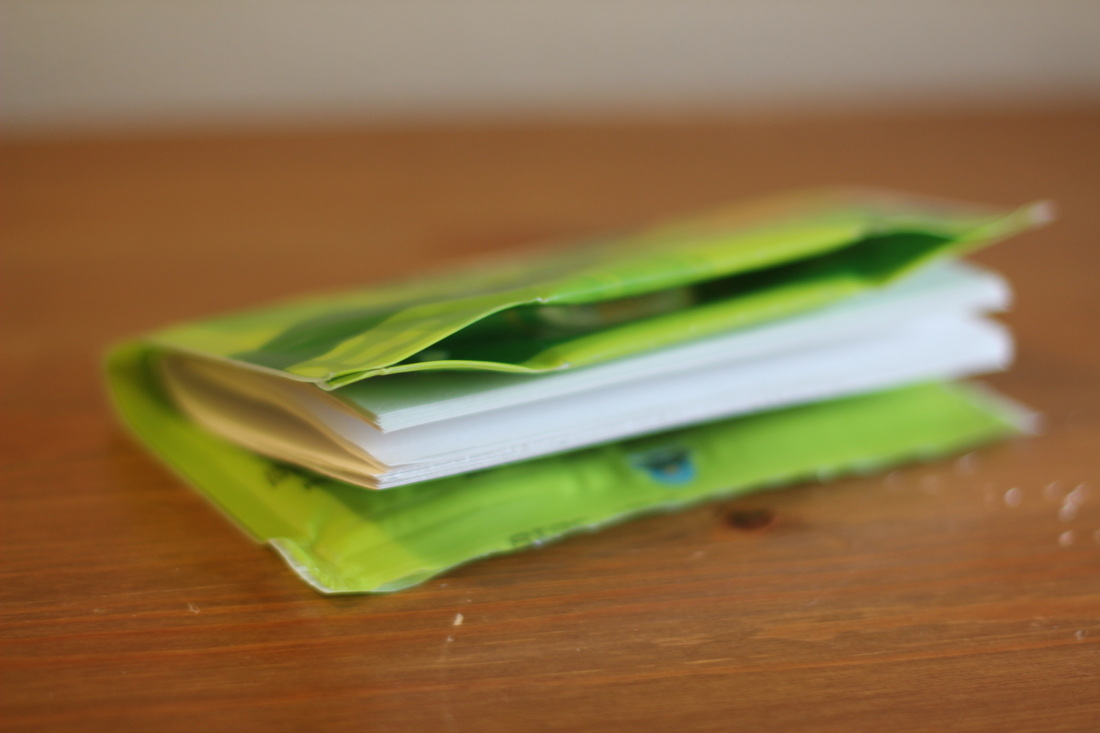
Although I got rid of my recipe notebook during one of my "just throw it all out" moods, I remember ripping out a few pages that I wanted to keep.  One of these pages resurfaced recently when I went through a box of my old things.  It's a recipe for Jell-o Nutcolate (Go ahead.  See if you can figure out the ingredients from the recipe name.).  I invented it in my early teen years after volunteering to make a dessert for a family picnic in the park.  Here is the recipe as I wrote it all those years ago.
Picture
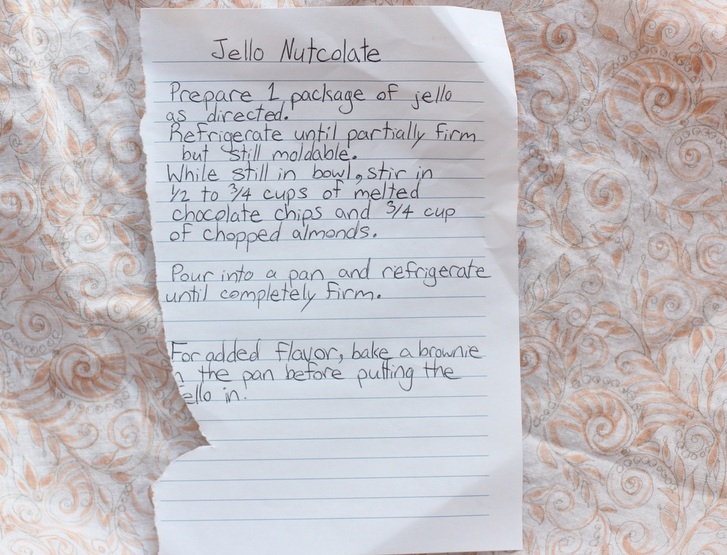
I can't help laughing over the part about "For added flavor."  It's just like me to write that.  I'm pretty sure I wrote this recipe down before I actually made it, because, after making it, I decided on a couple changes.  First, I needed a different nut.  Almonds are not the right nut for Jell-o.  Second, I needed more chocolate, hence the afterthought about the brownie.  Although I made this recipe twice (once with the brownie and once without), I could not remember if I liked it or not.  All I remember from the family picnic is that someone else brought a contingency dessert.  So of course I had to make it again to see if it was any good.  Here is the recipe as I made it this time. 

Jell-o Nutcolate Recipe:

Ingredients:

 - 6 ounce box Jell-o (strawberry, raspberry, or cherry are best)
 - 1/3 cup chocolate chips (I prefer 72% dark chocolate)
 - 1/2 cup chopped pecans

Directions:

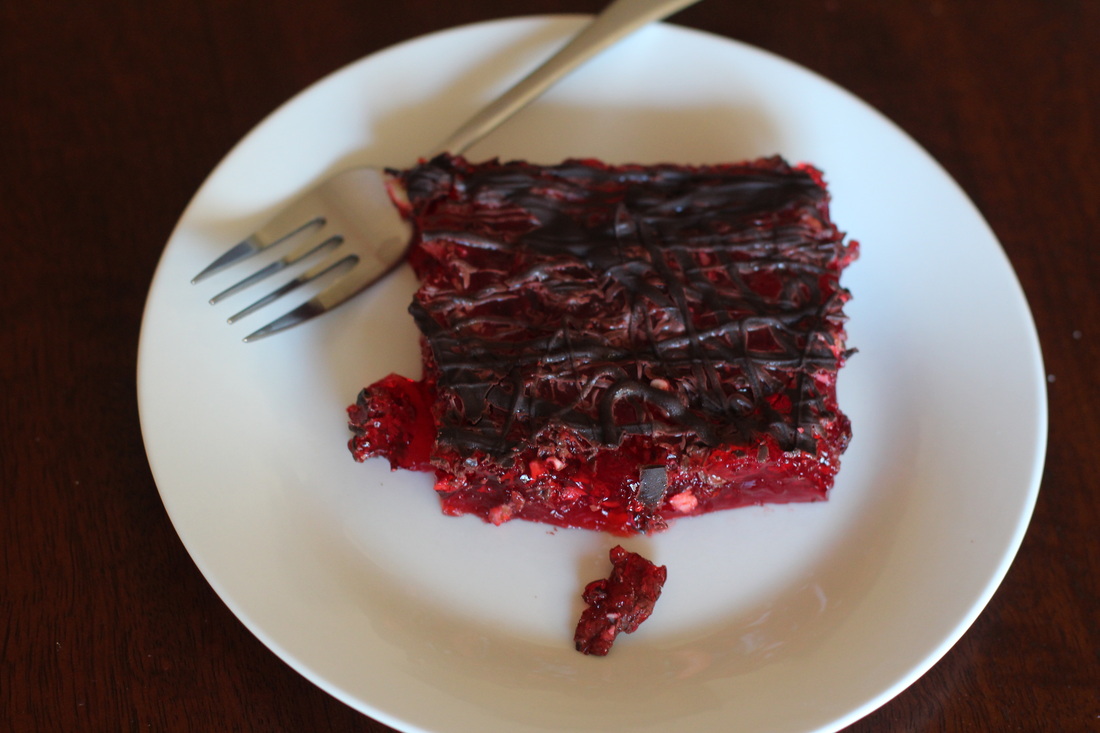
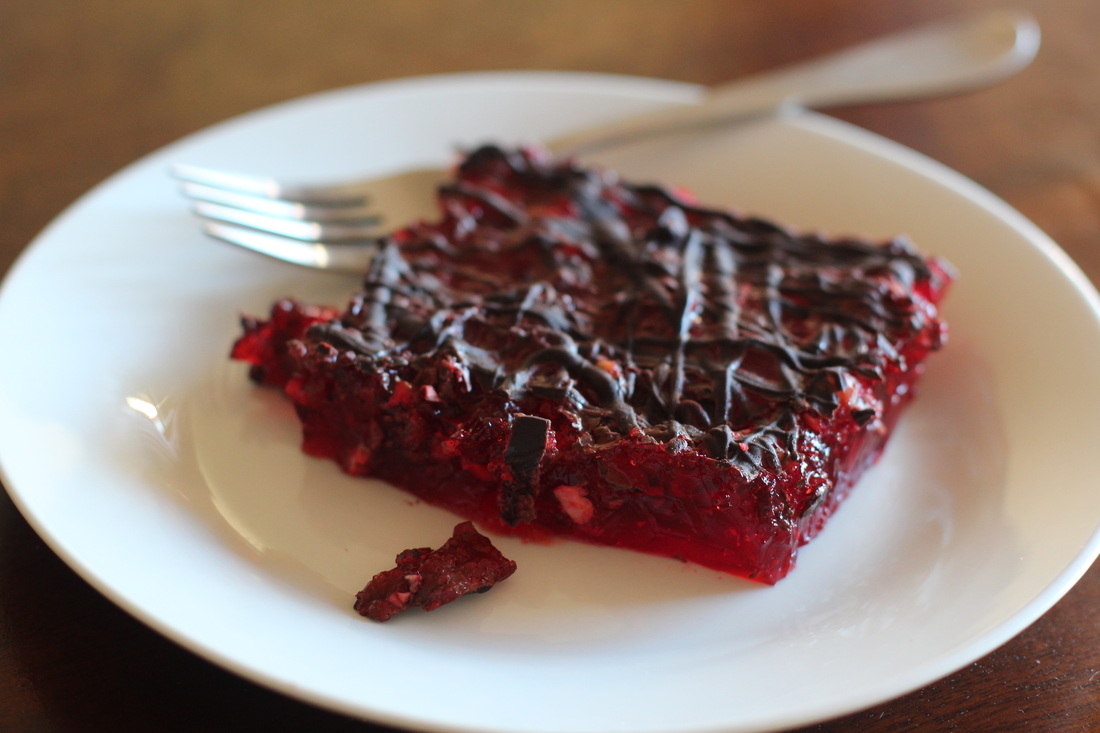
Mix up the Jell-o according to the directions on the package.  Put it in a bowl in the fridge.  Once it is gel-like (but not completely set), take the bowl out of the fridge.  In a double boiler, melt the chocolate chips.  While you are waiting for the chocolate chips to melt, chop the pecans and mix them into the Jell-o.  Once the chocolate is fully melted, drizzle several spoonfuls into the bowl of Jell-o and fold it in with a spatula.  Pour the mixture into a 9 x 13 baking dish.  Drizzle the rest of the chocolate over the Jell-o.  It is best if there are no clumps of chocolate.  Dainty drizzles will make cutting easier.  Put the pan into the fridge to let it finish setting.  For the more flavorful, chocolatey version, bake a brownie mix in the pan before putting the Jell-o mixture in (note that this will cause the brownie to become more moist from absorbing some of the liquid from the Jell-o).

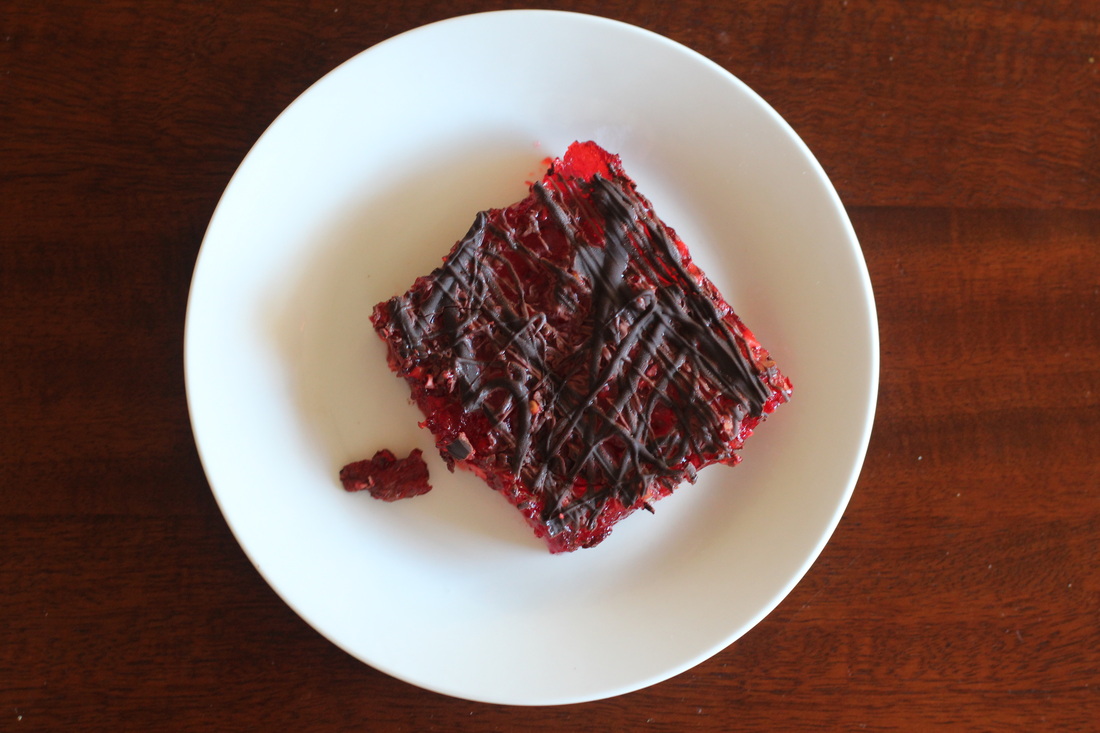
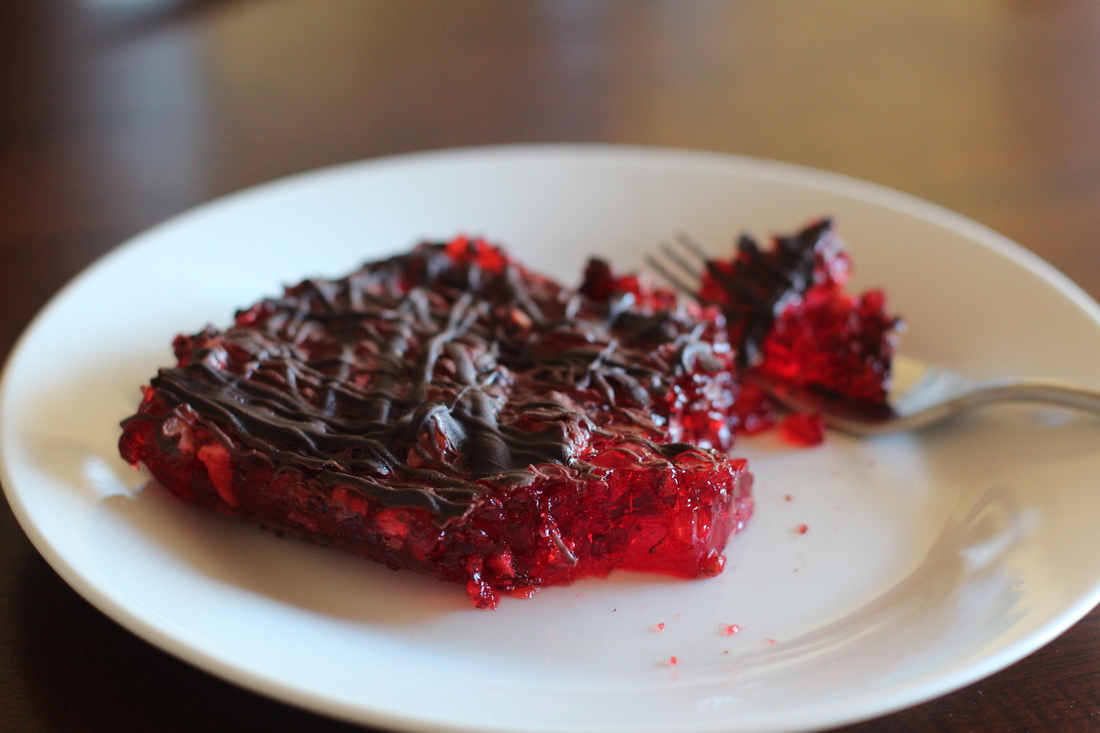
And, as far as deciding whether it is any good, I will just say that I am currently eating my fourth piece.  It's difficult to put my finger on what I like about it.  The Jell-o has a subtle sweet flavor and the chocolate has a deep tone that balances it out.  The pecans add a nice texture without being too crunchy.  It would be so easy to polish off a whole batch if you're not paying attention.  And it's so pretty.  Five-star-restaurant pretty, I think (although you are not likely to see it on their dessert menu).

Picture
Picture
Picture
Picture
Picture
Picture
Picture
Picture
I shared this recipe at the Caffeinated Crafters Link Party.
0 Comments

Going to the Zoo

9/27/2014

0 Comments

 
Picture
The zoo, the zoo, the zoo!  We went on our second trip to the San Francisco Zoo (gotta make those memberships pay for themselves, you know).  I love this zoo because the animals are so close to the path it feels like you could touch them.  And you don't need a giant lens to get decent pictures.  Of course, this is partly because the enclosures are small.  I know.  Ideally, animals should be allowed to roam free, but I am also of the opinion that seeing these animals helps us gain respect for them by coming to understand them.  The zoo makes these animals less of a mystery and more of a reality.  I happened to read an excerpt from Henry David Thoreau's Walden yesterday that captures this idea: "Before I had done I was more the friend than the foe of the pine tree, though I had cut down some of them, having become better acquainted with it."  Through his efforts, Thoreau gains from the experience a greater connection to nature, making him an ally of the forest.  The more I see these animals, the more I feel connected to them in the same way as Thoreau with the pines.

While we looked at animals, I experimented with getting myself back in the picture a few times, and one of my shots actually turned out pretty well.  A little reflective action.  Even though the San Francisco Zoo is fairly small, we have yet to make it all the way through to see everything.  Our trips so far have been only about two hours, with some of that time spent at the huge playground modeled after zoo animal habitats.  Right outside the playground, Goen chanced upon one of the resident peacocks roaming around the zoo and tried to get closer to it.  I didn't notice it until he was quite close.  I don't know how aggressive peacocks are, but David and I both rushed to get to him before we were forced to find out.

The evidence of Spring was abundant.  We saw a giraffe calf, a baby gorilla, and, of course, the flamingo chicks that hatched a week ago.  Being so close to such beautiful little creatures is an amazing experience.  The flamingo chicks were already mimicking their mature counterparts and standing on one leg, quite steadily I might add.  I enjoy photographing the interactions among the family members (the gorillas especially).  But time was short.  We took a quick family shot of our own (we have so few!) and then, with baby on papa's shoulders, we walked away from the zoo.  But we definitely walked away with a little more knowledge, a little more appreciation, for the animals we share this planet with.

Oh, and, in case you were wondering, David did remember to get bread and the chicken salad sandwiches were delicious!

Picture
Picture
Picture
Picture
Picture
Picture
Picture
Picture
Picture
Picture
Picture
Picture
Picture
Picture
0 Comments

The Present Moment

9/26/2014

0 Comments

 
“The present moment is filled with joy and happiness. If you are attentive, you will see it.”
        ― Thích Nhất Hạnh, Peace Is Every Step: The Path of Mindfulness in Everyday Life


A Friday ritual adopted from SouleMama.  A single photo - no words - capturing a moment from the week.  A simple, special, extraordinary moment.  A moment I want to pause, savor and remember.  If you’re inspired to do the same, leave a link to your ‘moment’ in the comments for all to find and see. 

Picture
0 Comments

Making Chicken Salad

9/25/2014

0 Comments

 
Picture
We are going to the San Francisco Zoo this morning, so last night I made my super quick and easy chicken salad.  I'll admit, I did not invent the recipe.  It is based on one David often made for picnic lunches before we were married.  But, in all fairness, I make it way better than he does.  I like to put my chicken salad in sandwiches or scoop it up with crackers or just eat it by itself.  If my husband remembered to get bread, we will be eating sandwiches at the zoo today.  If not, I know I saw some crackers in the cupboard.  Either way, it will be a delicious lunch for our zoo outing.
Chicken Salad Recipe:

Ingredients:
 - One 12.5 ounce can chicken
 - Two ribs celery, sliced
 - Two or three large spoonfuls mayonnaise
 - Squirt of mustard (optional)

 - 1/4 cup chopped pecans
 - 1/4 cup raisins

 - Salt and pepper to taste

Directions:
Picture
Open the can of chicken with an old-school can opener (yes, it will creates sharp, jagged edges, but it will make draining easier).  With the lid still over the chicken, press down to squeeze all the liquid out.  Dump the chicken into a bowl.

Picture
Add the mayonnaise, putting in enough so that the chicken sticks together plus a little (the raisins will absorb some of the moisture).  Add a squirt of mustard.  Mix it all together.  Make sure that there are no chunks of chicken,  If you find some, break them apart with a fork.

Picture
Slice the celery and chop the pecans.  Add these, along with the raisins, to the chicken mixture.  If, like me, you forgot to set aside a couple ribs of celery before making a large batch of celery nut salad, just use several scoops of that in place of the raisins, pecans, and celery.

I hope you enjoy this chicken salad recipe as much as I will today at the zoo.  I know, I said "zoo" again.  I'm just so excited!  We bought a membership when we were there a month ago, but we didn't get to stay long that time.  Plus, the flamingo chicks hatched about a week ago and I'm eager to see them in all their adorable fluffiness (or is it "fluffy adorableness"?).  Maybe they will even let me bring one home.  I wonder if flamingos like chicken salad...
Picture
Picture
0 Comments

Getting Stuffed: A Ladybug

9/24/2014

2 Comments

 
Picture
Picture
Now that the school year has started, David is back at work.  The result is that I have even less time to spend at my sewing machine.  Nevertheless, I have been making progress, slowly but surely, on a few projects.  One of these, another in the Getting Stuffed Series, is a ladybug.  The template came from Carolyn Vosburg Hall's book Sewing Tiny Toys.  Although I like the look of the stuffed toys in her book, some of them were not designed with toddlers in mind (such as those with pipe cleaner legs).  They would be much better suited for older children.  Anyway, back to my project.  I made a couple minor changes for my ladybug.  First, I used black cotton for the head and underbelly instead of felt and, second, I did reverse applique for the spots using the same black cotton, for which I have included a tutorial.

Reverse Applique Tutorial:
Picture
Supplies:
 - Leather/fabric punch
 - Hammer
 - Scrap of smooth wood
 - Template (optional)
 - Fabric/felt

Picture
Lay the fabric (in my case, felt) on the scrap of wood, making sure that there are no splinters or sharp bits to snag the fabric.  If you have two pieces that need to be symmetrical, put them right sides or wrong sides together so that all the edges match up.  Pin the layers.  Then, align the pattern or template piece so that its edges coincide with the edges of the fabric.

Picture
Position the punch on the pattern piece where you want a hole.  Use your hammer to give the punch several hard whacks straight down.  Carefully lift the punch to make sure it went through all layers.  If not, replace the punch and give it a few more whacks.  You may need to hit the punch in a certain direction to get through all the layers at every point.  Repeat for every hole you need to make.

Picture
Here is what it should look like.  The template piece can be reused if you have more than one to make.

Picture
Cut fabric to go under the punched holes.  If the holes are close together, you can use a single piece of fabric (as I did here).

Picture
Position the reverse applique fabric under the punched holes on the wrong side of the outer fabric and pin in place.

Picture
Position the piece so that the edge of the hole of the top fabric is halfway between the needle and the inner edge of a standard presser foot.  Stitch using a short stitch length (a little less than 2).  I sewed manually (that is, I turned the wheel by hand once, lifted the presser foot to turn the piece slightly, and turned the wheel again) because it is such a small hole and I wanted to make sure the stitched line was smooth.  If you are using a non-matching thread color, avoid overlapping the stitches since it will create a small section of bold line (unless, of course, you want that).

Picture
Pull the loose threads to the back, then knot and clip them.  Be careful not to remove any of your stitches as you complete this step or you will have to remove the whole line of stitching to avoid the overlapping line issue (speaking from experience here).  Repeat the process for any additional pieces.  You are now ready to proceed with the rest of your project. 

After assembling the pieces for my ladybug, I stuffed her, stitched her shut, and attached a couple dots of white felt for eyes.  Then, since my little one was out with his papa for a few hours, I set his new stuffed animal in the middle of the floor where he would be sure to see it when he returned.  He saw it immediately (the floor having been cleared of all other toys in his absence) and picked her up for inspection.  Then hunger took over and the poor little lady ended up back on the floor until later.

I was so happy with the way she turned out, I wish I had made several simultaneously (to save myself some work).  But, there are other projects waiting for me that I must get to.  And so I go.  But not before a quick photo shoot.
2 Comments

Getting Back In the Picture

9/22/2014

0 Comments

 
Picture
As the self-appointed photographer in my family, I spend more time behind the lens than in front of it.  My main subject is Goen, of course.  And I try to make sure that David is in pictures as often as possible.  But this means I am out of way more pictures than I am in.  I don't always show up in pictures of significant outings.  And "family" events often make David look like a single father .  Twenty years from now, no one will be sure if I am Goen's mama or his aunt, visiting every couple thousand pictures or so.

But I don't want my desire to document life to exclude myself from the very thing I want to remember.  And so, I have set myself a challenge: to take at least one good picture of myself every week.  It might be just me (like the picture above), or me and Goen (like last Friday's Present Moment), or me with David, or all of us together.  The last two would require the help of a tripod or a friend or stranger (Hmm, perhaps this challenge is a good way of working on my "talking to people" skills as well).

If I succeed in this challenge each week, I'll be able to share a little more of myself in these pages.  Perhaps you will even get to know me a bit more.  But, ultimately, I want to get myself back in the picture so that I can look back at these days and see how I relate to myself, my son, and my family.  And have a little fun in the process.
0 Comments

Reduce - Remake - Recycle

9/20/2014

1 Comment

 
Picture
I have a super fun tutorial today.  Several months ago I checked out EcoBooks: Inventive Projects from the Recycling Bin by Terry Taylor from the library.  After reading it I was inspired to find ways to reuse what would otherwise be wasted and remake what would otherwise be recycled.  One project I came up with uses empty zipper pouches (such as those used for granola, crackers, sugar, and other foods) to make notebooks.  The bag doubles as a waterproof cover and zippered storage pocket.  It's quite a conversation piece.  And, when you are done with it, simply remove the thread from the binding and recycle the paper and plastic.  Or reuse the pouch for another notebook.
Picture
This notebook here is one I made one for myself to use as a project book.  It has eleven page bundles (called "signatures" by industry professionals), a button and strap closure, and decorative beaded stitching on the spine.  The tutorial I will share with you today is a simplified version with only one signature, but it can be easily modified for larger notebooks.  Just be aware that the more pages you put in the narrower they will need to be since more of the cover will be taken up by the spine.
Zipper Pouch Notebook Tutorial:

Supplies:
 - Plastic zipper pouch (emptied, rinsed, and dried)
 - Paper (type depends on your needs)
 - Ruler
 - Pencil
 - Scissors
 - Binder clip
 - Awl or other pointed tool
 - Small tapestry needle
 - Waxed cord or thread


Instructions:
Picture
Begin by trimming the top of the bag where the zipper is so that it is straight and even.

Measure the width and height of the bag and write both numbers on a piece of scratch paper.  Keep in mind that the pouch will be rotated 90 degrees for the final product (as it is in the picture here).


Picture
To determine the size paper you need for your signatures, subtract about 1/2" from the width and height measurements.  Cut several sheets of paper to this size.  You can tear the pages instead of cutting them to get a more distressed look.  The thickness of your paper should play a part in deciding how many sheets to use.   Keep in mind that the more pages you have in a signature, the more the center pages will stick out after you fold them.  You can leave them as is or trim them after folding.

Picture
Lay your pages on top of each other so that all the edges are even.  Fold them in half by taking the edges that represent the height and bringing them together.  Keeping the edges aligned, press a crease into the pages.  To get the pages flatter, separate the stack and re-crease each page along the existing fold.  Put the pages back together.  If you want the edges even, trim them now.  Put a binder clip to one side of the fold to hold the pages in alignment and still allowing you to open the signature.

Picture
Create a scrap of paper the same height as your pages.  make a mark in the center of the height and then make two more parks spaced evenly on either side (mine are spaced 1" apart).

Picture
Clip the template under the binder clip close to the fold of the center spread.

Picture
Use an awl or other sharp tool to poke holes in the fold at each marking.  It helps if there is a groove under the fold so the awl can go all the way through more easily.  Make sure the hole is just large enough for your needle to pass through.

Picture
Fold the plastic bag in half so that the shorter ends meet up.  Use your fingernail to give it a sharp crease.

Picture
Use the same template as for the pages to make holes in the spine.  Center the template between the top and bottom edges.  Poke at each point with the awl so it goes all the way through.

Picture
Cut a piece of waxed thread or cord about three times the distance from the top hole to the bottom hole.  Tie a knot in one end and trim close to the knot.  Dab a small amount of glue on the knot to make sure it does not come undone.  Let it dry before continuing.

Thread the cord into your needle.  Starting from the inside fold, take the needle down through the first hole of the signature and through the corresponding hole in the cover.  Pull it all the way through so the knot lays in the fold.

Picture
Bring the needle up through the second hole in the spine and signature, down through the third hole, up through the fourth hole, and down through the fifth hole.  Make sure the thread is pulled snugly through all the holes so that the pages are tight with the spine.  Then, bring the needle up through the fourth hole, down through the third hole, and up through the second hole.  

Picture
To finish, take the needle down through the first hole of the signature only (not through the hole in the spine).  Bring the thread all the way through and pull it tight.

Picture
Once you are sure the cord is snug and the pages are tight against the spine, tie a knot in the cord, using your fingernail to push it close up to the outside fold in the signature.  Another dab of glue on the knot will ensure it does not come undone.

Picture
Your booklet is now ready to be used for sketches, swatches, notes, or other projects.  The zipper pouch is perfect for holding small supplies such as pencils, pens, fabric pieces, etc.


If you use this tutorial to make a notebook of your own, feel free to link to it in the comments.  I enjoy seeing what others have done.

Happy crafting!
1 Comment

The Present Moment

9/19/2014

3 Comments

 
“The present moment is filled with joy and happiness. If you are attentive, you will see it.” 
        ― Thích Nhất Hạnh, Peace Is Every Step: The Path of Mindfulness in Everyday Life 


A Friday ritual adopted from SouleMama.  A single photo - no words - capturing a moment from the week.  A simple, special, extraordinary moment.  A moment I want to pause, savor and remember.  If you’re inspired to do the same, leave a link to your ‘moment’ in the comments for all to find and see. 
Picture
3 Comments
<<Previous
    Picture


    Carley Biblin

    Hi.  My name is Carley.  I love to sew, craft, and create. As a Jane-of all-crafts so to speak, I enjoy sewing, writing, cooking, drawing, photographing.  But the constant thread (if you'll excuse the pun) throughout my weeks is needle arts. 
    I hope you'll join me in
    Making It Up As I Sew Along.
    Learn More...

    My Etsy Shop

      If you'd like to sign up to receive my newsletter, type your email address in the box below and get news, tips, and other neat stuff delivered to your inbox.

    Submit
    Instagram

    Archives

    January 2017
    December 2016
    November 2016
    October 2016
    September 2016
    August 2016
    July 2016
    June 2016
    May 2016
    April 2016
    March 2016
    February 2016
    January 2016
    December 2015
    November 2015
    October 2015
    September 2015
    August 2015
    July 2015
    June 2015
    May 2015
    April 2015
    March 2015
    February 2015
    January 2015
    December 2014
    November 2014
    October 2014
    September 2014
    August 2014
    July 2014
    June 2014
    May 2014

    Categories

    All
    Arts & Crafting
    Books & Music
    Celebrations
    Embroidery
    Family Photos
    Fixing
    Guest Posting
    Inspiration
    Kids & Family
    My Week
    Parenting
    Photo Tour
    Present Moment
    Recap And Goals
    Recipes & Food
    Reviews
    Sewing
    Shop Update
    Swaps
    Tips And Techniques
    Travel
    Tutorials

Powered by Create your own unique website with customizable templates.