Making It Up as I Sew Along
  • Blog
  • About
  • Gallery
  • Shop

Around the World Craft Swap

10/25/2015

0 Comments

 
I've got about five minutes before I gotta leave to pick my little guy and my husband up from the park, so I'm gonna make this quick.  Another swap I signed up for that recently ended was the Around the World Craft Swap.  I'd heard from people that craft swaps aren't always the best for sewists to sign up for, but, luckily, I had a really good experience with this one.

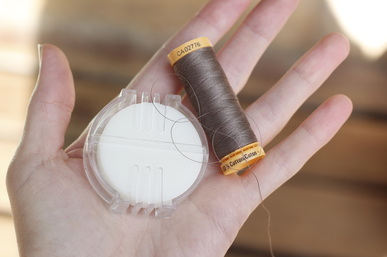
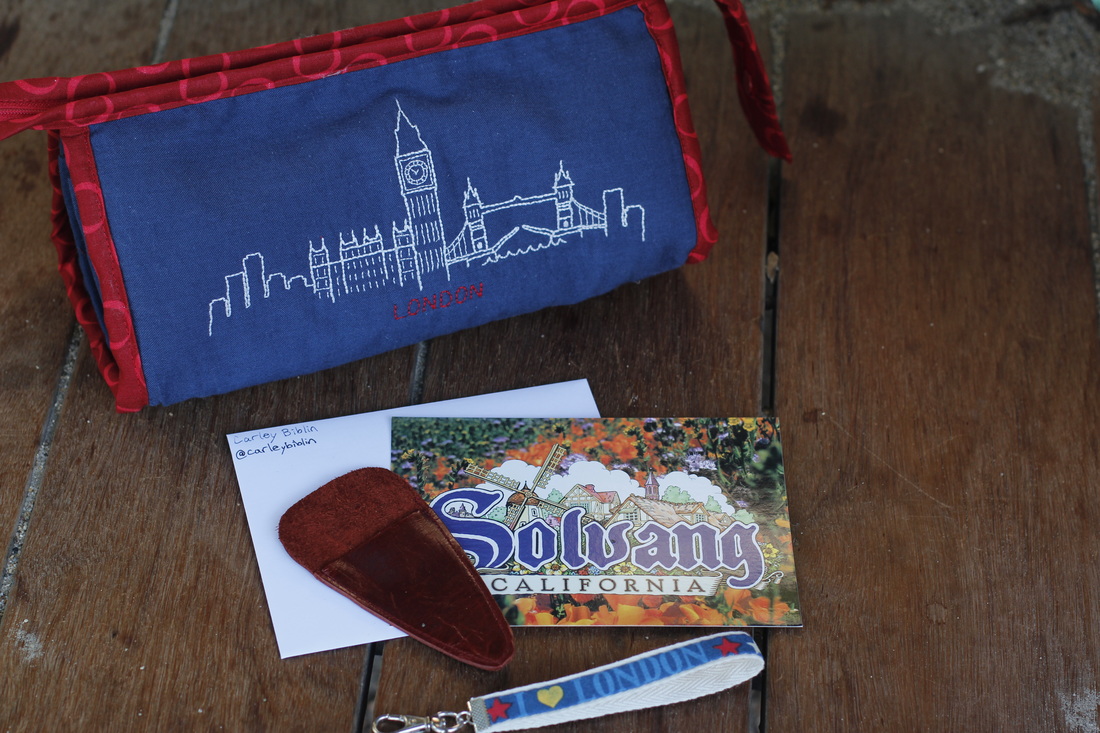
I decided to make something useful to send to my partner, so I made a Sew Together Bag (you can read more about what I thought of the pattern here).  My partners favorite place is London, so my package had a London theme.  In addition to the bag, I included an "I Love London" key chain, a leather scissors case, a special little wood doll (not pictured here, but you can scroll down to see her), and a postcard from a place I like to visit in Southern California (where I grew up).

Picture
Picture

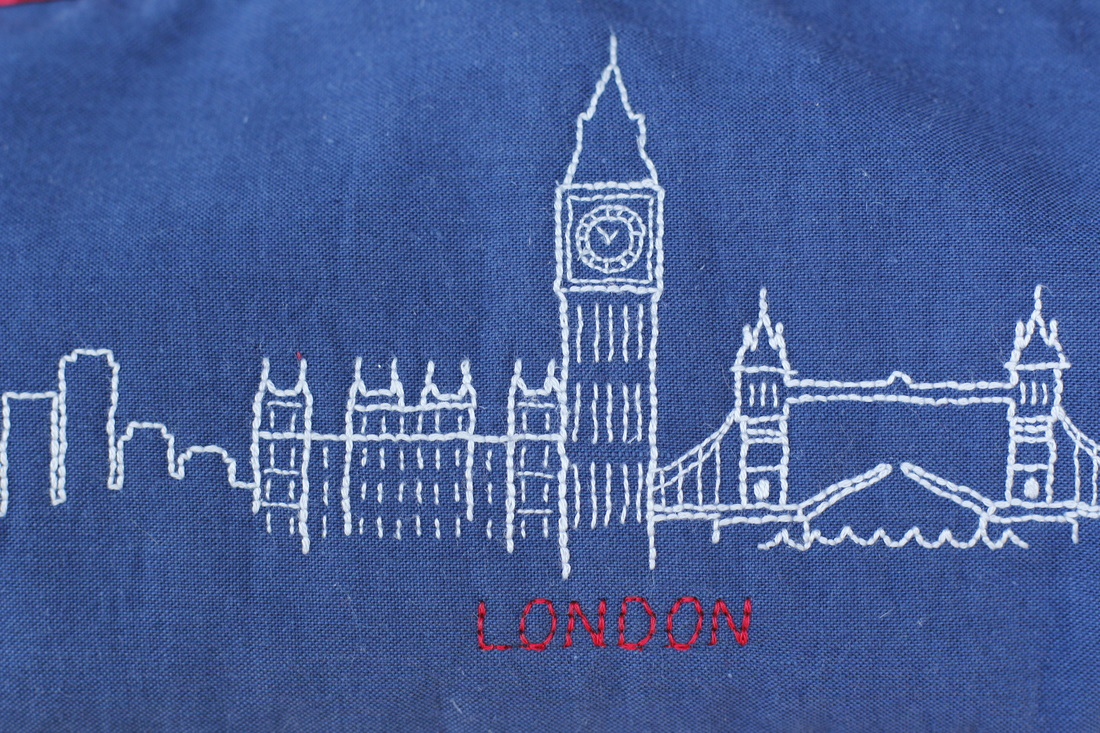
The front of the bag is hand-embroidered with a line drawing of famous London sights.  I used my sewing machine to add the name "London" underneath in red thread.  I think it looks so cool against the navy blue background.

Picture
Picture

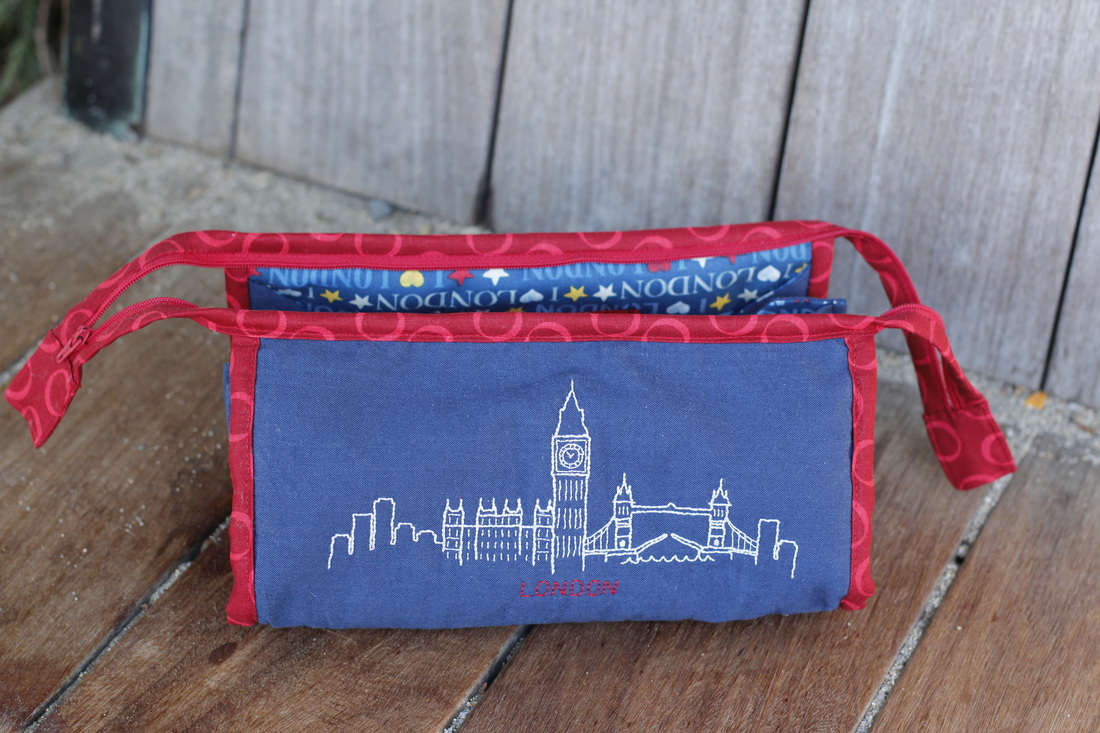
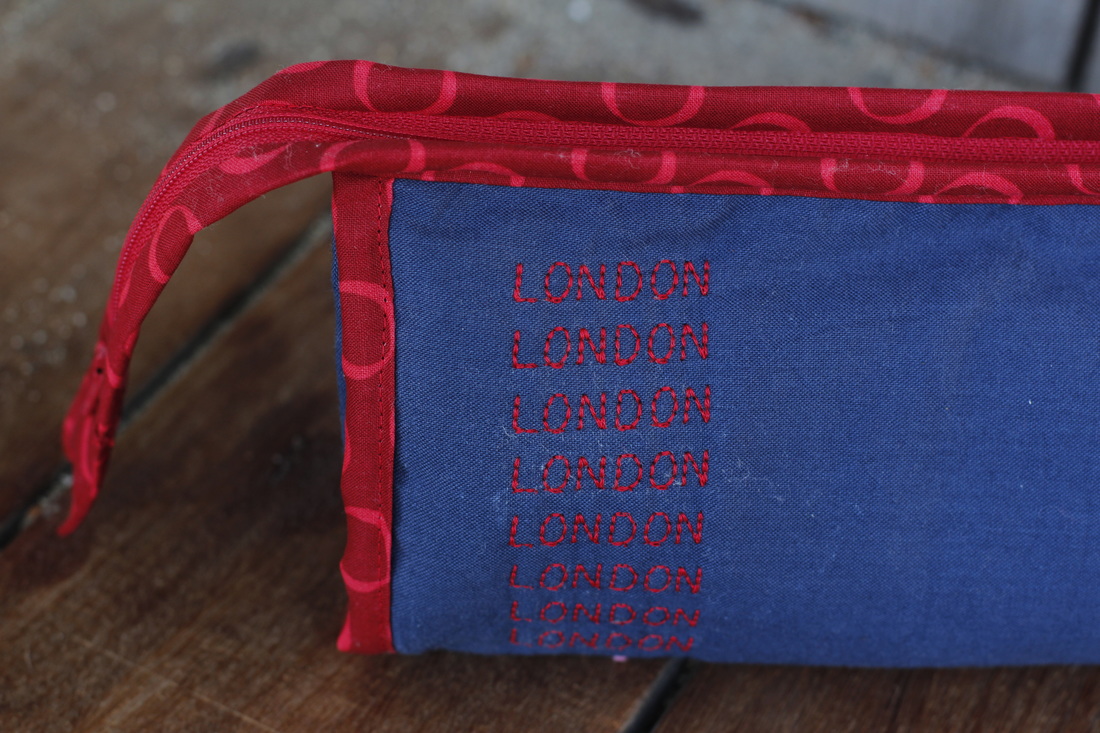
The back of the bag has a whole line of "London"s from top to bottom.  My machine did these so fast, but it really adds a neat detail.

Picture

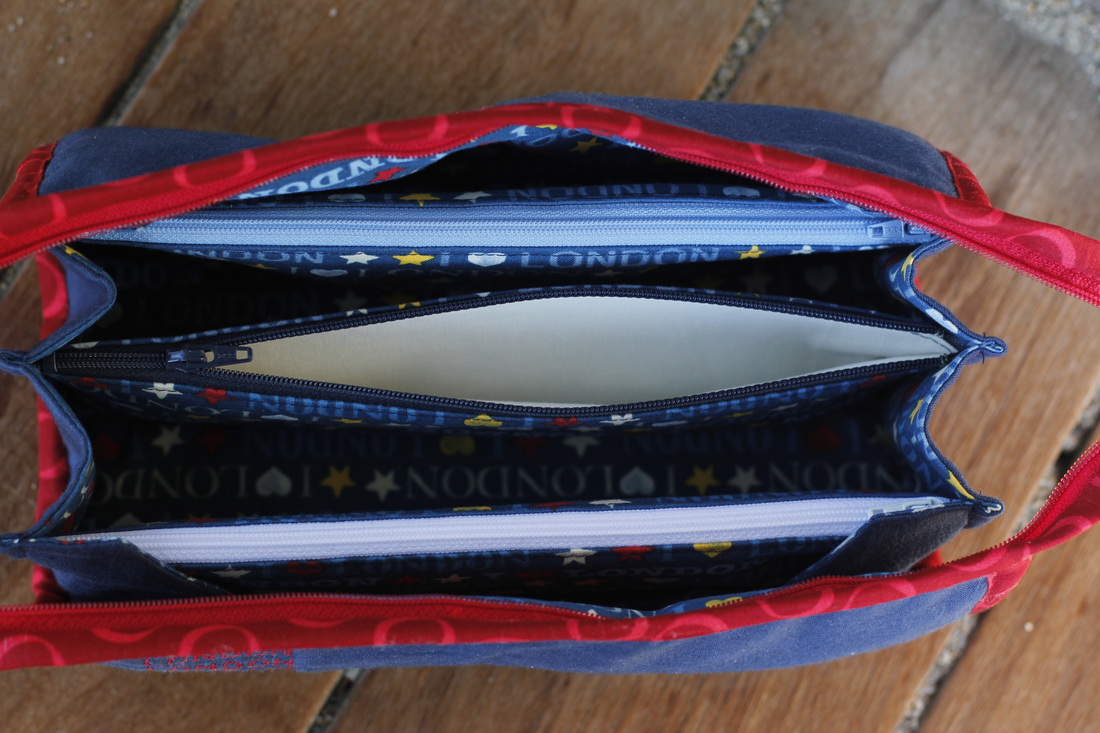
On the inside I used some "I Love London" fabric I got from Hawthorne Threads.  For the zipper pockets I used three different colors: dark blue, light blue, and white.  I like the idea of being able to keep track of what is in each pocket this way.

Picture

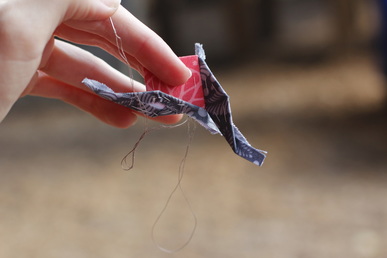
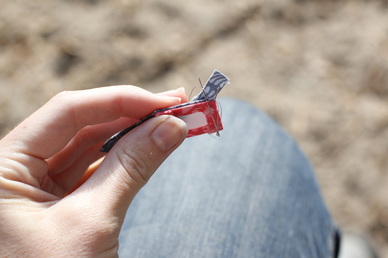
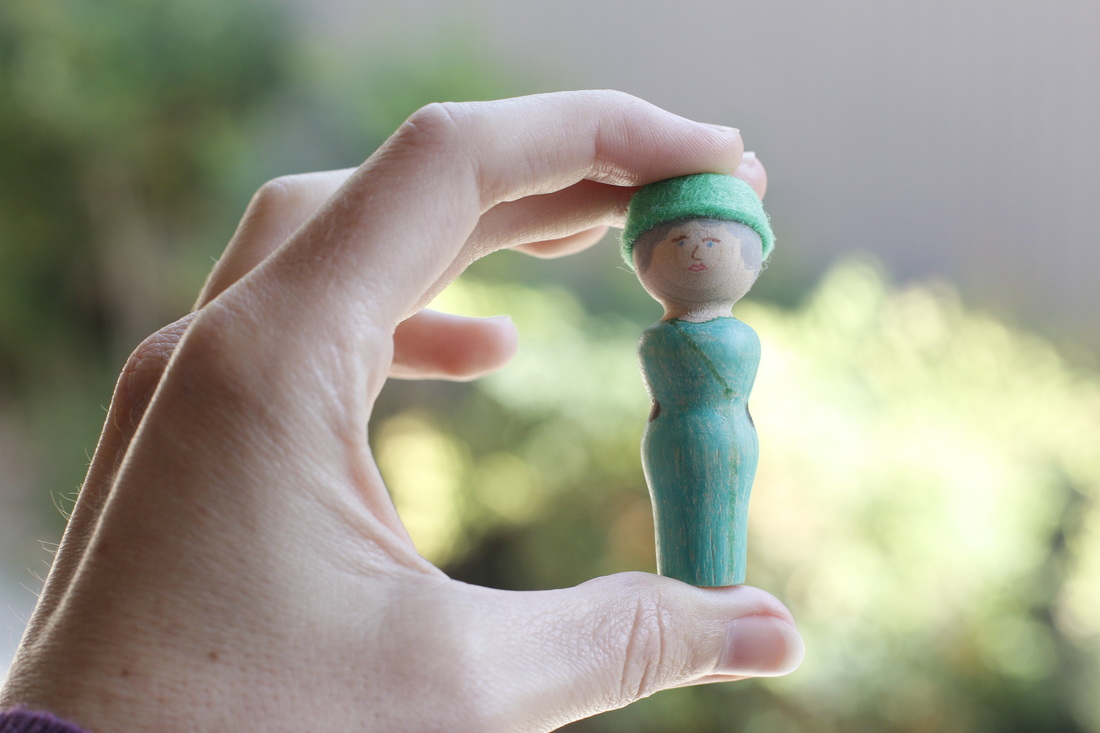
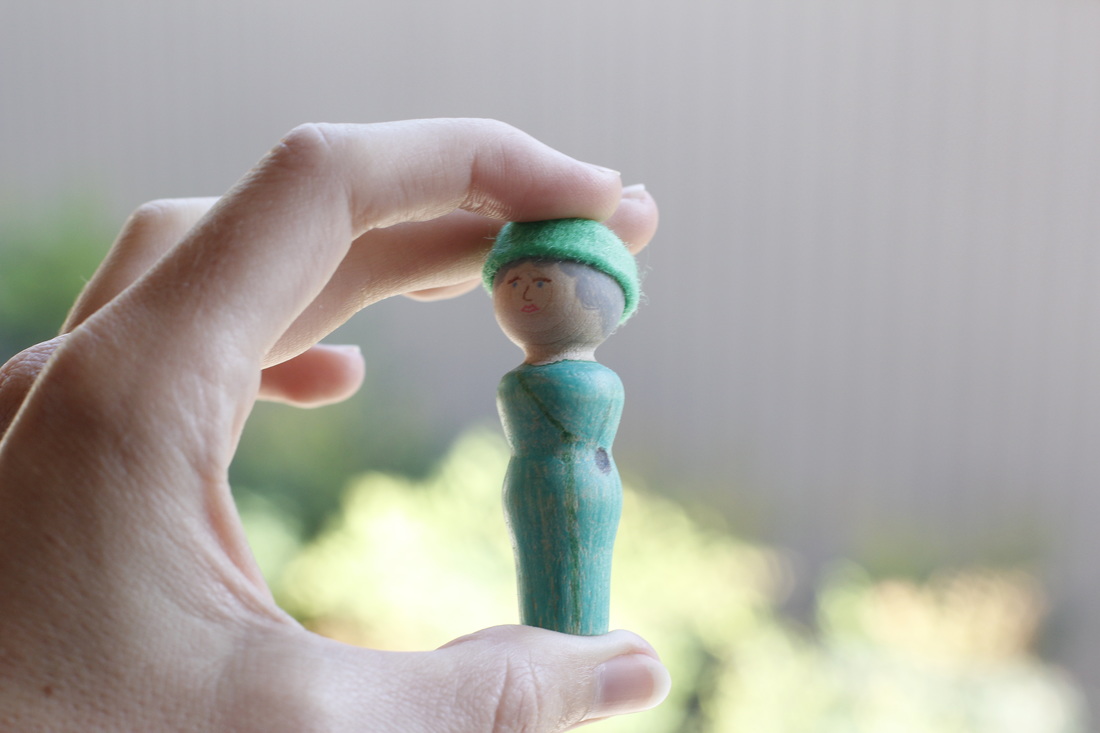
As a last-minute addition, I made a little wooden doll of the Queen of England.  I modeled her outfit on this picture here.  She's got a partial crossover dress with buttons at the side, black gloves, and a simplified pill-box-style hat made from wool felt.  It's a simple doll, but the perfect way to round out the extras for a London theme.

Picture
Picture

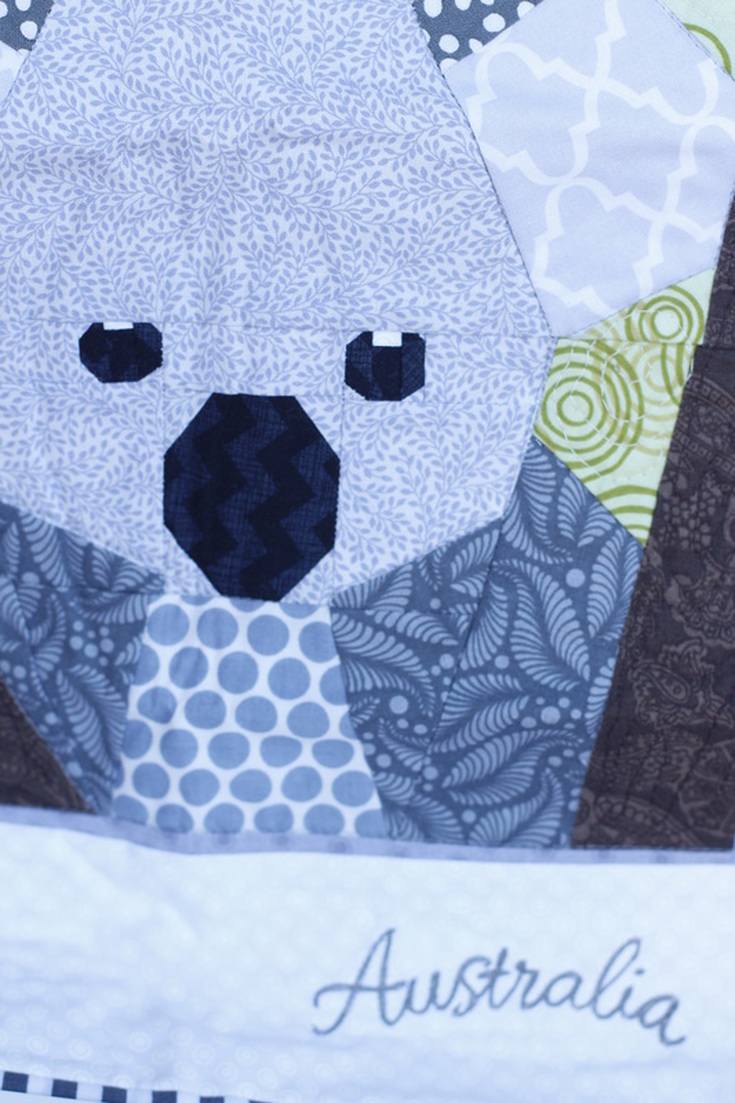
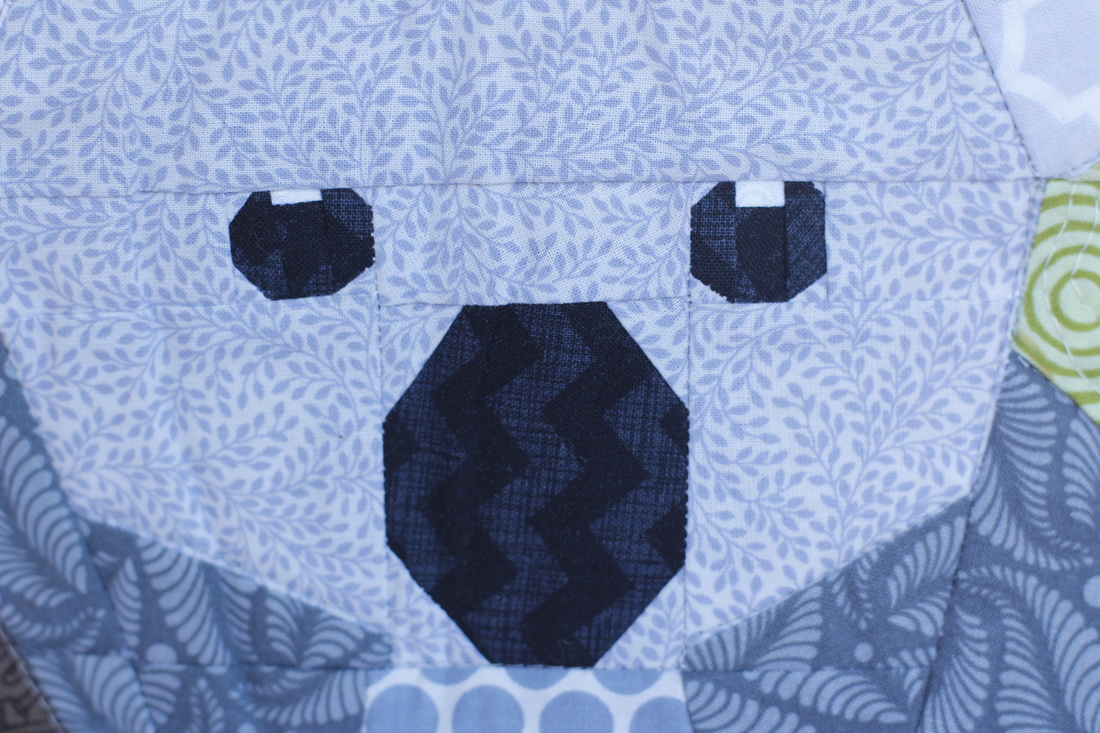
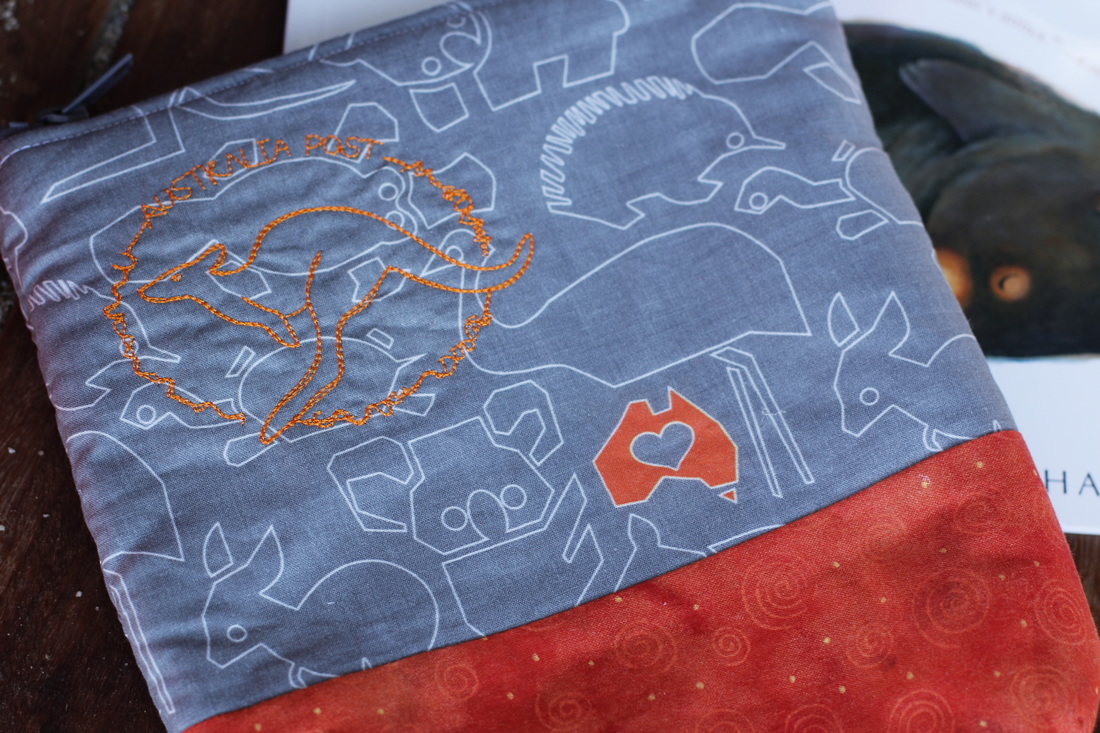
I finished my swap package a while ago, but put off sending it for so long that I received my own package first.  When I signed up for the swap, I put that Australia is my number one favorite place (though of course I've never been).  Here is what my partner sent me with that in mind.

Picture

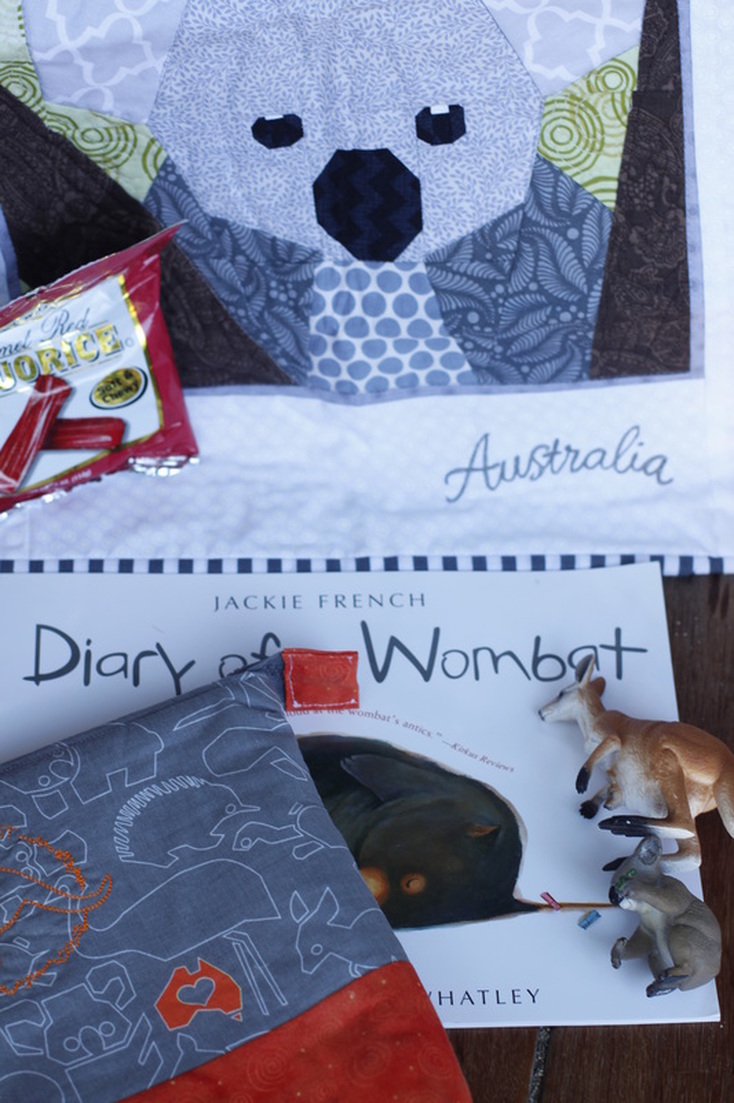
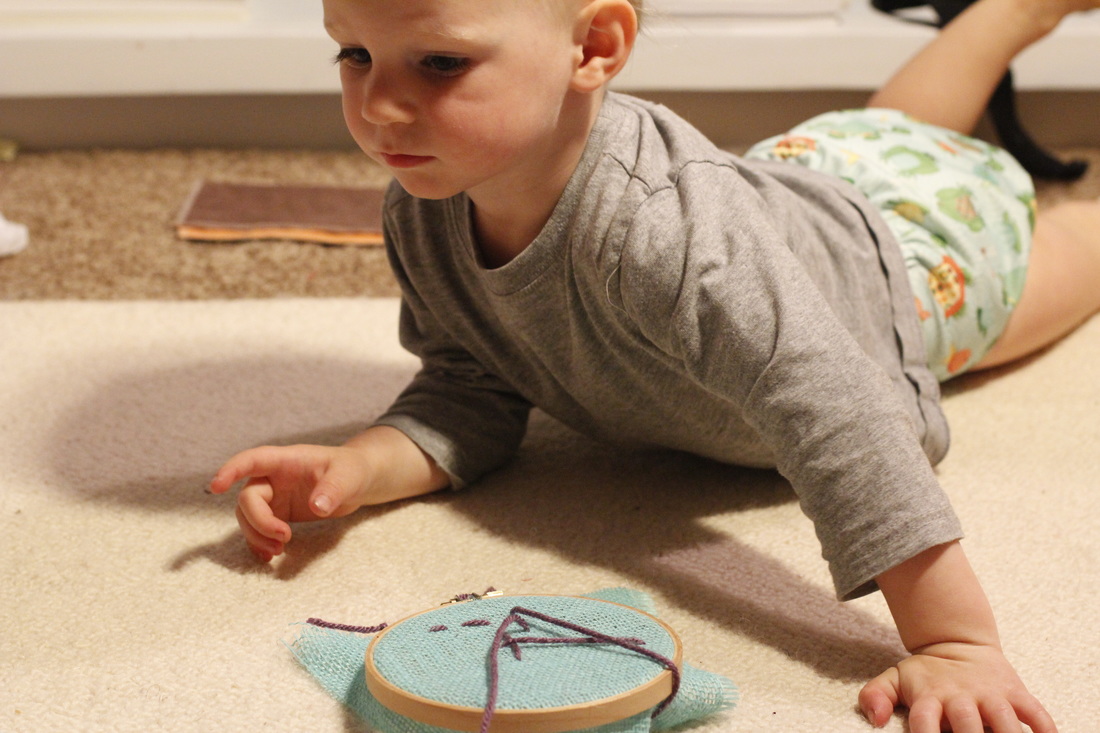
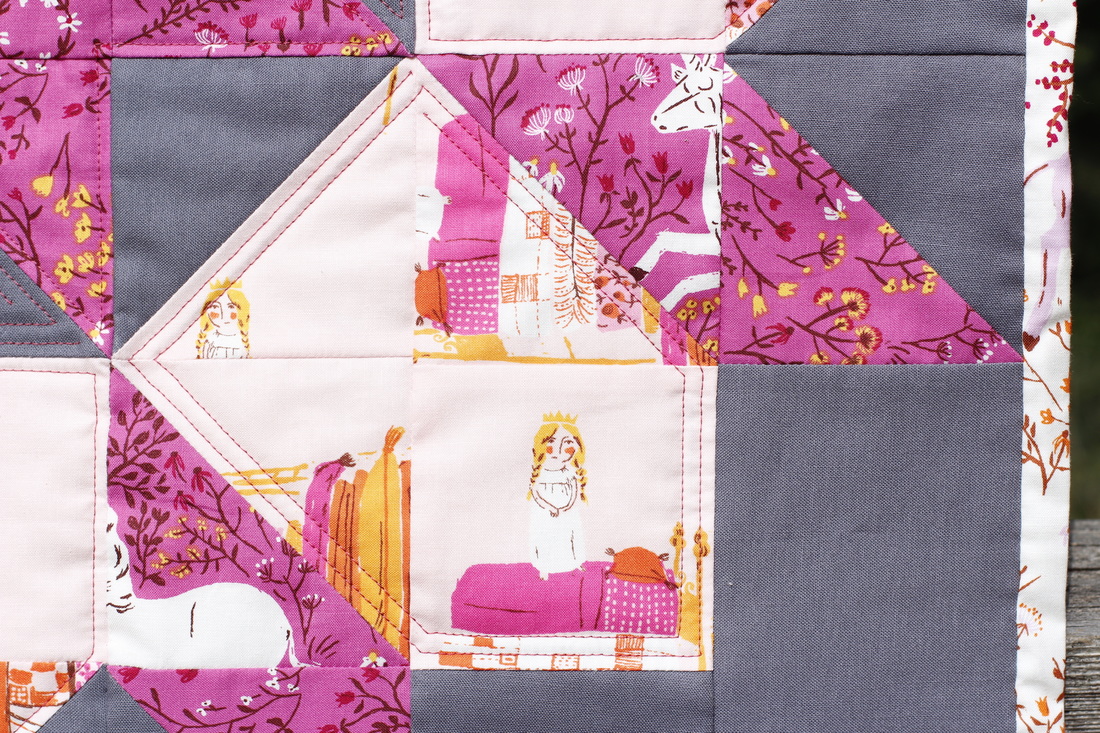
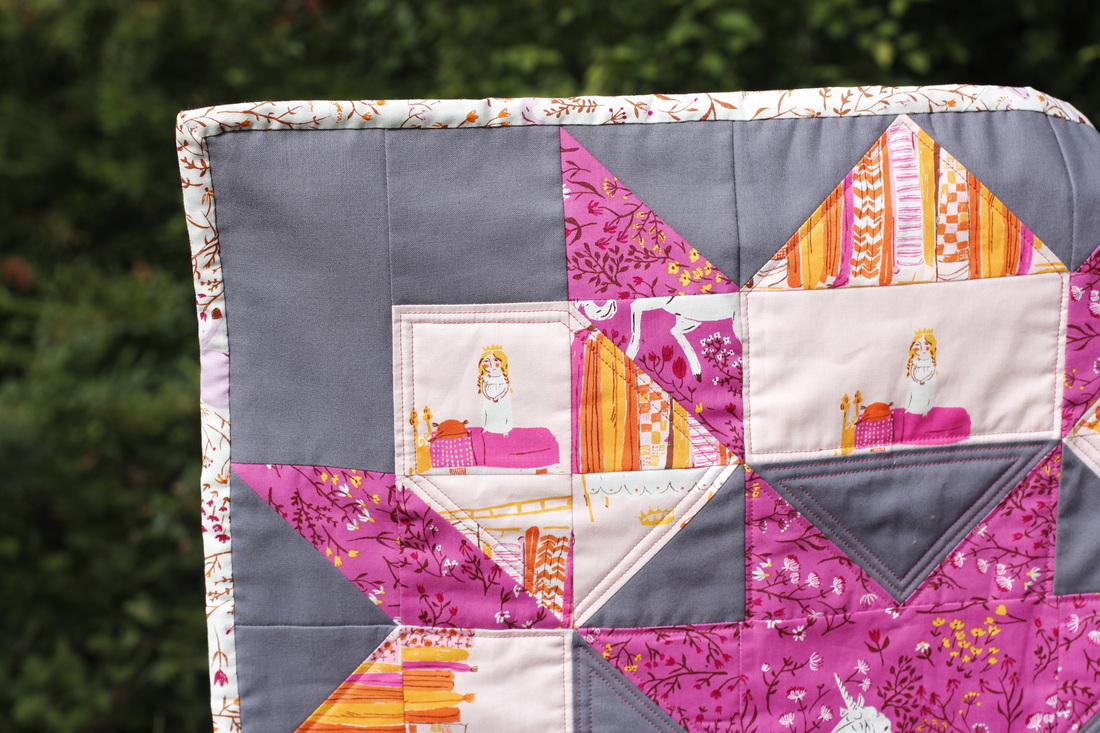
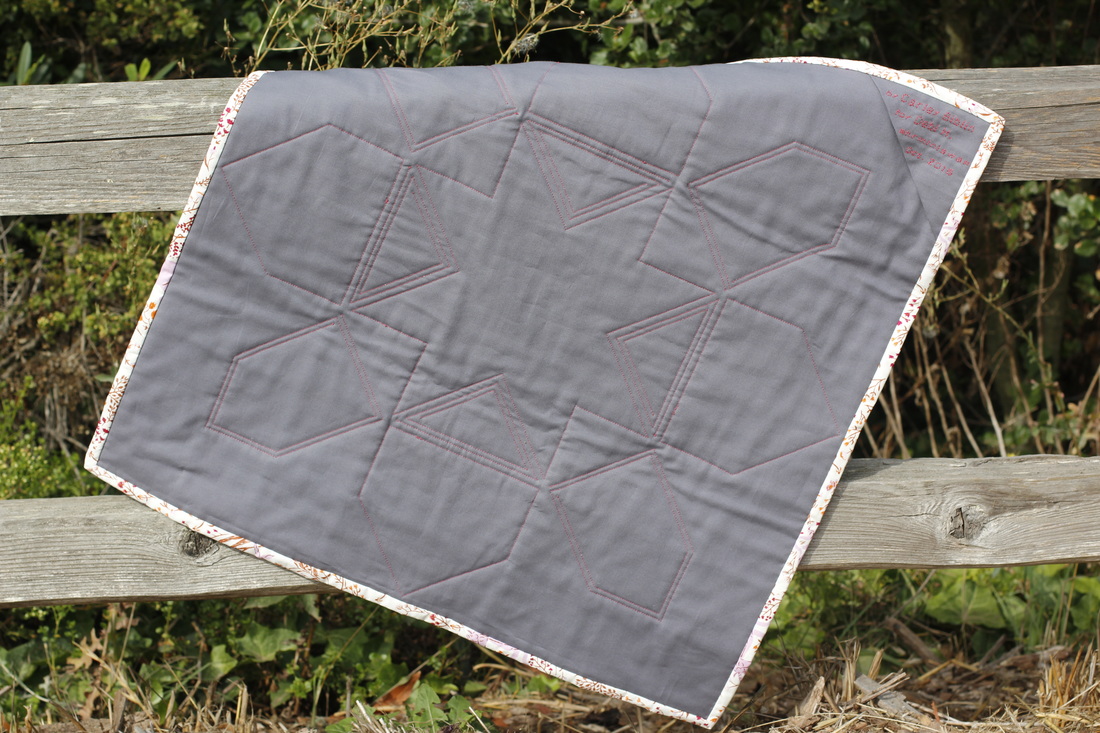
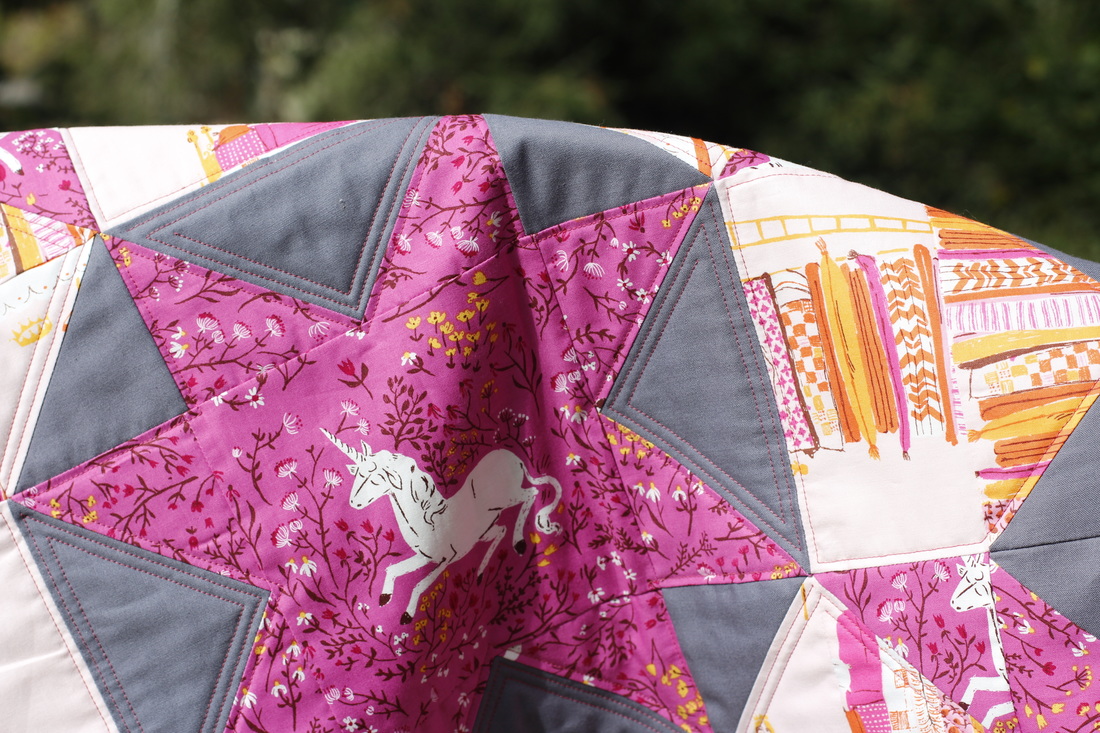
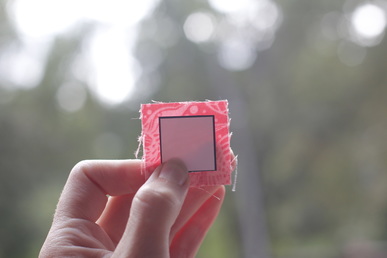
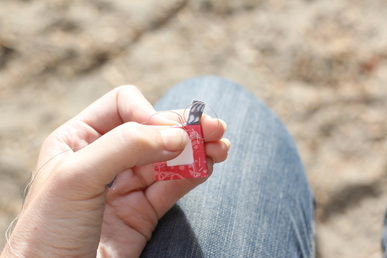
In the package was a foundation paper pieced mini quilt of a koala (my most favorite animal ever, though she didn't know it), a zippered pouch, Australian-style licorice, and even a book and animal figurines for my little guy (which reminds me.  My five minutes are up).  The details are amazing, but, since I'm out of time, I'll have to let the pictures speak for themselves.  So take a look.

Picture
Picture
Picture
0 Comments

Beginning Sewing: Starting 'Em Young

10/25/2015

0 Comments

 
Picture
I spend a lot of time with a needle and thread in my hands.  Either at the park while Goen plays or stealing a few minutes at home when I think no one is watching.  But I am being watched, of course.  Goen sees me at the park as he runs by and he comes looking for me when I sneak away.  For the past several months he has been especially interested in what I do.  When I pull out my box of pins, he joins in and sticks all the pins in my pincushion.  When I thread my needle, he wants to feel how sharp it is.  When I'm at my sewing machine, he wants to sit on my lap while I try to maneuver the fabric around him. 

Sewing with my child can be a very slow process, but at least I'm getting some sewing time, right?  Having him involved has, in a way, actually increased my productivity.  Before, he would have been more interested in pulling things apart and grabbing my scissors.  Now that he's used to seeing my sewing things around, they are not so novel anymore and I'm not as worried about letting him be with me when I sew, by hand or machine. 

In fact, lately I've been putting some of the same tools I use in his hands.  I started off small with a bit of burlap in an embroidery hoop, along with a tapestry needle and yarn.  I used my hoop to show him how to put the needle up through the fabric, then pull the yarn through, then put the needle down and pull again.  It took several reminders of the process (and I'll probably have to remind him again next time), but he started to understand.  He sat in my lap with his hoop, needle, and yarn as I listed off the next step.  "Up...Okay, pull...Now down...Nope, down from the top...Good!"  And over again until, a few minutes later, he was able to do one (almost) all by himself.  He tends to forget the "pull" step, and his stitches are reeeaaalllly looooong, but I'll keep working on it with him

A few days ago I even pulled out my old Kenmore sewing machine and let him "sew" with it.  There's no needle in it, but he can press the pedal to make it go and the feed dogs will pull the fabric through just like he sees my new machine do.  Luckily, he doesn't care so much about the fabric getting pulled through, otherwise I'd be reloading his machine ever term seconds.  He really just wants to see the "needle" go up and down really fast and hear the sound it makes.  It's an exciting thing, actually.  He's getting used to these tools, understanding how they work, and learning how to use them safely.  I can't wait to see what's in store for him (and the two of us) as we continue our creative journey...together.

Picture
Picture
Picture
Picture
Picture
0 Comments

Heather Ross Mini Quilt Swap

10/11/2015

2 Comments

 
It's only been about ten months since I began joining swaps.  This one, this one, and this one are the three main ones I've done.  My latest swap, the Heather Ross Mini Quilt Swap, was my first with a fabric designer theme.  I only recently discovered Heather Ross prints, but there are already several that I really love.  One of my favorites, Mendocino, is soon to be re-released.

I had fun picking fabric for this one.  I went with some prints from the Far, Far, Away collection, which really pop with a dark gray background fabric.  I don't know where it will be hung on, but the low-volume binding I put on would would look really neat on a brightly-painted wall.  I also went with the "Swoon" pattern that I used for my last mini quilt swap.  It was great practice and went much better this time.  I ignored the seam pressing directions and did what I thought would work, and it did.

But, before I ramble on too much, here is a look at the finished mini.
​
Picture
Picture

I had my two favorite men help me hold it up for photographs, and to add a little cuteness.

Picture

I had just enough fabric to fussy cut the princess into several different places.  And there's only one spot (in the lower left) where she isn't standing upright.
​
Picture
Picture

I had even more fun deciding how to quilt the mini.  I went with a thread color to match the unicorn fabric.  I love the look of thread on a contrasting background, so most of the quilting is on the light pink and gray fabric.  My favorite stitching motif is the triangular spirals on the gray background.
​
Picture
Picture
Picture

I even used some of the fancy stitches on my new sewing machine (more on that soon) to make a special tag with the maker, recipient, swap hashtag, and year.  The tag doubles as a way to hang the quilt.  There is a matching triangle on the other side.  All it needs is a rod tucked under the triangles to hang it with.
​
Picture

And I must point out, of course, how nicely my corners match up.  I found a really neat tip in the book Travels with Peaky and Spike by Doreen Speckman.  In essence, you put the fabric right sides together, align the points that should align by pealing the fabric gently apart, then sew an inch or two just at that point.  Check to make sure everything is still aligned.  If it's not, you only have to rip out a little bit.  If it is, then go ahead and sew the rest of the seam.  It saved me a lot of work, let me tell you.  And I got pretty, straight lines.

Picture

As an extra, I sent along a fat quarter-friendly mini quilt book with lots of patterns and ideas.  I wrapped it all up in tissue paper and string and sent it off.  My partner loved it, which I'm so happy about.

But now it's time to show you what I received from the swap.  This is a sweet little mini with appliqued circles from several different Heather Ross collections, including the newest one, Tiger Lily.

Picture

I love the added tag on the bottom corner that has "Dream" hand embroidered in cursive.  Paired with the hand quilting, this mini just screams "hand made," in the best possible way, of course.  The grasshopper and the sleeping princess circles are my favorites, though the gnome comes in a very close second.
​
Picture
Picture

The extras that came with the mini are so neat.  There's a little sewing kit with my even more favorite purple sleeping princess print and a scrappy pincushion, which has so many little details that it could have been the main part of the swap package.  I mean, seriously, an appliqued strawberry with hand embroidered leaf detail?  Awesome!
​
Picture
Picture
Picture
Picture

Well, that's all the swapping news I have for now, but I've got a couple other swaps I signed up for that I'll be able to write about soon.  I'd love to hear about any swaps you've joined.
2 Comments

EPP Tips

10/4/2015

3 Comments

 
With all the hand sewing I've been doing lately (particularly since I discovered All Points Patchwork and English Paper Piecing), I've learned lots of ways to make my piecing easier and more accurate.  Here is my list of top EPP tips.  I hope they are as useful to you as they have been to me.

Picture
Relax your thread before sewing.  I picked this tip up from one of Natalie Chanin's books.  After you cut a length of thread, hold it at one end and slowly run your fingers down the length of the thread with your other hand.  This releases some of the twist and prevents some tangling.  If you use cotton thread (which I like to do sometimes), try using a thread conditioner or a light coat of beeswax to prevent curling and tangling.

Picture
Get accurate placement.  With thread basting (as opposed to glue basting), it can be difficult to get perfect placement of a specific design on the right side of the fabric.  To help position the fabric, lay the paper piece centered on the wrong side of the fabric piece then put it up to a bright light source so that the design shows through.  Nudge the paper piece around until you have the fussy cut design where you want it.  If you use thicker paper like I do, you will only be able to gauge accuracy from the overhanging fabric, or what will be the seam allowance.

Picture
Baste with removal in mind.  Make the tacks and basting stitches large enough to easily slip a seam ripper under to pull the stitches out.  Also, for tacking stitches, don't insert the needle in the same place or the thread will go thorough itself, making it difficult to remove without cutting the thread.

Picture
Get accurate corners.  When it comes to obtuse angles, the fabric does not always hug the corner of the paper piece, no matter how carefully you baste and tack.  ​If you find this happening to you, use your fingernail to check where the corner is before aligning and sewing pieces. 

Picture
Avoid thread catching.  I often have trouble with my working thread catching on the knot or on edges of the pieces I'm sewing together.  If this happens to you, try keeping a finger on that spot.  Your fingertip should extend just beyond the top and side edges. The next time the thread catches in that spot, your finger will be there to nudge it away.

Picture
Let gravity help.  If your pieces are too large for your finger to reach the edge and prevent the thread from catching, turn the pieces upside down as you pull the thread through.  The weight of the thread, although slight, will pull itself away from the places it might catch.
​

Picture
Avoid shifting pieces.  One of the benefits of using the whip stitch is that it allows slight adjustments by shifting the pieces after you have already begun sewing.  This ability to shift can also be a negative thing, particularly if you want to keep the pieces in the exact position they started in.  You can minimize shifting by taking two or three stitches very close together when you begin sewing.


Are there any tips you've learned along your hand sewing journey?  I'm sure there are lots more ways I could improve my own.  If you have any tips or techniques you'd like to share, add them in the comments.
3 Comments
    Picture


    Carley Biblin

    Hi.  My name is Carley.  I love to sew, craft, and create. As a Jane-of all-crafts so to speak, I enjoy sewing, writing, cooking, drawing, photographing.  But the constant thread (if you'll excuse the pun) throughout my weeks is needle arts. 
    I hope you'll join me in
    Making It Up As I Sew Along.
    Learn More...

    My Etsy Shop

      If you'd like to sign up to receive my newsletter, type your email address in the box below and get news, tips, and other neat stuff delivered to your inbox.

    Submit
    Instagram

    Archives

    January 2017
    December 2016
    November 2016
    October 2016
    September 2016
    August 2016
    July 2016
    June 2016
    May 2016
    April 2016
    March 2016
    February 2016
    January 2016
    December 2015
    November 2015
    October 2015
    September 2015
    August 2015
    July 2015
    June 2015
    May 2015
    April 2015
    March 2015
    February 2015
    January 2015
    December 2014
    November 2014
    October 2014
    September 2014
    August 2014
    July 2014
    June 2014
    May 2014

    Categories

    All
    Arts & Crafting
    Books & Music
    Celebrations
    Embroidery
    Family Photos
    Fixing
    Guest Posting
    Inspiration
    Kids & Family
    My Week
    Parenting
    Photo Tour
    Present Moment
    Recap And Goals
    Recipes & Food
    Reviews
    Sewing
    Shop Update
    Swaps
    Tips And Techniques
    Travel
    Tutorials

Powered by Create your own unique website with customizable templates.