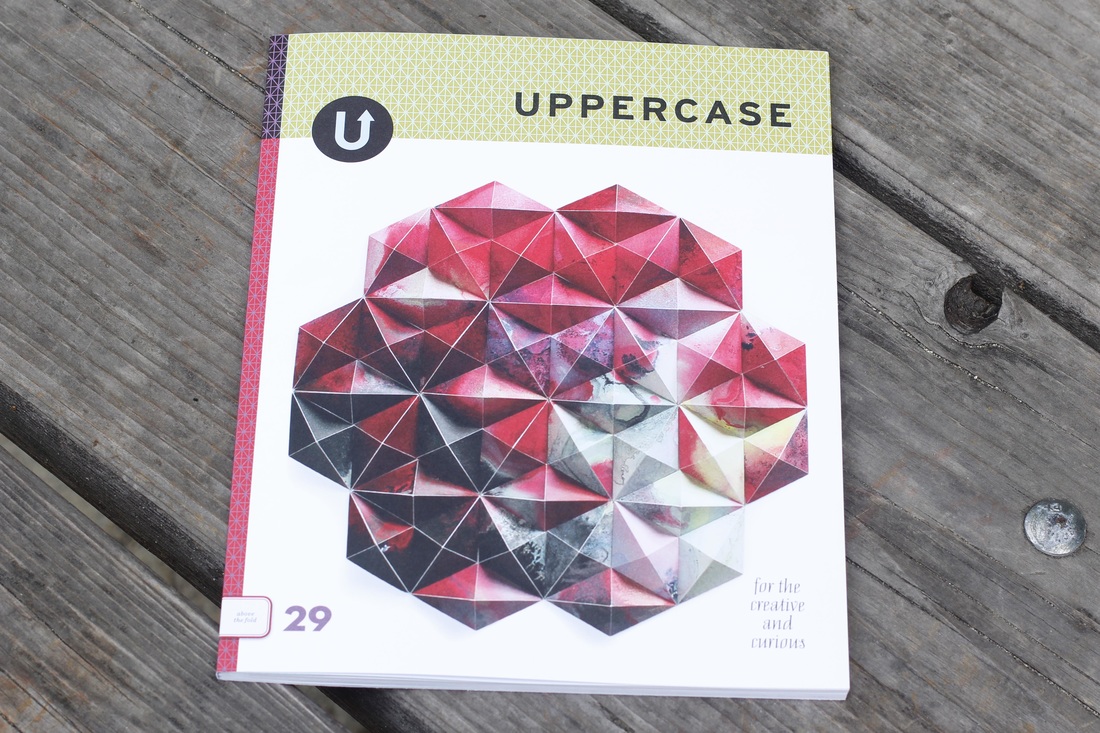
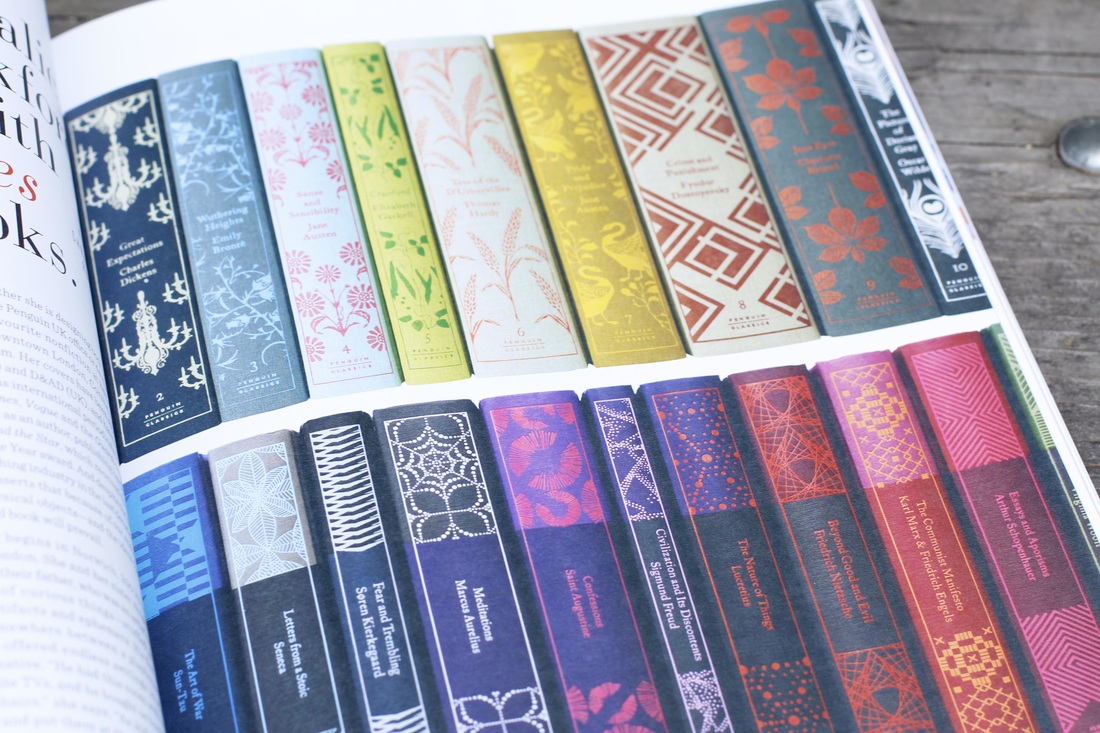
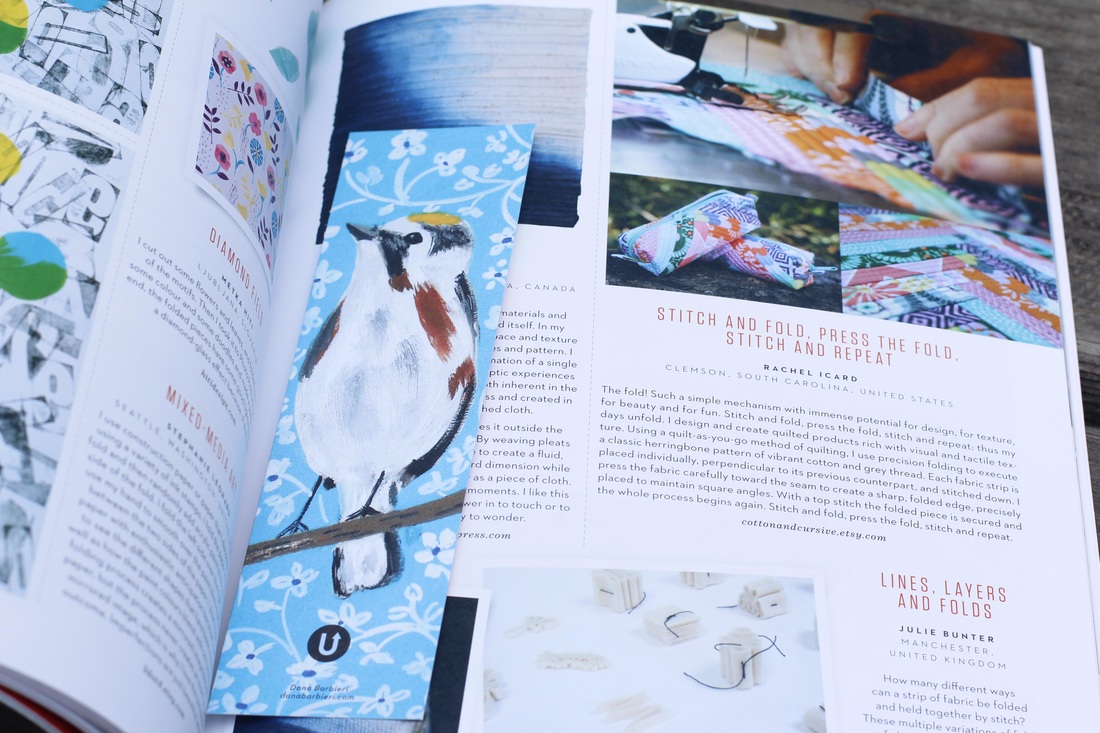
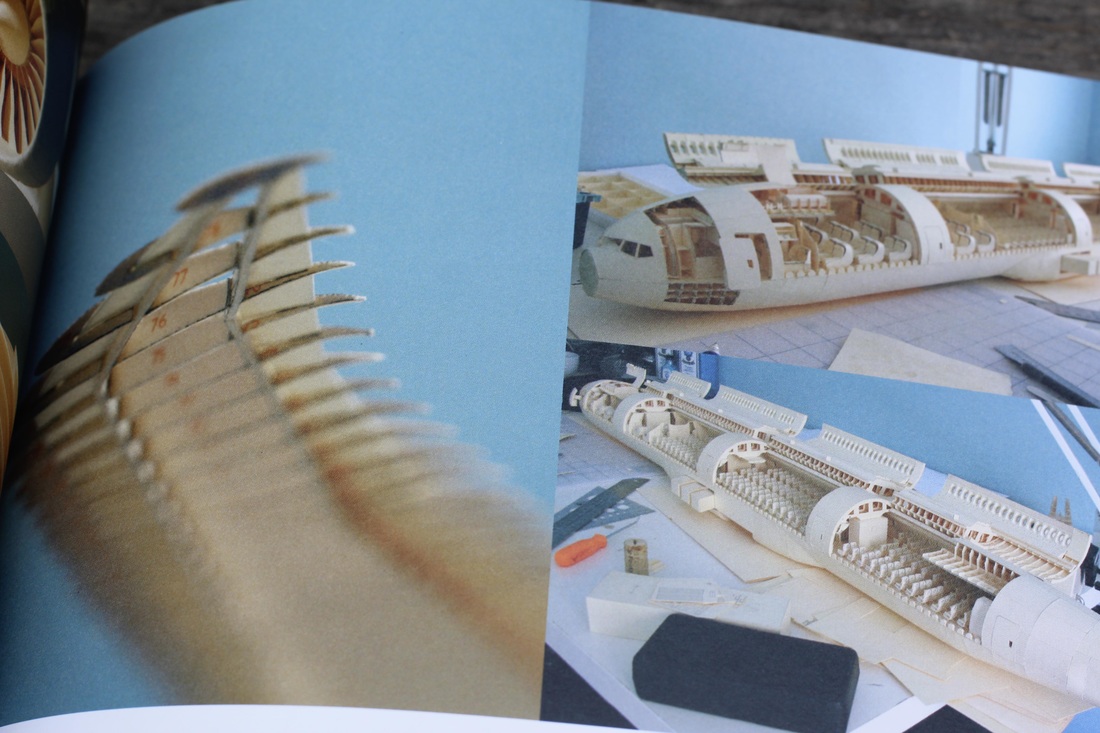
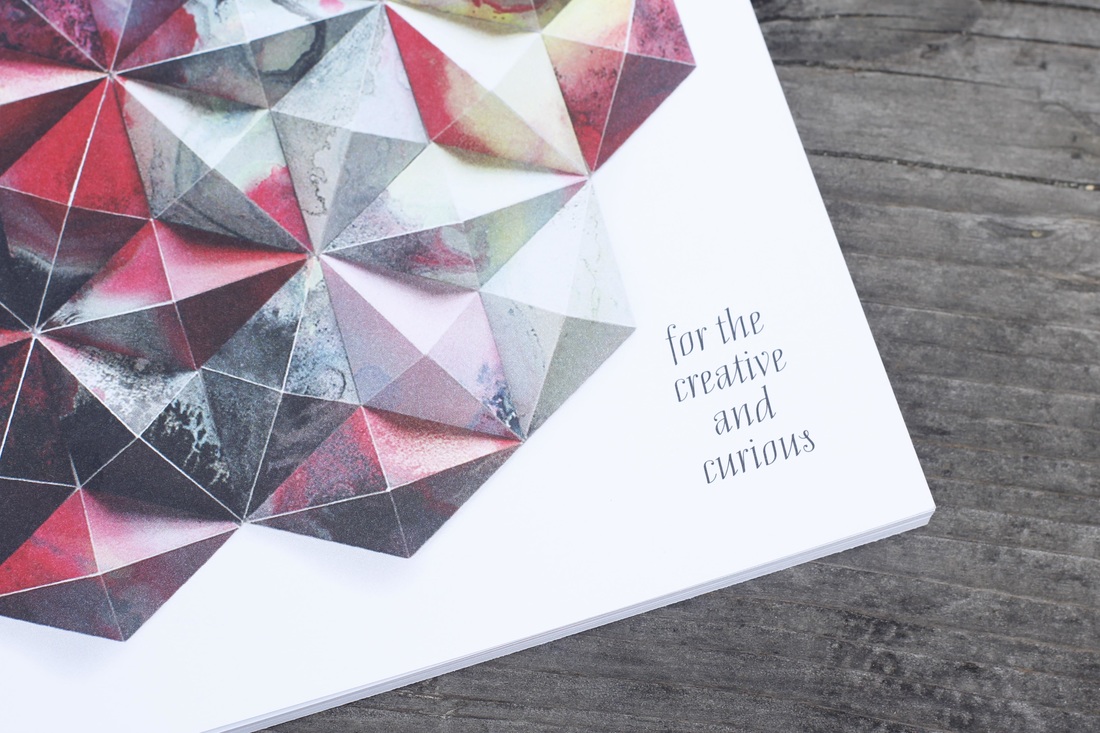
I have my first ever publication experience! One of my goals for this year was to submit something to a magazine. A couple months ago I responded to an open call for submissions from UPPERCASE Magazine. The topic for the issue is paper, books, and folding. There is such a wide range of projects on display within the pages, all of them amazing. And, tucked inside, sandwiched between Lucinda Kidney's altered books and Deborah Bray's alteration of the book The Seducer's Kitchen, is my upcycled food pouch book (which I wrote a tutorial for here). It's an amazing feeling having my work published, knowing that thousands of people will see it. If you'd like to see inside the latest issue of UPPERCASE, watch as Janine flips through and adds a bit of commentary. And let me know if you see my book!
0 Comments
You may remember that about seven months ago I replaced the brim binding on Goen's sun hat because it was falling apart from so much use (it had already been worn for a few years before he was born, so it had a head start). (By the way, I'm still laughing about the little pun I just made.) This past week I had to revisit the hat and replace the circular top piece because it was paper thin and had a hole. After removing the bound seam and the circular piece, I traced a new one from the old. The fabric I chose is similar in color, so it's difficult to notice it isn't the original. Goen didn't even notice, and I decided not to bring it up. I'm sure it won't be long before the hat needs more love, though. The whole thing is close to falling apart. But every time I fix it, it adds more personality and I just can't see myself parting with it yet. I'm in the middle of making my third English Paper Piecing pattern (the first one is still being written, but you can see it here, and the second one is currently for sale in my Etsy shop). Every time I work on a new design, I learn something or realize I've been doing a technique differently that others may find helpful to learn as well. Here is a roundup of techniques all related to troubleshooting or polishing the look of your finished piece. When you have a problem (big or small), it can often be traced to one of these seemingly minor fixes. If you need help with basic stitching techniques, you can see Part I of my EPP Tips. Tighten loosely-wrapped fabric. Sometimes, after basting, you might find that the fabric is too loose on the paper piece. There a couple things you can do about this. First, make sure to finger press as you baste and tack the fabric to the paper piece. Second, make sure each of the folded sides of the fabric is flush against the edge of the paper piece before basting or tacking that side. Third, after basting, use the tip of a hot iron to nudge the fabric from the edge to the center to tighten it up as you press. You can also use a fingernail to gently pull the seam allowance towards the center of the paper piece to tighten it as you iron (just be careful not to burn yourself). Hide the knot in the seam allowance. When I first started out with English Paper Piecing, I didn't pay any attention to knot placement...until my working thread got caught on it over and over while sewing. Then, while watching a video on EPP, I heard about hiding the knot in the seam allowance. I started doing it, but I hid the knot in the seam allowance of the piece closest to me. It worked fine, but it threw off the look of the whipstitch because I had to do a bit of crisscrossing to make sure the corners were securely stitched together. Then, one day, I realized that the better way would be to hide the knot in the seam allowance of the piece farther from me in order to maintain the rhythm and appearance of the stitch. So I changed my method and my sewing became faster and easier. Ease pieces together. There are times when you will find that your pieces do not meet up perfectly. There are a few ways to handle this. The first thing to try is gradually easing the pieces together from the beginning of the length of the sides, using the natural stretch in the fabric where possible. This is easiest when the side you are stretching is on the bias, less easy when the side you are stretching is with the cross grain, and very difficult when the side you are stretching is with the grain. In the latter instance, it may work better to ease the larger piece down a little by warping the paper piece slightly while stretching the shorter piece.
Prevent gaps at corners. One of the biggest problems EPP-ers face is a gap where points come together. This is particularly common when you have lots of points meeting or when you are assembling segments that include several points in each. One way to combat this situation is to take an extra stitch or two right at the meeting of points as you sew them together and make sure the stitches are taut. Another way is to make sure to sew through the very tip of every point, even if it means making your stitches closer together for adjacent points. Fold paper pieces accurately. With some EPP patterns, you will have to fold the paper pieces in order to sew sides together. When I first started with EPP, I folded without thinking about how I did it. What I soon found was that I had to exert extra force with my fingertips in order to keep the alignment of the sides I was sewing. This tired out my fingers faster. I found that folding the paper pieces in a line that corresponds to the sides you are sewing makes them much easier to sew. You can see in the image at the right that the fold creates a straight line that follows from the sides being stitched. I hope these tips help you in your EPP journey. If there are any issues you've faced that you're unsure how to solve, let me know in the comments and I'll try to give an answer by replying to your comment or in my next post of EPP tips.
As part of my daily sewing commitment, I made some felt pouches that are the perfect size for business cards, gift cards, jewelry, and other small or delicate items. I drew up a quick pattern to use and share with you. They sew up pretty fast (especially if you have an automatic button stitch on your sewing machine). There are lots of ways to customize the pattern, including changing the length of the flap, using snaps instead of buttons, and adding a lining. Of course, if you want to go all out and make something really special, you can use my patchwork felt tutorial to make the rectangle piece. Either way, the finished pouch will help protect and organize your stuff. Materials: - Downloadable template - Felt - Clips or pins - Sewing machine - Matching or contrasting thread - Fabric pencil - Button - Handsewing needle and thread Instructions: Use the template or an acrylic ruler with a rotary cutter and mat to cut a rectangle of felt 8" x 4". Fold the bottom edge of the felt rectangle up where indicated on the template. Use clips or pins to hold it in place. Set you stitch length to about 3 (go longer or shorter depending on your preference). Begin sewing on one side where the felt goes from one layer to two (no need to backstitch here). Sew to within about one stitch length of the bottom edge of the pouch. With your needle in the down position, lift your presser foot and turn the felt piece to sew the bottom edge. Use your fingers to flatten the crease and keep the layers taut. Continue all around the pouch, backstitching where the felt goes from two layers to one to reinforce it. When you get back to your starting point, sew over the first few stitches to lock them in place and reinforce the overlapped section. Trim all your threads. Using the template and a fabric pencil, mark the buttonhole placement. If your button is larger than the one indicated on the template, use a ruler to measure and mark the buttonhole (make sure to mark evenly from the center of the pouch flap). Sew the buttonhole, then use a pair of sharp scissors or a craft blade to carefully cut between the lines of stitching. With scissors, it is easiest to fold the felt in half and make a small snip at the center of the buttonhole, then open it back up and cut all the way to either side. Fold the flap down along the fold line indicated on the template. Use your fabric pencil to make a mark at the center of the buttonhole. Press the pencil firmly and twist to get a clear mark on the felt. Open the flap back up and sew the button over the mark you made, making sure to center the button on the mark. Because felt is so thick, it is important to leave space between the button and the layer of felt you are attaching it to. You can use a fancy button spacer or just use your fingers to pull the button away from the surface. Your pouch is finished! It's such an easy pattern, you can probably make them in your sleep now! Make more for you or as gifts for friends and family. The pattern is simple, but there are many variations that you can do to make it all your own. You can use strips, squares, or scraps of felt for more impact, you can add a lining from quilting cotton, and you can use snaps or a statement button for even more interest. Here are a few examples of the pouches you can make. I'd love to see how you use the pattern. Send me a note or tag me on Instagram (@carleybiblin). Party day was yesterday! I feel terrible, though, because I didn't take very many pictures, and almost none of the decorations I worked so hard to make. I hung the yarn-embroidered party signs, the stitched mini paper banner, and some crocheted garland (just like what I have for sale in my Etsy shop). In fact, the only pictures I took that are worth posting are of Gown wearing his crown... ...Goen trying to blow out his candle... ...Goen trying a second time to blow out his candle (before his papa gave him some help)... ...Goen playing with the trucks his best buddy gave him... ...and the adults playing with one of Goen's other gifts after all the kids finished the art activity. So, that's it. No pictures of the embroidered signs, no pictures of the paper banner, no pictures of the crocheted garland, and not many pictures of the guests. I'll chalk it up to being a good hostess and having fun at my kid's party. Maybe next year I'll glue the camera to my hand and be sure to get more pictures. Sigh. |
Carley Biblin
Hi. My name is Carley. I love to sew, craft, and create. As a Jane-of all-crafts so to speak, I enjoy sewing, writing, cooking, drawing, photographing. But the constant thread (if you'll excuse the pun) throughout my weeks is needle arts. Archives
January 2017
Categories
All
|