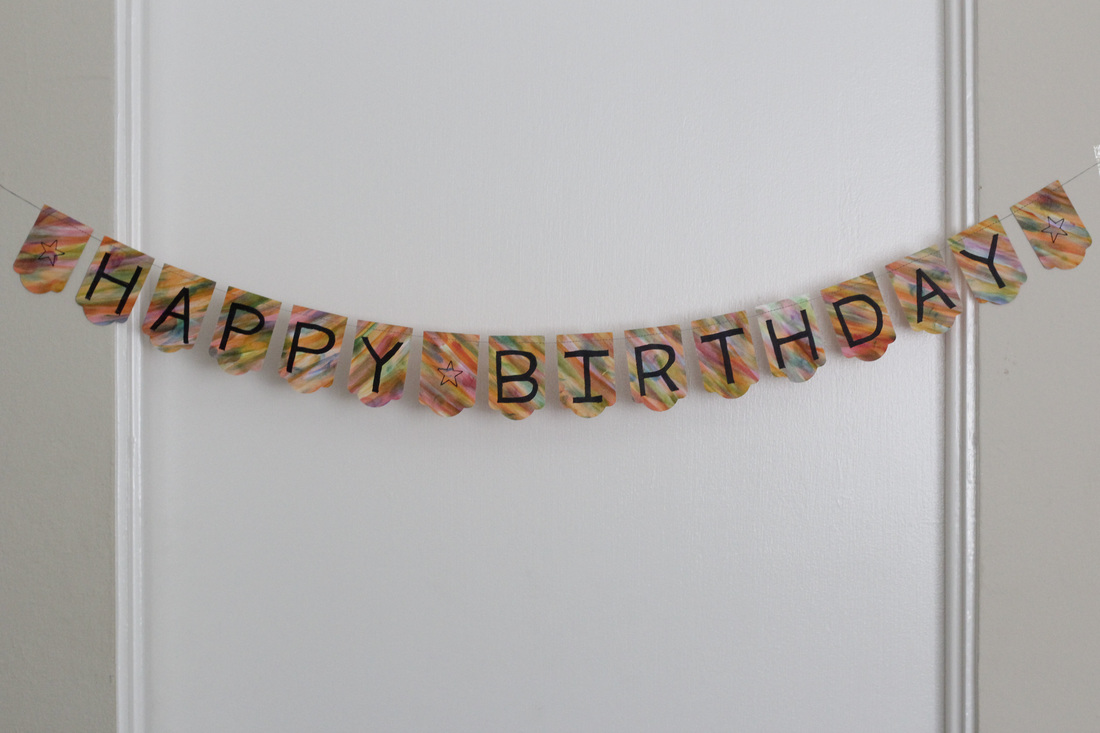
Here's the first post in my birthday prep series. Only 27 more days until Goen turns three (I bought myself a few days by waiting for the weekend to have the party) and still so much left to do. Today I'm sharing a tutorial for a stitched mini paper banner. It's a great project that you can make as simple or as fancy as you want. For mine, I had Goen help me paint the paper before I punched my shapes, and he even pressed the foot pedal on my sewing machine while I ran the paper through. If your kid likes to help make things, this is a fun way to do it.
Materials:
- Paper (cardstock or similar weight)
- Paper punch (I used a Fiskars tag punch)
- Paper scissors
- Sewing machine
- Sewing thread
- Well-used sewing machine needle
Instructions:
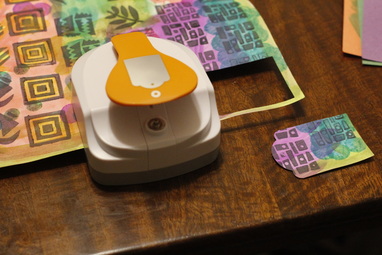
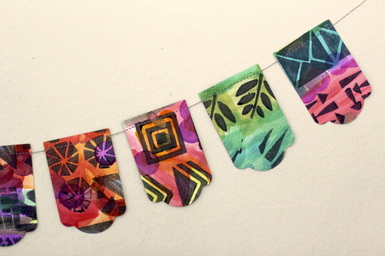
The first thing you will need for this project is a piece of paper. You can use plain paper or stamp and paint it first (a great kid project!). Use your paper punch to create shapes for your banner by punching along one side of your sheet of paper.
*Alternatively, you could cut shapes with scissors using printed templates or freehand.
*Alternatively, you could cut shapes with scissors using printed templates or freehand.
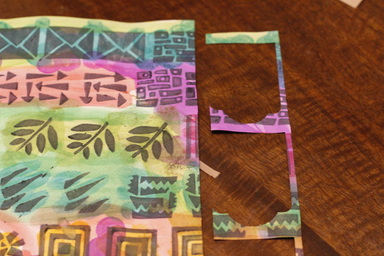
Once you've punched the first row, use your scissors to cut off the scrappy bits so you have another straight edge to work with. Continue punching and cutting until you have the number of pieces you want.
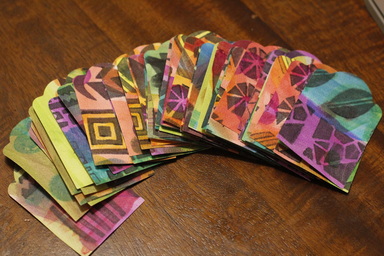
If you are making more than one banner at a time, sort and stack the paper pieces into piles.

If you have a well-used sewing machine needle lying around, now is the time to use it. Paper will dull your needle, so don't waste a good one on it. Thread your machine with a coordinating or contrasting thread. Set your stitch length to three or thereabouts. Pull several inches of your top and bobbin thread to create a tail.
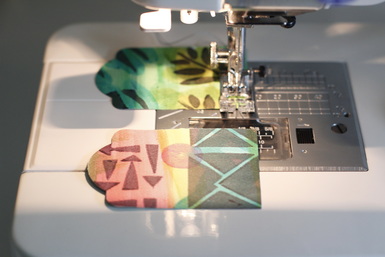
Begin sewing the first paper piece across the top edge. Add a second piece, leaving a quarter to half an inch space between them. Continue sewing until you have used all your shapes.
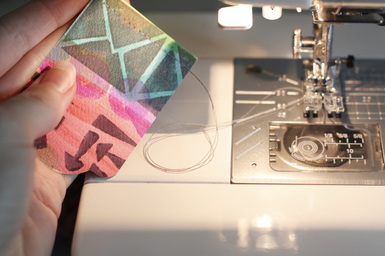
Before cutting the thread, pull another tail for the end.
Use the tails to tape or tie your banner for display.
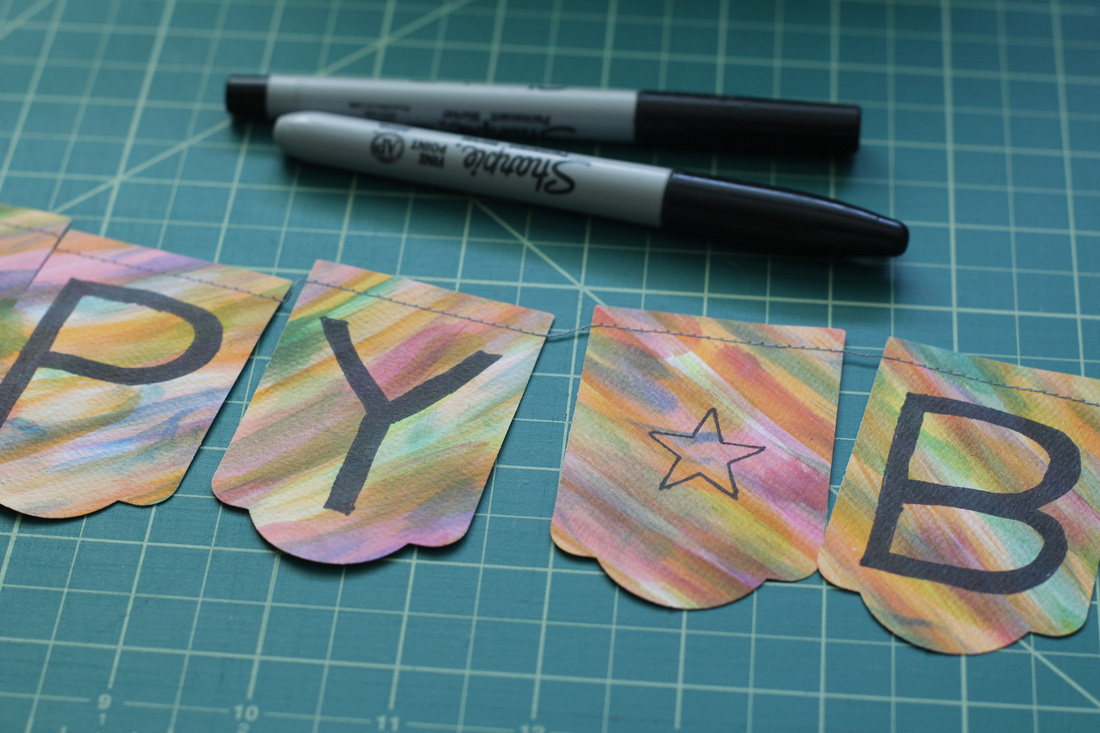
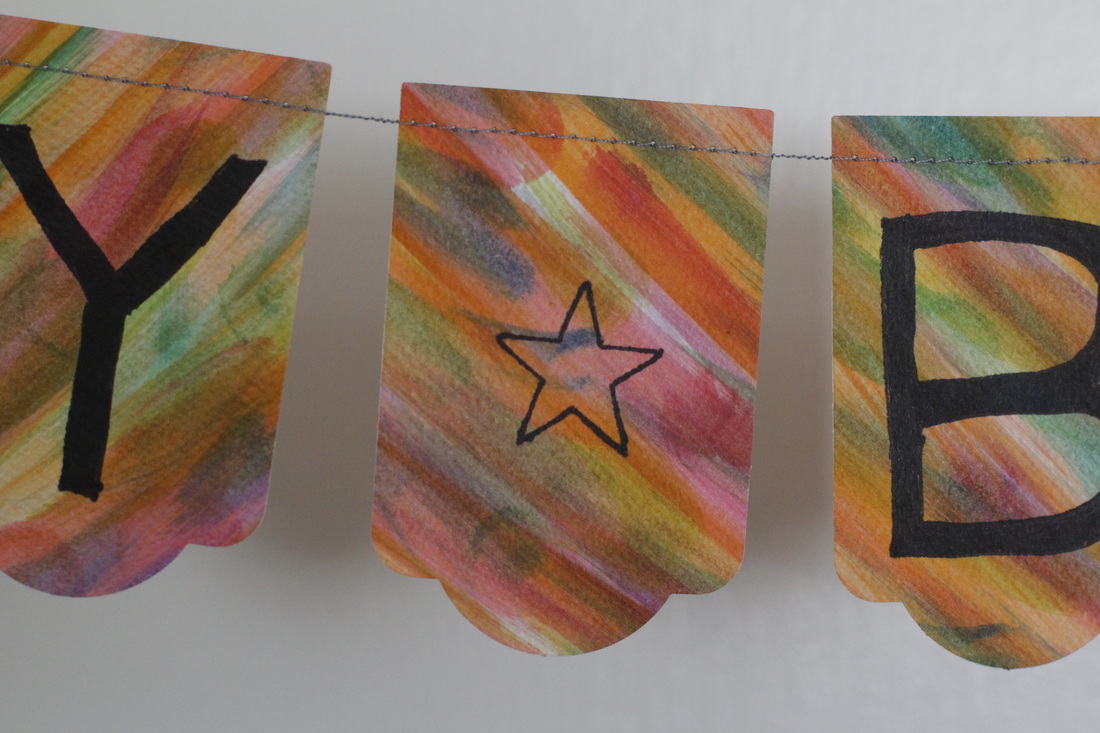
There are lots of ways to personalize this project. In addition to the banners above, I created a special birthday banner for my little guy. I used paper with a colorful painted background, then used sharpies to write "Happy Birthday" on it. You could get really fancy and use scrapbooking supplies to decorate the banner. Letter stickers, flat wood shapes, or sequins are great ways to give it your own spin.