Making It Up as I Sew Along
  • Blog
  • About
  • Gallery
  • Shop

Fixing a Mistake After Printing on Fabric

6/30/2015

2 Comments

 
I'm going to have all of you close your eyes in a moment, but first I'll ask this question: have you ever made a mistake that took a finished project from "awesome!" to "oh, no!"?  Now close your eyes.  Raise your hand if you answered "yes" to this question.  Okay, you can all put your hands down and open your eyes.  Don't worry.  I'm the only one who knows your secret.  But, just so you know, you're in good company.

Picture

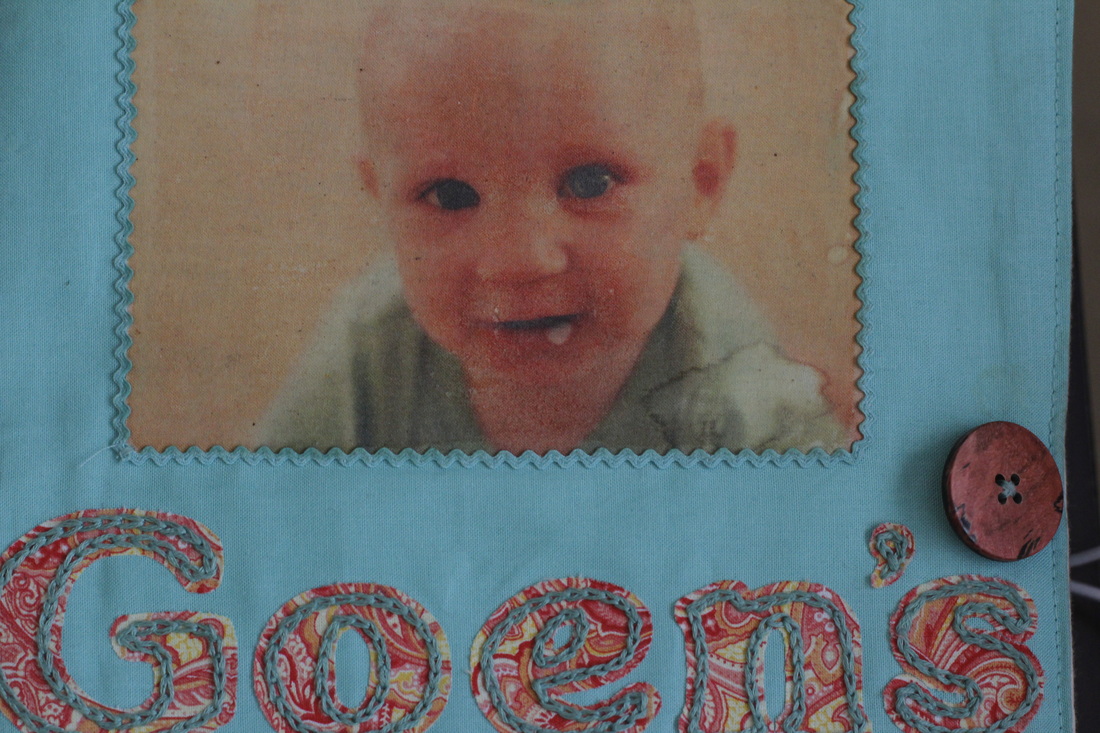
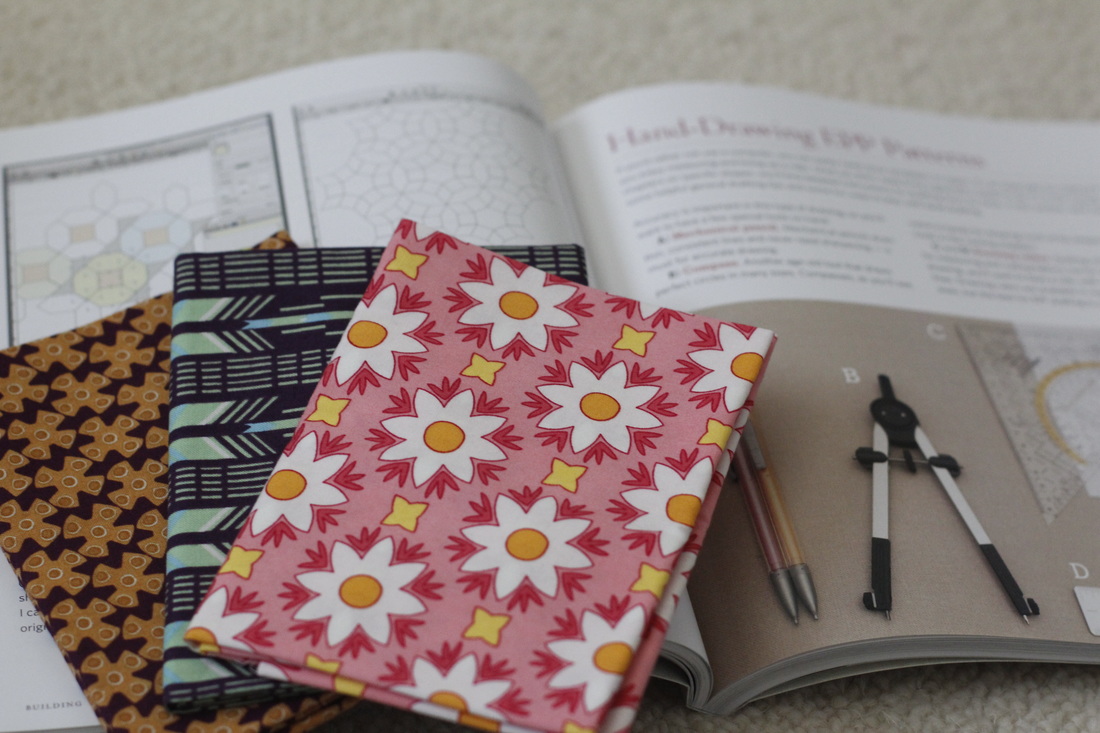
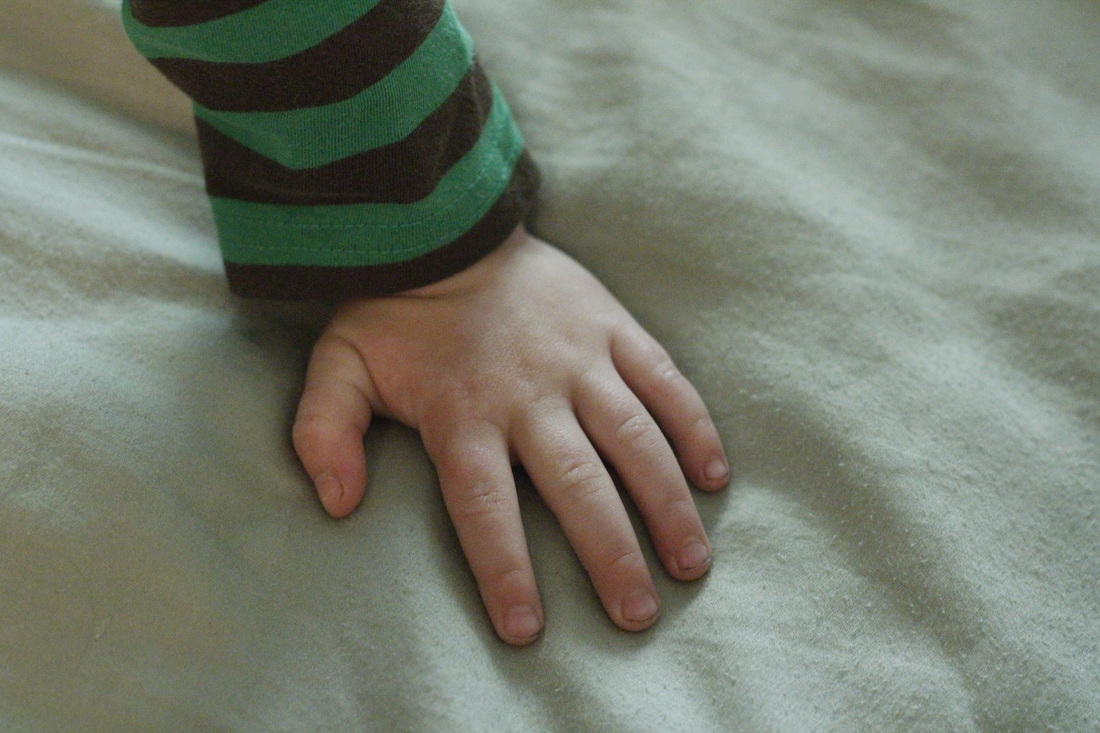
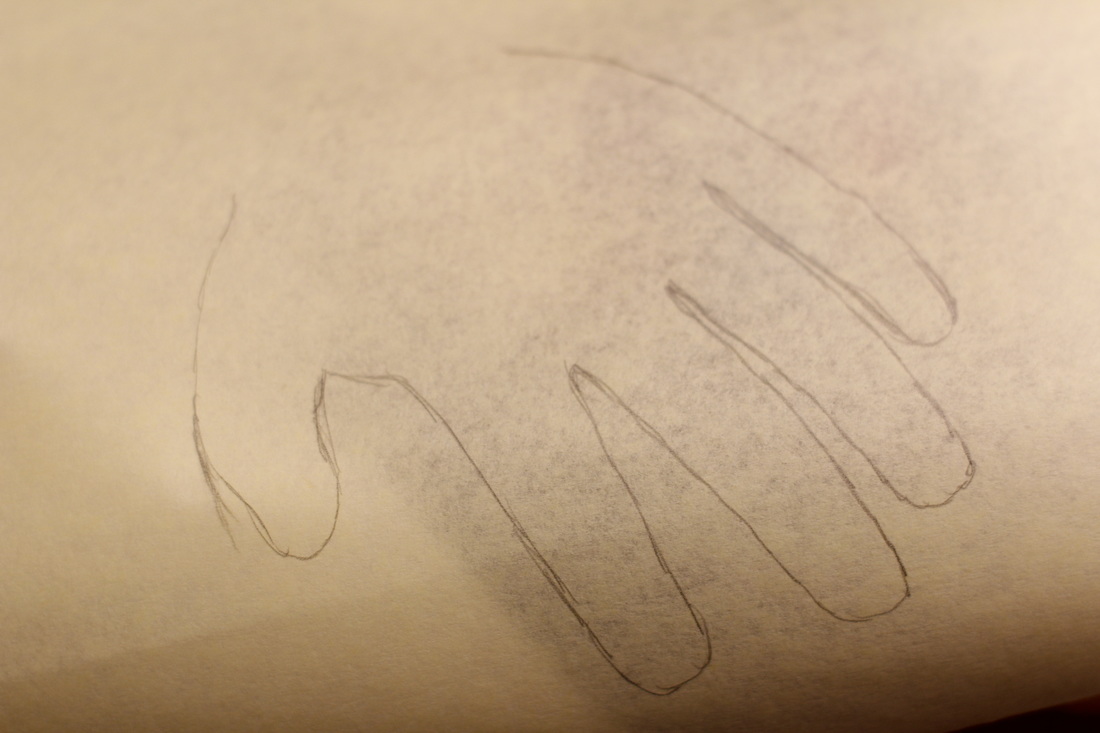
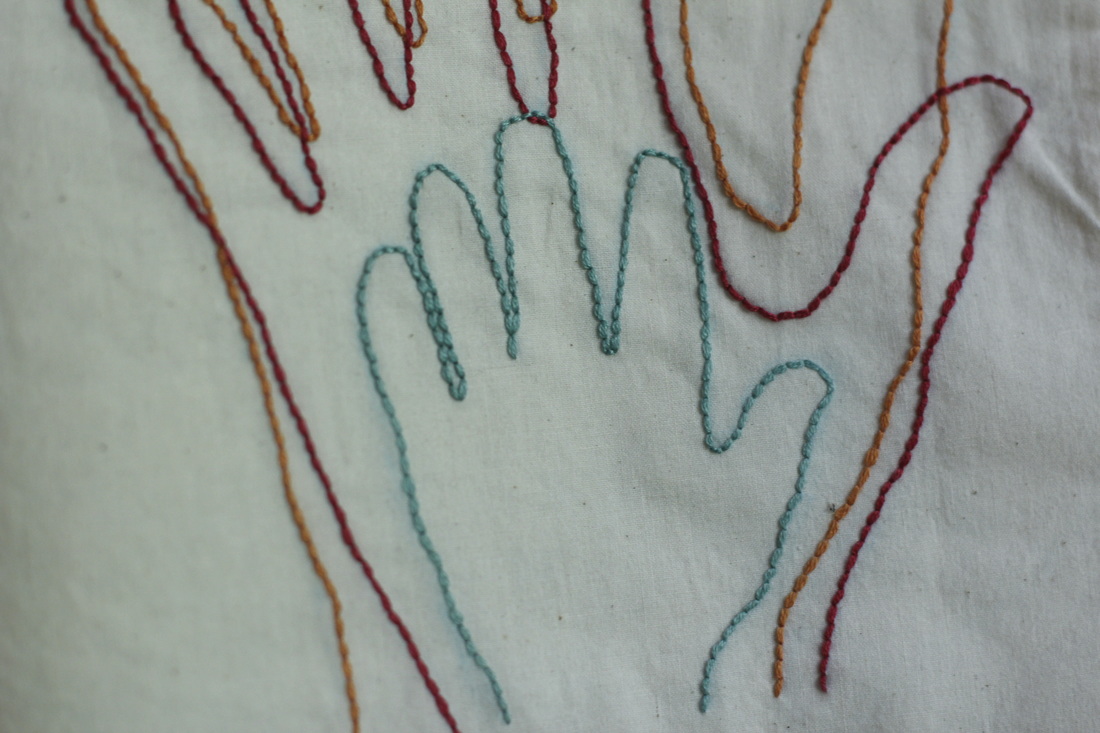
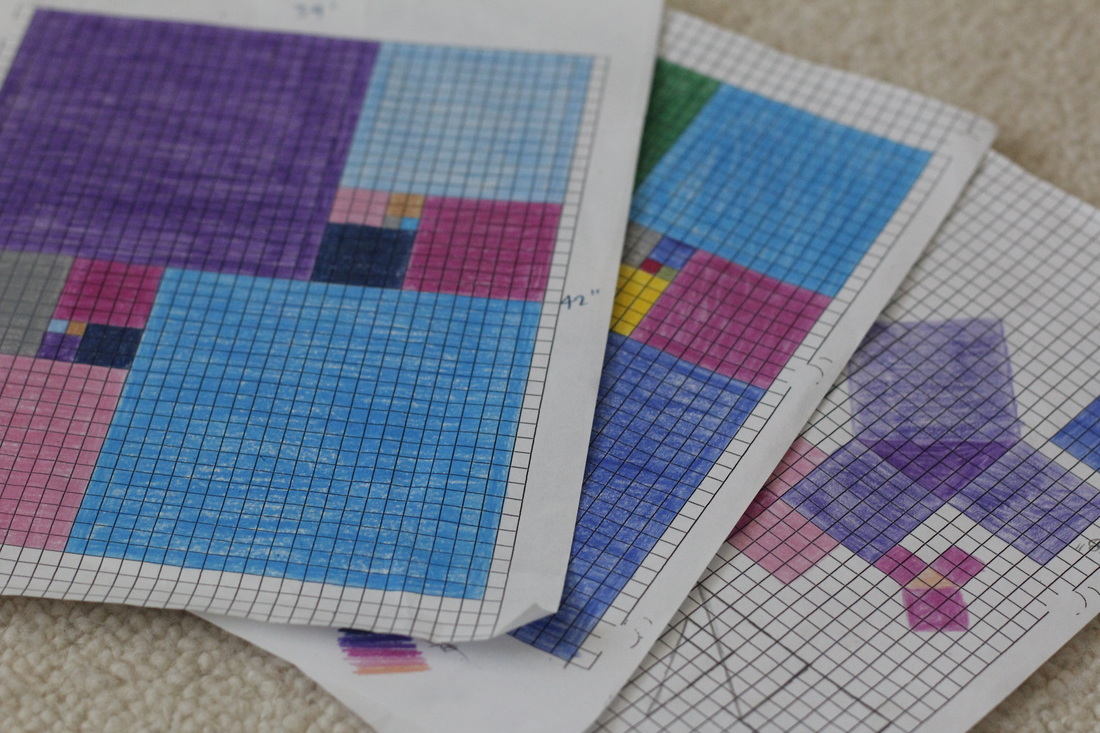
Last year, when I made a fabric memory book for my son's first birthday, I decided to make my own printable fabric.  I looked at dozens of tutorials and tips, and all of them seemed to say that you just had to iron to set the ink.  And I did.  They all said that pre-treated fabric was unnecessary.  So I didn't do it, despite all the nagging doubts in my head.  I've been regretting it ever since.  Within a few weeks of finishing all the hand embroidered edging around the pictures, I noticed a few small spots on the printed images.  It took me a while to realize that drool had caused the ink to bleed.  So I put the book away, only taking it out when I could supervise my toddler to make sure he didn't chew or drool on the pages.  It was a disaster just waiting to happen.  All my hard work could be obliterated in moments. 

Picture

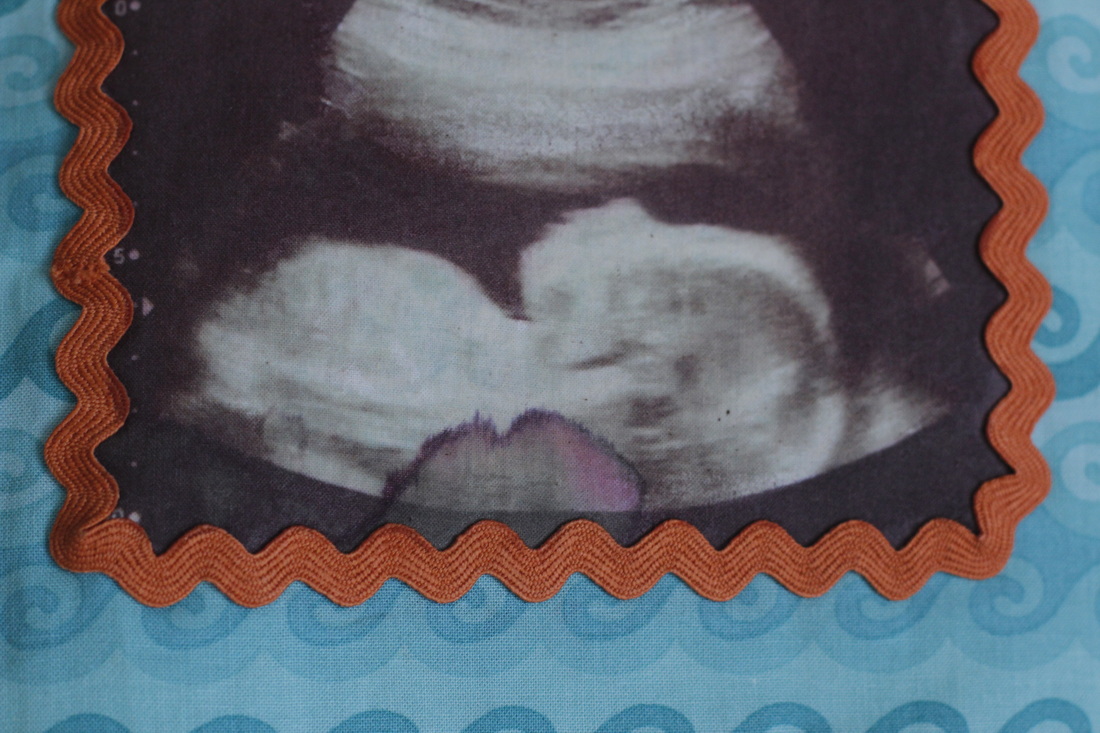
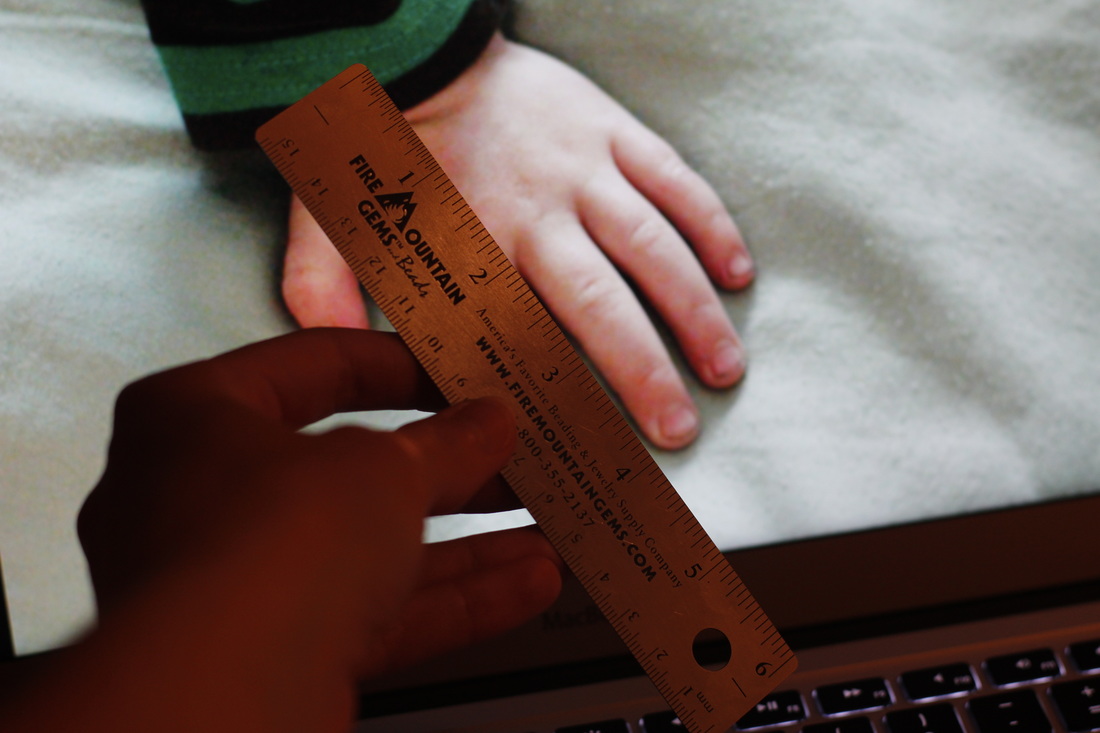
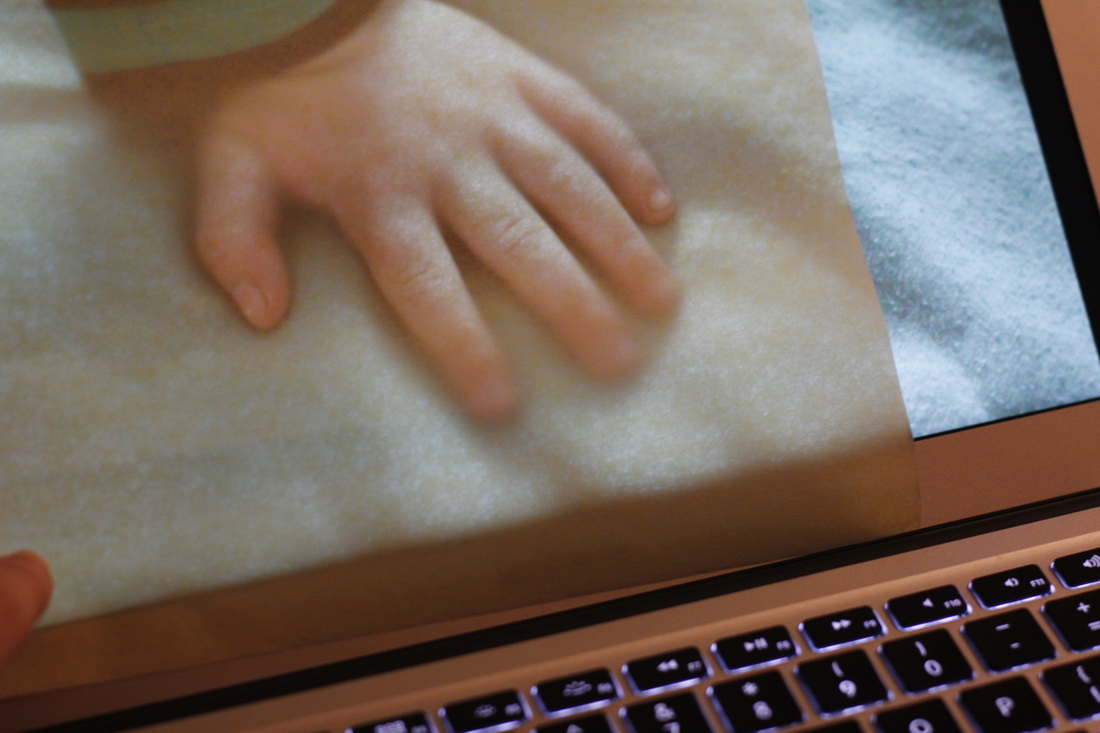
I searched and searched for a way to fix my mistake.  Luckily, I had several extra pictures to test on.  First I tried spray fixative, the kind used for artwork.  It smelled terrible and didn't stop the ink from bleeding when I dripped water on the test piece.  I tried clear, iron-on vinyl.  It protected the picture, but it looked weird and would have taken a long time to put on around all the embellishments I'd laboriously applied (some would have been impossible).  After thinking about it for months, I finally hit upon the idea to use fabric medium, the kind that can be added to acrylic craft paint to make it permanent on fabric.  I applied it to a test picture, and it worked!  The series of images below shows one of my tests where half the picture was painted over with fabric medium and the other half left alone. 

Picture
Picture
Picture
 
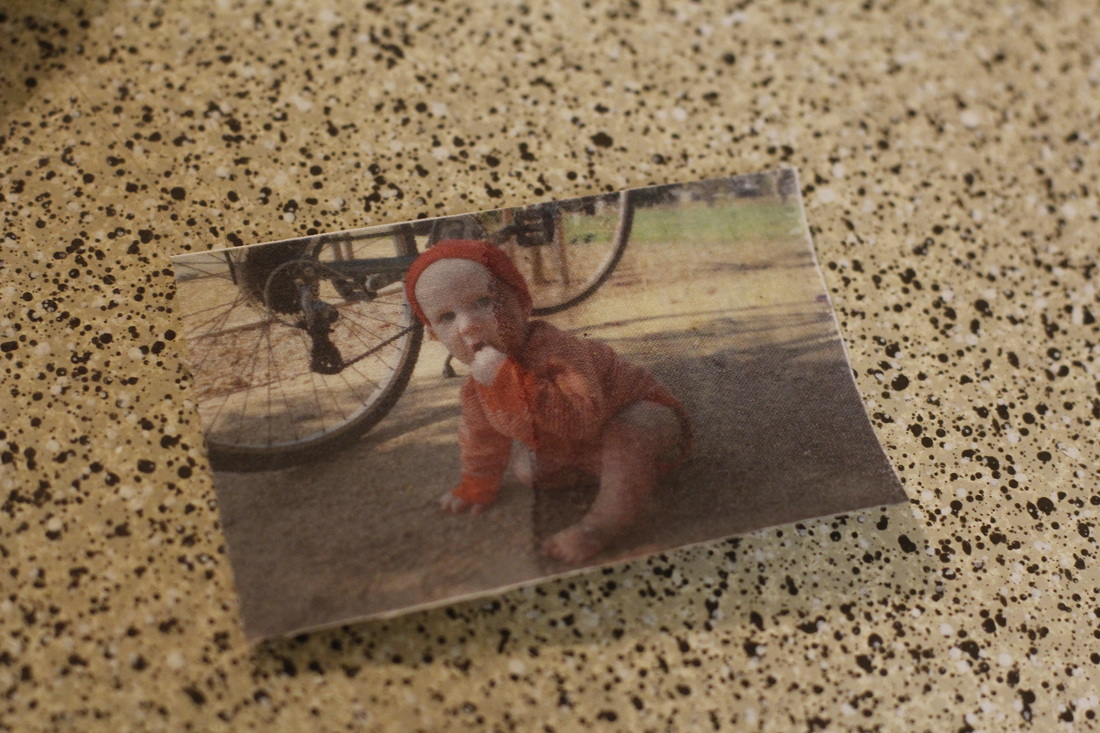
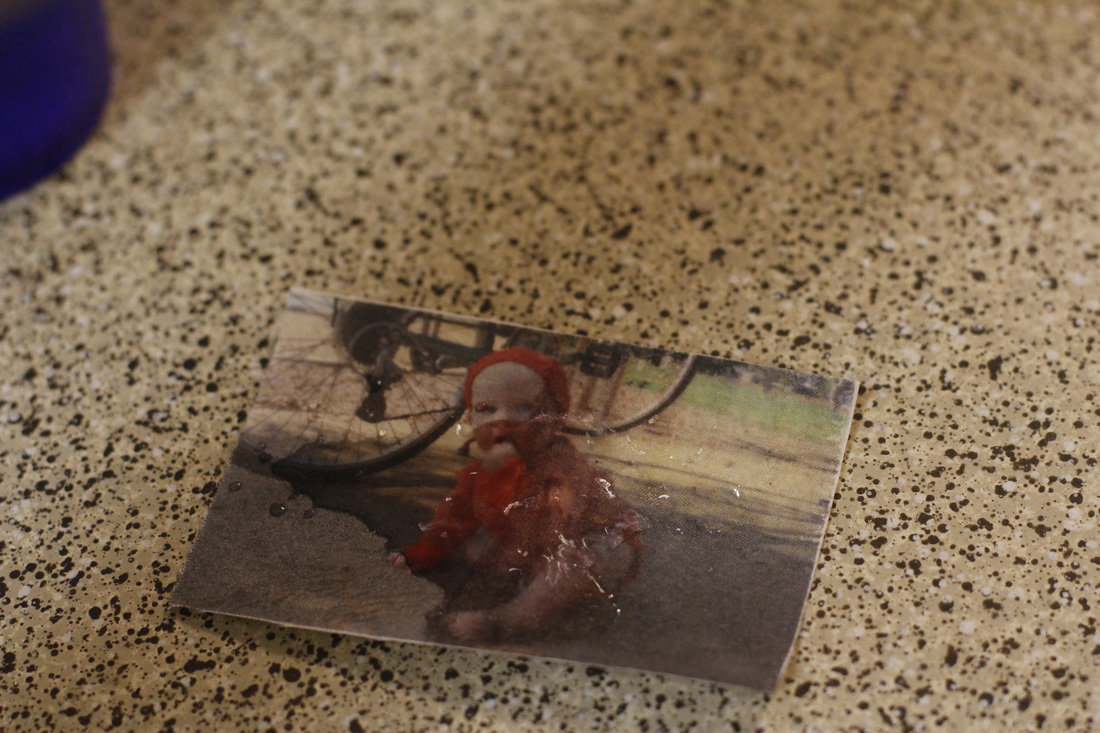
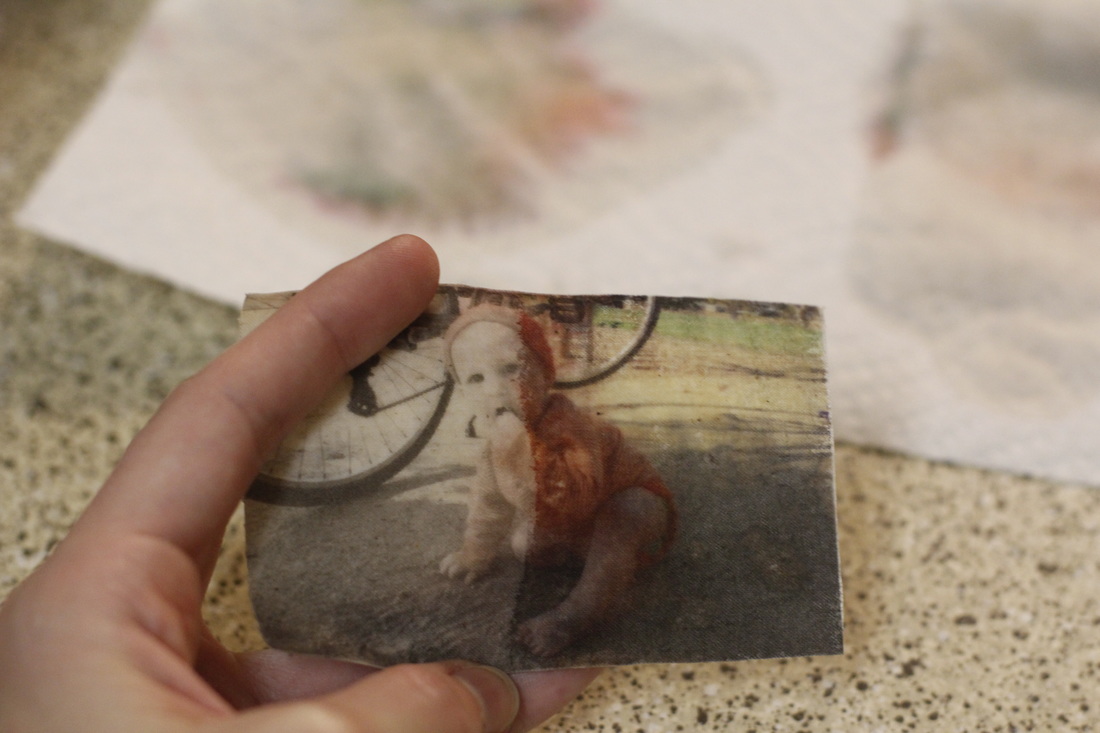
Although the ink in this particular test piece didn't bleed like the rest, a quick dab with a paper towel was all it took to remove all the colored ink from the untreated half.  The water basically turned it into a drab black and white image.  So, I guess the tutorials I read were right...as long as you are only printing in black and white.  If you use color ink, you have to use pretreated fabric to keep the pictures safe from water. 

Picture

If you find yourself in a similar situation, here are some tips for protecting your fabric-printed pictures from water.

  • Be aware of which colors bleed most.  I found that red and blue ink bleed the most, while blacks and greens don't bleed much at all.  Use short, gentle brush strokes over the vulnerable colors.
  • Do the lighter colors first, let them dry for a few minutes, and then work on darker colors around them.
  • Use a paper towel to clean the ink off your brush.  Do it often, but especially when moving between colors that bleed.
  • Use a small brush for detail work in small color areas or between embroidery stitches and embellishments.
  • Try not to drool on the pages yourself while you are concentrating on being careful (trust me, it happens).
  • Don't worry about shiny spots from the fabric medium.  These (mostly) go away after drying and ironing.
  • Once you have painted over all the images with fabric medium, follow the directions on the bottle for setting (usually just ironing with a pressing cloth).


I went ahead and did all of the pictures, so now my little guy can finally enjoy his book without me hovering over him to make him stop putting his mouth on it.  It's such a relief not to have to worry about it.  And now that I've learned from this mistake, I'll be sure to use pre-treated fabric for my projects.

I'm curious, though.  What was the mistake you made?  'Cause you did raise your hand, right?

2 Comments

Book Review: All Points Patchwork

6/25/2015

2 Comments

 
Have you noticed how popular English Paper Piecing has become?  It seems to be everywhere, or at least all over the places I frequent on the internet.  But let me back up for just a moment.  Perhaps you've not heard of English Paper Piecing, also known simply as EPP.  Perhaps you know only that it involves lots of little pieces that must be sewn together by hand.  Yes, it's true, though, in everything I've read, people say it's a meditative process they enjoy. 

After reading so many good things (particularly this review) about the new resource book All Points Patchwork by Diane Gilleland, I decided to purchase a copy of the book to see what all the excitement was about.  While I waited for my book to be delivered, I did all kinds of research into the mathematical aspects of EPP, the geometry of the shapes, and how to create repeating designs (cause I'm nerdy that way, and I enjoy learning about stuff).  I'll definitely write more about that in a future post.

But back to the book.

Picture

As soon as I saw the cover I knew it was going to be a good book.  And, flipping through the pages, I saw so many beautifully-photographed projects and well-illustrated instructions.  I took it with me on my very next trip to the park with my toddler and got started learning about EPP.  Diane's excitement for her craft comes through on every page.  Her comfortable, easy-going style of writing is like an old friend siting beside to you explaining what to do next.  I enjoyed reading it both for this fact as well as the wealth of information and ideas it provides.

The book begins with a brief, but concise, guide to selecting materials and tools.  The next section includes clear instructions on basic techniques, including cutting fabric, using templates, making knots, appliqueing by hand or machine, and more.  And every instruction is paired with a clear image to illustrate it.

Picture

One of the first things I noticed is that there are slightly different "rules" depending on the shape and size of each piece you are working with.  For example, basting a piece through the paper and fabric is most helpful for pieces with sides longer than an inch, but tacking through the fabric only will generally suffice for everything else.  And the photographs clearly illustrate this fact.  Once you have read through the book once or twice, these images provide a quick reference guide. 

Picture

Each category of shape is given its own chapter.  Triangles and tumblers, for example, are the subjects of Chapter 6.  This is helpful since the rules, or guidelines, really, are similar for each type of shape.  Diane explains how each type of shape is measured, either by one of its sides or by its height.  For those wanting to purchase or create their own templates, this information is essential to accurate piecing.

Picture

For the mathematically inclined, drafting instructions are included for every shape.  I particularly appreciate this since my favorite part of any project is making up a pattern.  But don't get scared off if you aren't skilled at arithmetic.  The instructions are simple to follow even without a background in geometry.

Picture

Diane also gives suggestions for repeating designs for each shape (though they tend to be basic and often limited to only one shape).  The patterns she shows are created by changing the color and/or orientation of the shape to make interesting designs.  It is by no means an exhaustive list, but a helpful way to see how to manipulate the overall look of the finished piece.

Picture

She also provides alternate methods on stitching together shapes.  Although EPP is appealing, in part, because the pieces can be sewn in almost any order, there are ways to make it easier on yourself and reduce tension on the stitching that is already in place.

Picture

In addition to the traditional, straight-edged shapes, All Points Patchwork includes several curved shapes.  Although many people feel intimidated by machine-sewn curves, EPP can actually be easier since it removes the tension differential caused by the feed dogs and the presser foot.  The tips and tricks for curved shapes are quite different from the other shapes, so a thorough reading of this section is essential for increased success in sewing curves.

Picture

One of my favorite things about this book is that it does not assume you want to make a quilt.  In fact, it does not assume you want to make anything.  What I mean by this is that the book covers the techniques of English Paper Piecing and includes ways of applying it, but it does not include project instructions.  Instead, there is a project inspiration page for each shape that is meant to give you ideas.  I appreciate this because I rarely make projects from a book or other source as outlined.  I prefer to use the ideas and expand on it or put my own spin on it.  This book encourages you to do just that.

Picture

My journey into EPP began with this book, not more than two weeks ago.  I have yet to cut out any shapes, but my mind is brimming with ideas.  I will share my experiences (and even some designs!) with you as I delve deeper and continue to learn.  On my last trip to my local quilt shop I purchased a few bold prints that I think will be perfect for fussy cutting into some EPP shapes.  I can't wait to see what I make!


2 Comments

A Fathers' Day Tutorial: Toddler's Handprint

6/20/2015

0 Comments

 
One of the quintessential Fathers' Day gifts is a handprint of a child.  In my own family, I remember one year when we made a t-shirt for my dad that had six sets of handprints on it, one from each child.  I remember him wearing it proudly.  My youngest sister must have been about four or five when we made it, so she (and everyone else) was old enough to understand the concept of keeping a steady hand.  But anyone with a very young child knows how difficult it can be to get a satisfactory handprint.  When I made the fabric memory book for my son's first birthday, I discovered the perfect solution to this problem.  The answer was photography.  Okay, stay with me here.  I've got a short tutorial that will explain everything.


Toddler Handprint Tutorial

Materials:
 - Digital camera
 - Computer
 - Tracing paper or equivalent
 - Pencil
 - Ruler


Instructions:

First, find a low, flat surface that your child can easily reach, such as the floor, a bed, or coffee table.  Get your child to place their hand flat on this surface.  It might take some time, coercion, and modeling. Take lots of pictures.  Try to get a shot from above to get the best perspective with the least distortion.  Then, measure your child's hand from the crease in the wrist to the tip of the middle finger.  Write this measurement down.

Picture

Download the best picture onto your computer.  Resize the image until the measurements are life-size. 

Picture

Lay a sheet of thin paper, tracing paper is best, over the computer screen.  A bit of tape can be helpful to keep the paper in place. 

Picture

Using light pressure, trace the hand image with a pencil.  Cut out the resulting handprint shape.

Picture

I used my handprint shape to make an embroidery pattern, but you could also use the shape to make a stamp, trace it onto pretty paper to make a card, or get creative with an idea of your own.  There are only a few short hours until Fathers' Day.  Use this quick and easy tutorial to make something special for the special man in your child's life.  Happy crafting!

Picture
0 Comments

Design Work

6/17/2015

0 Comments

 
My goodness!  The last few weeks have just zoomed by!  I helped my husband prepare for the open house at the school where he works, we had family visiting, and we spent almost two weeks house sitting.  So much in a short time.  The hardest part was house sitting, though.  I only took a couple projects with me.  Paper, pencils, coloring pages, colored pencils, and the needle book I'm making.  I tried to focus on ideas, brainstorming things to design, make, and share with you.

Picture

This coloring book is one I took from my husband's classroom.  It's all repeating geometric shapes to color in and make cool designs.  I colored in it while at the park with my little one, and I actually found it pretty relaxing.  The neat thing about these so-called "adult coloring books" is that you can focus on color combinations and how they impact the way each shape appears in the overall design.

Picture

Working with repeated images got me interested in incorporating tessellations into my work.  In the coming months, I'll be showing you some of what I'll make, and even show you how to make your own repeating designs and use them in a sewing project.  I don't know how I'll be able to wait, but I must.

Picture

I've also been working on sending out query letters for freelancing jobs.  I've got a couple coming up that I'll show you when they're done.  But I also spent some time designing patterns (or at least the beginnings of patterns) that I'll post here for you all to download for free.

Picture

What have you been working on?  Or is summer keeping you from creating?
0 Comments
    Picture


    Carley Biblin

    Hi.  My name is Carley.  I love to sew, craft, and create. As a Jane-of all-crafts so to speak, I enjoy sewing, writing, cooking, drawing, photographing.  But the constant thread (if you'll excuse the pun) throughout my weeks is needle arts. 
    I hope you'll join me in
    Making It Up As I Sew Along.
    Learn More...

    My Etsy Shop

      If you'd like to sign up to receive my newsletter, type your email address in the box below and get news, tips, and other neat stuff delivered to your inbox.

    Submit
    Instagram

    Archives

    January 2017
    December 2016
    November 2016
    October 2016
    September 2016
    August 2016
    July 2016
    June 2016
    May 2016
    April 2016
    March 2016
    February 2016
    January 2016
    December 2015
    November 2015
    October 2015
    September 2015
    August 2015
    July 2015
    June 2015
    May 2015
    April 2015
    March 2015
    February 2015
    January 2015
    December 2014
    November 2014
    October 2014
    September 2014
    August 2014
    July 2014
    June 2014
    May 2014

    Categories

    All
    Arts & Crafting
    Books & Music
    Celebrations
    Embroidery
    Family Photos
    Fixing
    Guest Posting
    Inspiration
    Kids & Family
    My Week
    Parenting
    Photo Tour
    Present Moment
    Recap And Goals
    Recipes & Food
    Reviews
    Sewing
    Shop Update
    Swaps
    Tips And Techniques
    Travel
    Tutorials

Powered by Create your own unique website with customizable templates.