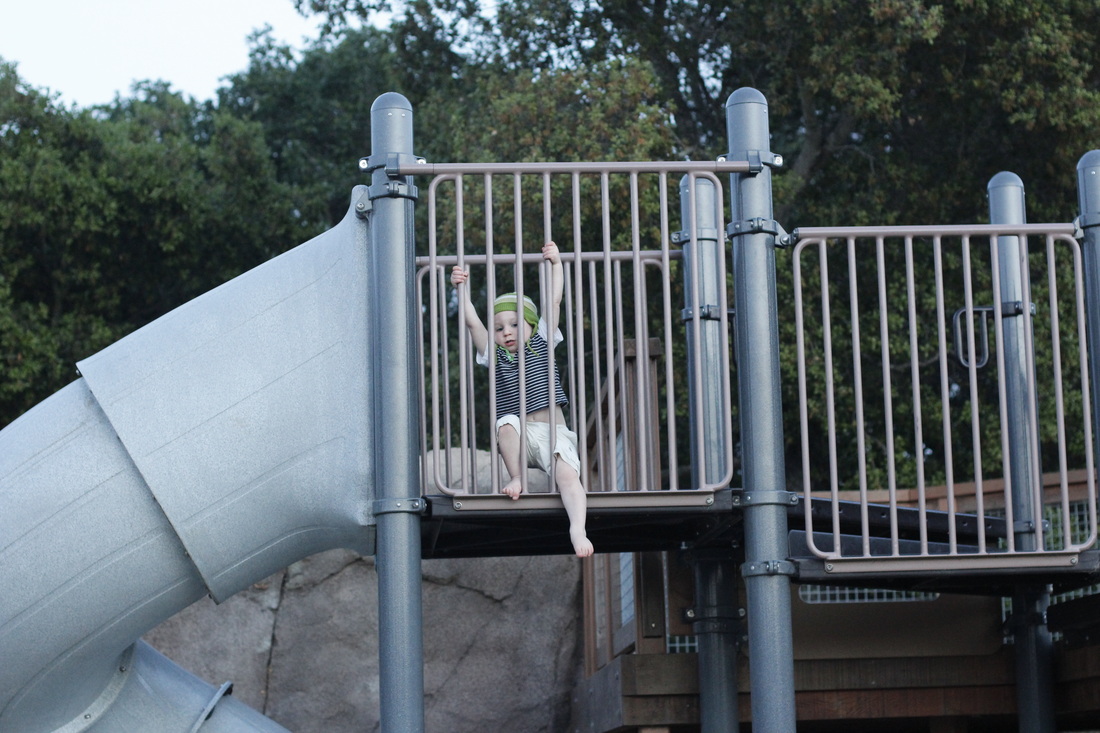
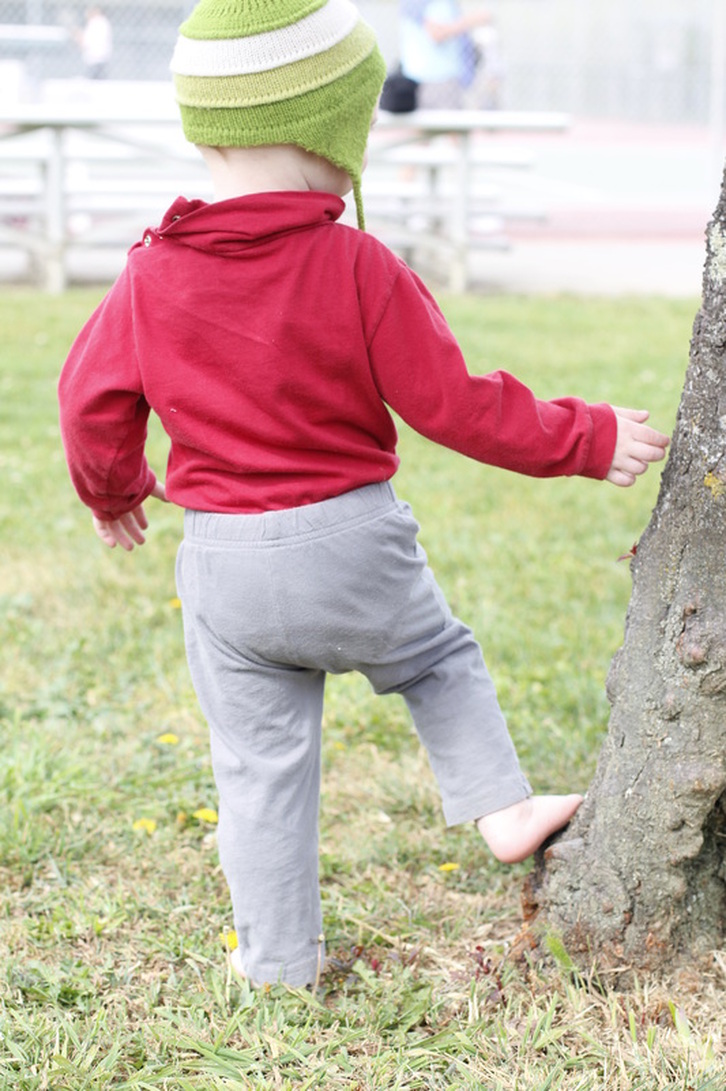
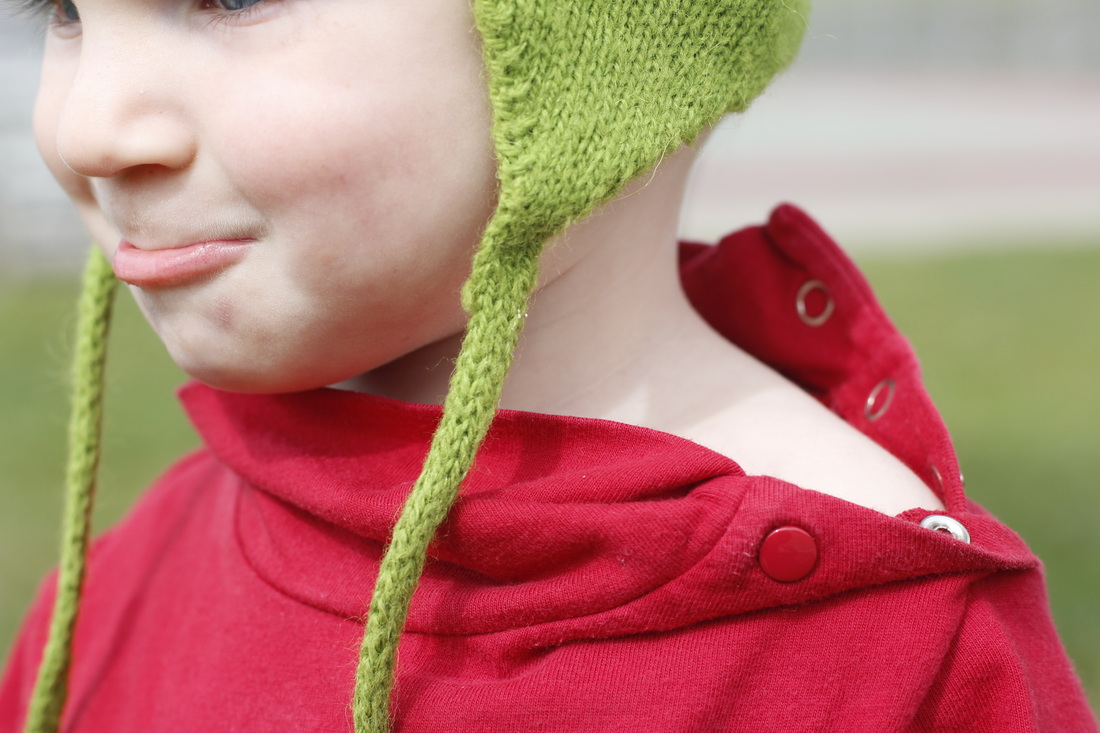
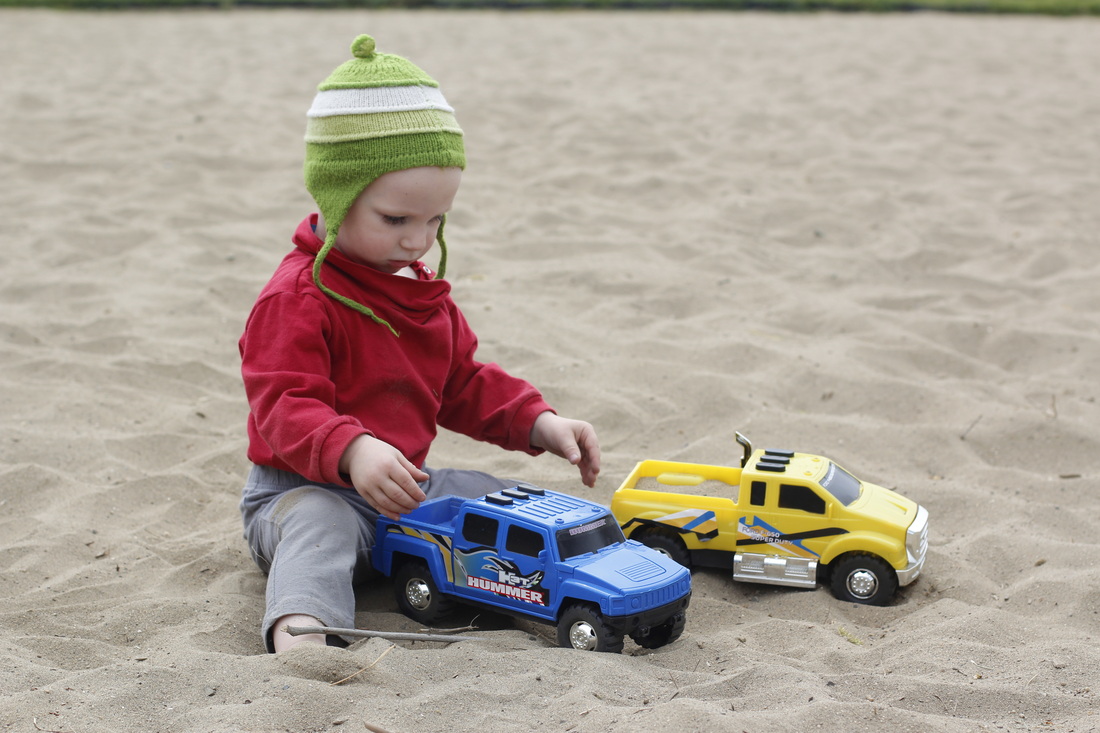
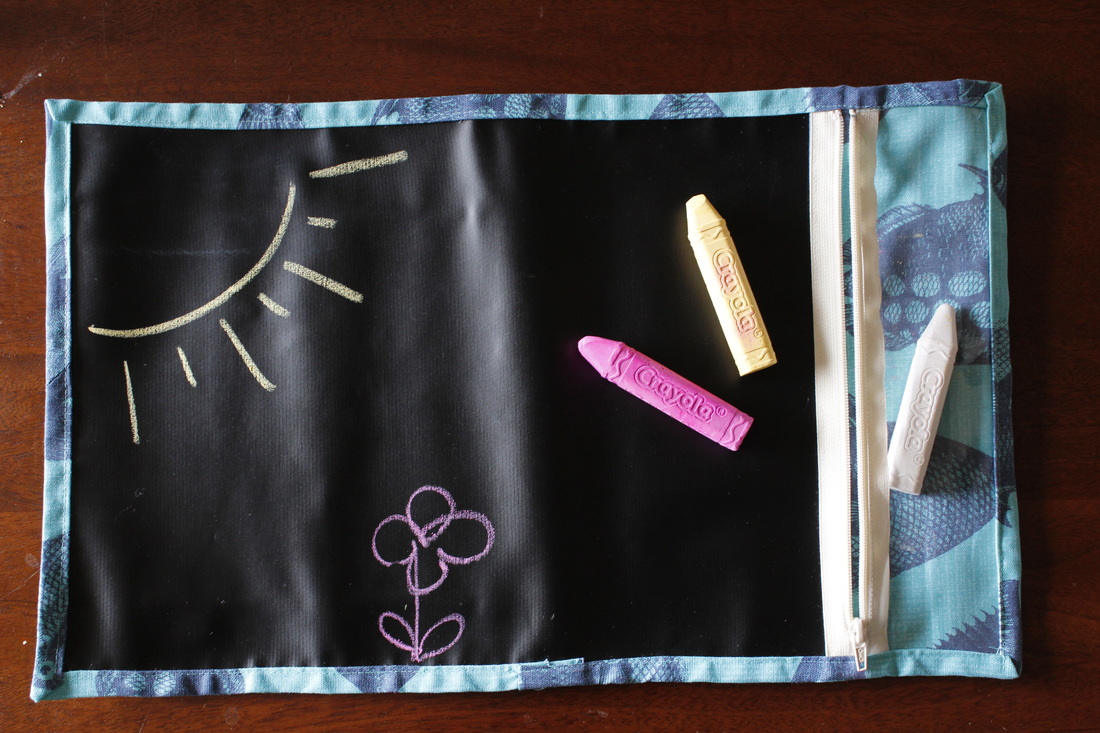
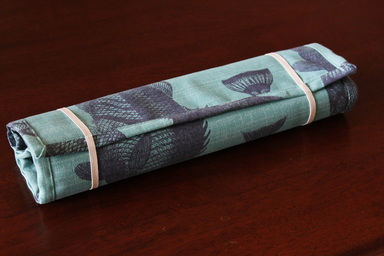
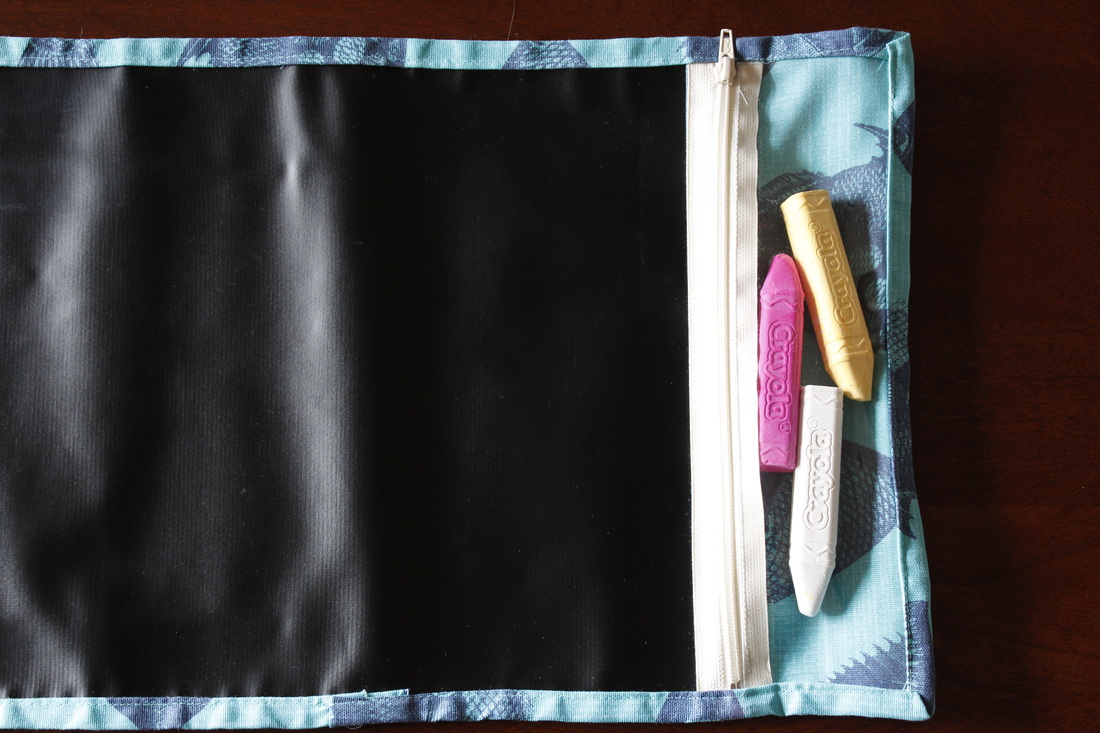
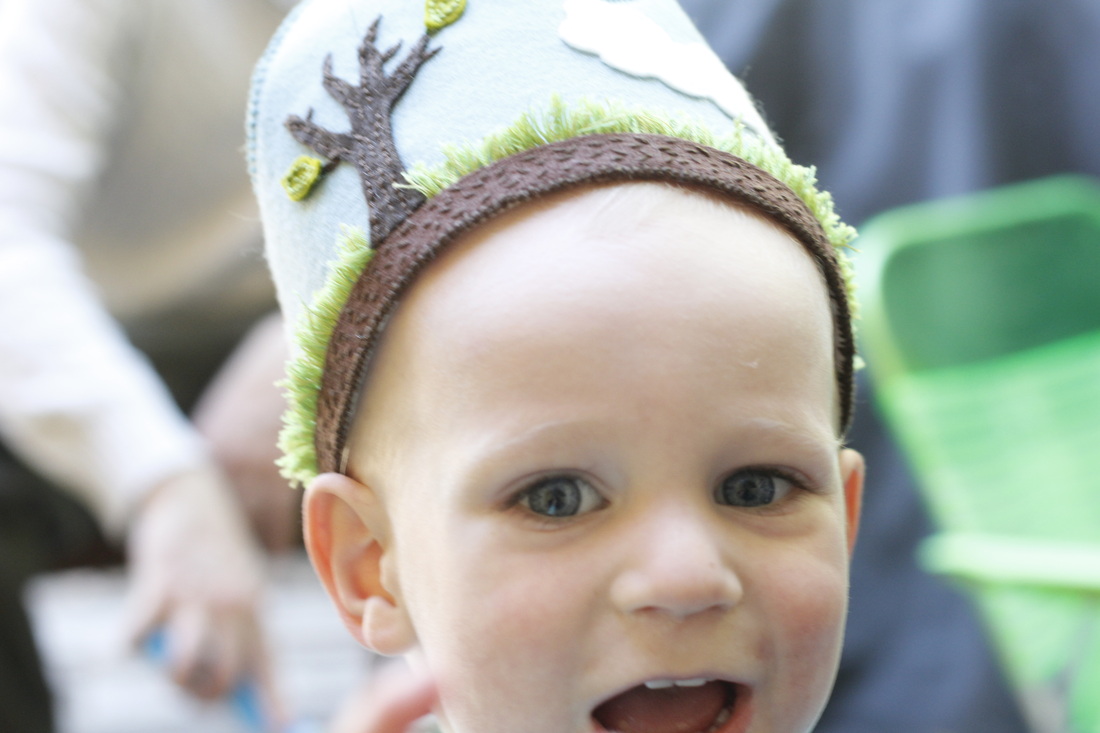
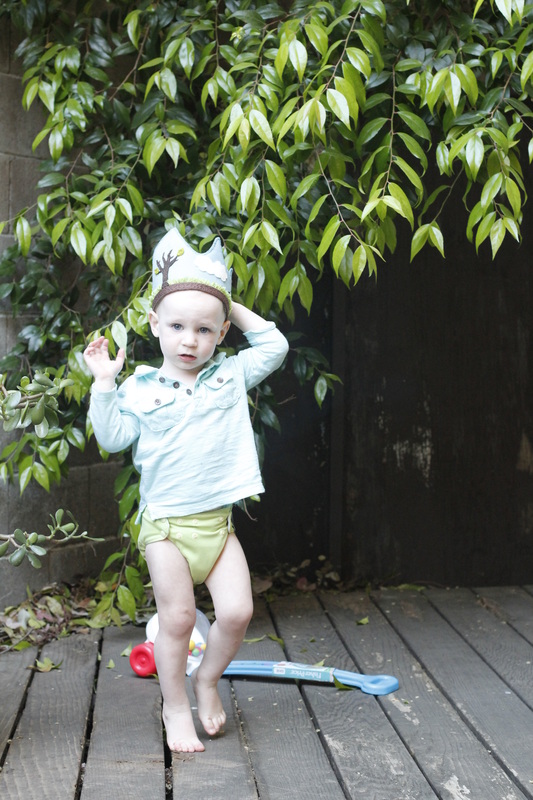
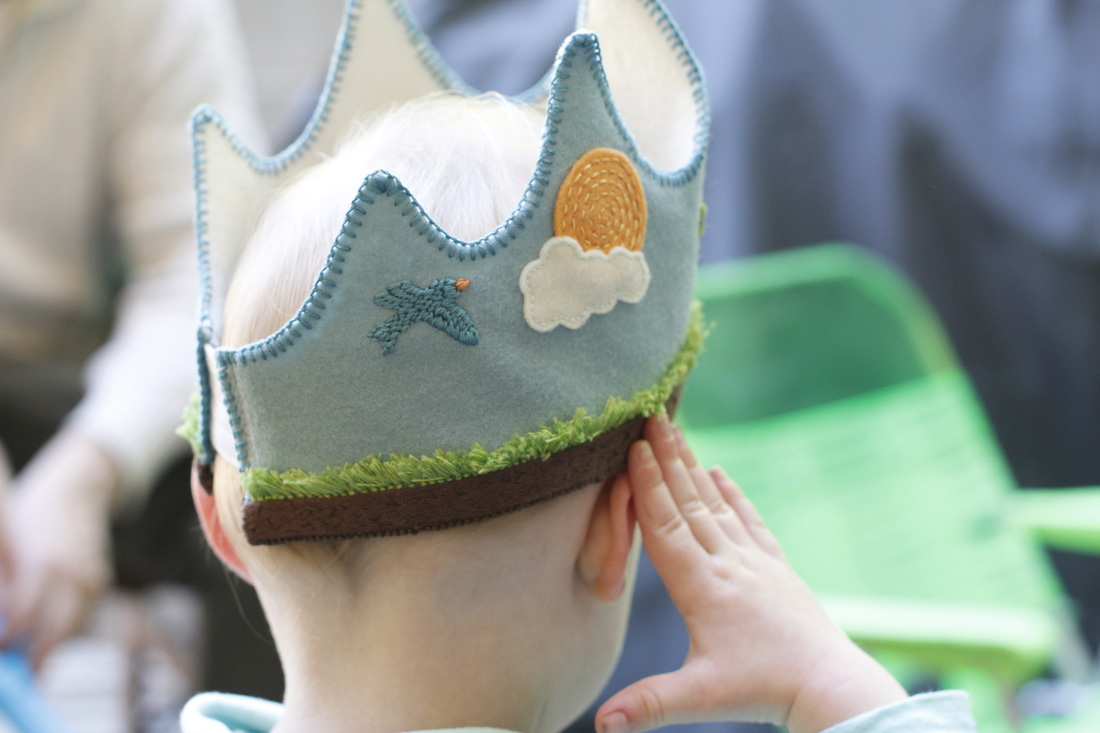
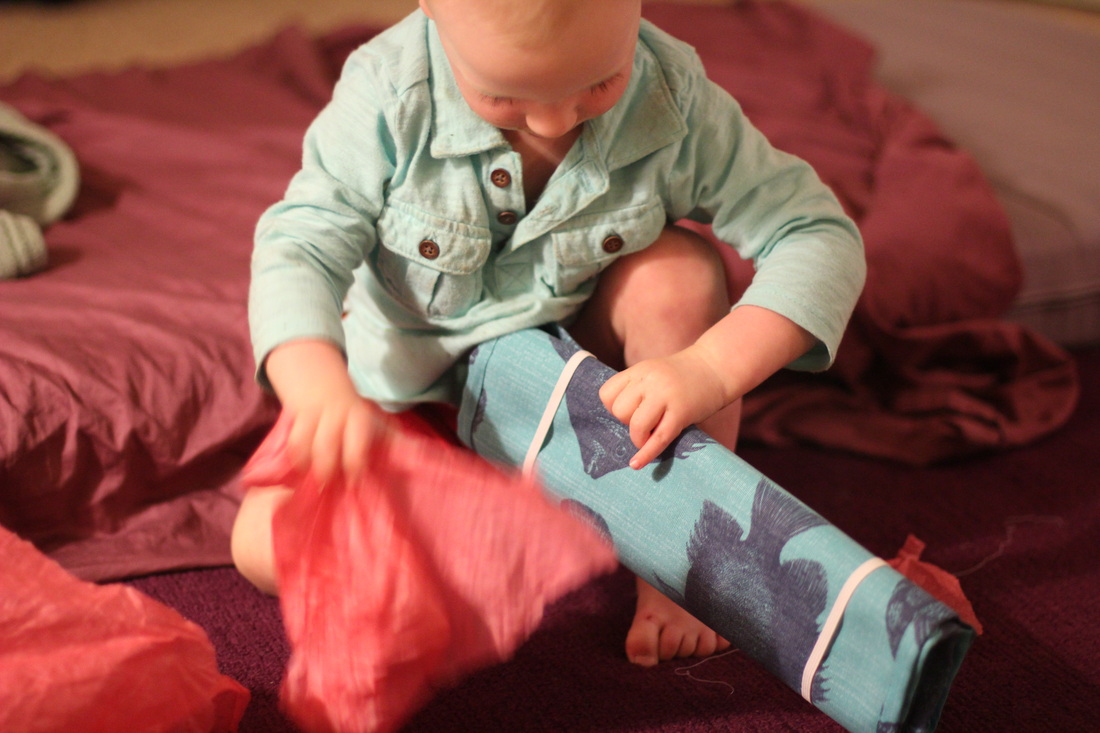
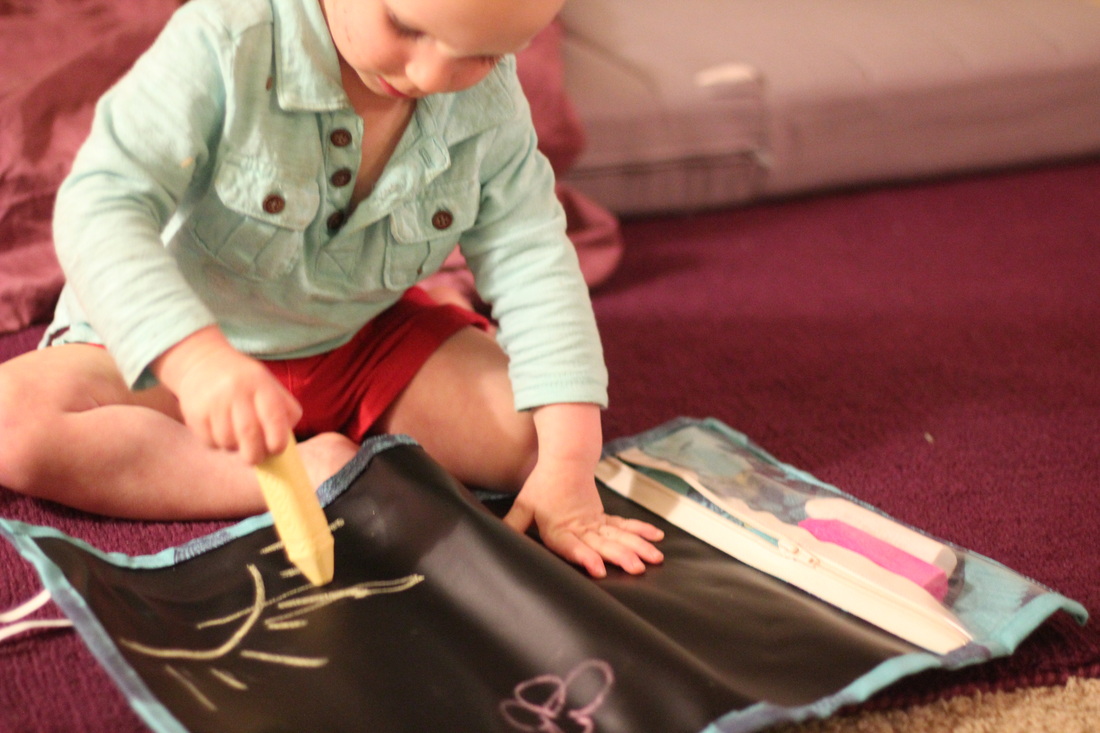
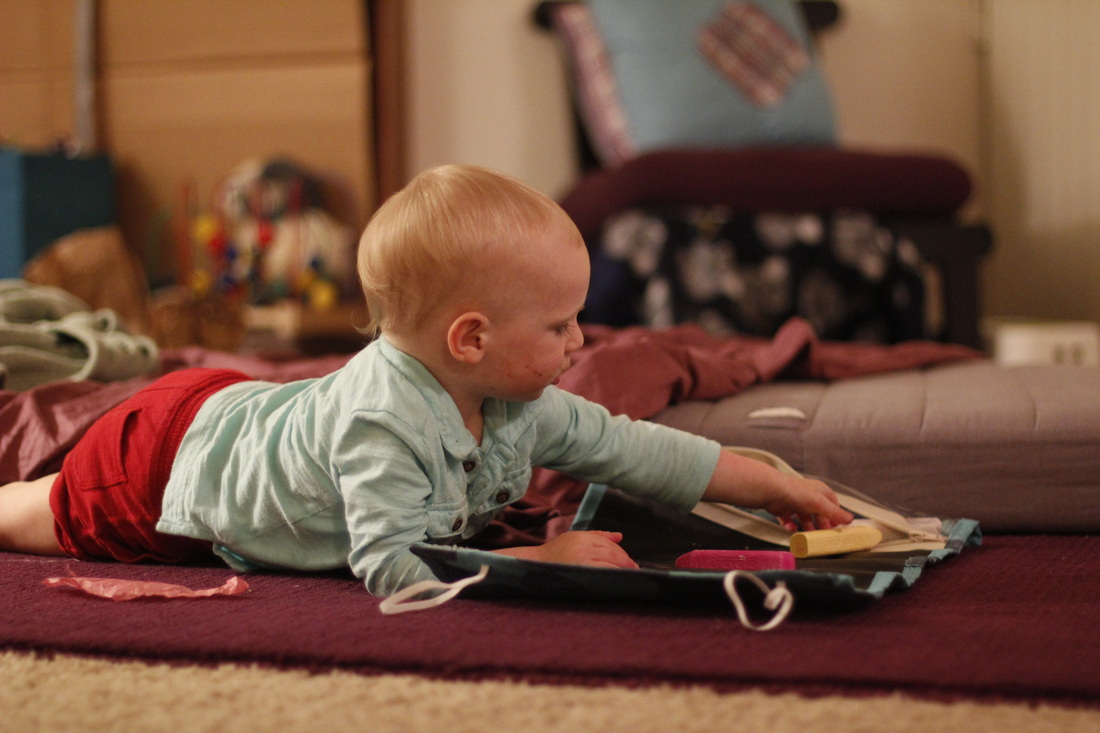
My little guy turned two yesterday. We started the morning with a few rounds of "Happy Birthday" and then slowly went on with our usual weekend tasks. Every once in a while, my husband would initiate another happy birthday song, which, of course, Goen loved and kept asking for "more, more, more." I stitched a second leaf onto his birthday crown and he wore it for, hmmm, about thirty seconds. That's ten times longer than he wore it last year. At the end of the day, we went to our favorite Thai food restaurant for dinner (which Goen also loves). When we got home I let him open the gift I made for him. He got right to work moving the chalk across the surface of the chalkboard fabric, just experiencing and living in the moment. Such a joy to watch! I can hardly believe it, how quickly his second birthday crept up on me. He is active, energetic, and, well, opinionated. And, as hard as it is sometimes, I don't think I would want him to be any other way. He keeps me on my toes and makes sure I'm practicing patience and taking deep breaths, and, oh my, it can be hard at times. But he's perfect and I love him. I can't wait to celebrate another year with him.
4 Comments
“The present moment is filled with joy and happiness. If you are attentive, you will see it.”
― Thích Nhất Hạnh, Peace Is Every Step: The Path of Mindfulness in Everyday Life A Friday ritual adopted from SouleMama. A single photo - no words - capturing a moment from the week. A simple, special, extraordinary moment. A moment I want to pause, savor and remember. Many months ago, our 50mm lens succumbed to gravity. It was only a short fall, but a decisive one. I was so sad that it was broken because it produced many of my favorite pictures. It worked even in low light, without having to open the aperture to maximum and losing the beautiful fuzzy background that gives photographs such great dimension. And I could take pictures of fast motion without compromising image quality by increasing the ISO. It is by far my favorite of our two lenses. Although the 50mm still sort of worked after its fall, it wouldn't focus beyond a few feet. We agonized over what to do. Buy a new lens? Too expensive. Get the broken one fixed? But what if the life expectancy was greatly diminished as a result of the fall and we end up having to buy a new one anyway? Back and forth we went, and the lens sat on a shelf, until we finally decided to send it to Canon to get it fixed. After a week and over 600 miles of travel through the mail, my beloved lens is back and working. Of course I had to take it for a spin. I spent the last couple days reacquainting myself with the settings and trying to break my habit of zooming in and out, which this lens doesn't do. It was just in time, too, because the weather and longer days are perfect for evening visits to the park, for low-light action shots, for capturing his big, blue eyes. Did I mention I love my 50mm lens? I'm so glad to have it back.
Do you have a favorite lens? One that takes exactly the picture you were hoping to capture? For me, my 50mm is it. “The present moment is filled with joy and happiness. If you are attentive, you will see it.”
― Thích Nhất Hạnh, Peace Is Every Step: The Path of Mindfulness in Everyday Life A Friday ritual adopted from SouleMama. A single photo - no words - capturing a moment from the week. A simple, special, extraordinary moment. A moment I want to pause, savor and remember. I got an early start on my son's birthday present, but then a bunch of things came up and it lay half finished on my ironing board for a couple weeks. Well, I finally got back to it, finished it, and wrote a tutorial to share with you. It's got a large writing surface and a zipper pocket that's big enough for sidewalk chalk (which is easier for little hands). This one is made with canvas to make it more durable, but quilting fabric would sew up nicely with this project as well. Apart from a couple little things, I love the way it turned out! As a first try, it's great, but I've got another one I'll make to perfect the process. Also, I ran into some lighting issues, so a couple steps don't have accompanying pictures. Where there are gaps in the photos, I'll try to explain in detail so you can follow along. After I make the second one, I should be able to fill in the missing shots. If something isn't clear, just ask and I'll answer. Travel Chalkboard Tutorial: Materials - 1/2 yard Chalkboard fabric - clear vinyl (mid- to heavy-weight) - 1 yard canvas (this is enough to make two chalkboards with matching binding) - 12" zipper - 18" of 1/4" elastic - matching thread Instructions From the canvas, cut one piece 13" x 27" (tip: if you are going to make two, cut out both before cutting the binding). From the chalkboard fabric, cut a piece 13" X 17.5". If you have a chalk pen with a sharp point, use that to mark cutting lines directly on the fabric. If not, use painters tape and a pen. From the clear vinyl, cut a piece 13" x 4". Lay out the canvas wrong side up. Lay the chalkboard material on top so the left, top, and bottom edges match up. Baste the layers together 1/4" from the edge along the top, left, and bottom. Sew with the chalkboard fabric against the feed dogs to prevent bunching. Leave the right side of the chalkboard fabric unstitched for now. Fold over the right side of the canvas about 1/2" and press to create a hem. Fold over again so that 4" of the right side are visible and press. The canvas should now cover the right raw edge of the chalkboard fabric. Set this aside while you prep the zipper pocket. Place the vinyl so that one long side aligns with the right edge of the zipper tape. Sew the vinyl to the zipper along the right side. Turn the vinyl to the other side and press the fold with your fingers or with a warm iron over a pressing cloth. Lay the canvas/chalkboard piece out so that the folded canvas side is on the right. Lay the vinyl piece over the canvas so that the left side of the zipper tape goes just passed the hem on the canvas. Sew the zipper tape down far enough from the edge so that you stitch through the canvas hem and chalkboard fabric. This way you will only have one line of stitching showing on the back side. To minimize the appearance of this stitching line on the back, use a matching thread in the bobbin. If the vinyl is sticking over the edge on the right side, trim it so that it is even with the canvas. Baste along the right side 1/4" from the edge. Trim the zipper tape if it is sticking out passed the edges on the top and bottom. Turn the chalkboard over so that the canvas back is facing up. Cut the elastic into two 9" pieces. Fold one piece in half and match the raw edges with the right side of the canvas (the side opposite the zipper pocket) about two inches from the bottom. Stitch it down 1/4" from the edge. Repeat for the other piece of elastic, placing it 2" from the top. To make one continuous strip, lay the shorter ends at right angles to each other with corners matching up and right sides together. Sew the strips together as shown in the photo. Trim the corners to 1/4" seam allowance and press the seams open. The final few steps cover binding. Cut strips of canvas 2" wide and the length of the remaining fabric. You will need about 5' of binding, so cut as many strips as you need to go all around the travel chalkboard, plus some for overlap. Working a section at a time, fold the strip in half and iron. Once you have completed the entire strip, open it up and then fold and iron the sides towards the center. Sew the binding on. If you have never sewn binding, or need a refresher, here is a great, in-depth tutorial. I stitched my binding on the first side, flipped it to the front, and then machine-stitched the binding by going through all the layers. I like the finished look the stitching gives on the binding on both sides. There are several other ways to attach binding, though, so find the one that you like best. To take your travel chalkboard on the road, roll it from right to left, starting with the zipper pocket. Once it's all rolled, stretch the elastic around to keep it shut. And that's it! Now you can make a travel chalkboard for any kids you know. They are a great option for grab-and-go trips as well as long road trips. Go ahead, give it a try yourself, too! And don't forget that there are only two weeks left to get the free felt crown pattern. Come April 1 it will be in my Etsy shop. Exciting news! I'm a guest poster over on Sew Mama Sew for their Six Weeks of Love for Softies event. About a month ago I got an unexpected email from one of the women that runs the site asking if I wanted to share a tutorial on how I made my yarn-embroidered sheep family. Apparently she had seen pictures posted on Abby Glassenberg's Facebook page (where she posts projects made with her patterns) and loved it. I agreed, got to work right away and actually finished before my deadline!
Oh, but on to the good part. My sheep! I went with brown yarn this time because I knew it would be better for taking process photos. And the green eyes really pop with the light brown felt. I tried to keep track of how long it took me to make her, just so I had an idea. It was difficult since I would work on her for a few minutes here, an hour or two there, and, sometimes, just a stitch at a time. My best guess is well over ten hours. But the result? Awesome! Head on over to Sew Mama Sew to read my post and learn how to make one of your own. Or buy this exact hand-embroidered 100% wool yarn sheep from my Etsy shop. Speaking of which, I'm offering 15% off in my shop until the end of March. Just use the coupon code "SewMama" during checkout. You can even use that discount on this beautiful new sheep! “The present moment is filled with joy and happiness. If you are attentive, you will see it.”
― Thích Nhất Hạnh, Peace Is Every Step: The Path of Mindfulness in Everyday Life A Friday ritual adopted from SouleMama. A single photo - no words - capturing a moment from the week. A simple, special, extraordinary moment. A moment I want to pause, savor and remember. Ever since I made the mouse pincushion for my swap partner I've been wanting to make more to put in my Etsy shop. I had a few of the materials I needed already, but crushed walnut shells are best done through mail order (I got mine here), and it took trips to several different fabric stores before I found the right prints to adorn their ears, tails, and bellies. Now that all of that is done, sewing has commenced. Yay! The first few are done and listed in my shop. Part of the reason I'm so excited about these is that these adorable mouse pincushions are made from mostly natural materials. From the cotton thread used to stitch them together to the crushed walnut shells in the base. The textured linen and smooth cotton add a great feel as well. Another awesome part is that I will also be offering the option of custom orders. Send me an 8" square of fabric and I'll make a pincushion just for you! Check them out now before they're gone! |
Carley Biblin
Hi. My name is Carley. I love to sew, craft, and create. As a Jane-of all-crafts so to speak, I enjoy sewing, writing, cooking, drawing, photographing. But the constant thread (if you'll excuse the pun) throughout my weeks is needle arts. Archives
January 2017
Categories
All
|