


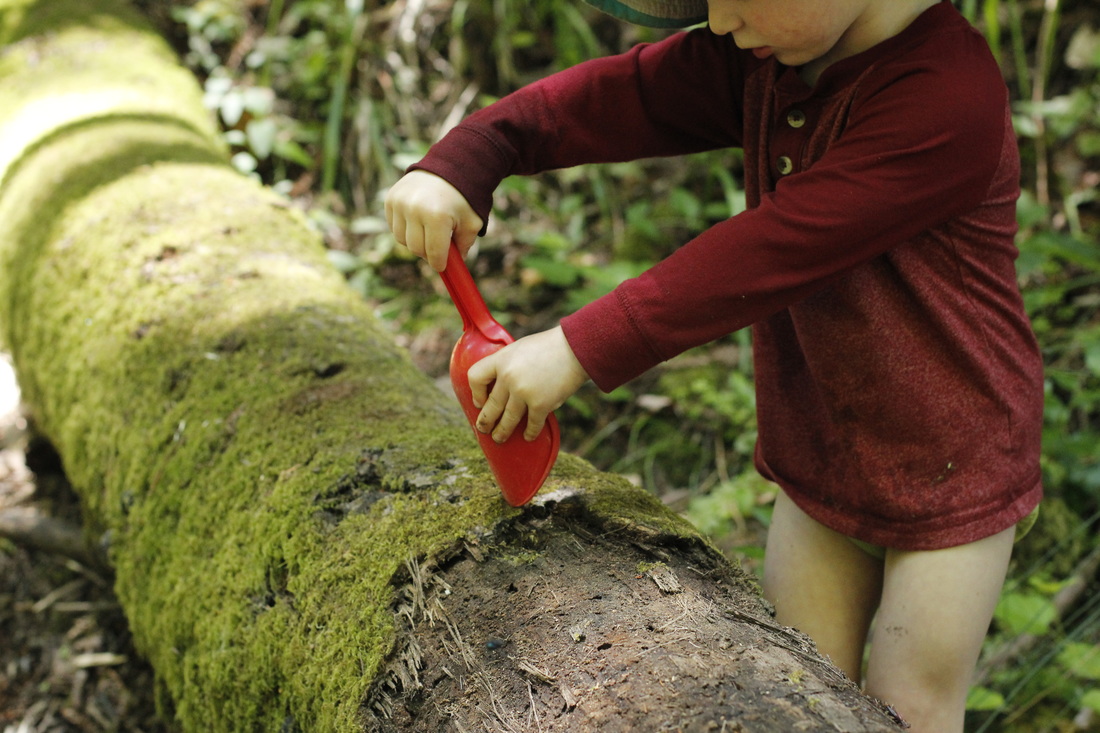
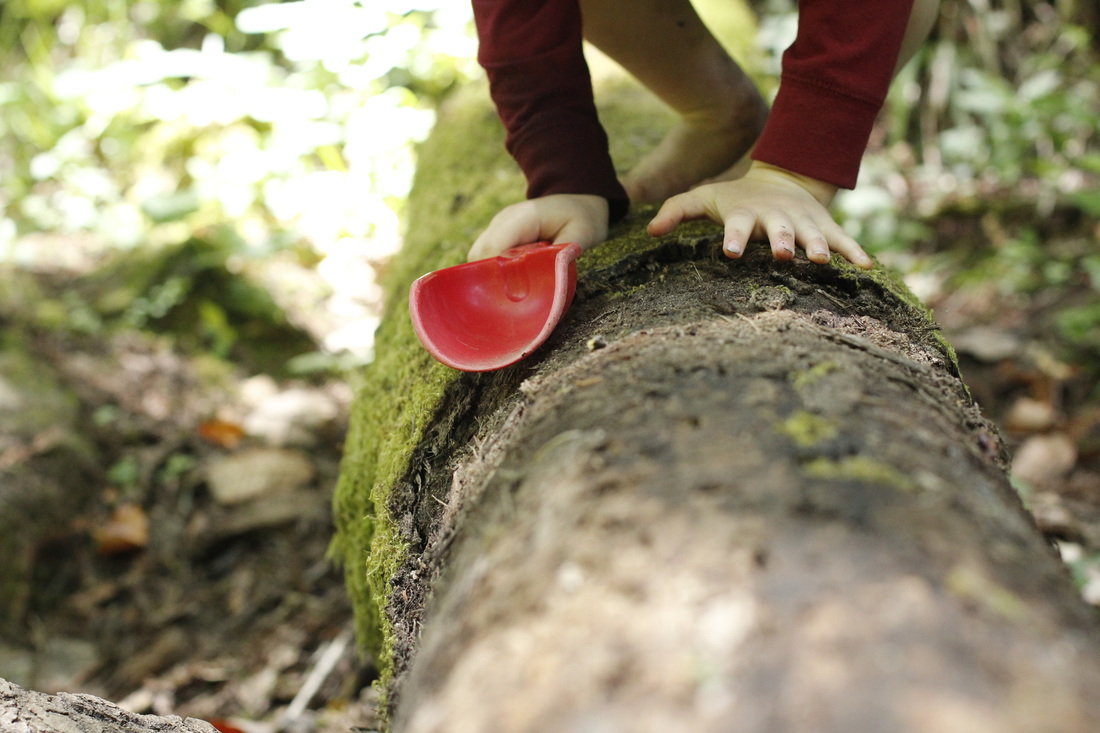


I hope you all enjoyed a wonderful Memorial Day weekend! It was definitely one of my favorites so far this year. Warm weather and cold river water are the perfect combination.
|
|
|
I hope you all enjoyed a wonderful Memorial Day weekend! It was definitely one of my favorites so far this year. Warm weather and cold river water are the perfect combination.
0 Comments
I've lost count of the times I've needed to go to the copy shop to print on heavyweight cardstock for my English Paper Piecing templates. Most times I just don't want to deal with taking my son in with me. It's not always a fun experience (him wanting to touch everything and scream at people and all). Of course, this means that my EPP projects often get stalled simply for a lack of toner on paper. Well, I finally figured a way out of having to go to the copy store at all. Plus, for me at least, doing it at home takes the cost from $1 per page to about 25 cents. The simple tutorial I have for you today is all about how to use a colorless blender pen to transfer a printout from any black-and-white laser-printed image to your choice of paper. Here's what you'll need: - Colorless blender pen (Chartpak makes a really nice one) - Cardstock or other paper in the weight you prefer (non-glossy is best) - Burnishing tool (such as a bone folder or wood spreading knife) - Laser-printed page(s) with your chosen design (each page can only be used once, so you will need one printout for each image-transferred page) Instructions: 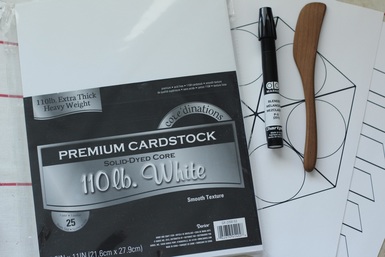 Gather your materials. You can save on paper costs by getting it when it's on sale and stocking up for future projects. You probably have a burnishing tool around your house. A spoon or wood knife work fine. You can find a blender pen at almost any fine art supply store or online. For your laser-printed image, any will do. I often have my husband print at work, and the library is my backup option. 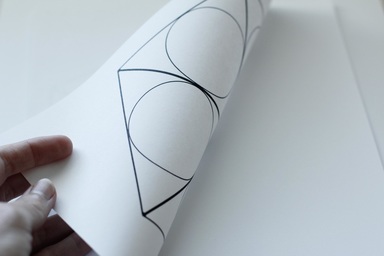 Place your chosen paper on your work surface. Put your printout right side down on top of the paper, aligning all the edges. 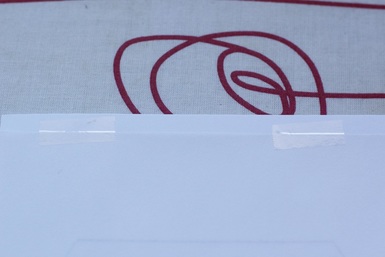 If you have a little wiggle room in your printout margins, scoot the printout down 1/4" to 1/2" and tape the pages to each other and to your work surface to stabilize the pages and prevent a misaligned transfer. 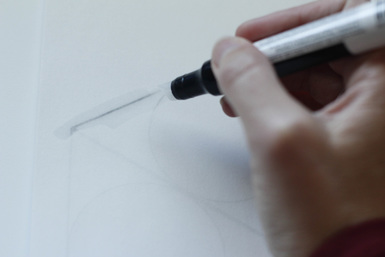 Open a window. Seriously, open it. All the way. If you don't have a window to open, go outside to do your transfer. Ventilation is key with the transfer pen. Use your pen to draw over the printed lines on your printout. The liquid dries pretty quickly, so work in smaller sections if you have a large design to transfer. 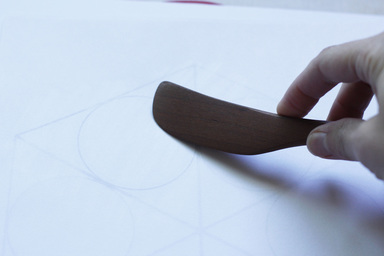 Use your burnishing tool to rub over all the lines you drew over with the blender pen. Continue drawing over and rubbing the lines until you have completed the page. 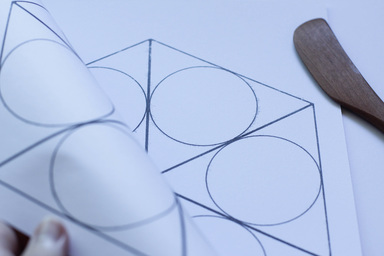 Carefully lift the printout to check that all the lines have transferred. If the original copy had thick or very dark lines, it may cause the pages to stick together. If this happens, peel slowly to avoid tearing. Don't worry too much about little gaps or splotchy areas. If the transfer is really splotchy, though, try printing with less toner by lightening the print setting. 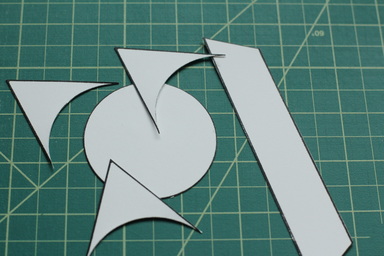 If you are using your image transfer for English Paper Piecing, your paper is now ready to cut out the templates. The transferred image should be permanent, but, just to be safe, put the black lines towards the back of your basted shape (the seam allowance side) to prevent any from rubbing off where it can be seen. I hope this technique is as useful for you as it has been for me. Several of my EPP projects have moved forward now and I can't wait to show you what they are.
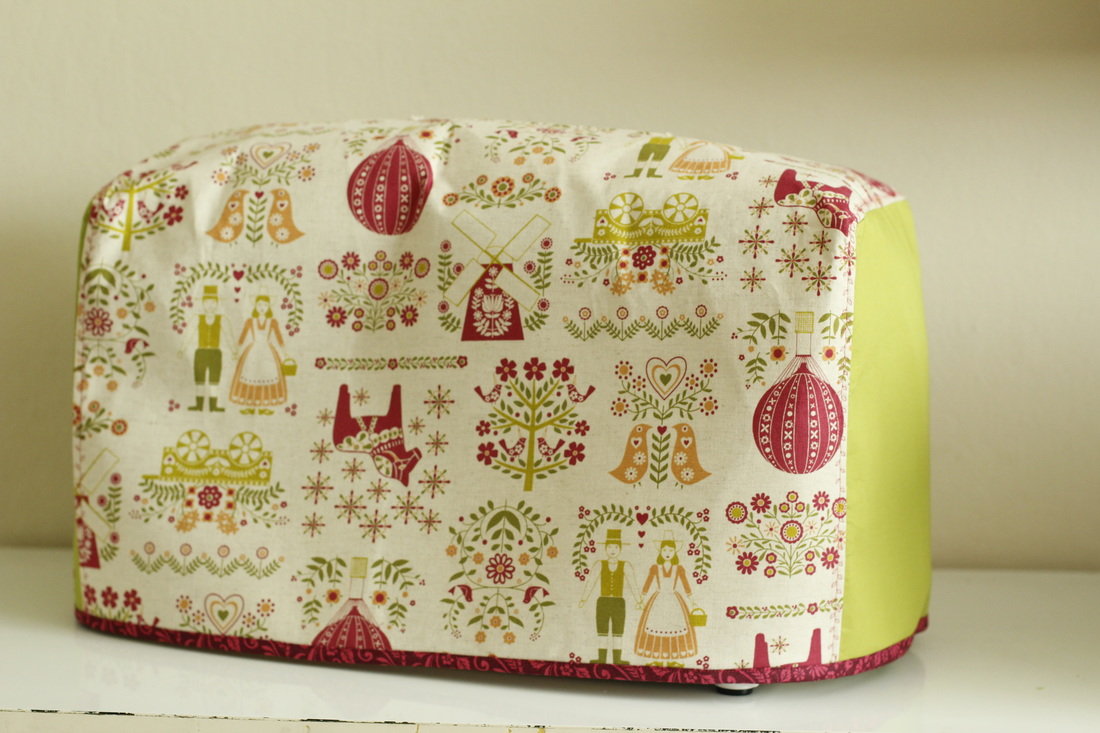    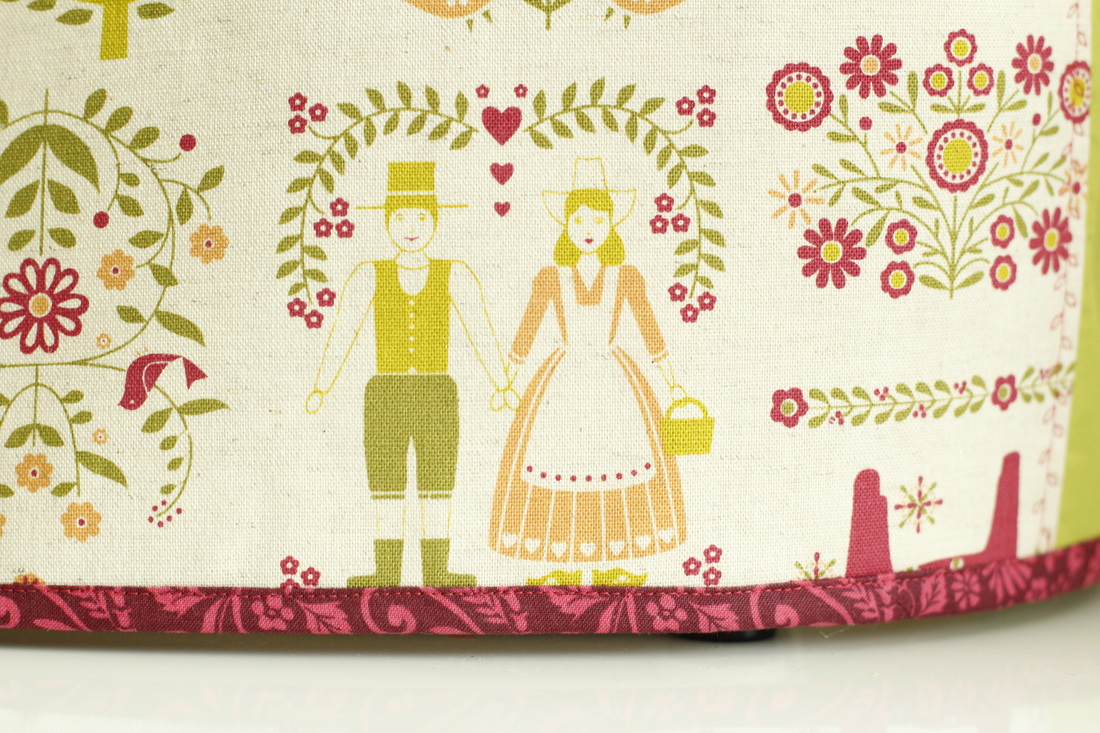 I was getting a bit tired (and depressed, really) of the white vinyl machine cover with black piping that came with my sewing machine. Last week I decided that I had put up with it long enough and I should make myself a new one. I took some pictures along the way and wrote a tutorial so you can make one, too. It's a simple design with the added feature of a handle slot so you can carry it with the cover on. You can leave this feature out if you want to simplify it even more. The directions work for any size sewing machine. It just requires you to make a few measurements or find the dimensions of your machine from the manual or manufacturer's website. Here's what you will need (exact amounts will depend on the size of your machine): - 1 yard of fabric for main piece - Fat quarter for side pieces - 1 1/3 yards of interfacing or stabilizer - 2 yards of binding - 2.5" x 10" scrap of fabric to match main fabric - Scissors - Sewing machine - Matching thread - Round object (approximately 2" diameter) - Marking pen/pencil Let's get started!
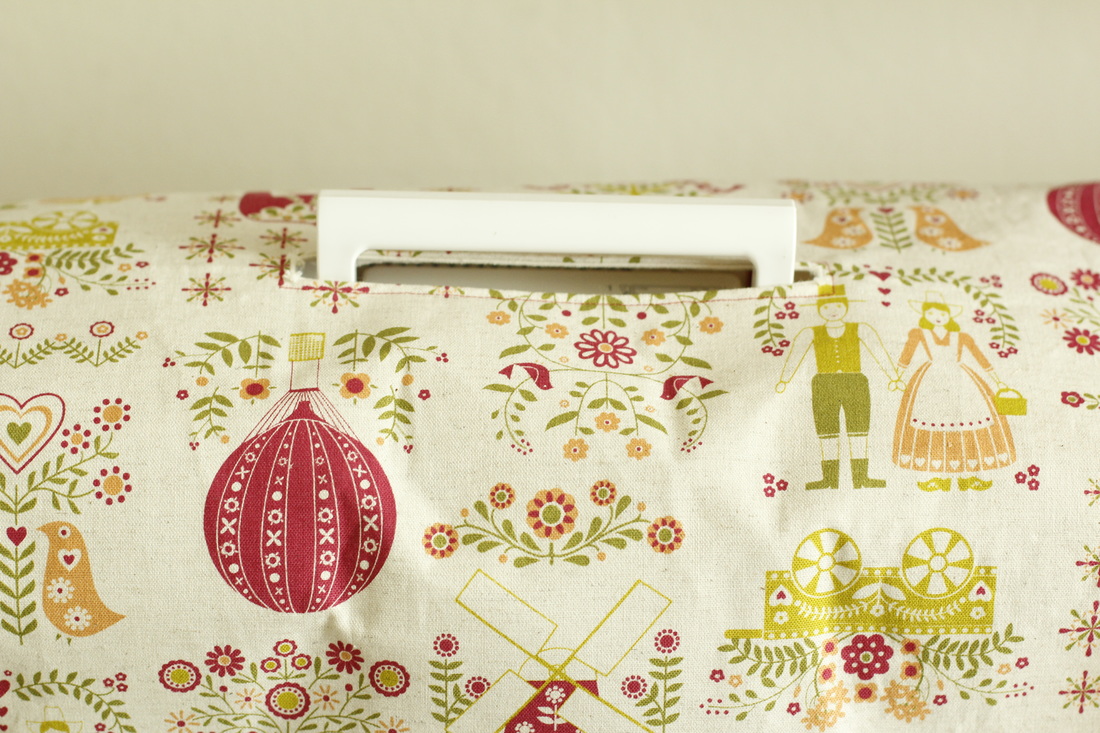
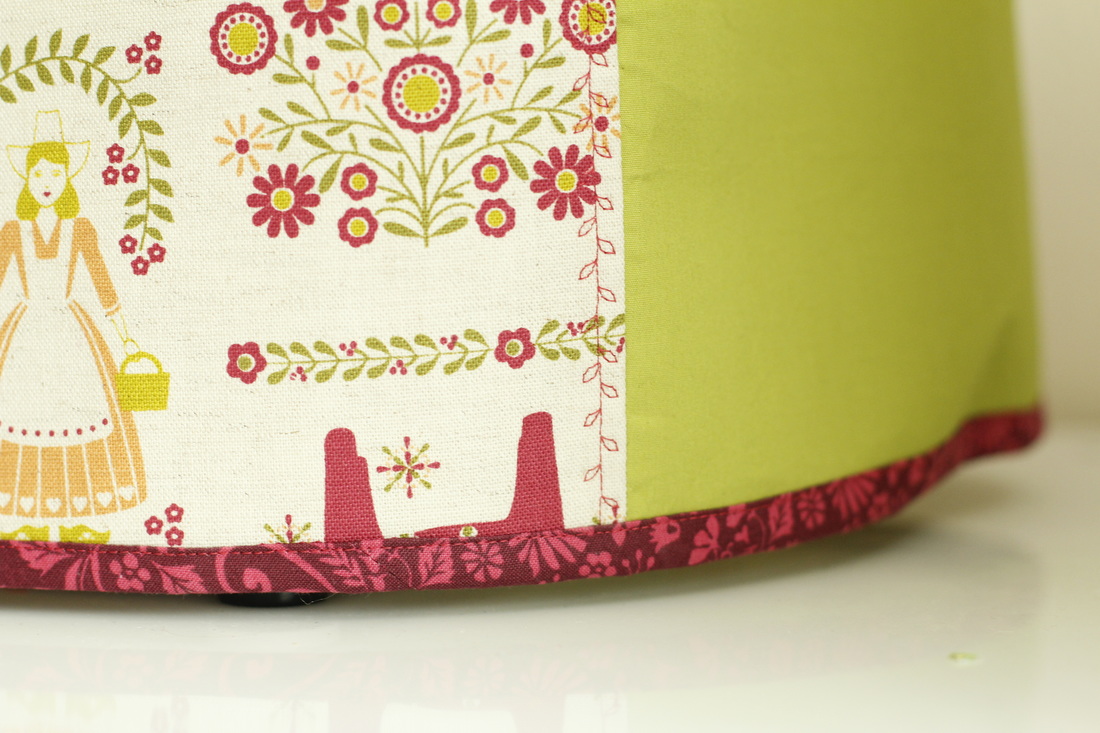
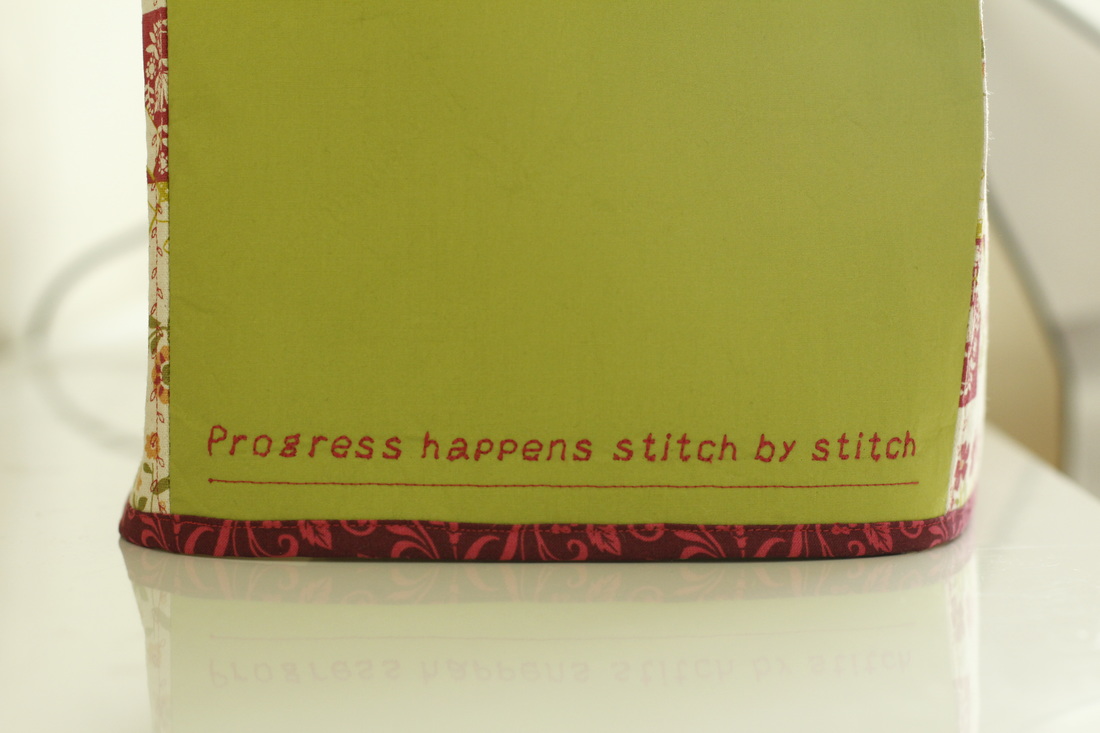
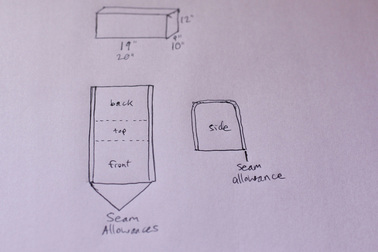 Make note of each measurement on a piece of paper. It's helpful to draw some pictures to help you visualize. Draw a three-dimensional box shape to represent your sewing machine and label the height, width, and depth. The diagram here shows the shapes of the two pattern pieces that make up the cover. To determine the length of fabric to cut for the main part of your cover, compute the following: 2H + D + 1. In other words, multiply the height measurement by two, add the depth measurement, and add an inch for ease. There is no seam allowance required for this portion. To determine the width of fabric to cut for the main part of your cover, compute the following: W + 1 + 2SA. In other words, the width measurement plus an inch of ease plus a seam allowance of your choice for both sides (1/4" to 1/2" is sufficient). To determine the height to cut your side pieces, compute the following: H + 1 + SA. In other words, height plus an inch of ease plus a seam allowance for the top only. To determine the width to cut your side pieces, compute the following: W + 1 + 2SA. In other words, width plus an inch of ease plus a seam allowance for both sides of the side piece. Write all these new measurements alongside the diagram along the corresponding side. Double check all your original measurements and your calculated measurements. 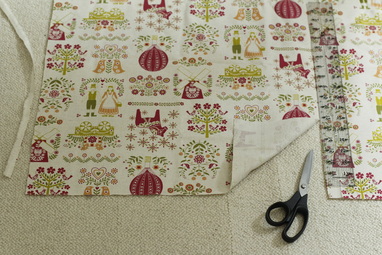 Cut your main fabric piece to size. Make sure to square off the edges and sides before cutting to make sure any printed designs are even in the finished piece. 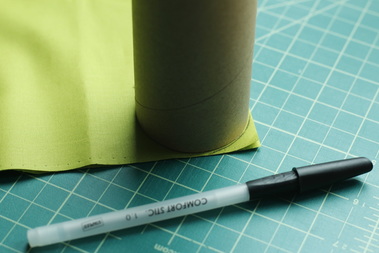 Cut two pieces of fabric for your side pieces. Use a small round object (such as a tube, cup, or other household item) and a pen or pencil to draw a quarter circle at the top corners of both side pieces. Cut along these lines to round the corners. 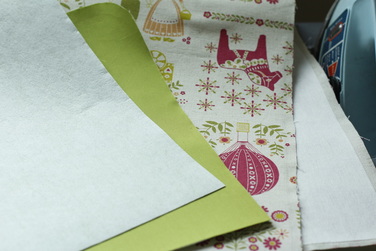 Cut fusible interfacing or stabilizer for each piece of fabric you cut in the previous steps. Fuse it to the wrong side following the directions on the packaging. 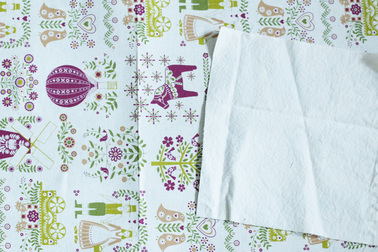 Fold the main fabric piece in half, matching the shorter edges, and iron a crease all along the folded edge. This will help you get an accurate placement for the handle opening, as well as placement of the side pieces later on. The next steps will require your scrap fabric piece.  Cut your scrap of fabric about 2.5" wide and two inches longer than the length of your handle. Use a fabric marking pencil to draw a line down the center of the fabric. The line should be as long as your handle plus an inch. Center the line as best you can, but exactness is not essential. 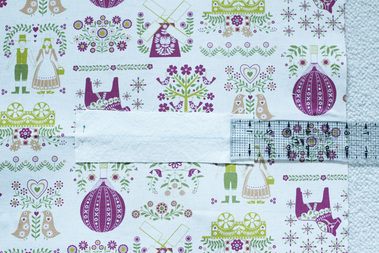 Place the scrap of fabric on the right side of the main fabric piece so that the line you drew matches up with the crease. The line should be placed so that it is the right distance from each side. Refer to your handle measurements for placement, taking into account that you added ease and seam allowances to the main fabric piece. Pin the scrap in place. 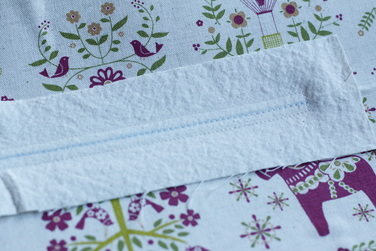 Baste the scrap of fabric to the main fabric piece along the blue line using a long stitch on your sewing machine. Using a shorter stitch, sew 1/4" to either side of the line along the length. At the ends of the line, your stitches should be right up against the line. 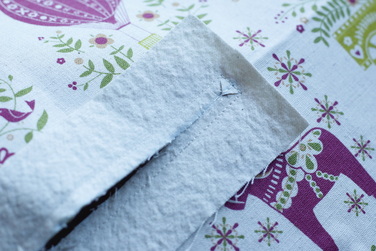 Fold the main body piece and scrap in half across the line and cut through all the layers (you should be cutting along the blue line only). Unfold and cut through the blue line and basting stitches, stopping 1/4" from the ends of the line. Then cut towards the corners, being careful not to cut through the stitches. 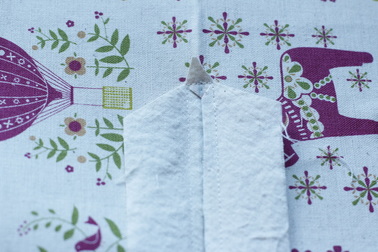 Cut off any excess fabric and cut away the corners of the scrap fabric, angling the sides as shown in the picture. Make sure to leave at least 1/2" of fabric on all sides. 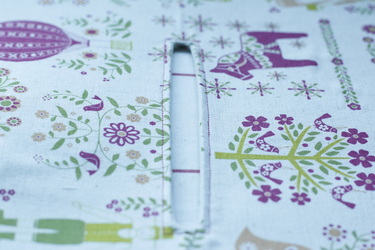 Push the sides of the scrap of fabric through the cut you made. Pull the fabric until it disappears underneath the main fabric piece. Press with a hot iron. Top stitch to secure all the layers. 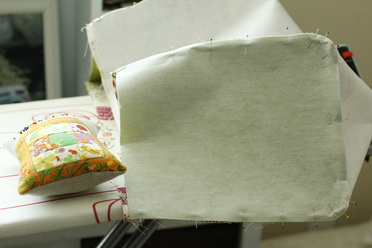 You will now pin the side pieces to the main fabric piece. First, fold a side piece in half so that the rounded corners meet, then finger press to make a crease along the top edge. Match this crease to the crease in the main fabric piece and pin at the creases. Continue pinning the side piece to the main fabric, paying careful attention at the rounded corners. Use as many pins as you need. Begin sewing where you matched the creases and stitch to the bottom edge. Cut the thread, then go back to the center crease and sew to the other bottom edge, overlapping the stitching at the crease. Do this for both sides. Turn the cover right side out and trim any edges along the bottom that are too long. Test the fit on your sewing machine and trim if necessary. 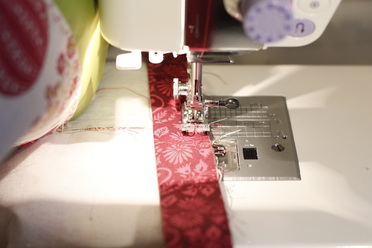 Beginning on the back side of the cover, sew the binding to the inside, matching the raw edges of the binding and cover. When you get all the way around and back to the back side, join the ends of the binding tape. Iron the seam, then finish sewing the binding down. Note: If you need a refresher on binding tape, this one is great. 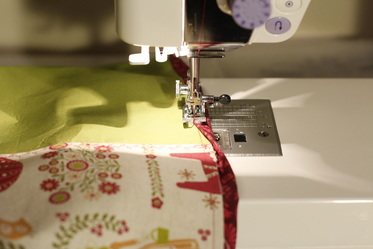 Flip the binding to the right side and top stitch in place close to the edge. You can use pins or clips to keep the binding in place, or you can "freehand" it. Your done! I love the way mine turned out. I even added my current mantra "Progress happens stitch by stitch" to one of the side panels to remind me that even a little work at a time adds up. And my sewing space looks so much brighter and cheerier. I hope this tutorial can do the same for you. 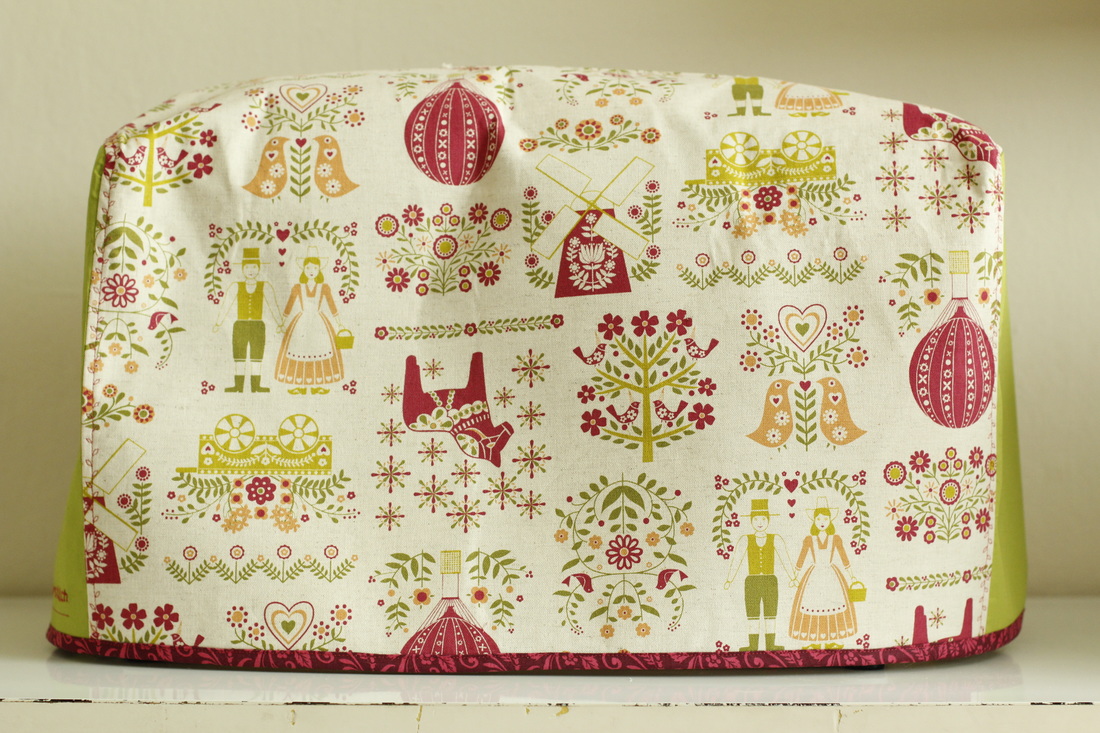 After signing up for the Perfect Pouch Swap about two months ago, I agonized over what to make. The only bag I've ever really made is the Sew Together Bag (one for myself and one for another swap). I know. I probably started with a more complex design than I should have, but I was pretty sure I could pull it off. And it's such a great bag, with a clever design and fairly easy construction (if your machine can handle lots of layers!), that I decided to make another for this swap as well. Of course, I had to try something different and special and made just for my swap partner. After reading through her likes/dislikes and looking through her Instagram photos, I chose a beautiful print and some solids that are perfect for each other (I may have even cut out double to make another for myself). I'm so happy with the way it looks, especially in this light! 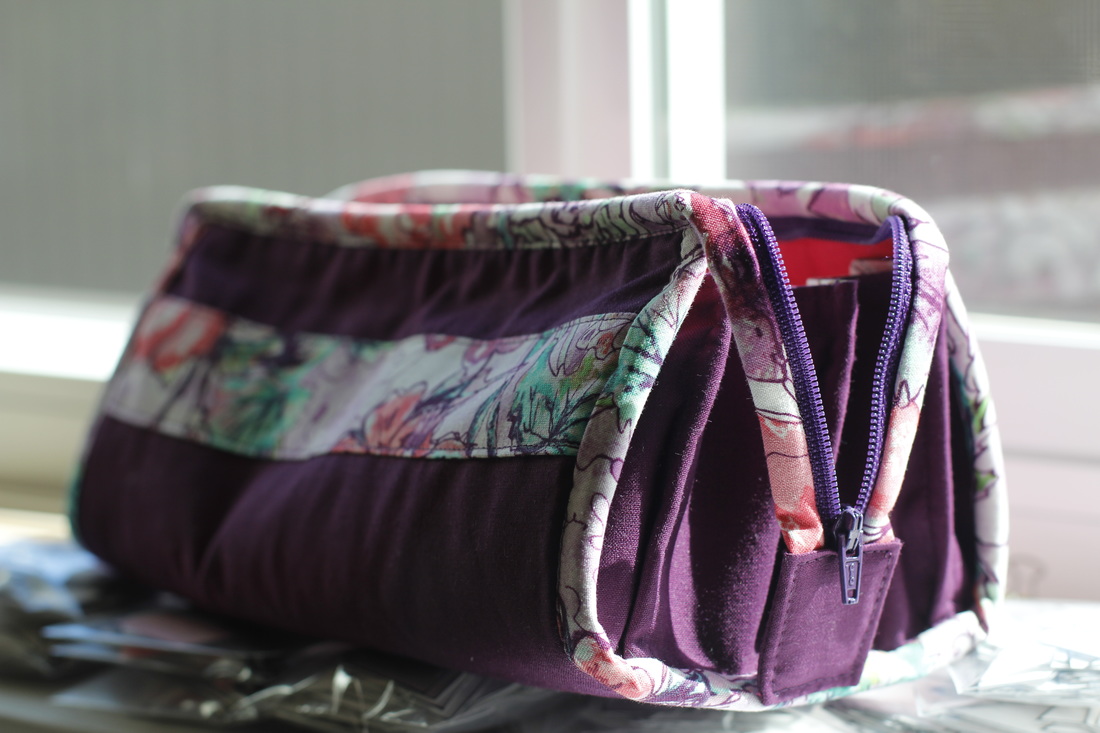 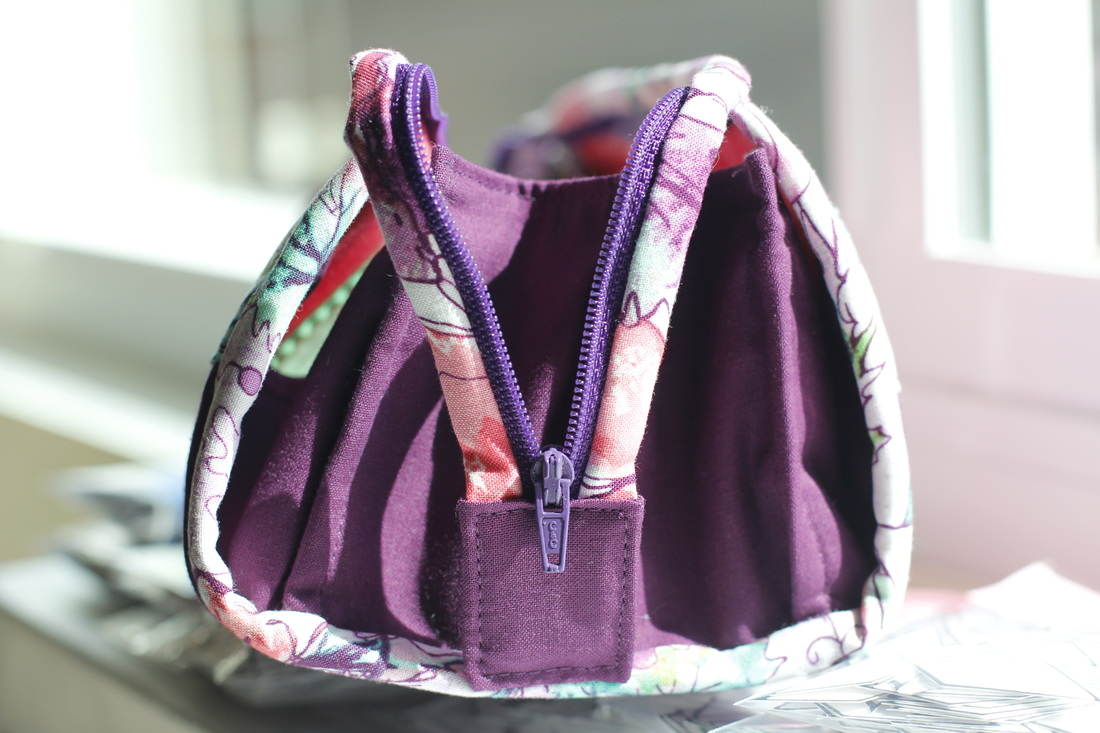 One of the added details I included were sewing-related quotes on each of the inner pockets. My favorite one says "Buttons and patches and the cold wind blowing, The days pass quickly when I am sewing." I used my sewing machine to stitch the letters (it's times like this that I'm glad I got the cool features!). The solid-color fabric is perfect for making the quotes visible. I'm amazed at how easy it was to pick fabric for this one. The colors were just perfect for each other. And the needle rest in a contrasting green draws from the green on the fabric across the front and back and binding. So, yeah, I did pretty good on this. :) 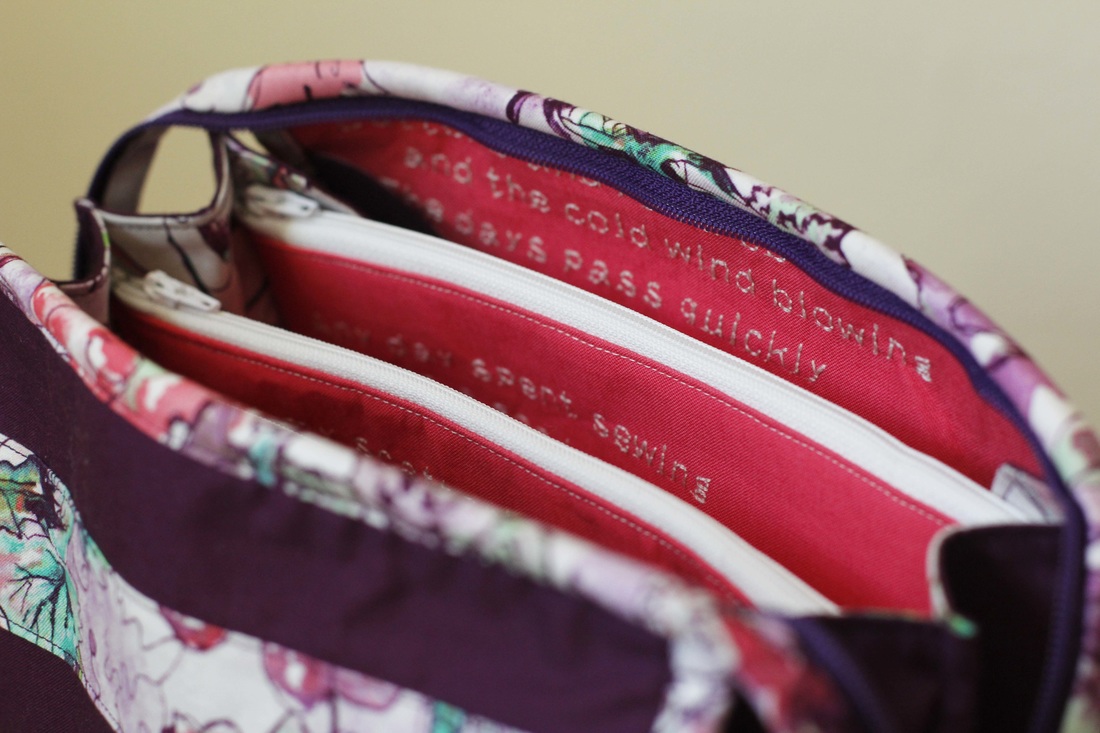 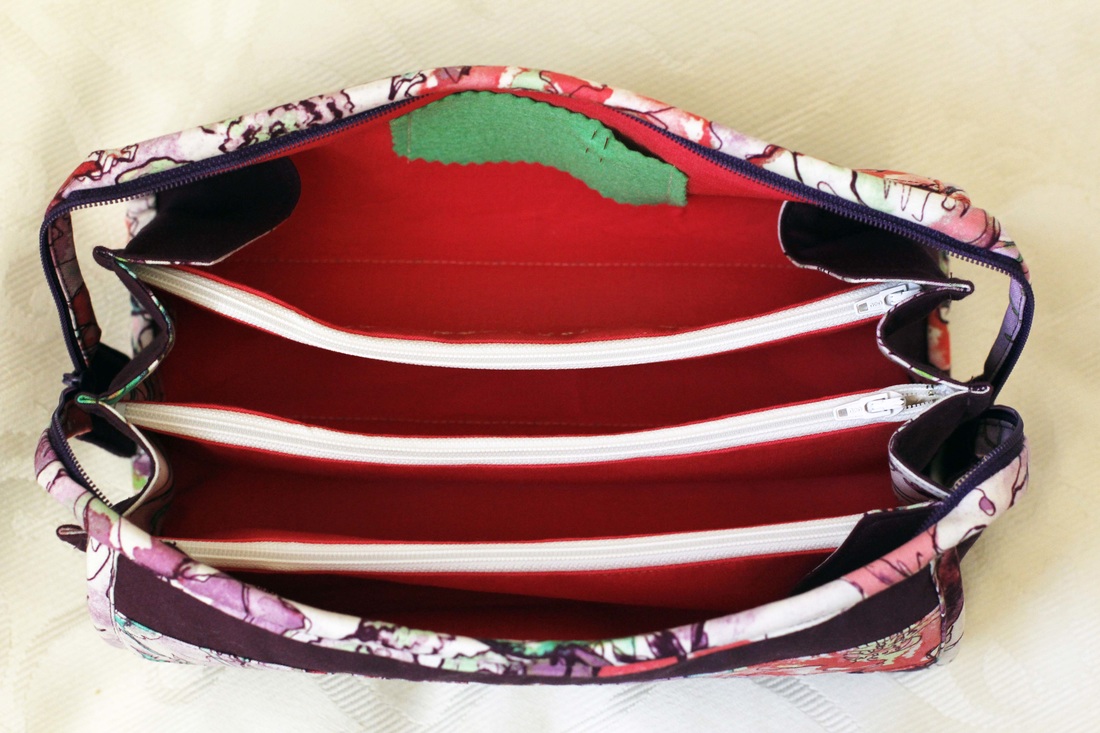 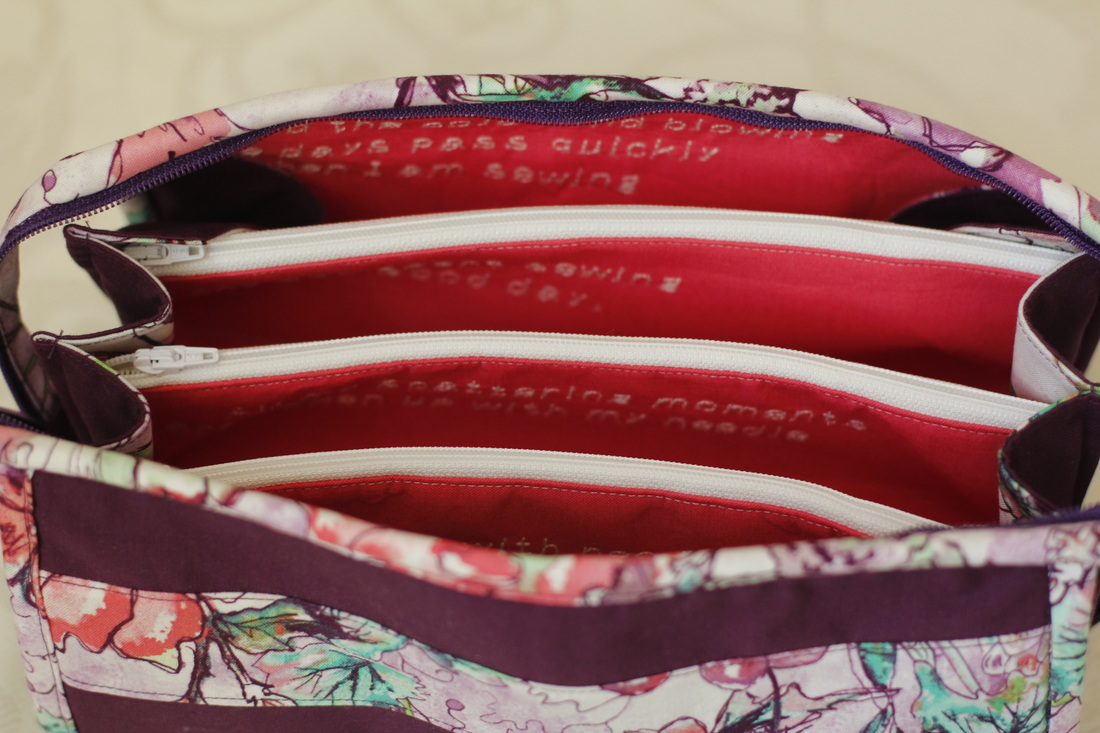 I also included a few extras, but I sort of ran out of time to take pictures of it all together. I put in some batik fabrics, candy, embroidery floss, and a stitched paper banner (like this one but shorter). My partner received it and loved it (which is the best part of these swaps, really). And here's a peek at what I got in the mail yesterday. My package included a zipper pouch, notebook, washi tape, embroidery floss, fabric, a zipper, chocolate, and a magnet that my son seems to have run off with. I love the heart zipper pull and red polka dot lining on the pouch. I can't wait to put it all to good use! 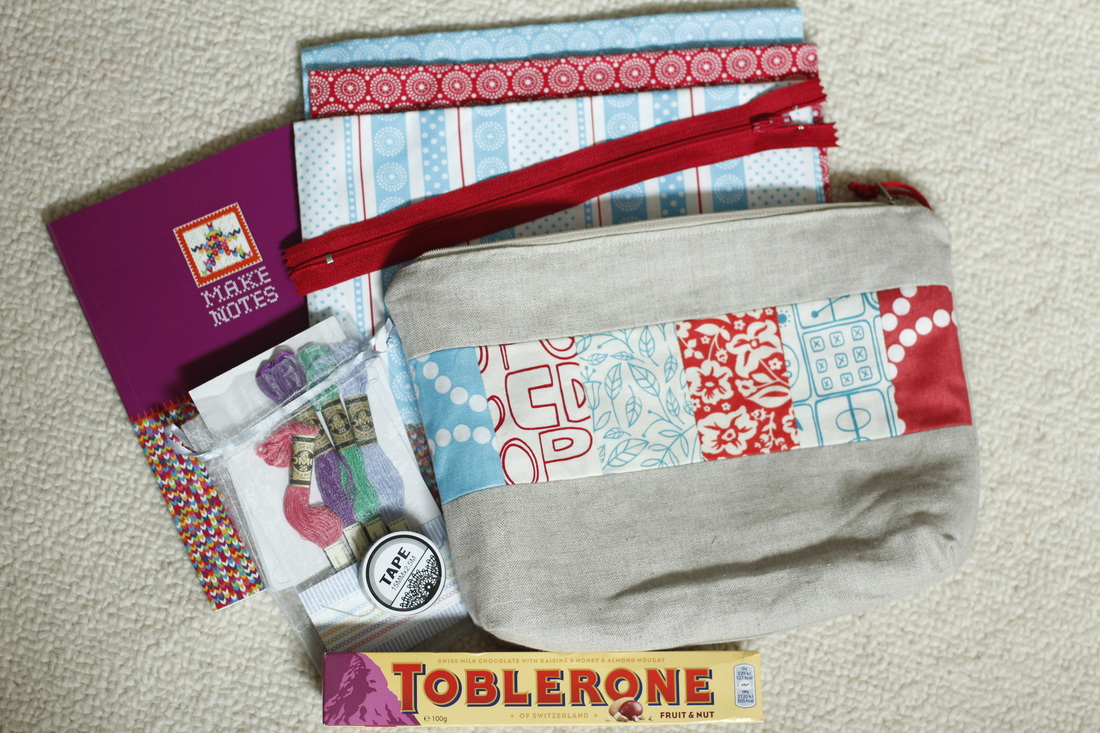 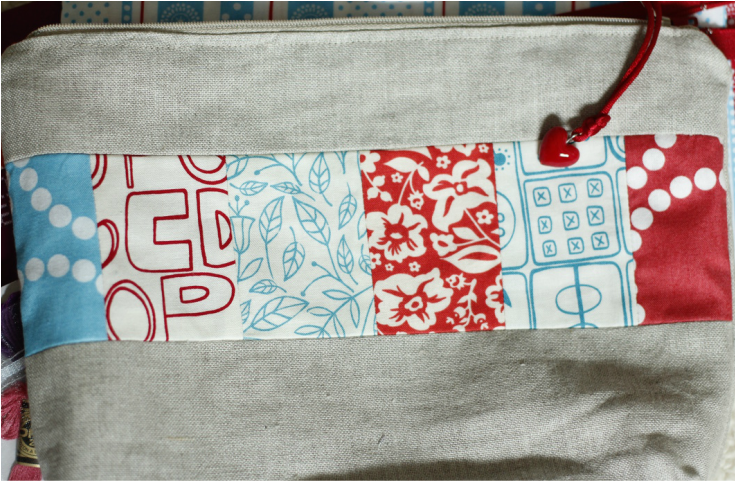 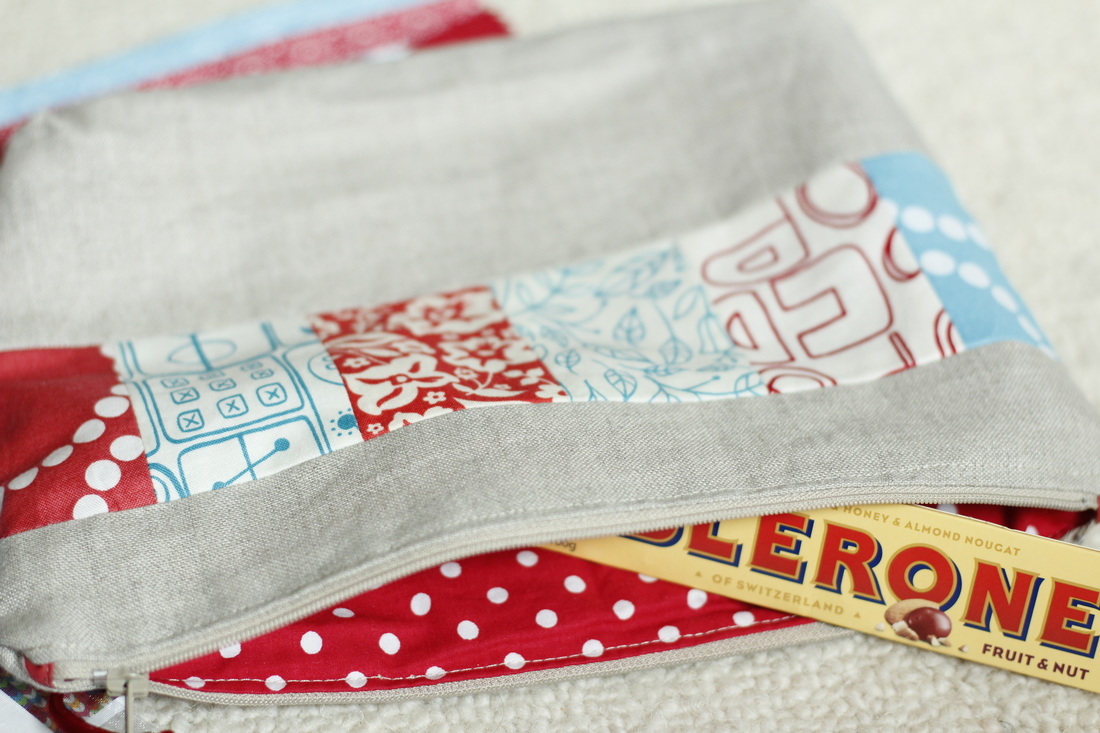 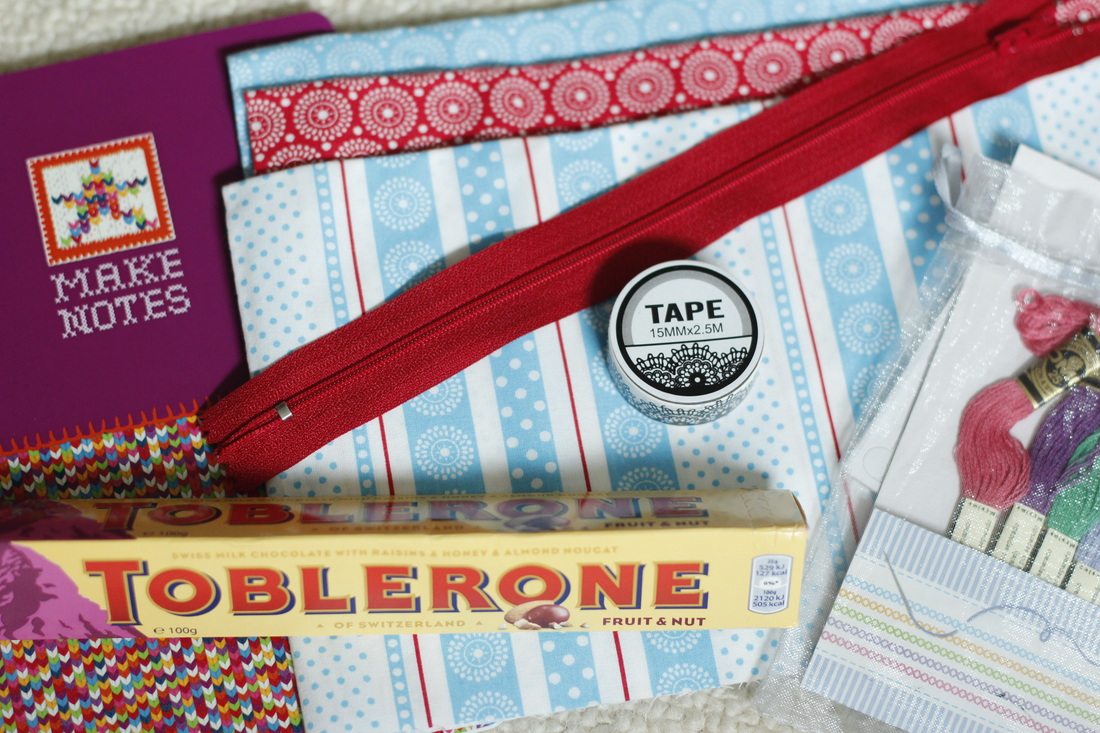 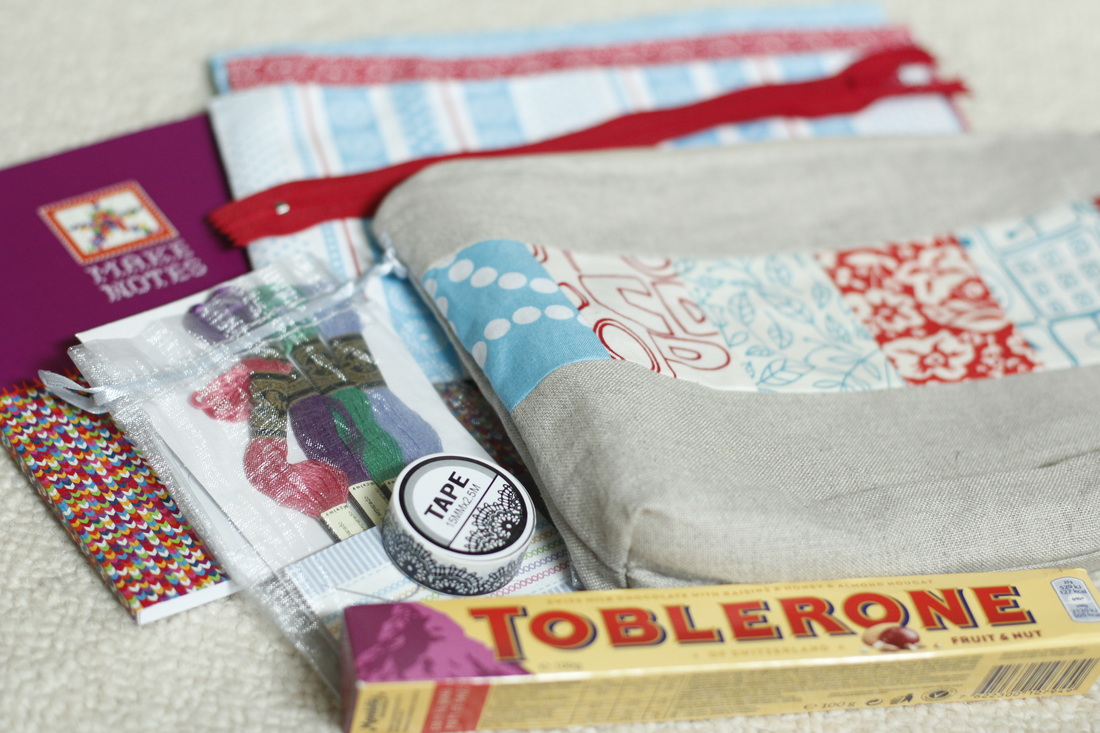 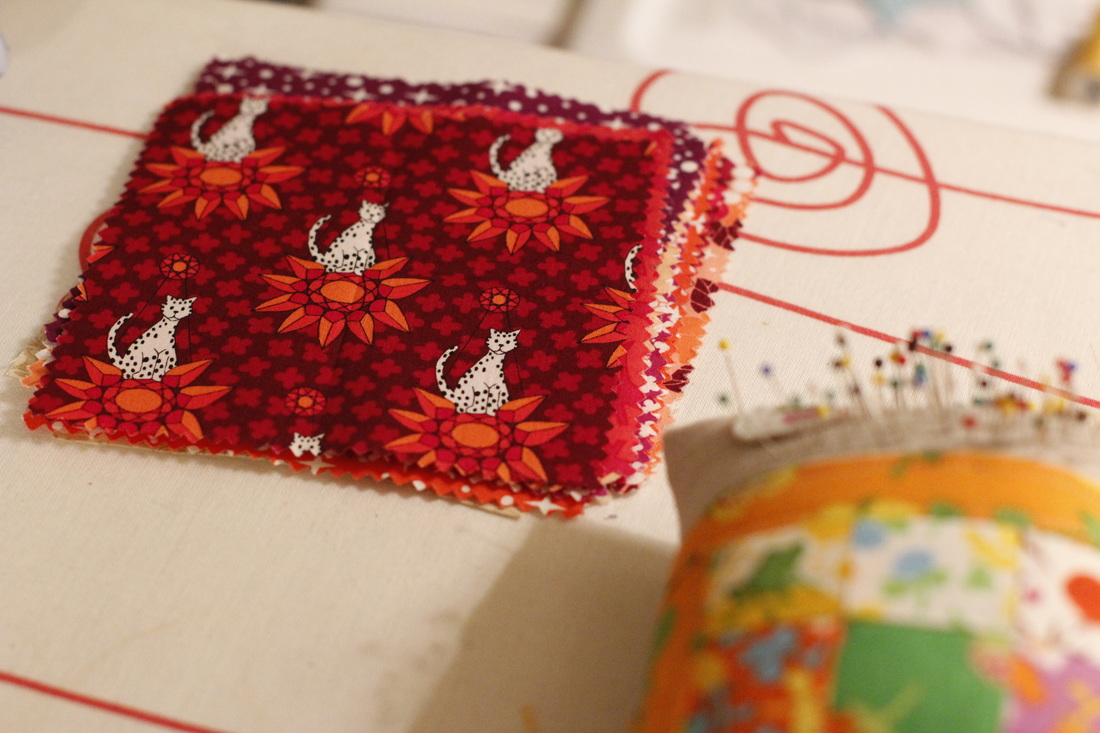 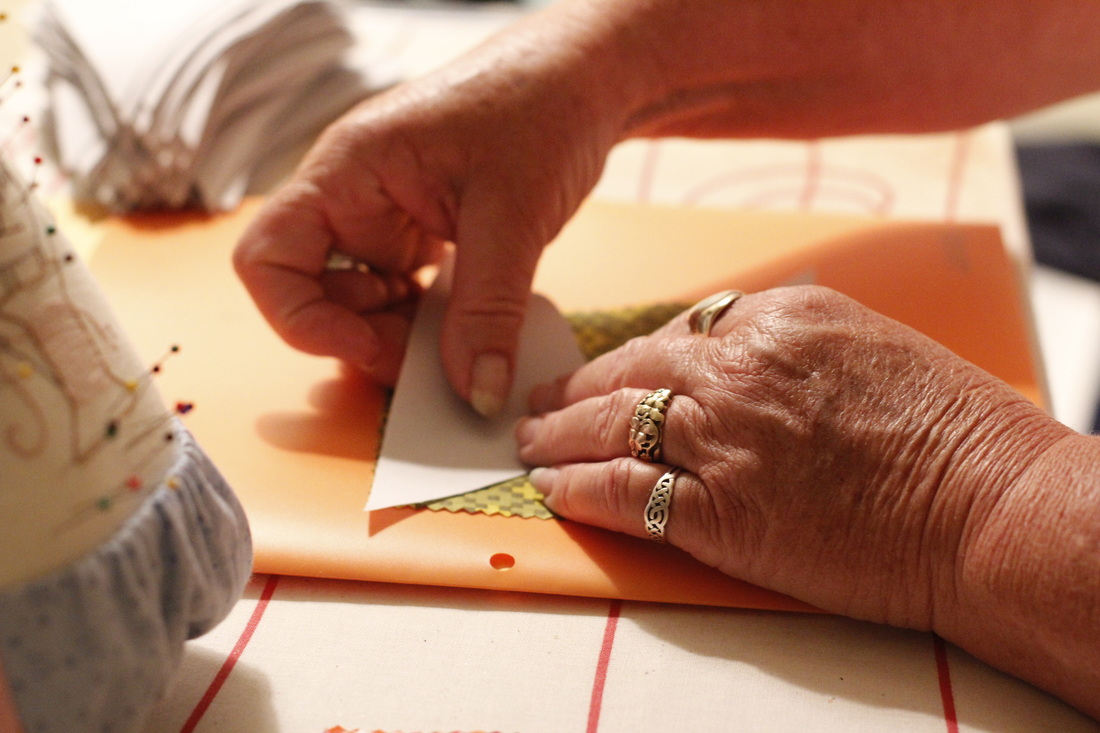  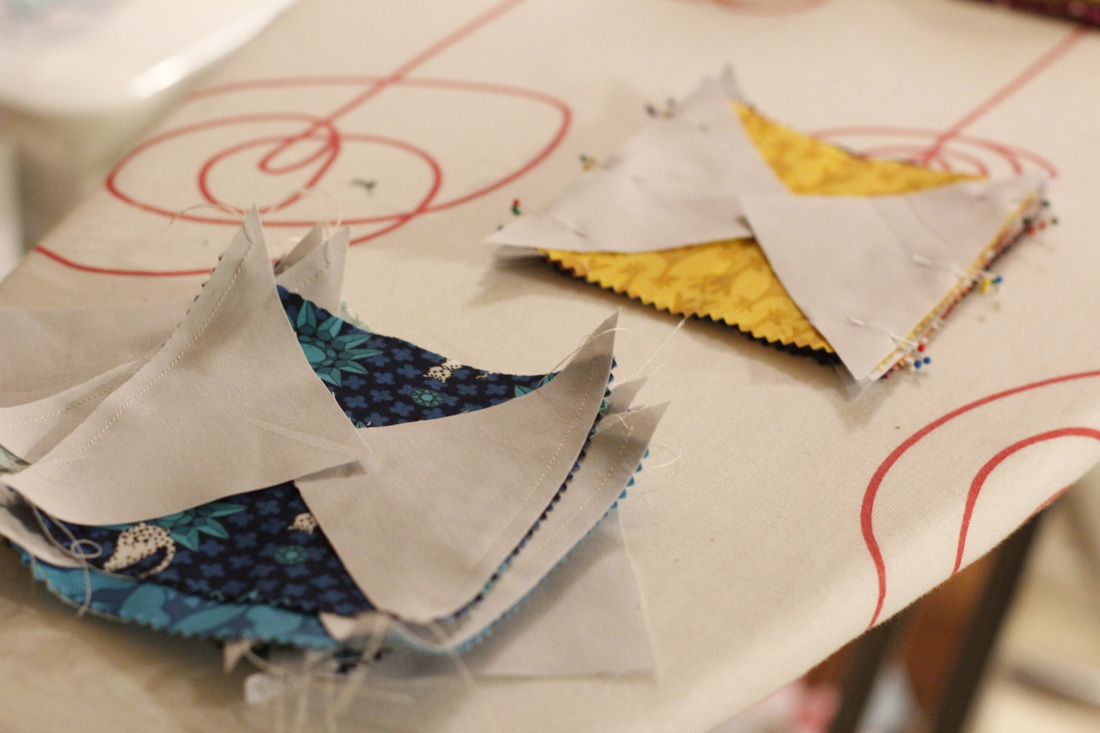 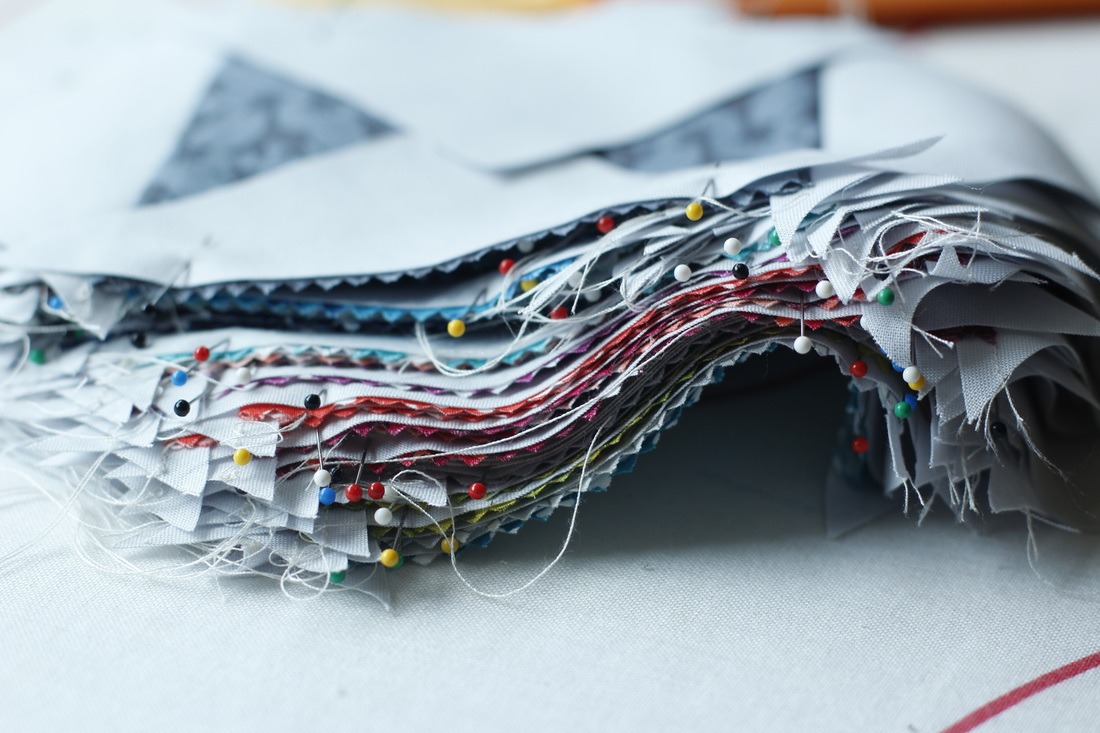 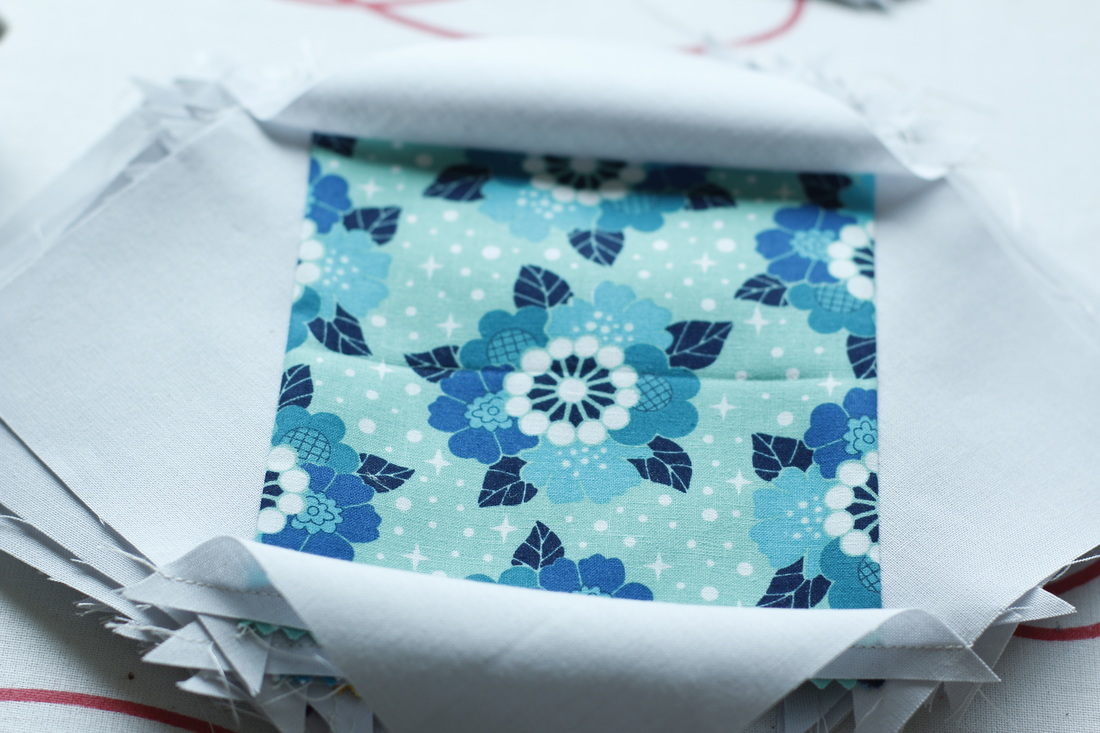 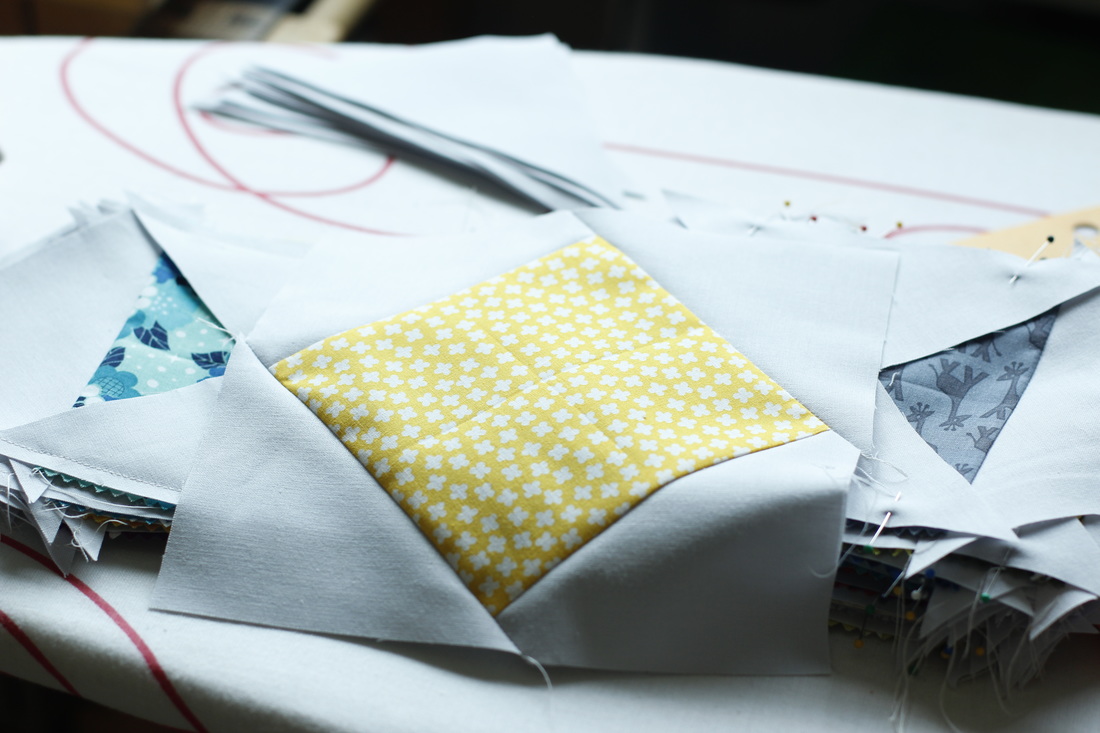 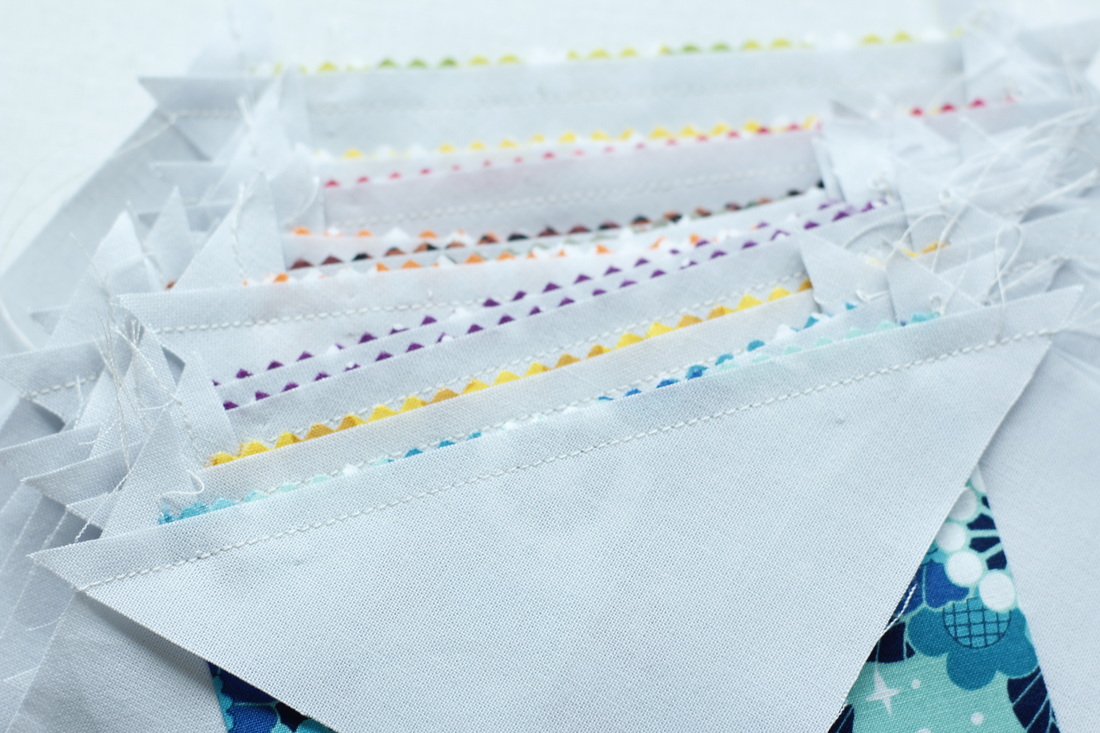 My mom came for a visit this past weekend from Southern California. She was here with my dad and adopted brothers and sister for Goen's party last month, but this time was all about doing grandma stuff with Goen and mom stuff with me. She taught me how to make three of my favorite dishes from when I was a kid: lasagna, sweet and sour chicken, and potato salad (that last one handed down for generations, and changed just a bit each time). The other big thing we did together was start a sewing project. A quilt seemed like the classic mother/daughter project. We started with a charm pack of Rhoda Ruth I had in my fabric collection from a swap last year. Since a charm pack by itself isn't nearly enough to make a quilt, we made them larger by making on-point-star blocks (inspired by Blair Stocker's beautiful scrappy version). We only had a few short hours to get it started, but we did make some great progress. And now I have a simple project I can do on my machine whenever I have a few minutes to spare, which I love because there is something very satisfying about machine-sewing a few blocks and seeing so much progress. I haven't laid it out yet, though, so I don't know if I'll need to buy another charm pack to get the look I want. But it's all about the process on this one, and I can't wait to see how it turns out. But best of all is that it will always hold the memory of sewing with my mom. |

Carley Biblin
Hi. My name is Carley. I love to sew, craft, and create. As a Jane-of all-crafts so to speak, I enjoy sewing, writing, cooking, drawing, photographing. But the constant thread (if you'll excuse the pun) throughout my weeks is needle arts. Archives
January 2017
Categories
All
|
