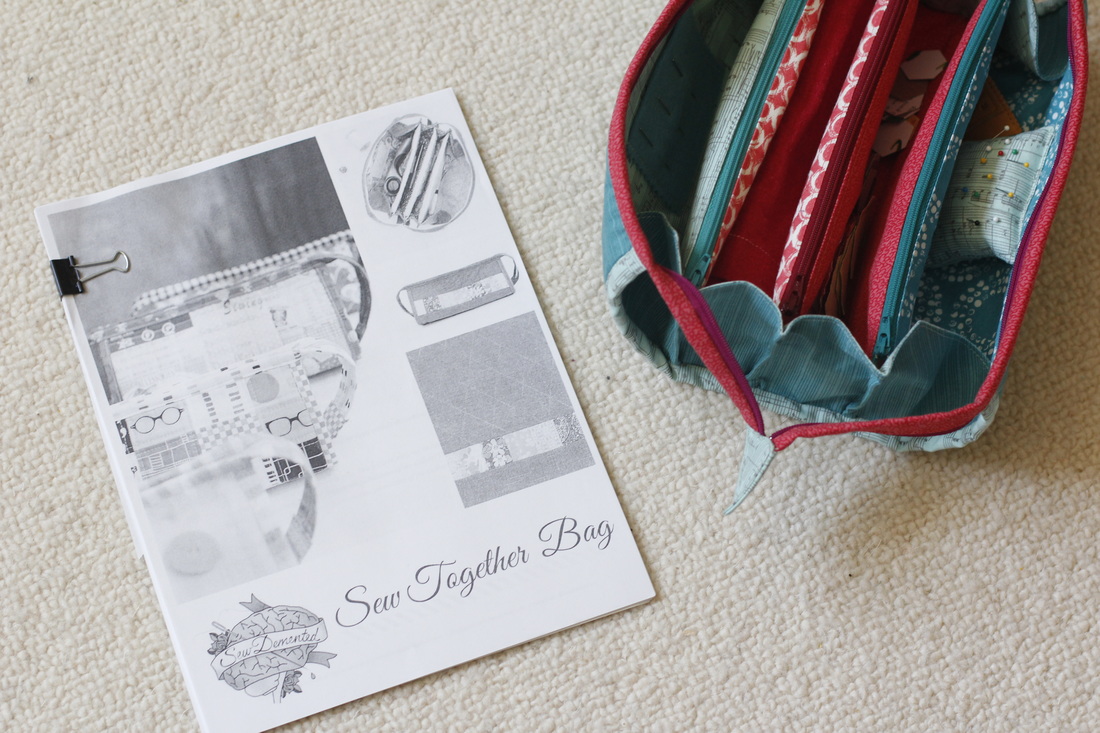
To go along with all my recently-acquired hand sewing projects, I decided to make a travel bag so it will be easy to take a few tools and supplies with me on outings. Although this was my first time ever making a bag, I went with something more complex than the open-topped "pillow-case-with-a-strap" style of bag. I wanted something that was small enough to throw into my diaper bag, but large enough to hold my projects and tools. The pattern I chose is called the Sew Together Bag designed by Michelle from Sew Demented. The pattern costs $12 and is available on Craftsy as an instant download. Overall, it's a great pattern, but there are a few things (good and bad) to be aware of if you want to sew this bag yourself.
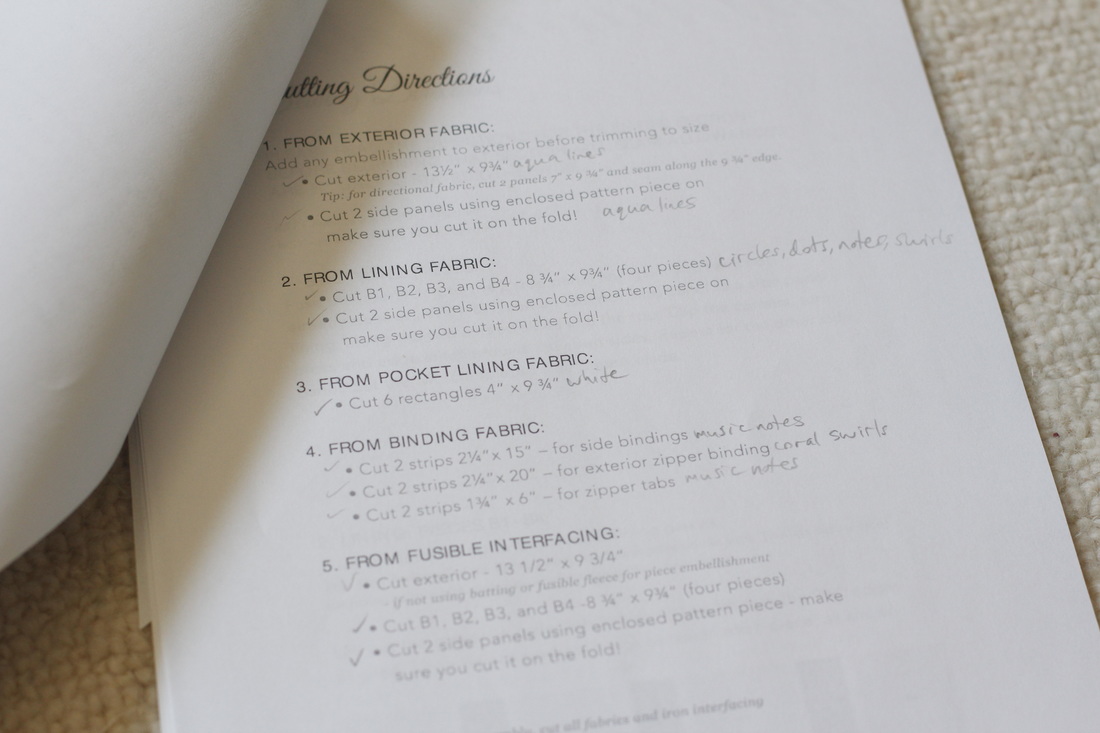
The cutting directions are detailed, breaking everything up into sections so that you can see at a glance where each fabric will appear in the final bag. Since I was making mine with several different fabrics, I found it helpful to make notes about which fabric would be used for each piece. It helped me keep all my pieces in the order I wanted them when assembling the bag. The cutting measurements for the exterior of the bag include a bit of wiggle room, which is especially helpful for beginner sewists.
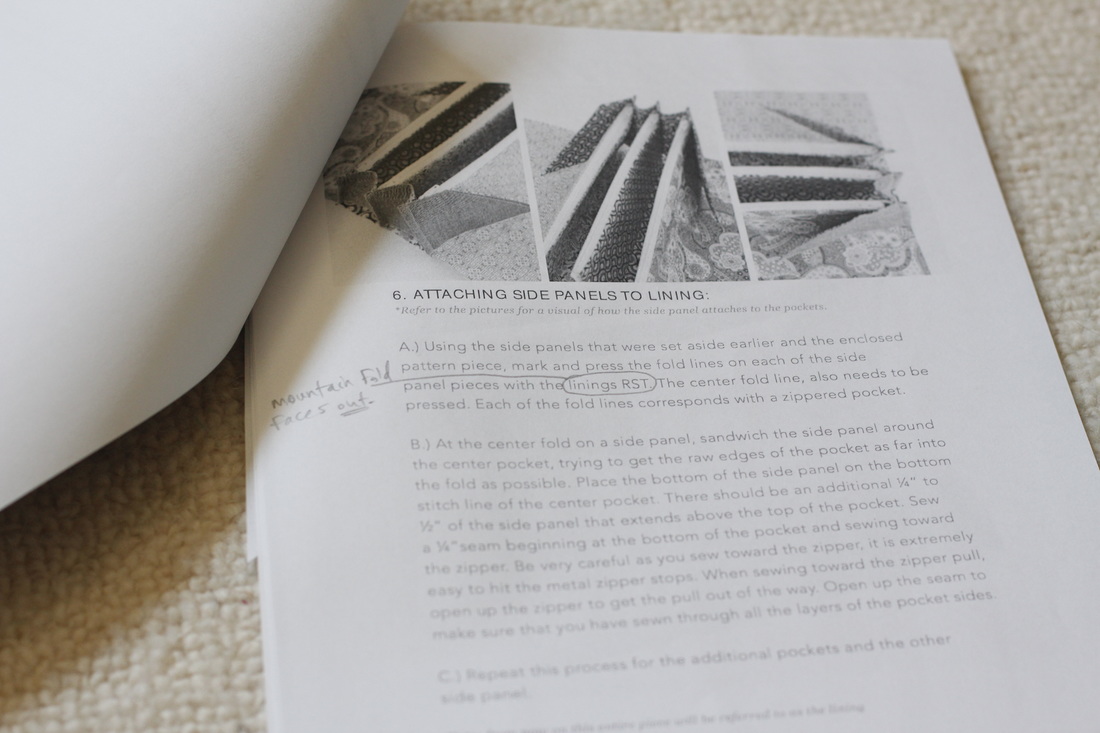
The instructions are broken up into appropriate-sized chunks; however, it's easy to get lost in the wordiness of each instruction. There are some instructions that are difficult to follow from the words alone. Unfortunately, not all of these instructions include pictures or diagrams. I made a few judgement calls that turned out to be wrong and made notes to help me for next time. I recommend sewing a "practice" bag first so you can figure out where these sticky points are for you. Be prepared to spend several hours on your first bag. It took me at least six hours over the course of three days to make my first one, though I'm sure the next one will come together faster because of my added notes.

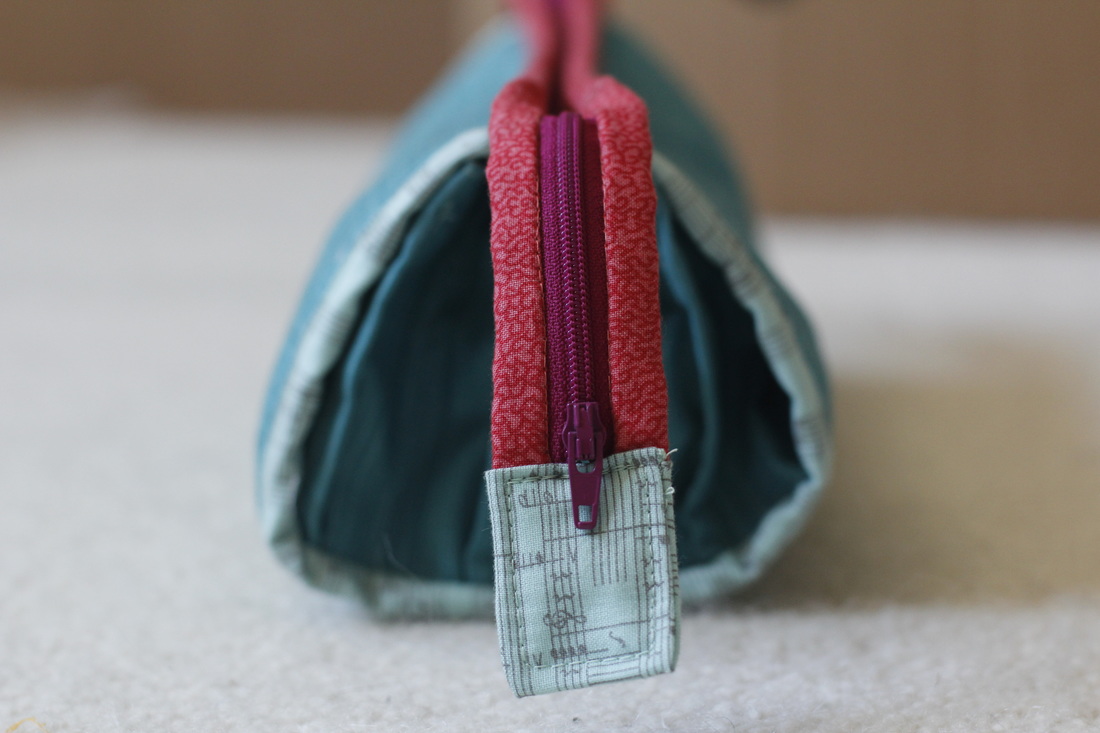
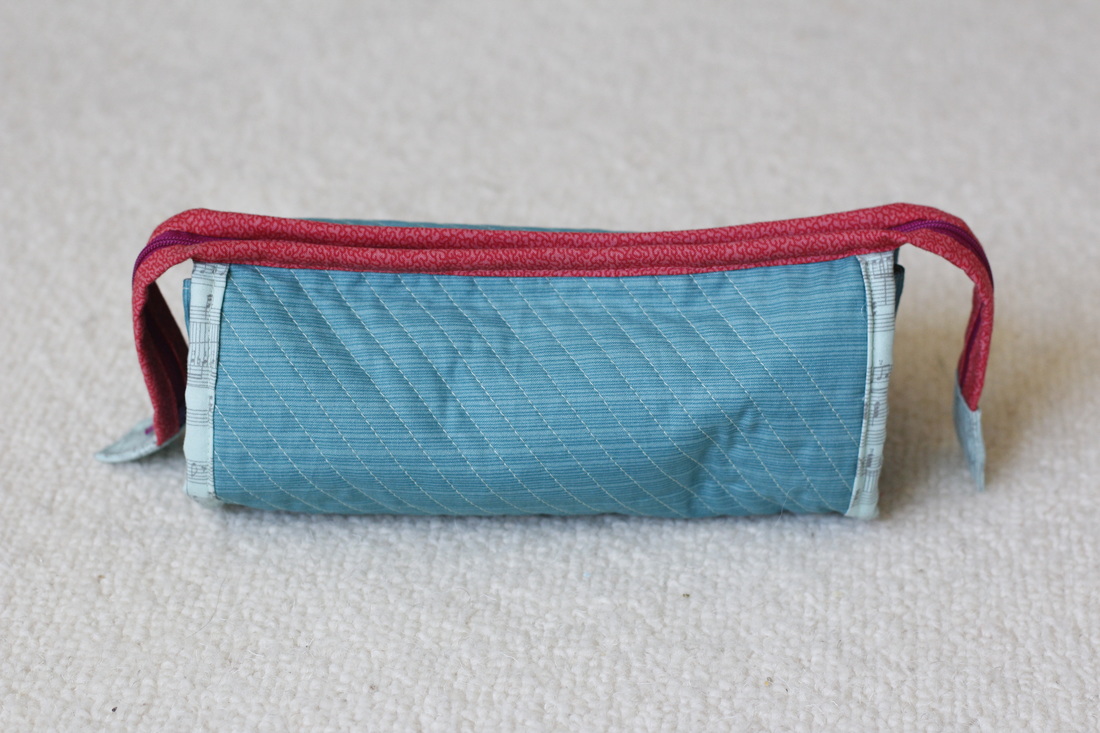
One of my favorite features of this bag is that it has a small profile when zipped shut. It's narrow enough to fit in my diaper bag, yet long enough to hold a pair of full-sized scissors. You will almost certainly want to tuck this bag in another bag, though, because the lack of real handles makes it difficult to carry. You could hold one of the exterior zipper ends, but this means more shifting of the contents within.
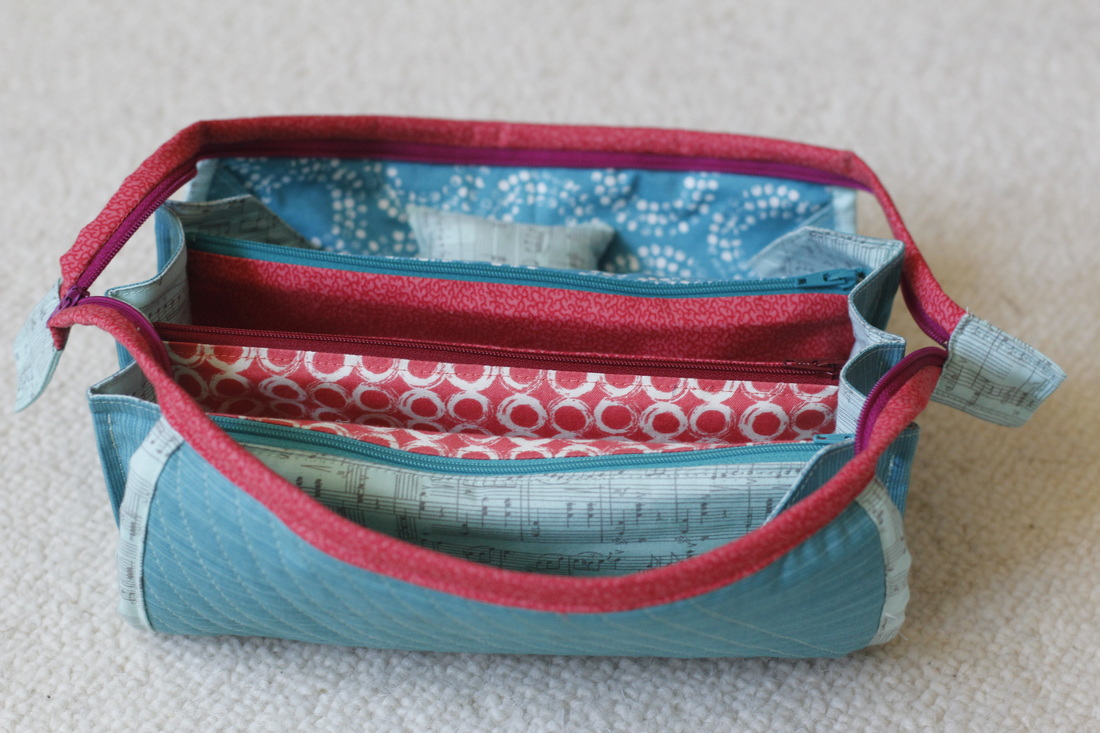
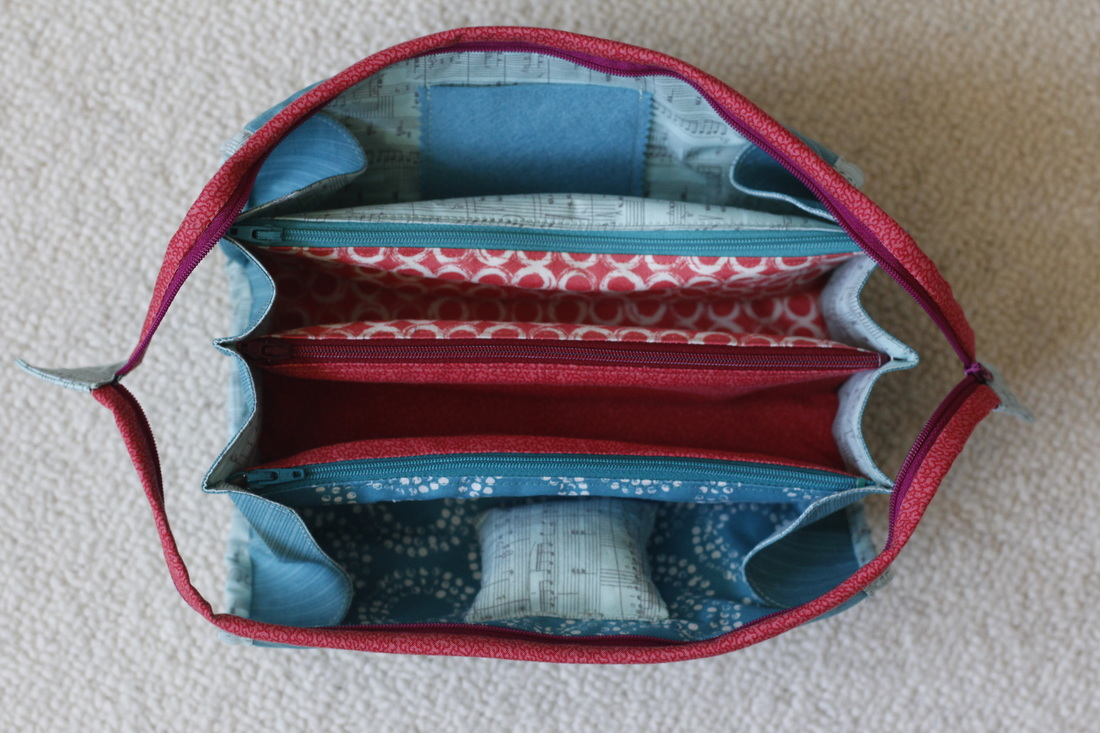
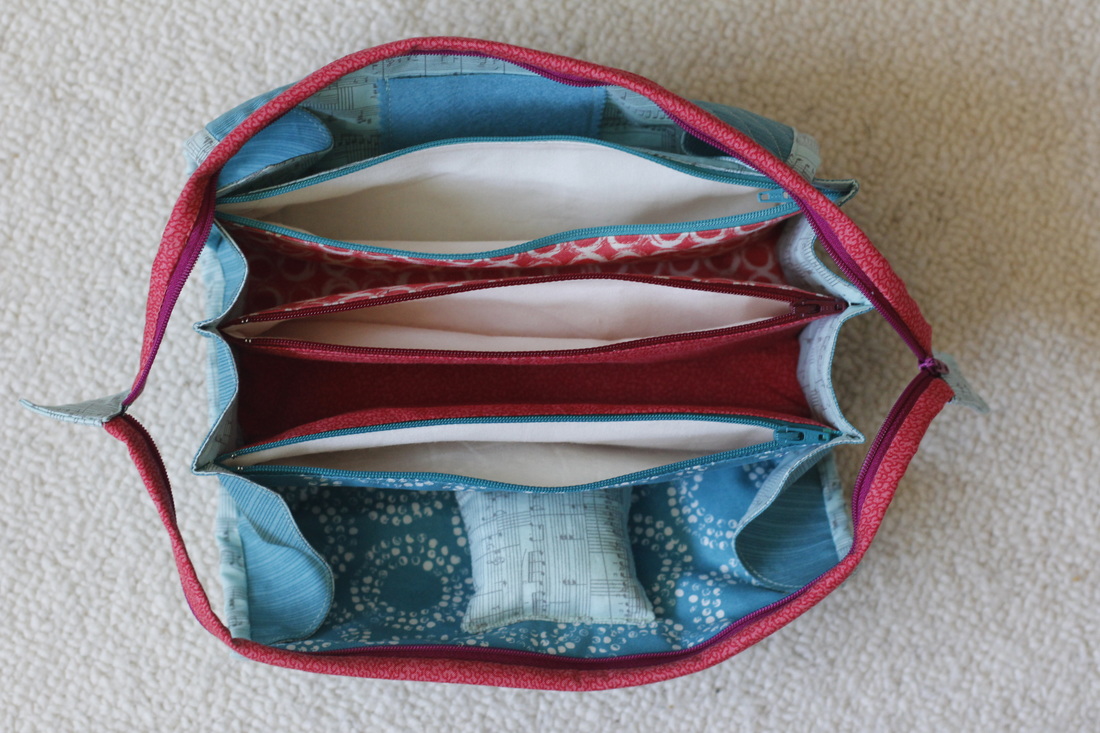
My second favorite feature is the extra-long exterior zipper. Since it extends past the sides on both ends, the bag is able to open wide. It's a great design element because you are able to see everything inside without having to dig around in shadowed recesses. The downside, of course, is that things can more easily fall out if the bag tips. To keep this from happening, just leave the zipper part way zipped on one end so the bag can't open all the way. You can still get the stuff inside, but there is less worry about it falling out.
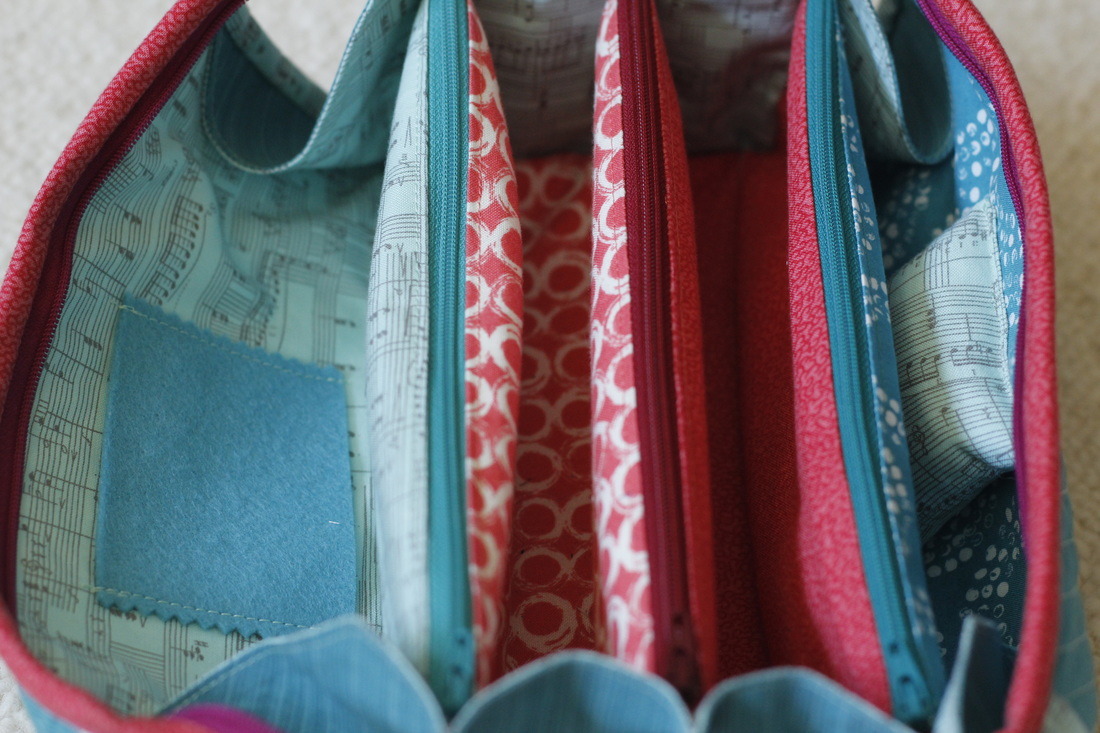
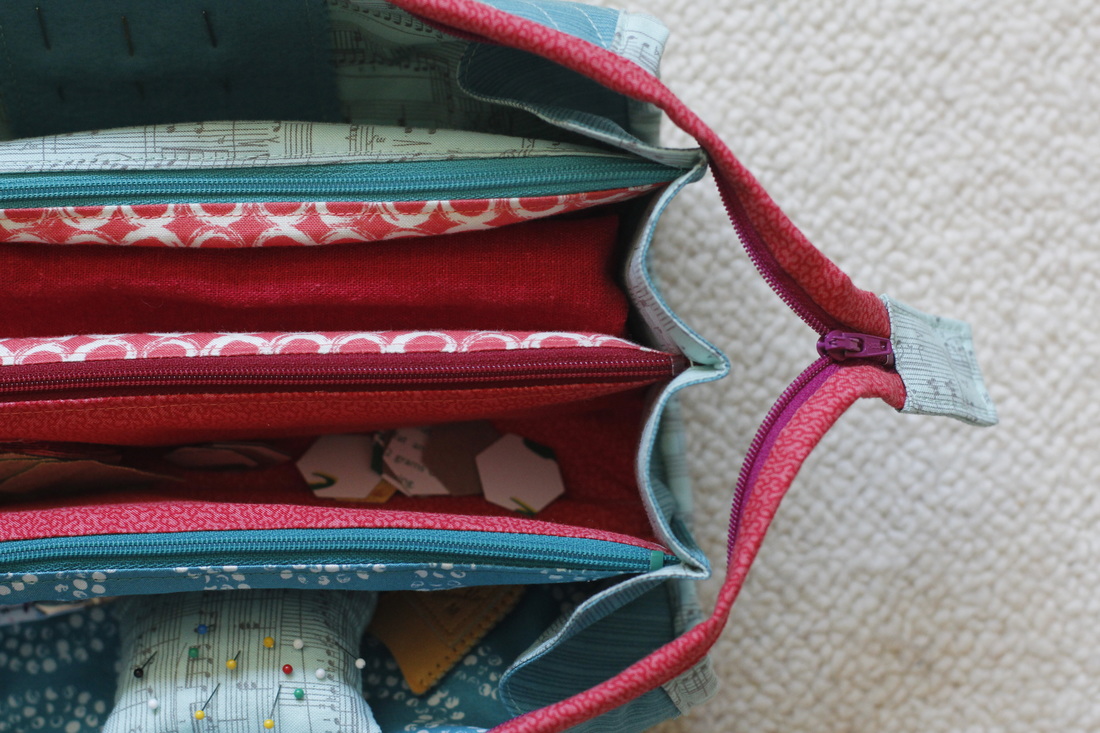
The construction of the inner zipper pockets was, for me, the most difficult part. There is a lot to keep track of, and getting the fabric facing the correct direction requires extra thought since there is no photograph to help visualize the instructions. The inner zipper pouches are lined, which contributes to the difficulty. I recommend using fabric where the right side and wrong side look the same so there is less that can go wrong.
For the binding on the outer zipper, the pattern says to stitch in the ditch after attaching and folding over the binding. I recommend using a foot with lots of visibility for this, especially if your binding fabric and zipper are completely different colors. If you don't get it exactly right, you'll end up with visible stitching. If you have a hard time staying in the ditch, err on the side that matches the color of your thread.
After all the intensive steps constructing the bag, the final step of adding the zipper tabs is satisfyingly simple. Well, mostly. The directions were unclear for me (perhaps because this was my first bag). I'm pretty sure I did something different than the instructions wanted me to do, but I like the way it looks anyway.
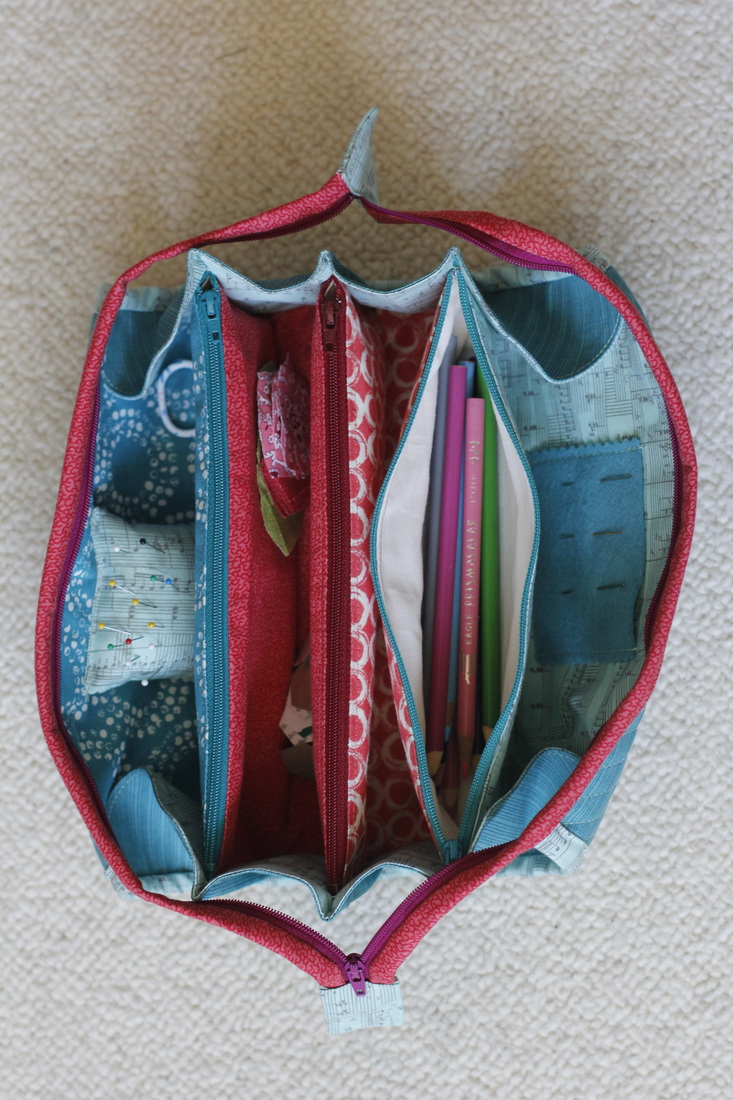
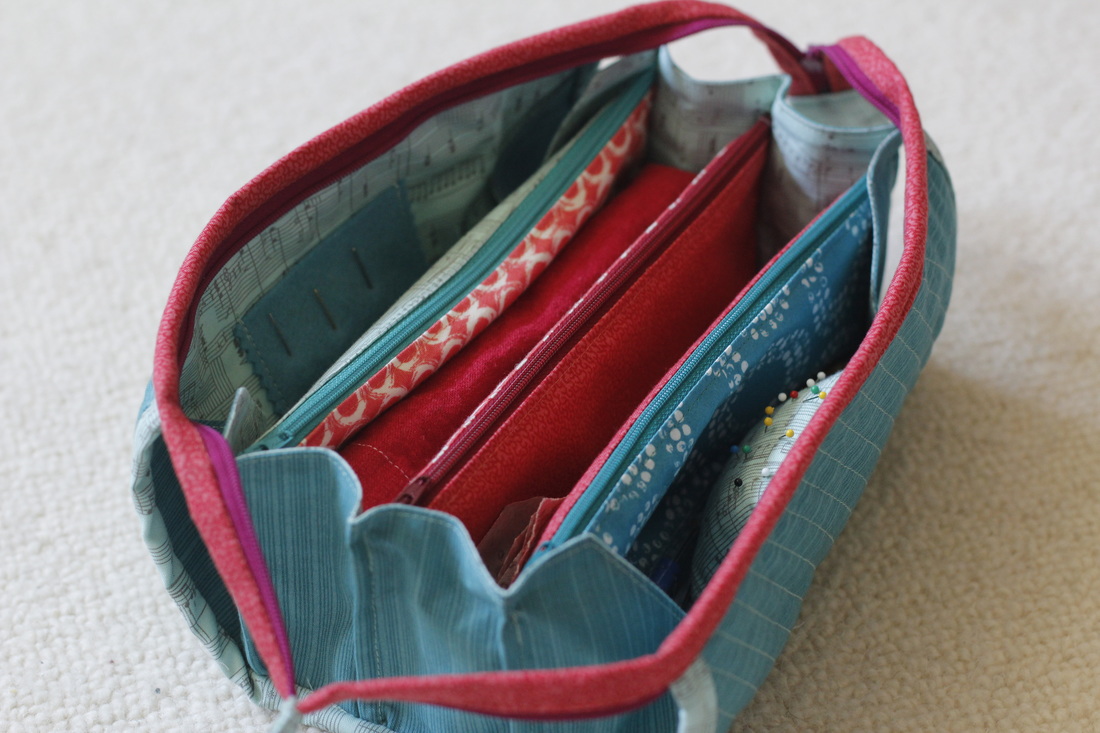
When it's opened wide you can see that this bag can hold a lot of stuff. I prefer not to fill it to capacity, though, keeping just a couple projects in it at a time. It's much easier to actually do the projects I bring along when I can see everything and not be overwhelmed by a mess, or which project to do. The zipper pockets are big enough for pencils and are a great way to keep small pieces in one place.
The pattern includes instructions for an optional pincushion and needle rest. So far, the needle rest has been an absolute essential for me, while the pincushion, not so much. Perhaps a later project, though. I filled my pincushion with some of the leftover wool yarn from my sheep (I've been holding onto it for just such a project). For the needle rest, I chose to only stitch it down on the two sides. This allows the felt to bow out, which makes it easier to get the needles in without going through the bag lining fabric.
And there you have it! My Sew Together Bag. Have you tried this pattern yet? Do you have any recommendations for other bags to try?

