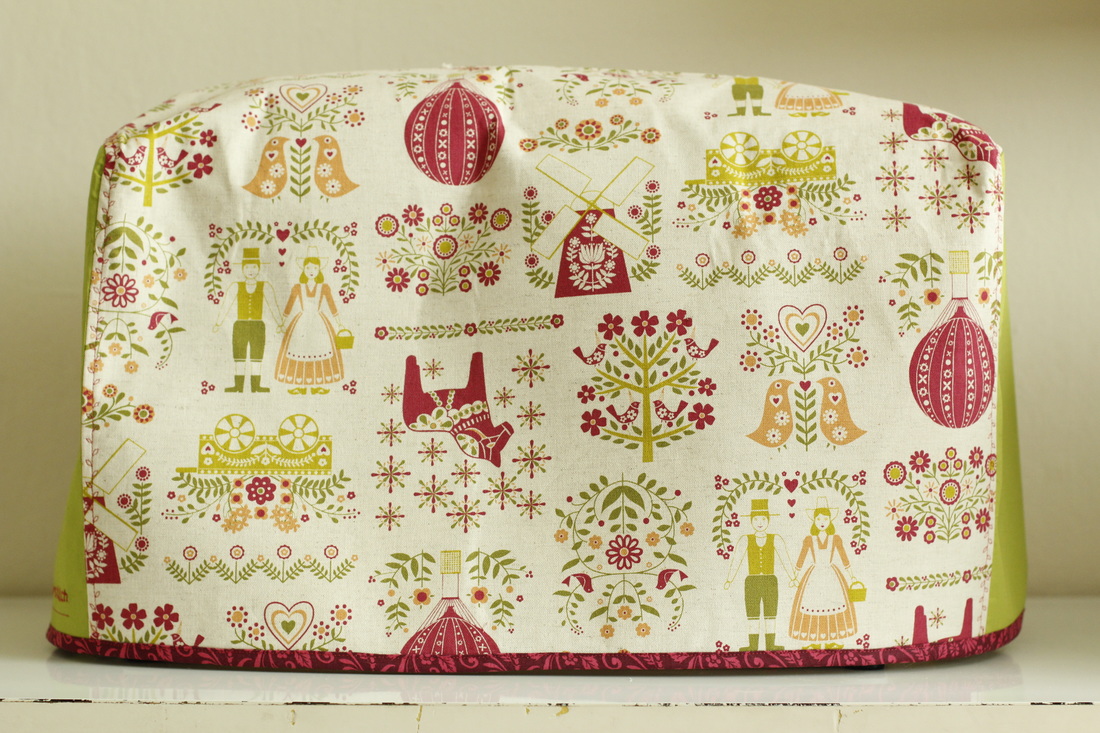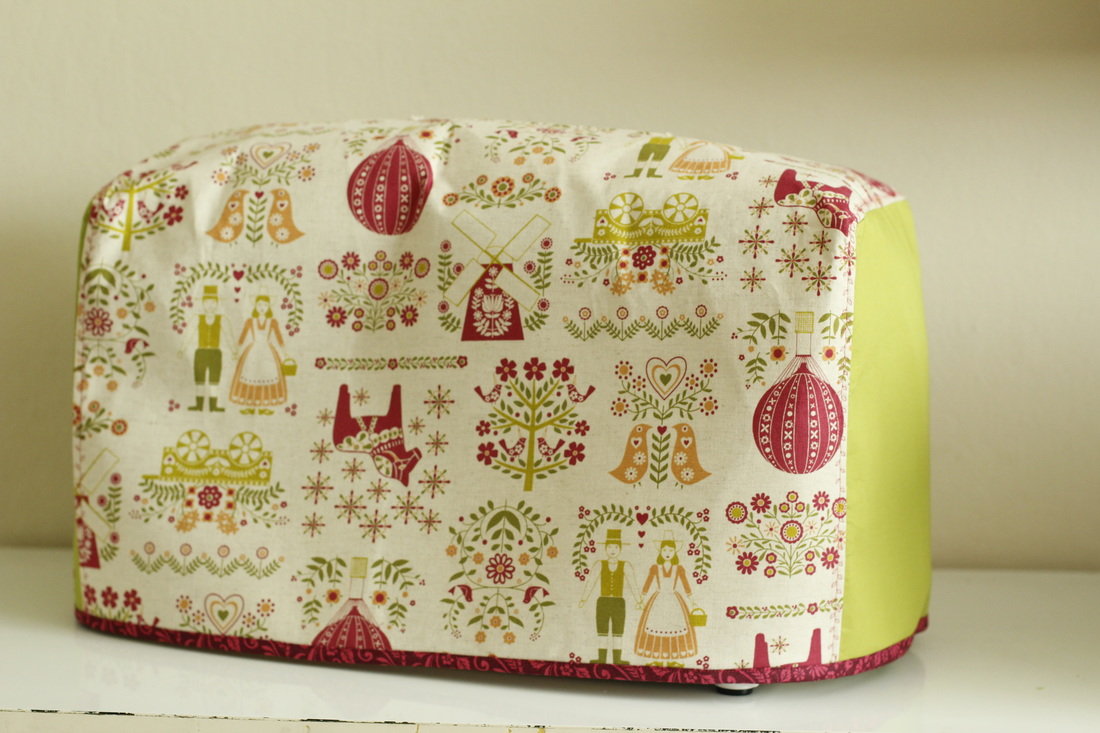
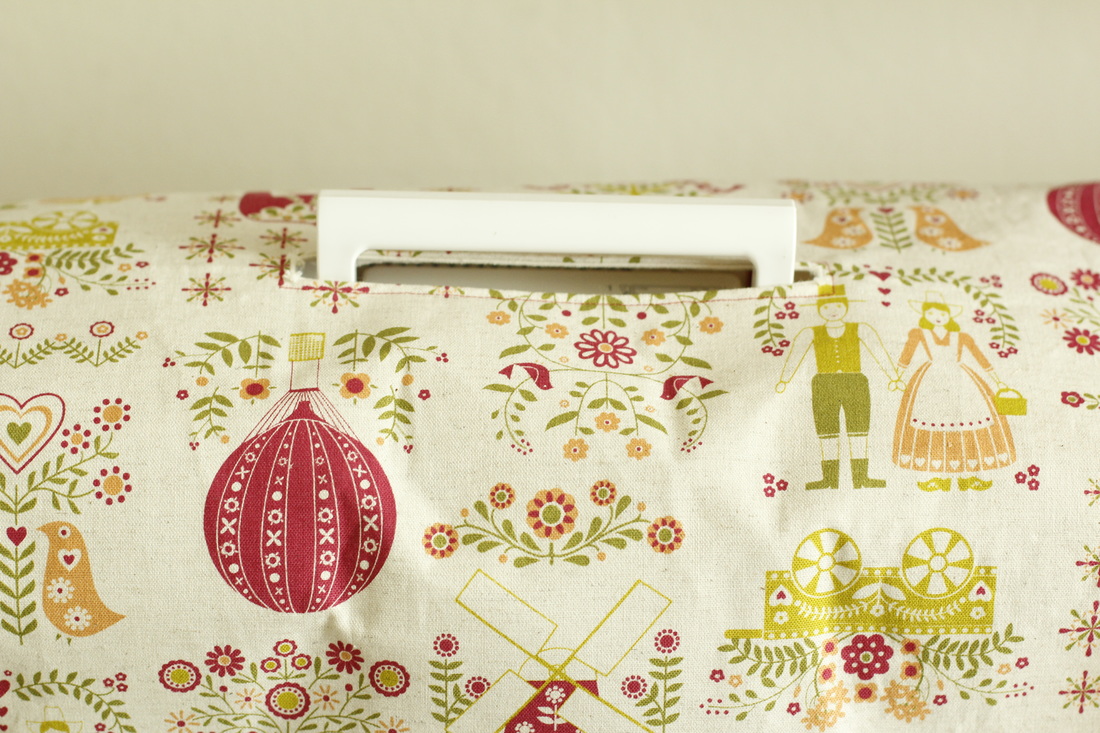
I was getting a bit tired (and depressed, really) of the white vinyl machine cover with black piping that came with my sewing machine. Last week I decided that I had put up with it long enough and I should make myself a new one. I took some pictures along the way and wrote a tutorial so you can make one, too. It's a simple design with the added feature of a handle slot so you can carry it with the cover on. You can leave this feature out if you want to simplify it even more. The directions work for any size sewing machine. It just requires you to make a few measurements or find the dimensions of your machine from the manual or manufacturer's website.
Here's what you will need (exact amounts will depend on the size of your machine):
- 1 yard of fabric for main piece
- Fat quarter for side pieces
- 1 1/3 yards of interfacing or stabilizer
- 2 yards of binding
- 2.5" x 10" scrap of fabric to match main fabric
- Scissors
- Sewing machine
- Matching thread
- Round object (approximately 2" diameter)
- Marking pen/pencil
Let's get started!
| | In order to get the best fit, you will need to take several measurements. Use a ruler or measuring tape to find the following: - Height of your machine from the tabletop to the highest point when everything is folded up or put away - Width of your machine at the widest point not including the hand wheel on the right side (ease will take care of that) - Depth of your machine from front to back at the widest point - Distance of the handle from either side of the machine (it's probably not centered) and the length of the handle |
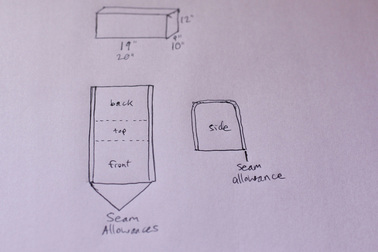
Make note of each measurement on a piece of paper. It's helpful to draw some pictures to help you visualize. Draw a three-dimensional box shape to represent your sewing machine and label the height, width, and depth. The diagram here shows the shapes of the two pattern pieces that make up the cover.
To determine the length of fabric to cut for the main part of your cover, compute the following: 2H + D + 1. In other words, multiply the height measurement by two, add the depth measurement, and add an inch for ease. There is no seam allowance required for this portion. To determine the width of fabric to cut for the main part of your cover, compute the following: W + 1 + 2SA. In other words, the width measurement plus an inch of ease plus a seam allowance of your choice for both sides (1/4" to 1/2" is sufficient).
To determine the height to cut your side pieces, compute the following: H + 1 + SA. In other words, height plus an inch of ease plus a seam allowance for the top only. To determine the width to cut your side pieces, compute the following: W + 1 + 2SA. In other words, width plus an inch of ease plus a seam allowance for both sides of the side piece.
Write all these new measurements alongside the diagram along the corresponding side. Double check all your original measurements and your calculated measurements.
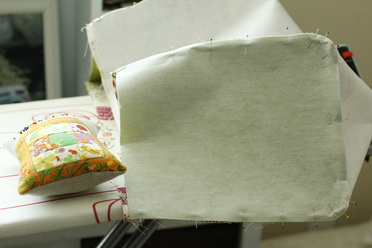
Cut your main fabric piece to size. Make sure to square off the edges and sides before cutting to make sure any printed designs are even in the finished piece.
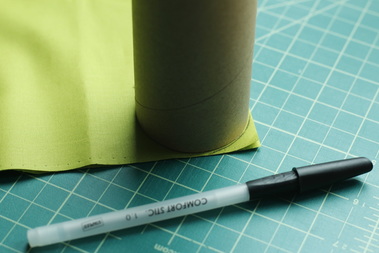
Cut two pieces of fabric for your side pieces. Use a small round object (such as a tube, cup, or other household item) and a pen or pencil to draw a quarter circle at the top corners of both side pieces. Cut along these lines to round the corners.
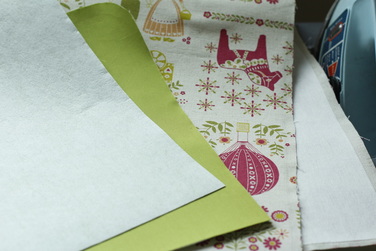
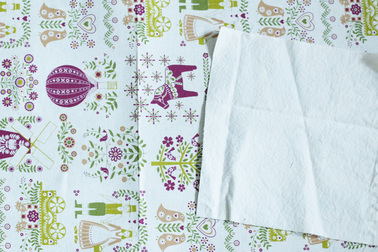
Cut fusible interfacing or stabilizer for each piece of fabric you cut in the previous steps. Fuse it to the wrong side following the directions on the packaging.
Fold the main fabric piece in half, matching the shorter edges, and iron a crease all along the folded edge. This will help you get an accurate placement for the handle opening, as well as placement of the side pieces later on. The next steps will require your scrap fabric piece.

Cut your scrap of fabric about 2.5" wide and two inches longer than the length of your handle. Use a fabric marking pencil to draw a line down the center of the fabric. The line should be as long as your handle plus an inch. Center the line as best you can, but exactness is not essential.
Place the scrap of fabric on the right side of the main fabric piece so that the line you drew matches up with the crease. The line should be placed so that it is the right distance from each side. Refer to your handle measurements for placement, taking into account that you added ease and seam allowances to the main fabric piece. Pin the scrap in place.
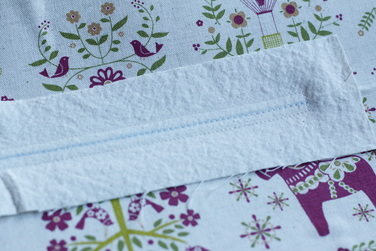
Baste the scrap of fabric to the main fabric piece along the blue line using a long stitch on your sewing machine. Using a shorter stitch, sew 1/4" to either side of the line along the length. At the ends of the line, your stitches should be right up against the line.
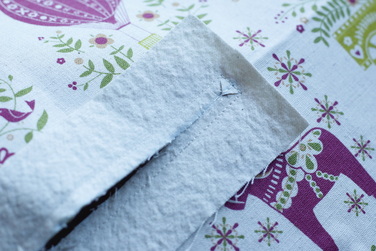
Fold the main body piece and scrap in half across the line and cut through all the layers (you should be cutting along the blue line only). Unfold and cut through the blue line and basting stitches, stopping 1/4" from the ends of the line. Then cut towards the corners, being careful not to cut through the stitches.
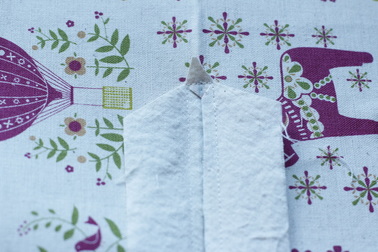
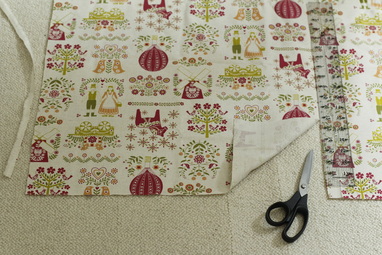
Cut off any excess fabric and cut away the corners of the scrap fabric, angling the sides as shown in the picture. Make sure to leave at least 1/2" of fabric on all sides.
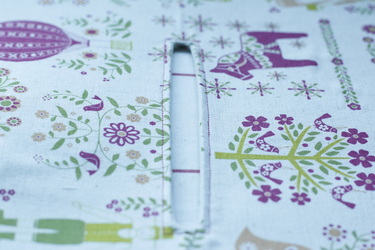
Push the sides of the scrap of fabric through the cut you made. Pull the fabric until it disappears underneath the main fabric piece. Press with a hot iron. Top stitch to secure all the layers.
You will now pin the side pieces to the main fabric piece. First, fold a side piece in half so that the rounded corners meet, then finger press to make a crease along the top edge. Match this crease to the crease in the main fabric piece and pin at the creases. Continue pinning the side piece to the main fabric, paying careful attention at the rounded corners. Use as many pins as you need. Begin sewing where you matched the creases and stitch to the bottom edge. Cut the thread, then go back to the center crease and sew to the other bottom edge, overlapping the stitching at the crease. Do this for both sides. Turn the cover right side out and trim any edges along the bottom that are too long. Test the fit on your sewing machine and trim if necessary.
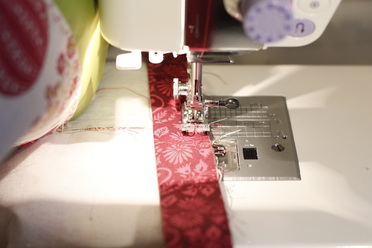
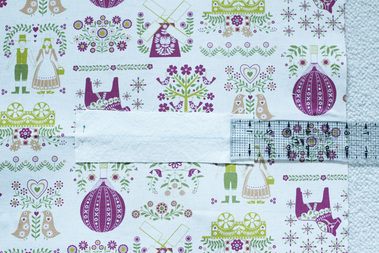
Beginning on the back side of the cover, sew the binding to the inside, matching the raw edges of the binding and cover. When you get all the way around and back to the back side, join the ends of the binding tape. Iron the seam, then finish sewing the binding down.
Note: If you need a refresher on binding tape, this one is great.
Note: If you need a refresher on binding tape, this one is great.
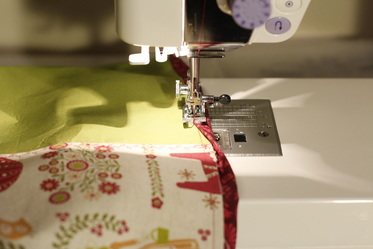
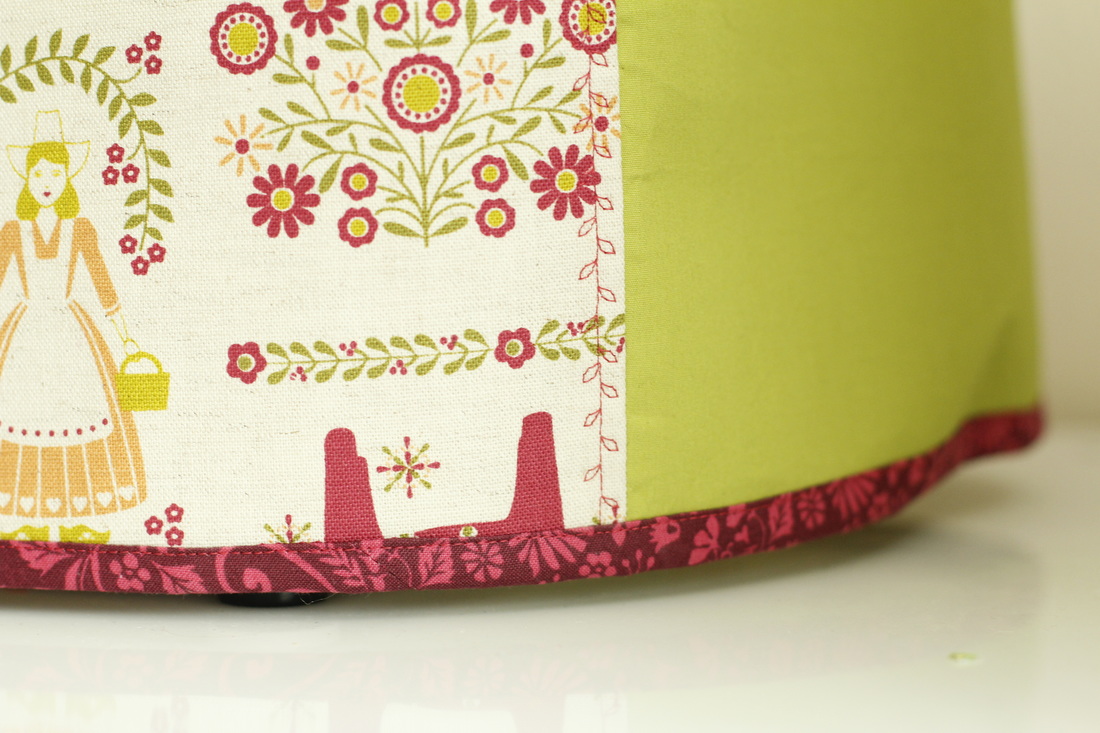
Flip the binding to the right side and top stitch in place close to the edge. You can use pins or clips to keep the binding in place, or you can "freehand" it.
Your done!
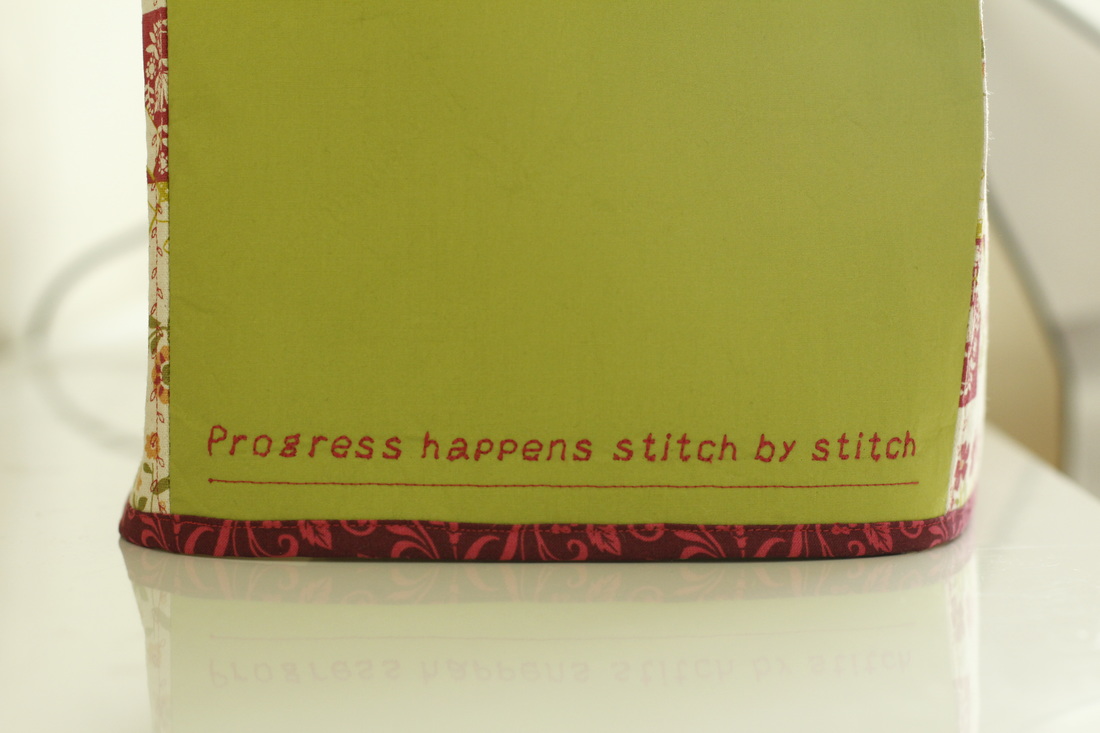
I love the way mine turned out. I even added my current mantra "Progress happens stitch by stitch" to one of the side panels to remind me that even a little work at a time adds up. And my sewing space looks so much brighter and cheerier. I hope this tutorial can do the same for you.