Making It Up as I Sew Along
  • Blog
  • About
  • Gallery
  • Shop

Scrap Art

7/1/2016

1 Comment

 
Picture
Picture
Picture
Picture
Picture
Picture

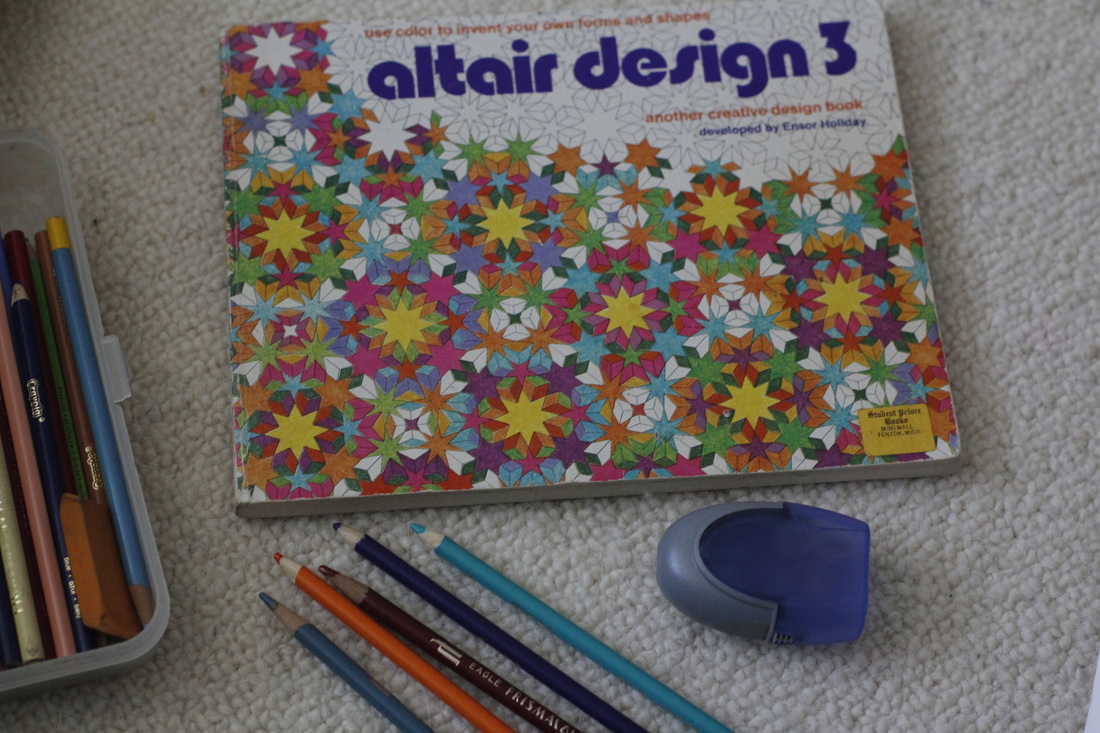
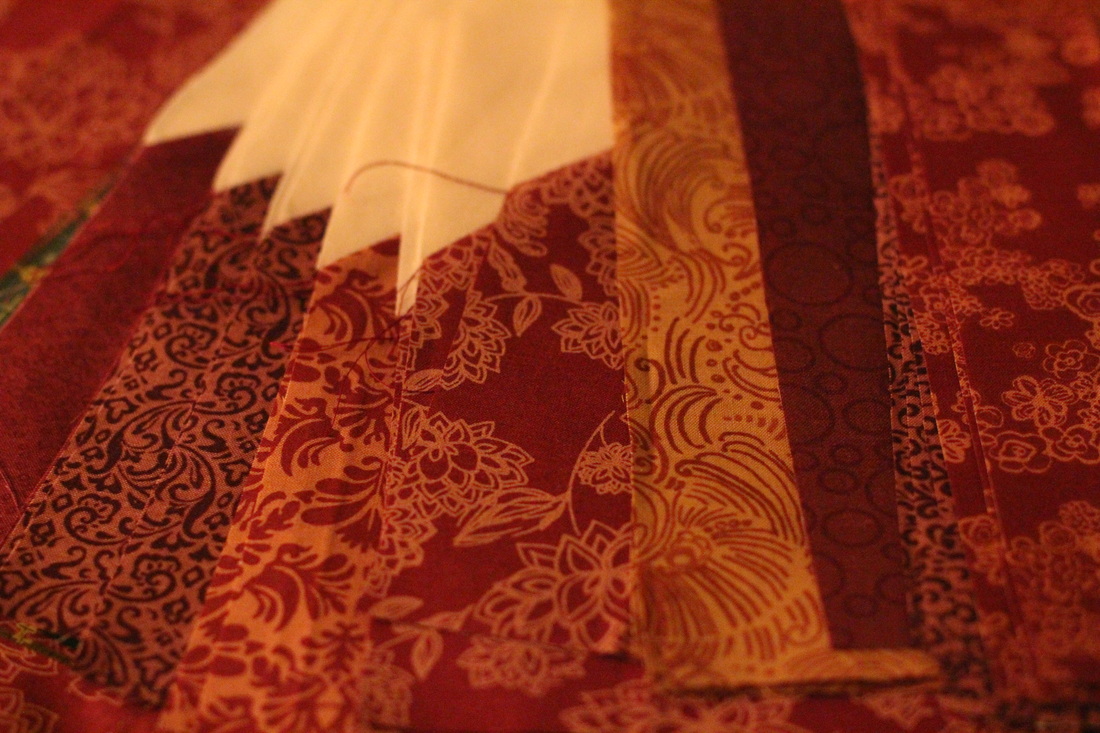
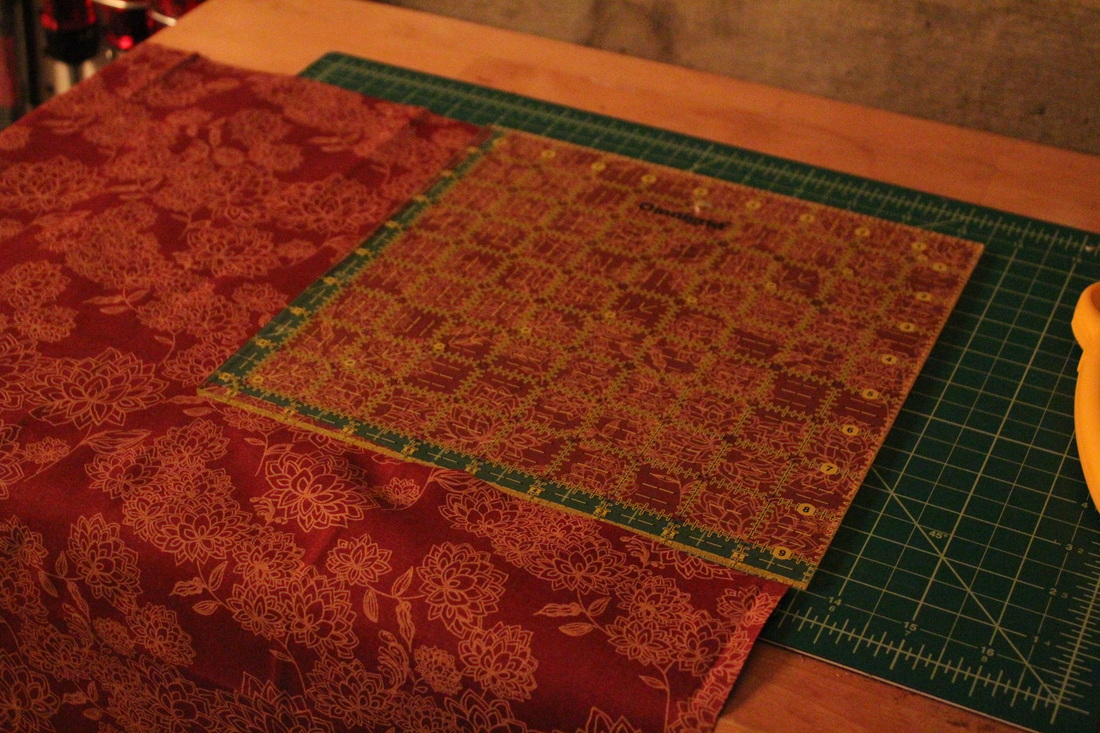
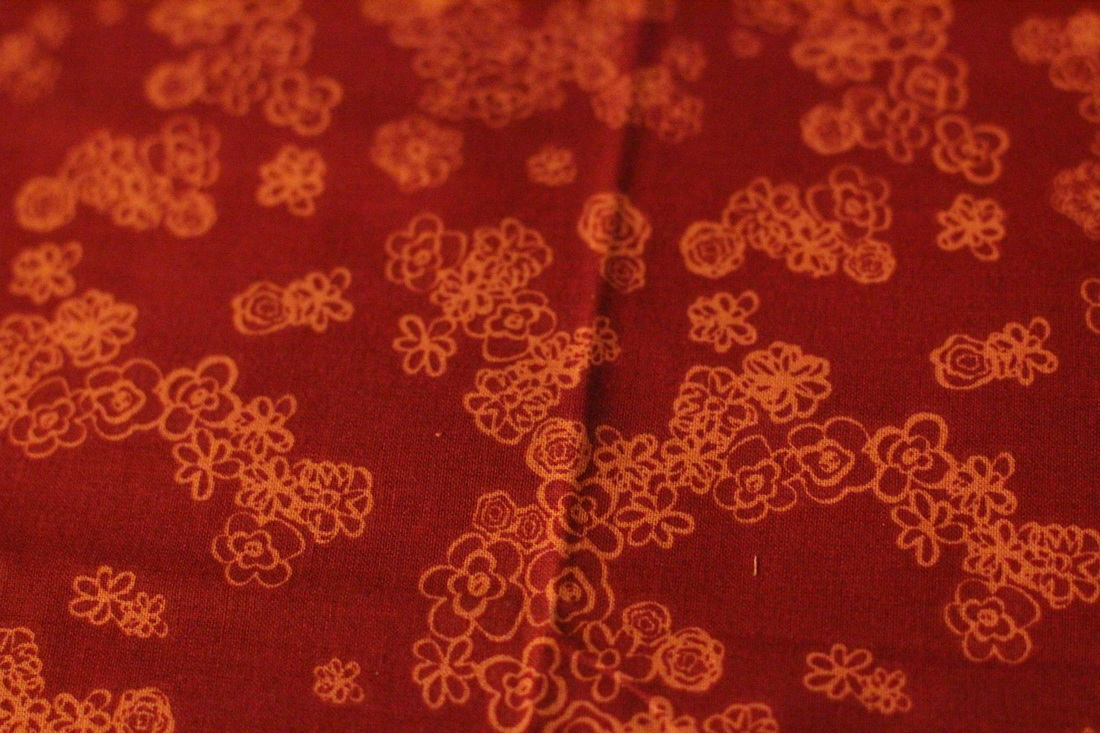
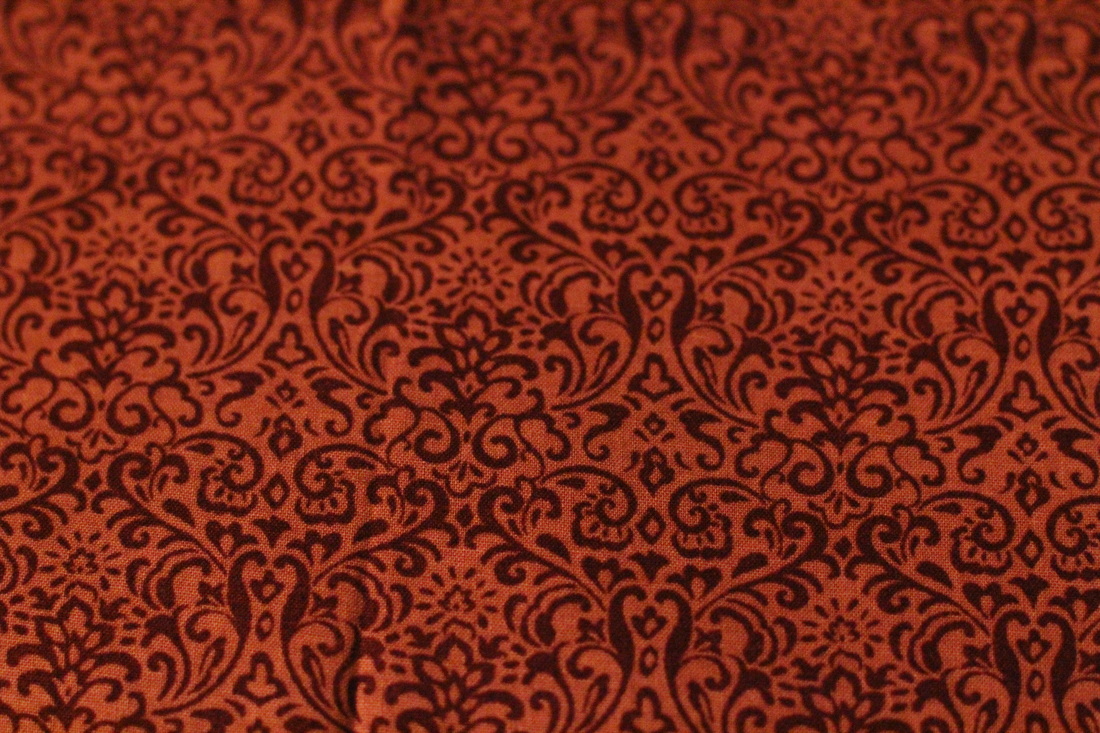
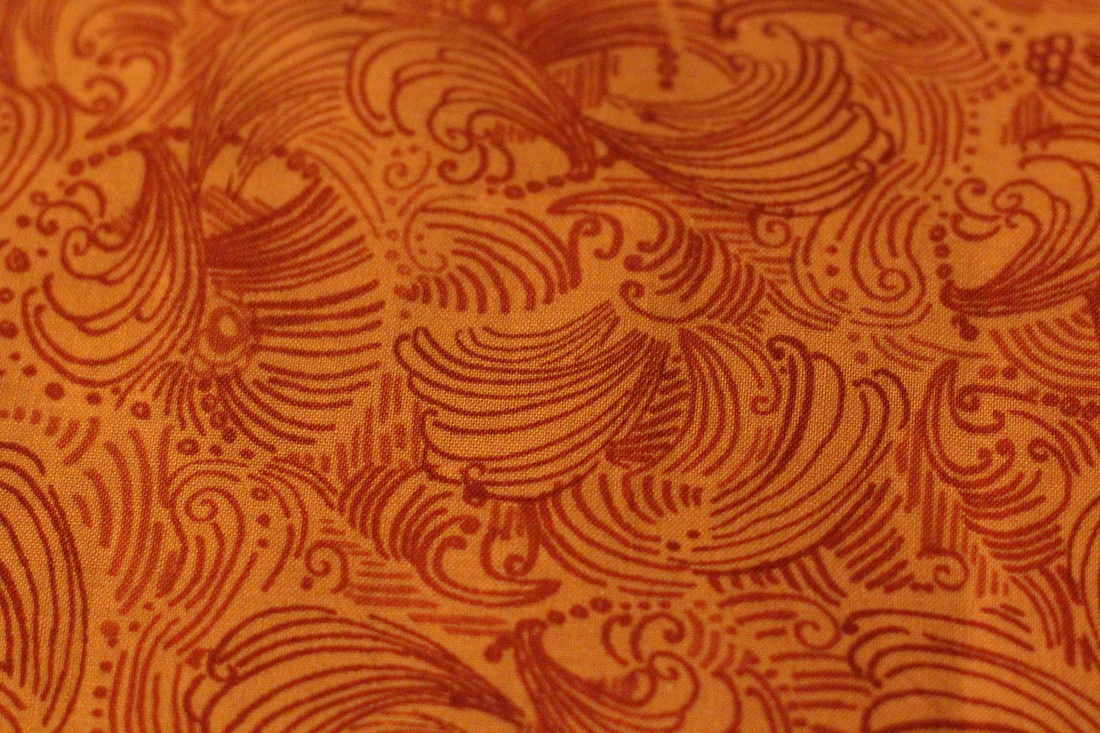
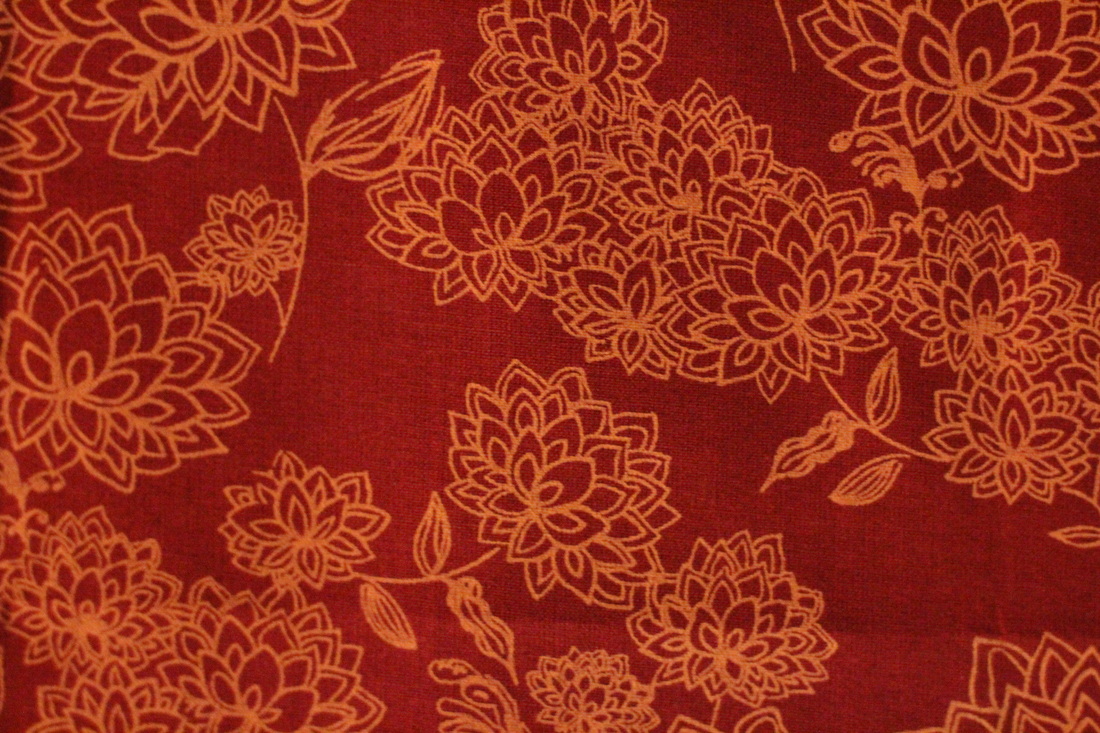
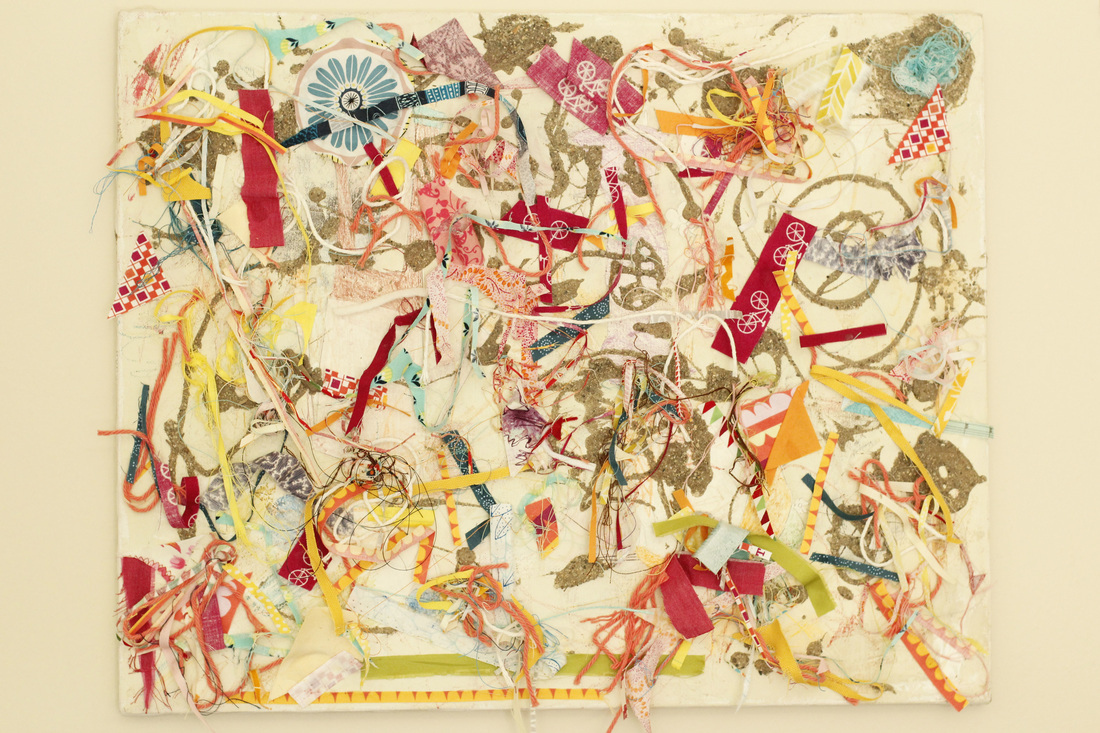
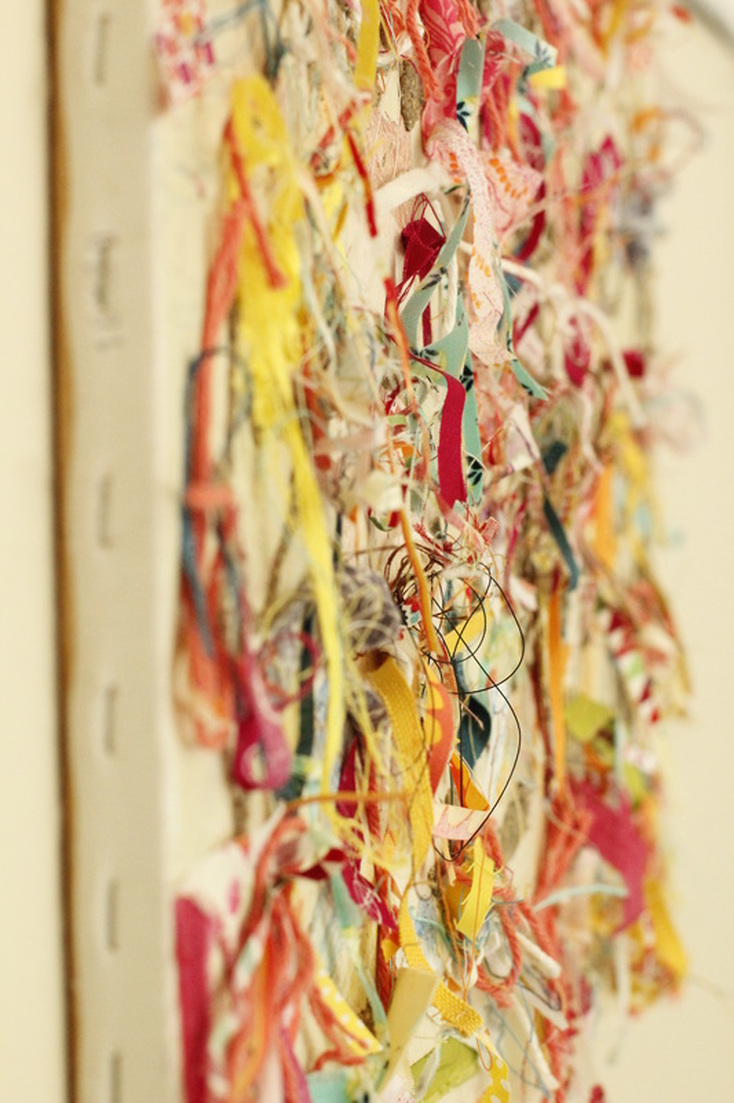
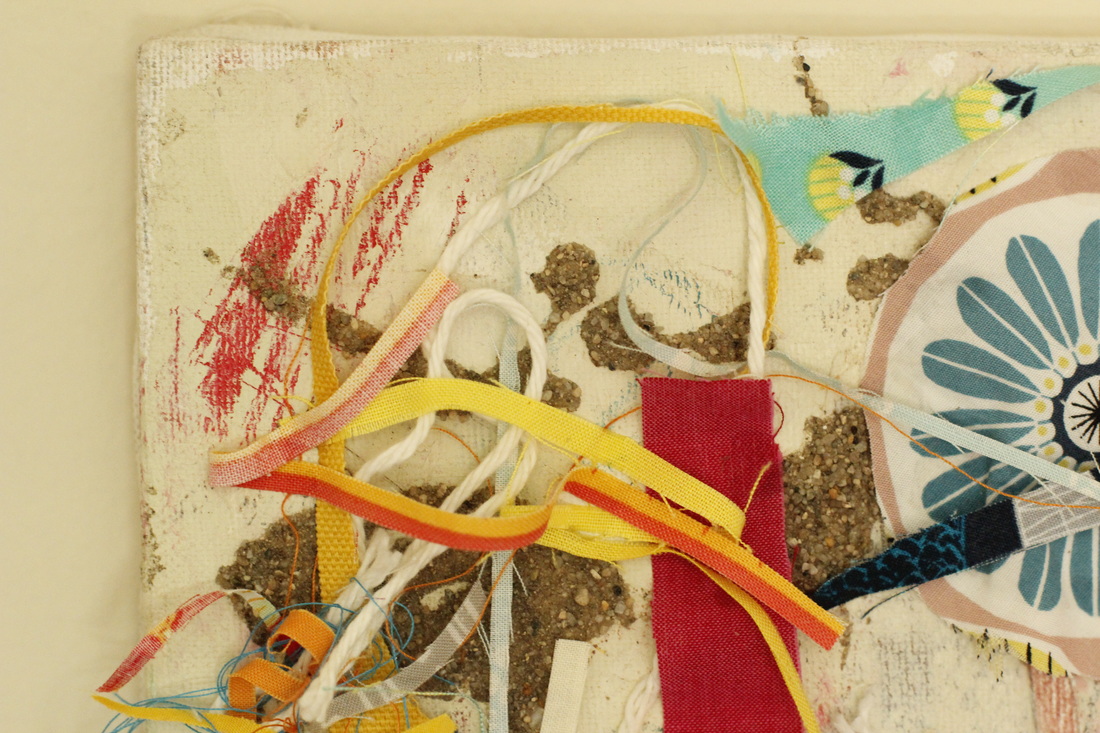
A good-sized part of any sewists fabric collection is scraps, pieces that range from long strings trimmed to square up edges to odd-shaped sections left after rounding a corner.  Add in all the bits of thread, yarn, and selvages that go in the scrap bin and it becomes an out-of-control heap pretty quickly.  I occasionally dip into my bin for pieces large enough to sew with, but those unsewable pieces left behind have been getting out of control.  After finding an unframed art canvas on the sidewalk, I had an idea how to put some of those bits to work.  

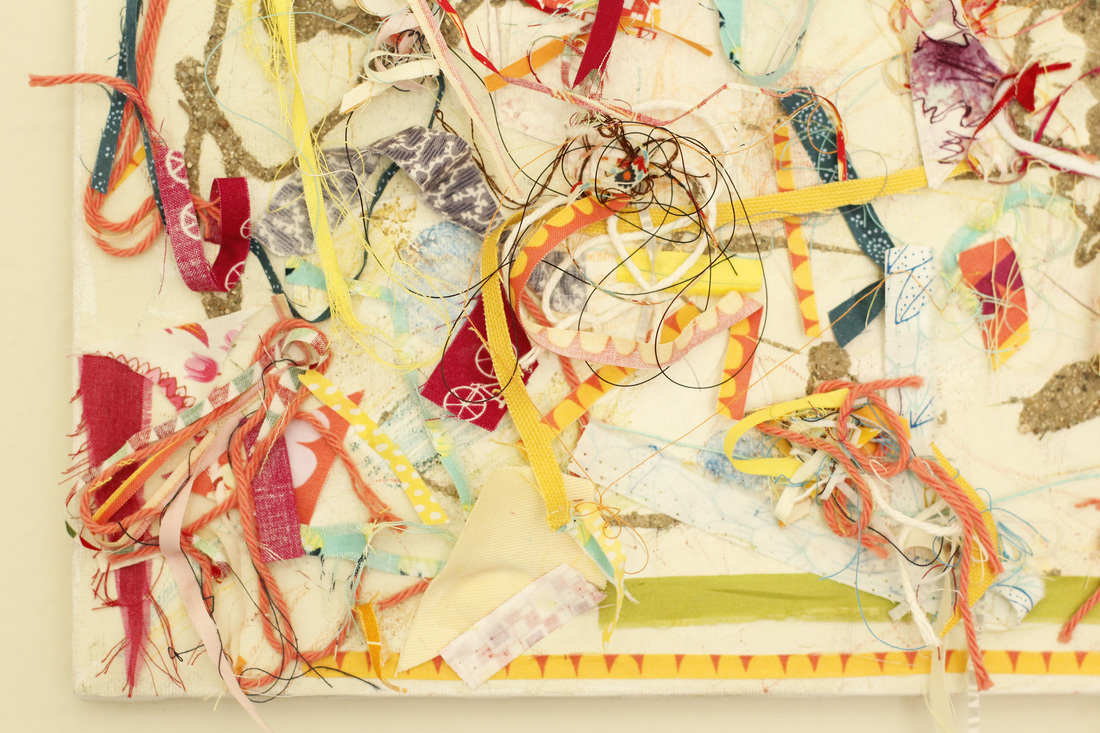
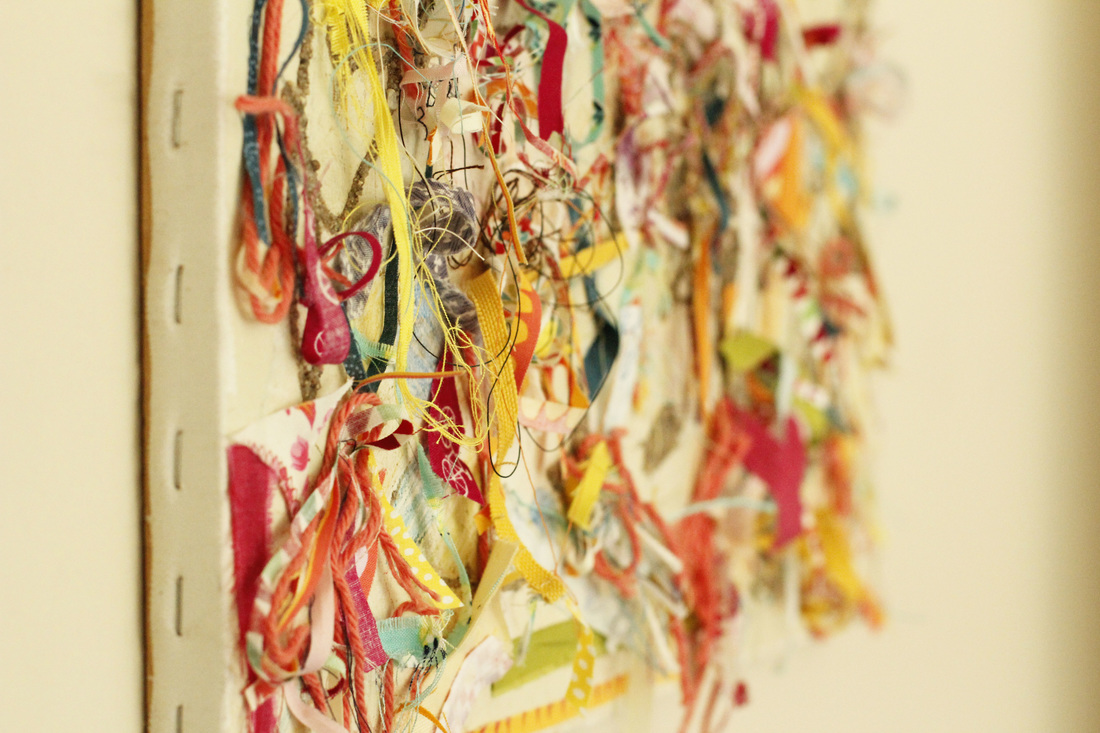
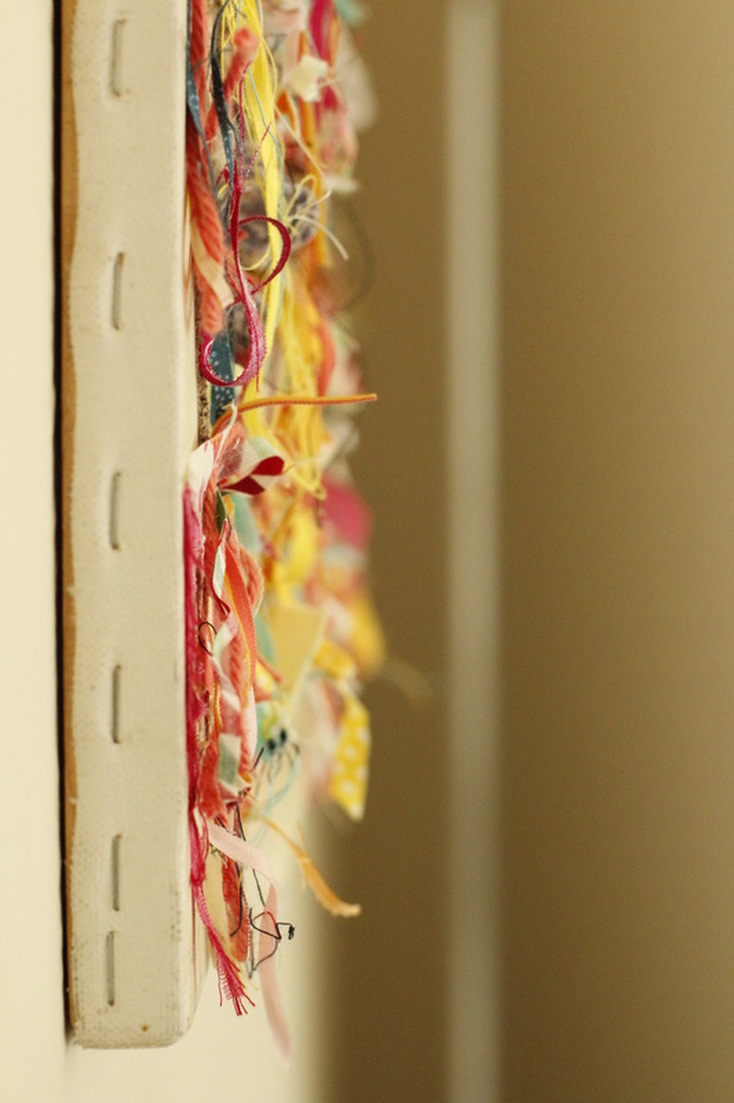
Although the canvas was already decorated, it was all very light and, I knew, would blend well into whatever I decided to put over it.  Over the course of several days, and with the help of my son and a couple other kids at the park, I got to work making my own scrap art.  The first thing we did was to color a bit with crayons directly on the canvas.  It wasn't much (and most of it isn't even noticeable on the finished piece), but it was a great warm-up.  Next up was some white glue and sand.  I told the kids to draw with glue and then cover it with sand.  They had lots of fun with this.  They tell me Spider Man is there, as well as some family members and random squiggles.  The final layer was done by just Goen and myself one evening.  He wielded the glue bottle and I handed him bits and pieces to put on top.  I made a few adjustments and additions here and there as well to make sure everything was stuck down and there were no awkward gaps.

The piece is now hanging behind our kitchen table where we can see it every day.  The combination of color, texture, and dimension makes me smile whenever I look at it.  I loved the process of making it and I'm pretty happy with the result as well.  I'll probably have to make a couple more, though, if I want to put a bigger dent in my tiny-scrap bin.  
1 Comment

Design Work

6/17/2015

0 Comments

 
My goodness!  The last few weeks have just zoomed by!  I helped my husband prepare for the open house at the school where he works, we had family visiting, and we spent almost two weeks house sitting.  So much in a short time.  The hardest part was house sitting, though.  I only took a couple projects with me.  Paper, pencils, coloring pages, colored pencils, and the needle book I'm making.  I tried to focus on ideas, brainstorming things to design, make, and share with you.

Picture

This coloring book is one I took from my husband's classroom.  It's all repeating geometric shapes to color in and make cool designs.  I colored in it while at the park with my little one, and I actually found it pretty relaxing.  The neat thing about these so-called "adult coloring books" is that you can focus on color combinations and how they impact the way each shape appears in the overall design.

Picture

Working with repeated images got me interested in incorporating tessellations into my work.  In the coming months, I'll be showing you some of what I'll make, and even show you how to make your own repeating designs and use them in a sewing project.  I don't know how I'll be able to wait, but I must.

Picture

I've also been working on sending out query letters for freelancing jobs.  I've got a couple coming up that I'll show you when they're done.  But I also spent some time designing patterns (or at least the beginnings of patterns) that I'll post here for you all to download for free.

Picture

What have you been working on?  Or is summer keeping you from creating?
0 Comments

A Simple Quilt Beginning

11/11/2014

2 Comments

 
I've never considered myself a quilter.  I've only sewn one quilt top, which is still in the process of being basted in its quilt sandwich.  And now with my sewing studio in a corner of the garage, I'm not sure it will ever get finished.  Despite this lack of progress, I have quilts running through my head.  I keep getting an idea and then looking online to figure out how I would make it.  Then, of course, I find another idea I like even more and run with that for a while.  Then nostalgia brings me back to the first idea and then my sense of adventure pushes me to incorporate both ideas into one quilt.  And so it goes, back and forth between simple and complex.  In the end, I decided to move forward with a simple statement-type quilt that would come together quickly and easily and wouldn't require the purchase of any new tools or patterns.  With these criteria in mind, I went with the BlueBird Park baby quilt tutorial from Samelia's Mum. 

Since I already have plenty of baby blankets, I'm hoping to make this one twin-sized, or at least lap quilt-sized.  Essentially, I want to quadruple the size of the blanket from the tutorial, which means I need 20 fat quarters (or the equivalent in yardage). 
I'm using a few burgundy and purple fat quarters from my stash as the basis for my color palette with some off-white for the corners of each square.  I want to add more fabrics from the red side of purple, but apparently these colors are not "in" at the moment.  Most of the fabrics are at the blue end, or too light.  I did find a few, though, so I have enough fabric for half of my quilt.  It's enough to get me started at least.  In the meantime, I'll keep on the lookout for more purple-, burgundy-, and gold-toned fabrics.  Maybe next season's fabrics will be warmer (i.e. red-toned instead of blue-toned).  But I really hope I don't have to wait that long.  If you see any quilting fabrics that match my palette, please (please, please, please) let me know.  I would be forever grateful.
Picture
Picture
Picture
Picture
Picture
2 Comments

Stitchery Book

8/18/2014

0 Comments

 
Picture
Before you get all amazed, no, I did not make this beautiful stitchery.  It's a picture I took from a book I bought (the piece was stitched by Rosie James).  I like to look at art books for inspiration and to find artists whose work I like so I can find more of their work.  Usually I find these perusing the library because I just can't afford to buy and house so many pretty books.  That being said, when a good deal presents itself, I indulge.  And that is just what happened on a trip to Barnes & Noble. 
Picture
I was looking through the clearance bin when I uncovered this book on modern stitchery artists called Push Stitchery.  Although it mainly includes the more "edgy" artists in the industry (the kind that use needle and thread to stitch unusual subjects such as meat, freeway scenes, and luchadores), the ideas can be used for a wide variety of subjects or applications.  Today, I'll share a few of my favorite pieces from this book.

Picture
This first piece is by a Lithuanian artist whose name I can't spell without visiting a foreign alphabets website: Severija Inčirauskaitė-Kriaunevičienė (a mouthful to be sure).  I particularly like that she chose a traditional design for her non-traditional canvas.  There is nothing like embroidered watering cans to prove that anything can be stitched on.  Drill or punch a few holes and you can make anything a canvas.  Some of the things I would like to use this idea on are chair backs, window screens, and book covers.  Really, the options are endless with the right tools. 

Picture
Clyde Olliver definitely challenges what it means to do stitchery.  A pile of rocks and a piece of knotted rope threaded through holes in the rocks.  It's not something I would ever think of, and I can't help liking it, perhaps for that very reason.

Picture
I love the dimensionality in this piece from a series by Diem Chau.  Of all the ideas in this book, this is one I really want to figure out how to do.  I can't be sure, but it looks like she uses some sort of stabilizer for the stitchery that then gets fused to the plates.  As with the watering can, there are endless applications.  Liven up a window, a wall, or other smooth surface with the swipe of an iron.  They can even be made and sold like patches for people to apply to their chosen surface.  I feel a future tutorial forming...

Picture
This piece by Gillian Bates uses raw edge applique to add blocks of color and stitched lines to create dimension and texture.  Although machine stitched, the technique can be used with handstitching or embroidery.  In fact, this is an idea I have been mulling over for some time, albeit in a smaller scale.  I would like to use it to make "artist cards" to hand out to people or perhaps a quilt tag.  Whatever I decide on, I'm sure you'll be seeing something like this soon.

Picture
There are several pieces by Joetta Maue that I found intensely interesting.  This one, depicting a woman embroidering what I assume to be aspects of her life, oozes with self-revelation.  I can almost hear the author telling her story through the images she stitched.  And her story is easy to mistake for our own.  The strands connecting each item can easily become a complicated web as another and another are added (life in a nutshell, yes?).  In her Q & A she says that she uses methods and materials traditional to "the domain of the home and the female" to help the viewer "identify the conflict being explored in the work."  And that is the essence of art: to get the feelings we have inside out into the world for others to see,  understand, and identify with.

Picture
This stitched paper work by Peter Crawley is one of the main reasons I bought the book.  It is such a simple idea with a bold effect.  The letters seem to both draw towards and away from the viewer.  And the loose strands juxtapose nicely with the rigid stitched lines.  Although the technique he discusses in the book sounds time-consuming in order to achieve anything close to perfection, I imagine even an amateur (i.e. me) could create something beautiful.  Or, at least that is my hope, as I intend to give this one a try at some point.

0 Comments
    Picture


    Carley Biblin

    Hi.  My name is Carley.  I love to sew, craft, and create. As a Jane-of all-crafts so to speak, I enjoy sewing, writing, cooking, drawing, photographing.  But the constant thread (if you'll excuse the pun) throughout my weeks is needle arts. 
    I hope you'll join me in
    Making It Up As I Sew Along.
    Learn More...

    My Etsy Shop

      If you'd like to sign up to receive my newsletter, type your email address in the box below and get news, tips, and other neat stuff delivered to your inbox.

    Submit
    Instagram

    Archives

    January 2017
    December 2016
    November 2016
    October 2016
    September 2016
    August 2016
    July 2016
    June 2016
    May 2016
    April 2016
    March 2016
    February 2016
    January 2016
    December 2015
    November 2015
    October 2015
    September 2015
    August 2015
    July 2015
    June 2015
    May 2015
    April 2015
    March 2015
    February 2015
    January 2015
    December 2014
    November 2014
    October 2014
    September 2014
    August 2014
    July 2014
    June 2014
    May 2014

    Categories

    All
    Arts & Crafting
    Books & Music
    Celebrations
    Embroidery
    Family Photos
    Fixing
    Guest Posting
    Inspiration
    Kids & Family
    My Week
    Parenting
    Photo Tour
    Present Moment
    Recap And Goals
    Recipes & Food
    Reviews
    Sewing
    Shop Update
    Swaps
    Tips And Techniques
    Travel
    Tutorials

Powered by Create your own unique website with customizable templates.