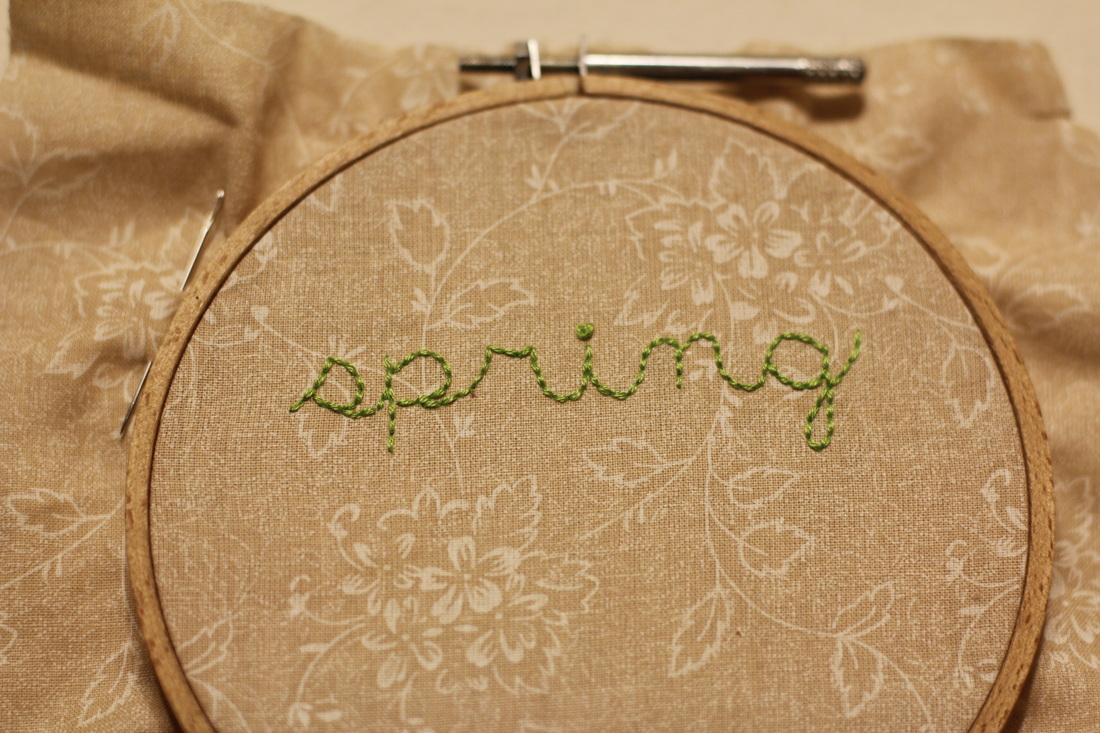
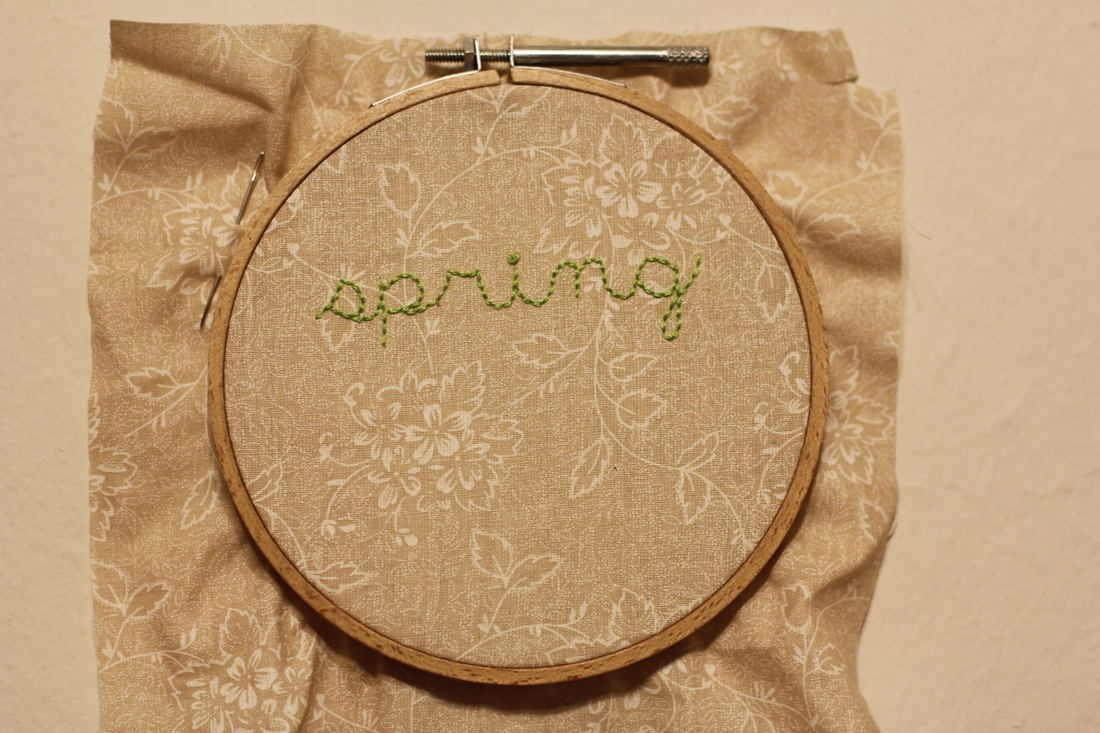
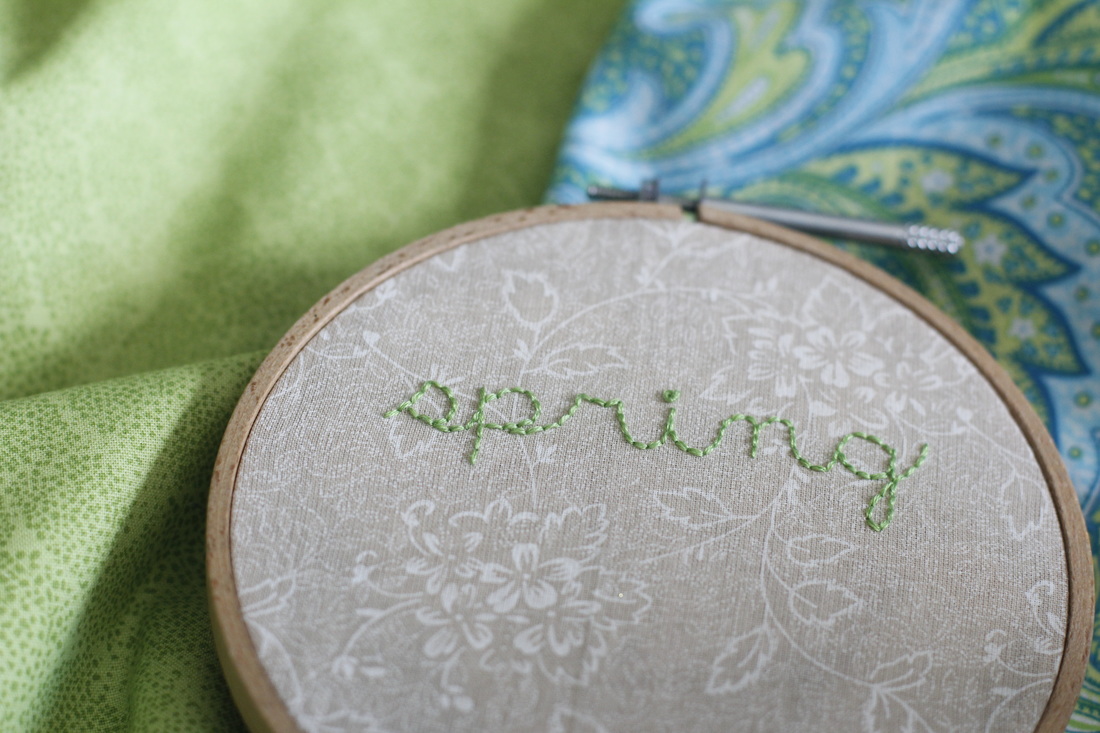
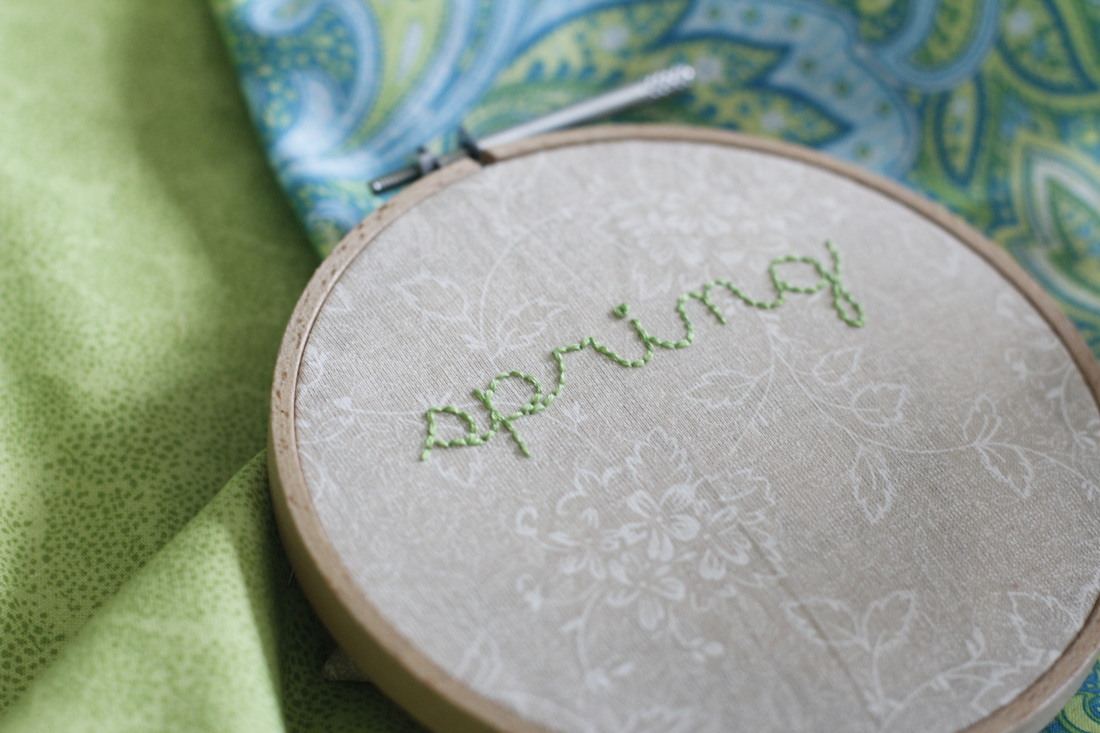
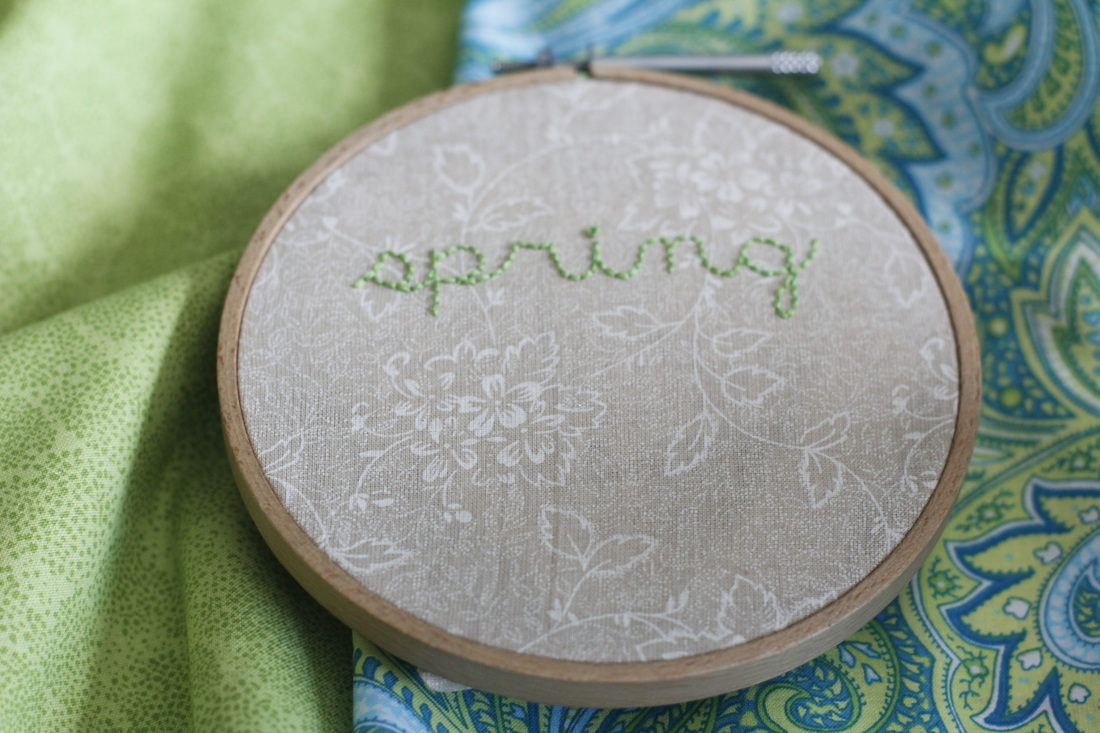
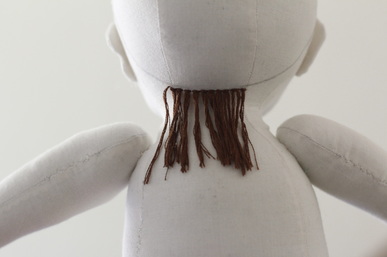
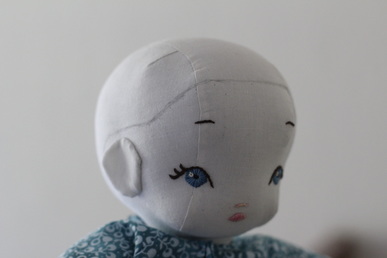
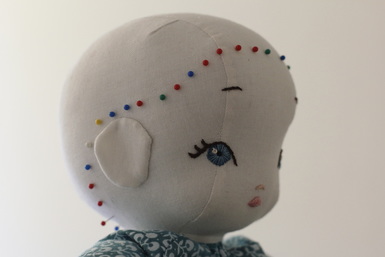
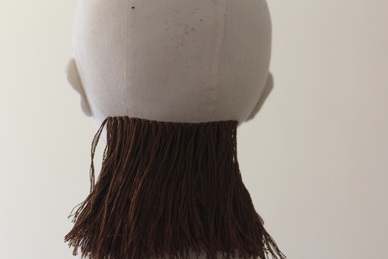
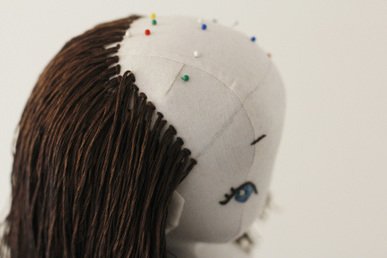
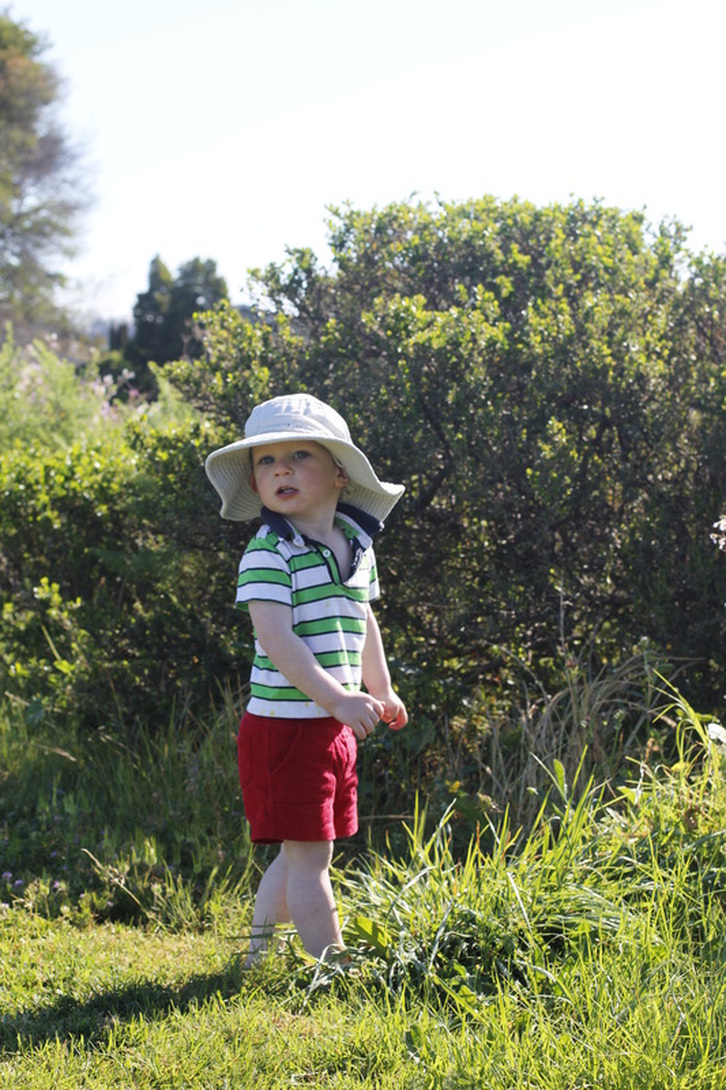
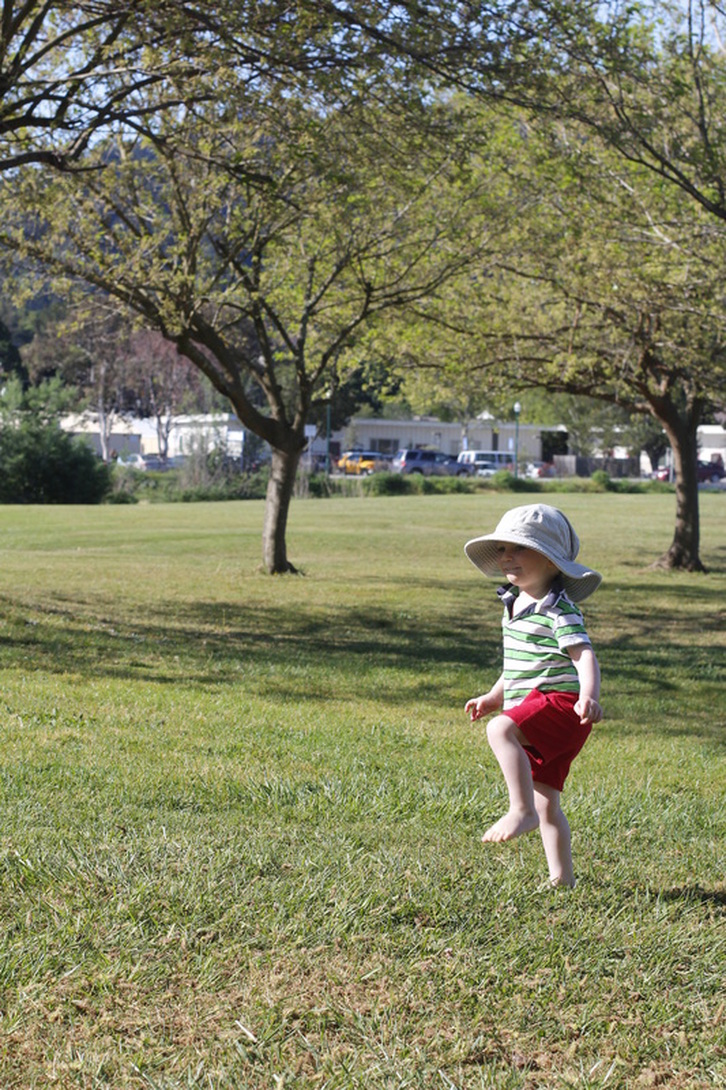
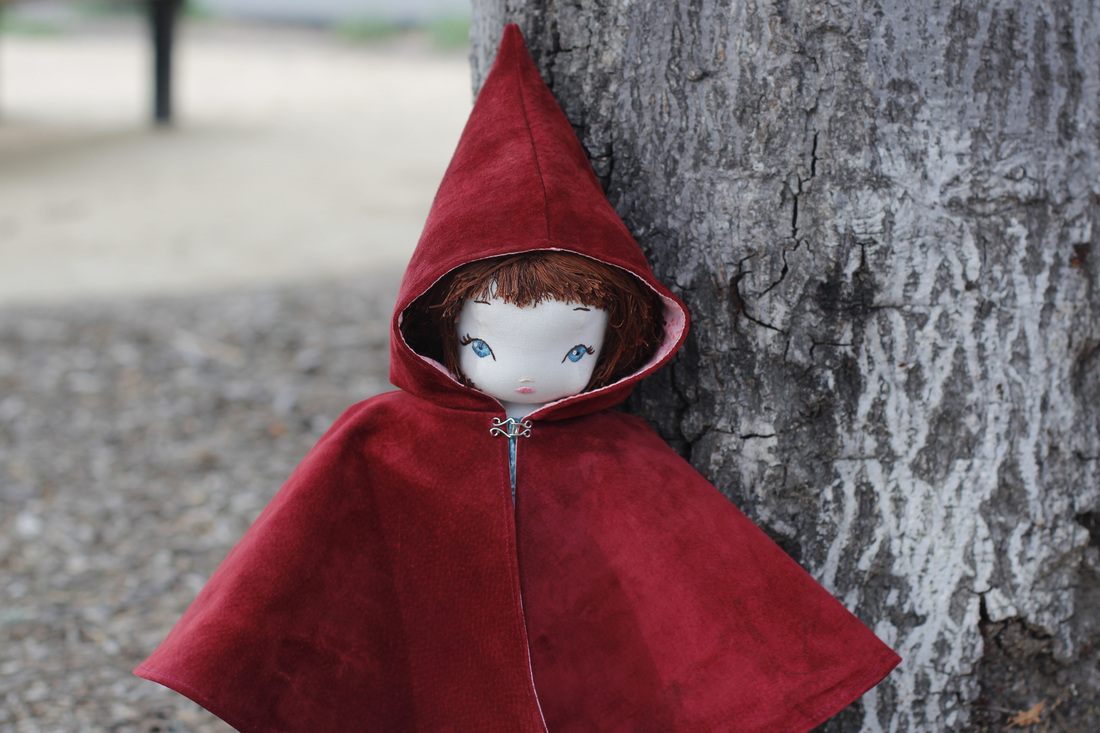
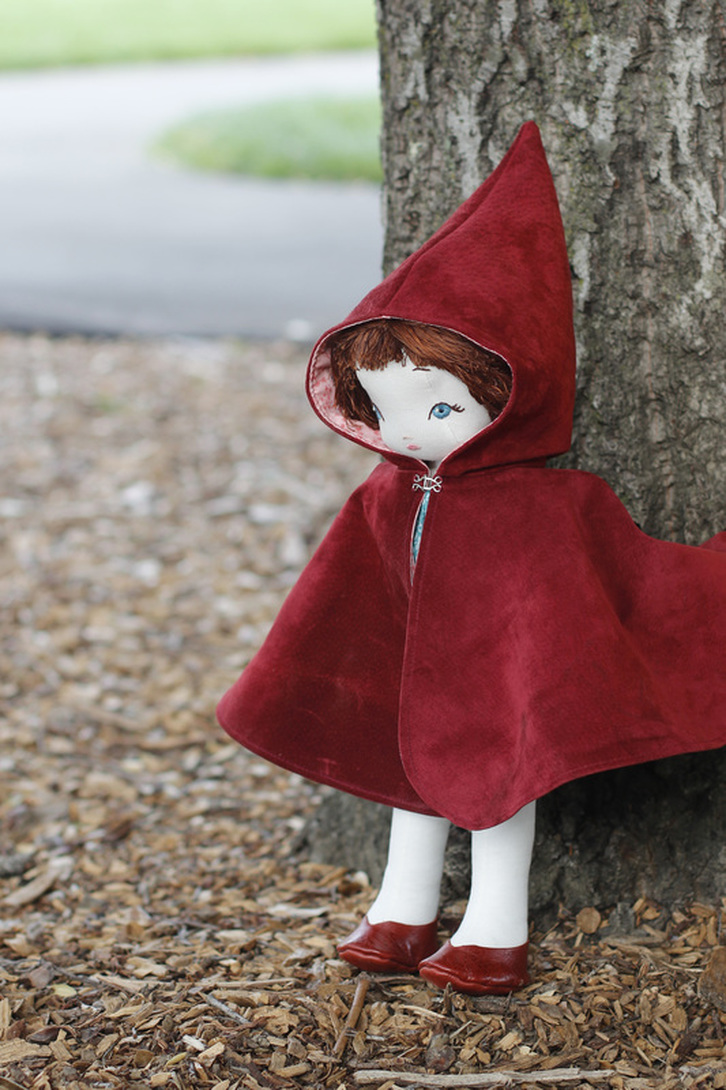
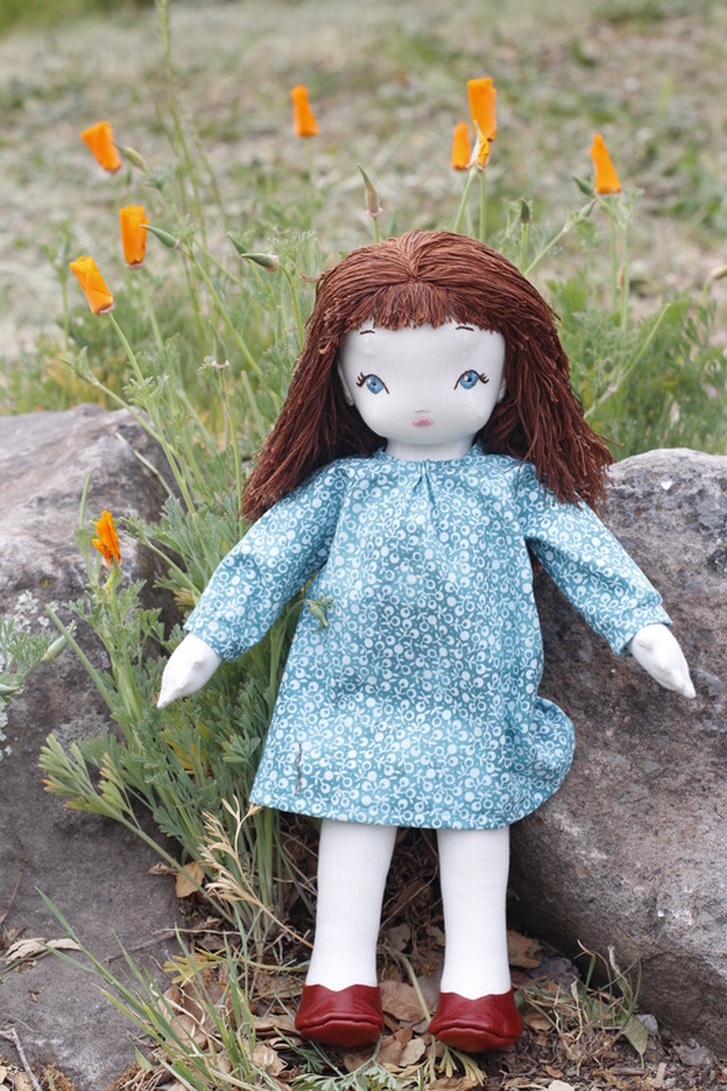
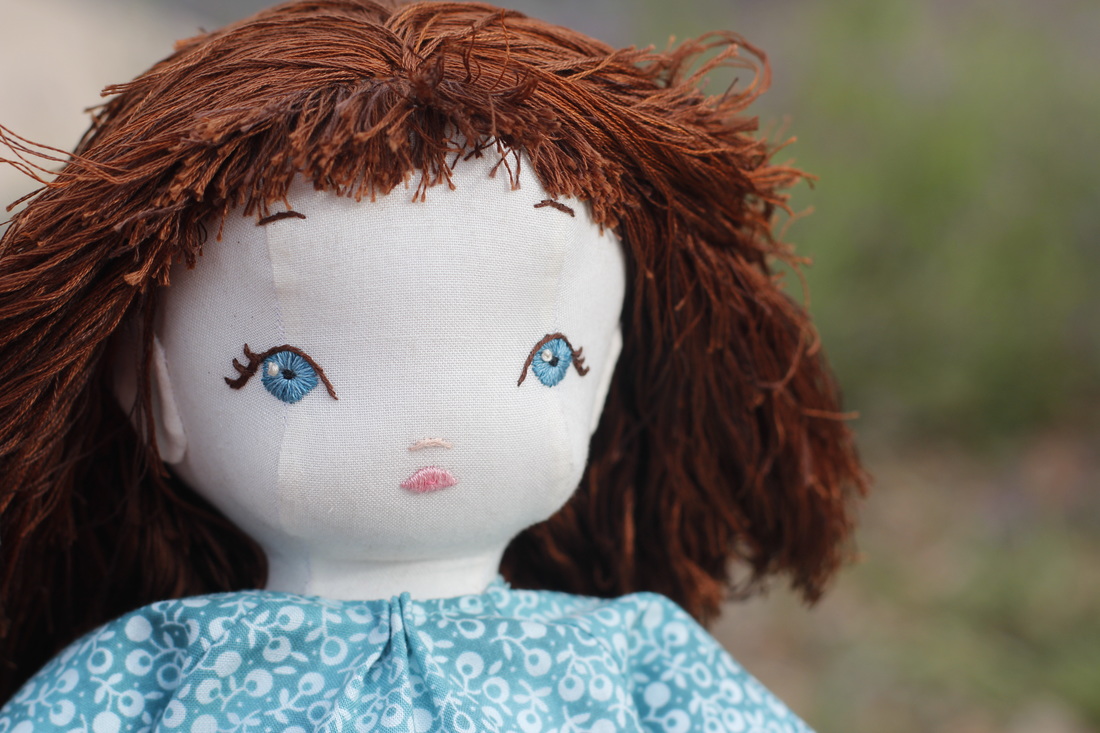
With all my fabric and sewing supplies still packed away in boxes, I was impatient to get to work on something to keep my hands busy during naps or the odd free moment. I chanced upon the answer while glancing through boxes in preparation for sorting and getting rid of stuff. My embroidery floss, needles, and hoops were easily visible in one box and a large bundle of fabric scraps was nearby. I grabbed a piece of neutral, flower-print fabric, put it in a small hoop, and threaded three strands of green floss. A moment of thought about what to stitch and then I got to work. I knew I wanted to freehand something (especially since I didn't have any designs to transfer), and I've wanted to work on improving my handwriting for some time. The simple word "spring" sprang to mind and I let it flow through through my needle and onto the fabric. Considering that this was my first try, I think it turned out quite well. I thought about hanging it on the wall as a decoration, until I realized that the fabric is almost the exact same color as the walls. It doesn't exactly liven up the space. Perhaps I should have taken that into account when choosing fabric. Oh, well. Live and learn, as they say. Even though it doesn't look good on the wall, I noticed that it looks perfect next to some scraps from cutting the pages on my next fabric memory book for my son (you can see the full range of spring-inspired fabrics here). Perhaps all it needs is a decorative ruffle or something to set it off properly and bring out the green. And it needs some flowers or something embroidered on the bottom, and maybe some vines. Hmmm, so much for a quick, simple stitching project. What "quick" projects are you working on right now? Have you tried freehanding a design before?
0 Comments
This past Saturday was moving day. Yes, moving. I haven't spoken much about it here. It wasn't something we really wanted. Living a mile from my husband's job was a pretty nice situation since Goen and I could visit him during lunch. But our landlords wanted to sell, so out we went. We found a place in Fairfax that had most of what we were looking for. So we signed a lease and prepared to move. Which meant packing up all our stuff as quickly as possible, though, truth be told, it took over a week (having a toddler can really slow the process down). And now, several car and moving truck trips later, everything is inside. It's less space than we had before, so something (perhaps many things) will have to go or be put in storage. The next step is to bring it all to a state of orderliness, to create a space that feels homey, and, of course, to set up my sewing studio corner. I hope it doesn't take long because I have so many projects I want to get moving on. As soon as it's all put together, I'll post some shots, just like last time we moved. It's only been a few days, but already I'm starting to forget the old place. The happy moments will live on in my memory and in pictures, and we'll create more as time moves forward in this new space.
“The present moment is filled with joy and happiness. If you are attentive, you will see it.”
― Thích Nhất Hạnh, Peace Is Every Step: The Path of Mindfulness in Everyday Life A couple months ago, I was lucky enough to make it to the first artists' garage sale at Handcraft Studio School in Emeryville, California. In addition to a few other things, I purchased a beautifully-illustrated board book by Ashley mae Hoiland. I liked the artwork as soon as I saw the book sitting on the table, but it wasn't until I got home and had a chance to read it that I became completely in love with it. The illustrations are slightly abstract and colorful. It's the same whimsical realism that I'm drawn to in other books. The storyline is so much fun. It's about a stork who finds a hat one day and, thinking he is invited to a fancy party, he puts it on and goes in search of the party. The stork meets other animals along the way and each one has something to bring to add to the festivities. A cake... ...a banner... ...a shiny crown... ...berries, and more. The party-goers hit a snag, though, when they are unable to find the party they are looking for. They almost decide to go home when the rooster reminds them of what is really needed to have a party. I don't want to spoil the ending for you, so I won't say too much. The very last page shows all the things the animals brought. It's a great opportunity for kids to revisit the story. My little one loves to practice his words by pointing out each item. There is so much I love about this book. It's rare to find toddler books with beautiful imagery and a cute story, but this one definitely has both. The colors are bold and the images are lovely to look at. The brush strokes and texture from the original artwork is visible, which gives the animals the character they deserve. Plus, the entire text is hand-written. Although there are several words that are more difficult for little ones to understand (such as exquisite), but that is part of what makes it enjoyable for me as well. It's not simplified for only the toddler audience. I hope you are able to find a copy to read and enjoy with your little one. I would guess that only specialty book stores carry it, but you can find it, and more of Ashley's work, on her website. Continue stitching in rows up the back of the head. If you find that your rows are getting uneven, place pins at symmetrical intervals to help you even them out. When your rows reach the back of the head, start mixing in strands of darker floss. I added two strands of dark for each length of six strands of my main color. This helps to create depth in the hair. Sew the first row of hair just outside the pencil line at the nape of the neck. The first several rows can and should be very short. They are mostly to fill out the underside and create a proper hairline. Cut the loops. Note: You may want to wait until after stitching the hair to attach limbs. As you can see in the next image, I removed my doll's arms to make it easier. Remove the pins. Cut several lengths of your main embroidery floss color. You will go through it fast, so it speeds up the process if you have a lot cut and set out. For the first few lines of stitching, you only need to use your mid-tone (cone) color. Place pins where you want the hairline to be. Reposition the pins as necessary until both sides of the hairline are symmetrical. It helps to look at pictures to get accurate positioning. If you've been following the Six Weeks of Love for Softies contest, you may already know that neither my doll nor my snake won. I'm still pretty sad about it. I spent a lot of time on both of them and, of course, had my hopes up. After swearing off any sort of sewing or crafting project, and then realizing that I could never give it up, I decided life would just have to go on. And so it does. Let me just say that embroidering long hair on a doll is a lot of work. It takes hours and hours, especially if you want full, thick hair. That being said, it looks fantastic when it's done. As I worked on my Little Red Riding Hood doll, I took process shots along the way to share how I did it. I used turkey stitch (also known as turkey work). If you have never done turkey stitch, here is an illustration on how to do it and here is a video tutorial. I love this stitch because it allows you to create loops that can be cut into fringe. The floss or yarn stays in place with tacking stitches, so there is no need to worry about it getting pulled out. Follow the simple steps in my tutorial below for your own handmade dolls. And, before you get overwhelmed, I'll just say that it's a fairly simple stitch, even for a beginner. Time-consuming, but simple. Embroidered Doll Hair Tutorial Materials: - 1 cone embroidery floss for main hair color (I used less than half for my doll) - 8 or 10 skeins of a darker shade of floss - 2 or 3 skeins of a lighter shade of floss - embroidery needle that can accommodate 6-8 strands of floss - plastic comb with wide teeth and narrow teeth Instructions: Stitch another row of hair 1/4"-1/2" above the previous one. The closer your rows are, the thicker the hair will be. If your doll has a hood or hat, make sure you don't make the hair so thick that the accessory no longer fits. Make each successive row of hair a little longer until you have reached the length you want. Create a realistic effect by varying the length of each loop slightly. Cut the loops after each row. Use a pencil or fabric marker to draw a line to the inside of the pins. Your stitches will cover this line. After every few rows, use the eye end of the needle or a plastic comb to carefully separate the strands of floss. This will help them spread out and fluff up. Check to make sure the hair is the same length on either side of the head. Some variation is okay, but the hair should not have a severe angle. Comb through the hair gently to make sure all the loops are cut. Trim or thin out the hair as needed. Tousle the layers just a bit to get the light and dark intermingling and then do one final comb through. If you want your doll to have bangs, add them before you get too far on the side rows. Make one or more rows along the forehead line, starting at the marked line and working towards the back of the head. The rows need to be very close together to hide the stitches of the previous row(s). Cut the loops and give them a downward tug to help them lay flat. Continue stitching the side rows until they touch the pins. Leave about 1/8" space bare. Remove the pins. Fill in the space with stitches working from the back of the head to the front. Make the stitches about 1/8" apart or less to make sure each previous stitch is hidden by the floss. Mark the center of the head with pins and continue adding rows about 1/4" apart until they are about an inch away from the center. Start adding strands of lighter floss instead of darker floss. Again, I used two strands per six of my main color. The light strands add highlights and allow light to bounce off, creating a glowing effect. Follow the steps exactly or use them to create different hairstyles. Either way, I'd love to see what you make. Send me an email, tag me on Instagram, or tweet me your blog post. And let me know if you have any questions. Continue in straight rows until you get to the ears (or the side of the head where the ears would be). Stitch several rows on either side of the head, angling them toward the center line of the head until they are perpendicular to the original rows. Continue to fill in rows at the back of the head as well until they are about 2" from the front hairline. At this point, you should start shortening the length of the hair to create layers. Note: Please ignore the random arrangement of pins in the head. My toddler was, er, helping me. “The present moment is filled with joy and happiness. If you are attentive, you will see it.”
― Thích Nhất Hạnh, Peace Is Every Step: The Path of Mindfulness in Everyday Life A Friday ritual adopted from SouleMama. A single photo - no words - capturing a moment from the week. A simple, special, extraordinary moment. A moment I want to pause, savor and remember. Spring has taken hold in my part of the world. With warmer days and gentle breezes, the outdoors is calling. And my little one and I have been answering that call. Hardly a day goes by without at least a brief visit to one of the parks nearby. Some days we are there for hours. On those days, every so often I ask Goen if he is ready to leave and go home. His answer, usually in the form of inaction, tells me he wants to stay. And so I keep working on whatever project I have brought along, or sketch in my notebook. Some days I get a lot done and others I don't, but days at the park are generally so enjoyable, sitting on a blanket between the shade and the sun, soaking in the brilliant weather. Of course, as I write this, a chilly wind is blowing and rain poured all last night. As soon as the sunshine returns, I will take advantage of every sunny day there is between now and fall. I hope you have a bit of sunshine to enjoy as well. If not, it will come soon and the park will call.
Mere hours before the deadline for the Six Weeks of Love for Softies contest on Sew Mama Sew, I finished my second and final entry. A doll. After making many stuffed animals, I decided it was time to branch off. But, of course, I couldn't make just any doll. I went with a Little Red Riding Hood theme. I intended to make several accessories for her, such as a basket with bread and flowers, but time and family responsibilities have an inverse relationship. No matter. The red leather suede cape I made for her is enough to cue the theme. I chose the doll pattern from the book Storybook Toys by Jill Hamor. I love the dimension of the face and body, the realistic shape of the limbs, and the embroidered facial features. As always, I put my own spin on it. For her dress, I left out the faux placket with buttons and did a simple gather instead. The blue really makes her eyes pop. I used the capelet pattern, but extended it to make a full-length cape. I love the large hook and eye clasp to hold it together. The red leather suede I used for her cape looks almost like velvet, but with a more interesting texture. And the pink printed cotton lining coordinates nicely with it. But her hair is really where I spent most of my time. Instead of using thick yarn, I hand-embroidered long strands of floss directly into her head. The effect is almost like real hair. With all these details, I think she turned out fantastic! With the hood off you can see her hair better. It took forever to sew her hair on. Hours and hours. I used six-stranded floss, and every piece is attached individually using turkey work techniques. It turned out way thicker than I thought it would, and I had to thin it out a bit to get her hood on. I'm putting together a tutorial on embroidering on hair, so if that's something you want to try, you can learn about it here. I used the shoe pattern pieces from the book, but increased the seam allowance so that I could use leather instead of felt. Of course, the opening in the shoes still ended up being a tad too small, so I cut notches into the front so I could slip them on. I think it makes them look even cuter than without the notch. The hands were difficult to sew. I did them manually to make sure I followed my marked seam lines and got the fingers nice and rounded on the ends. And, as always, a few more pictures I just had to post. But she is so photogenic it was easy to get a ton of great shots. She turned out so nicely, in fact, that I'm considering making a grandma doll and a stuffed wolf to complete the trio. Hmmm, yes, that is what I'll do. As soon as I have the time. |
Carley Biblin
Hi. My name is Carley. I love to sew, craft, and create. As a Jane-of all-crafts so to speak, I enjoy sewing, writing, cooking, drawing, photographing. But the constant thread (if you'll excuse the pun) throughout my weeks is needle arts. Archives
January 2017
Categories
All
|