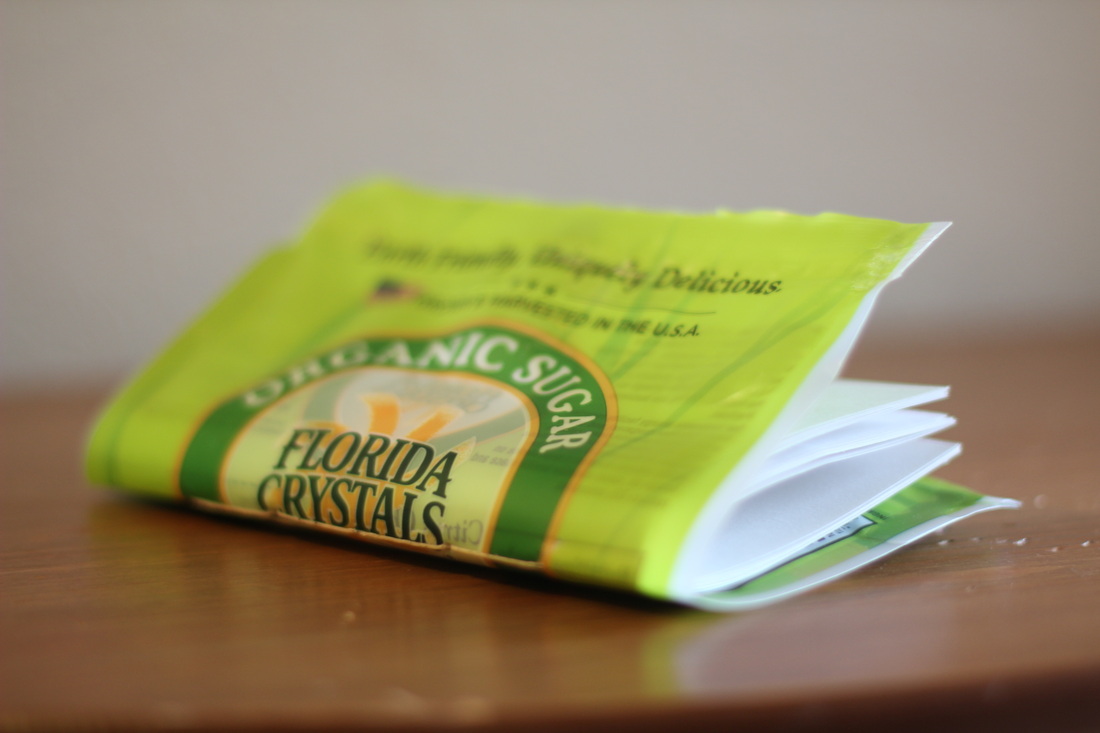
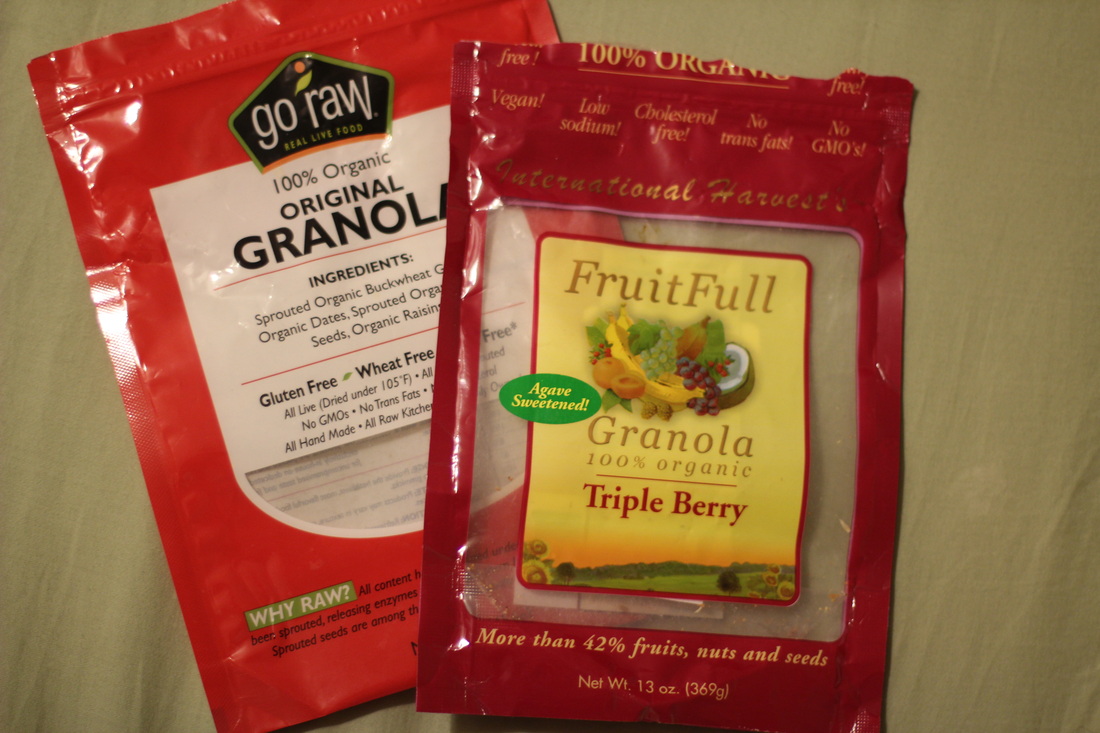
I have a super fun tutorial today. Several months ago I checked out EcoBooks: Inventive Projects from the Recycling Bin by Terry Taylor from the library. After reading it I was inspired to find ways to reuse what would otherwise be wasted and remake what would otherwise be recycled. One project I came up with uses empty zipper pouches (such as those used for granola, crackers, sugar, and other foods) to make notebooks. The bag doubles as a waterproof cover and zippered storage pocket. It's quite a conversation piece. And, when you are done with it, simply remove the thread from the binding and recycle the paper and plastic. Or reuse the pouch for another notebook.
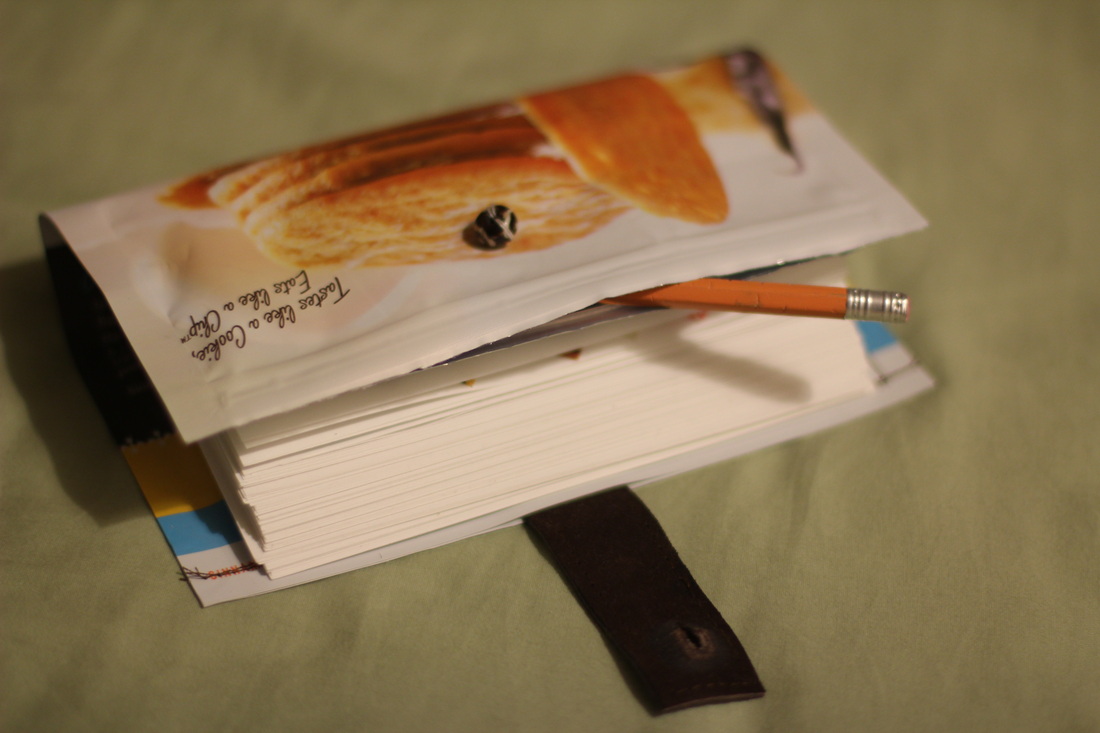
This notebook here is one I made one for myself to use as a project book. It has eleven page bundles (called "signatures" by industry professionals), a button and strap closure, and decorative beaded stitching on the spine. The tutorial I will share with you today is a simplified version with only one signature, but it can be easily modified for larger notebooks. Just be aware that the more pages you put in the narrower they will need to be since more of the cover will be taken up by the spine.
Zipper Pouch Notebook Tutorial:
Supplies:
- Plastic zipper pouch (emptied, rinsed, and dried)
- Paper (type depends on your needs)
- Ruler
- Pencil
- Scissors
- Binder clip
- Awl or other pointed tool
- Small tapestry needle
- Waxed cord or thread
Instructions:
Supplies:
- Plastic zipper pouch (emptied, rinsed, and dried)
- Paper (type depends on your needs)
- Ruler
- Pencil
- Scissors
- Binder clip
- Awl or other pointed tool
- Small tapestry needle
- Waxed cord or thread
Instructions:
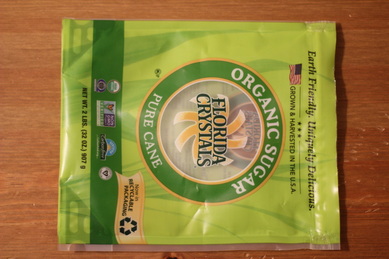
Begin by trimming the top of the bag where the zipper is so that it is straight and even.
Measure the width and height of the bag and write both numbers on a piece of scratch paper. Keep in mind that the pouch will be rotated 90 degrees for the final product (as it is in the picture here).
Measure the width and height of the bag and write both numbers on a piece of scratch paper. Keep in mind that the pouch will be rotated 90 degrees for the final product (as it is in the picture here).
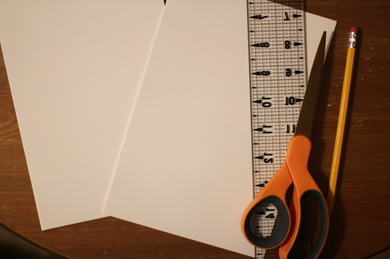
To determine the size paper you need for your signatures, subtract about 1/2" from the width and height measurements. Cut several sheets of paper to this size. You can tear the pages instead of cutting them to get a more distressed look. The thickness of your paper should play a part in deciding how many sheets to use. Keep in mind that the more pages you have in a signature, the more the center pages will stick out after you fold them. You can leave them as is or trim them after folding.

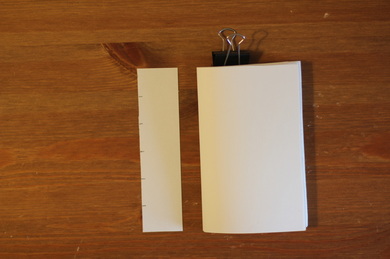
Lay your pages on top of each other so that all the edges are even. Fold them in half by taking the edges that represent the height and bringing them together. Keeping the edges aligned, press a crease into the pages. To get the pages flatter, separate the stack and re-crease each page along the existing fold. Put the pages back together. If you want the edges even, trim them now. Put a binder clip to one side of the fold to hold the pages in alignment and still allowing you to open the signature.
Create a scrap of paper the same height as your pages. make a mark in the center of the height and then make two more parks spaced evenly on either side (mine are spaced 1" apart).
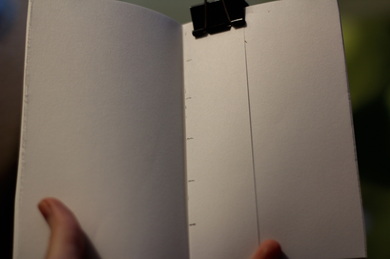
Clip the template under the binder clip close to the fold of the center spread.
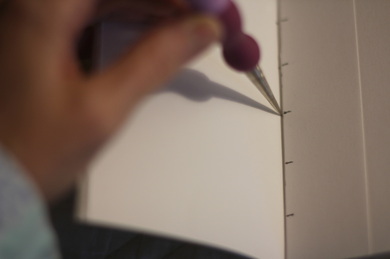
Use an awl or other sharp tool to poke holes in the fold at each marking. It helps if there is a groove under the fold so the awl can go all the way through more easily. Make sure the hole is just large enough for your needle to pass through.
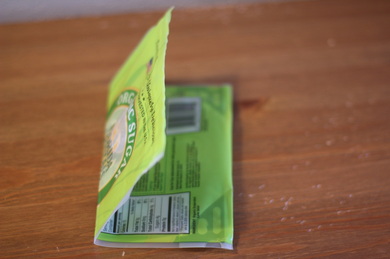
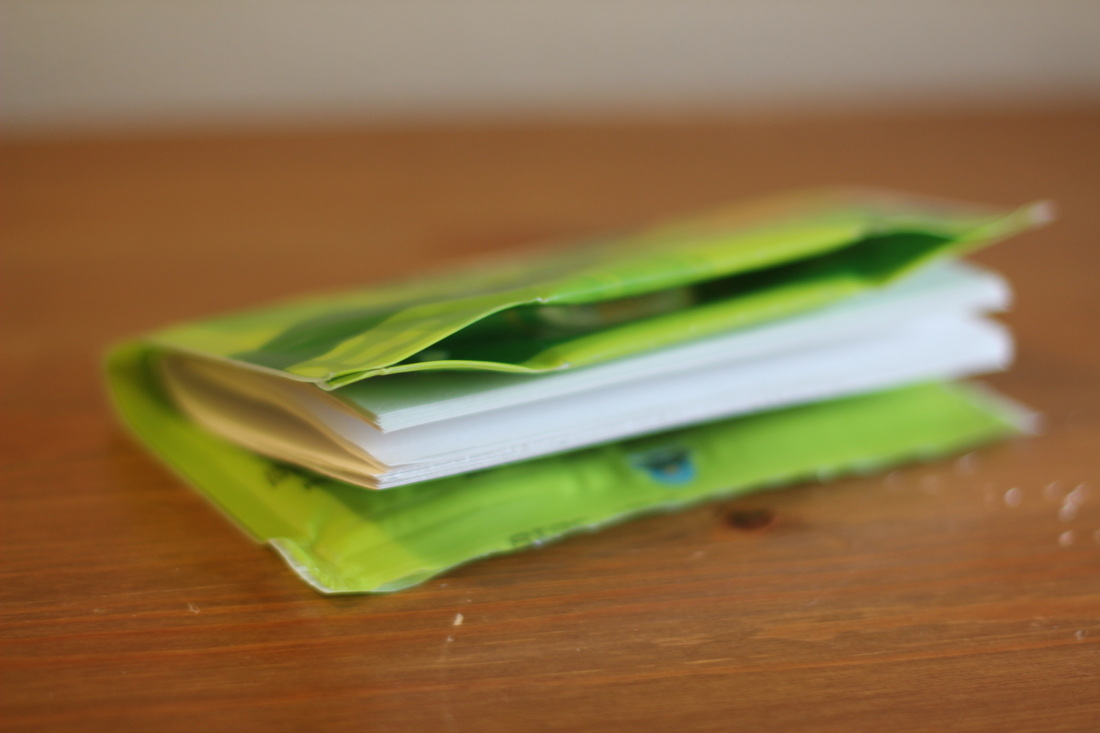
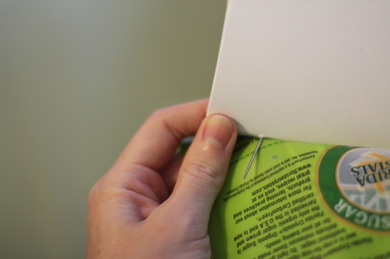
Fold the plastic bag in half so that the shorter ends meet up. Use your fingernail to give it a sharp crease.
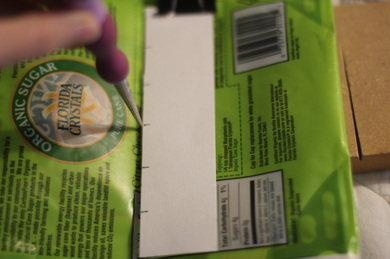
Use the same template as for the pages to make holes in the spine. Center the template between the top and bottom edges. Poke at each point with the awl so it goes all the way through.
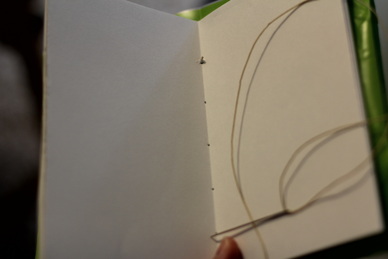
Cut a piece of waxed thread or cord about three times the distance from the top hole to the bottom hole. Tie a knot in one end and trim close to the knot. Dab a small amount of glue on the knot to make sure it does not come undone. Let it dry before continuing.
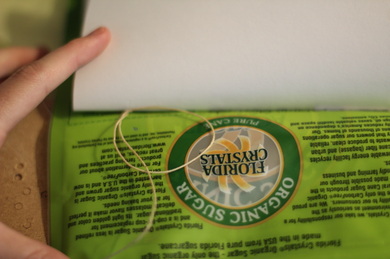
Thread the cord into your needle. Starting from the inside fold, take the needle down through the first hole of the signature and through the corresponding hole in the cover. Pull it all the way through so the knot lays in the fold.
Thread the cord into your needle. Starting from the inside fold, take the needle down through the first hole of the signature and through the corresponding hole in the cover. Pull it all the way through so the knot lays in the fold.
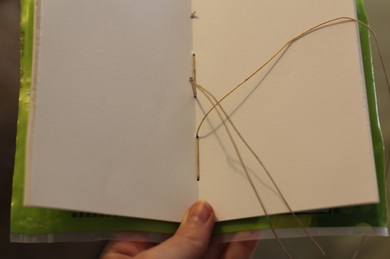
Bring the needle up through the second hole in the spine and signature, down through the third hole, up through the fourth hole, and down through the fifth hole. Make sure the thread is pulled snugly through all the holes so that the pages are tight with the spine. Then, bring the needle up through the fourth hole, down through the third hole, and up through the second hole.
To finish, take the needle down through the first hole of the signature only (not through the hole in the spine). Bring the thread all the way through and pull it tight.
Once you are sure the cord is snug and the pages are tight against the spine, tie a knot in the cord, using your fingernail to push it close up to the outside fold in the signature. Another dab of glue on the knot will ensure it does not come undone.
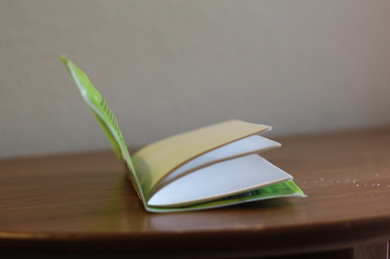
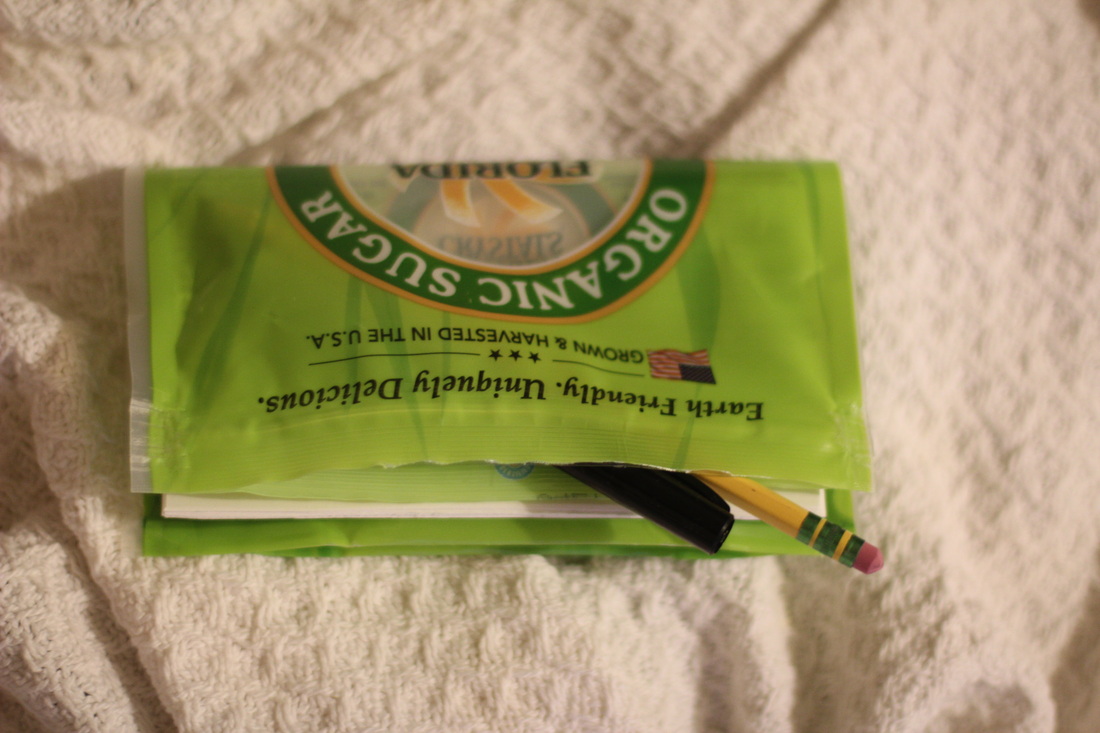
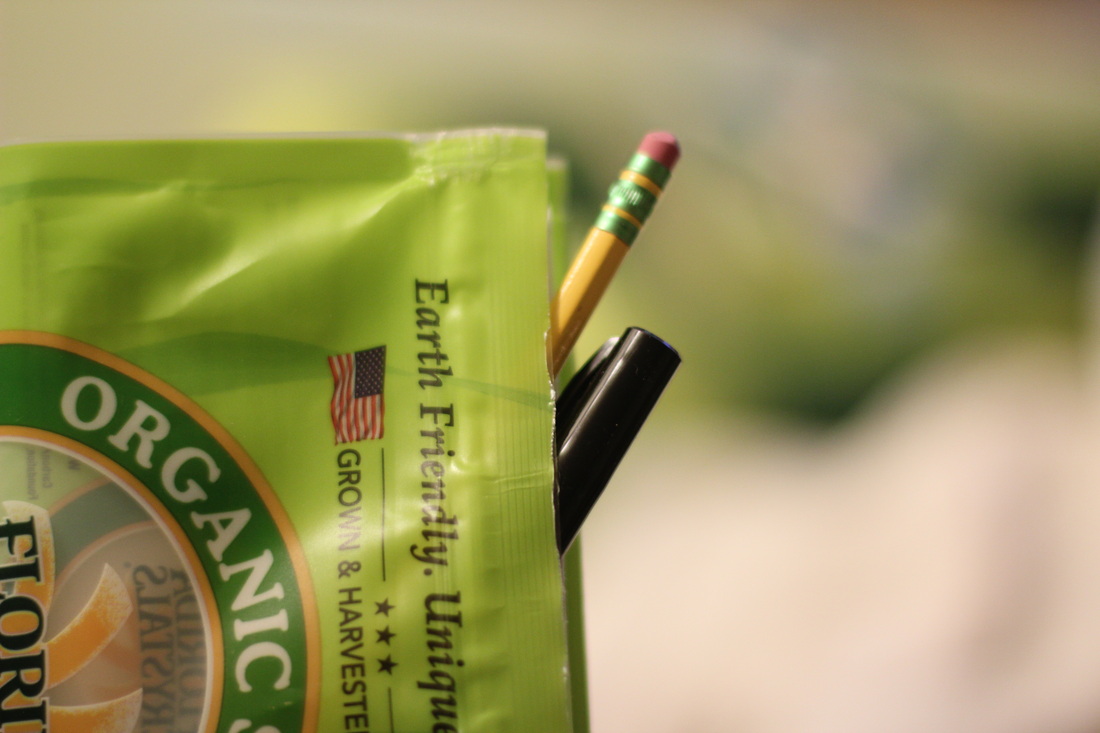
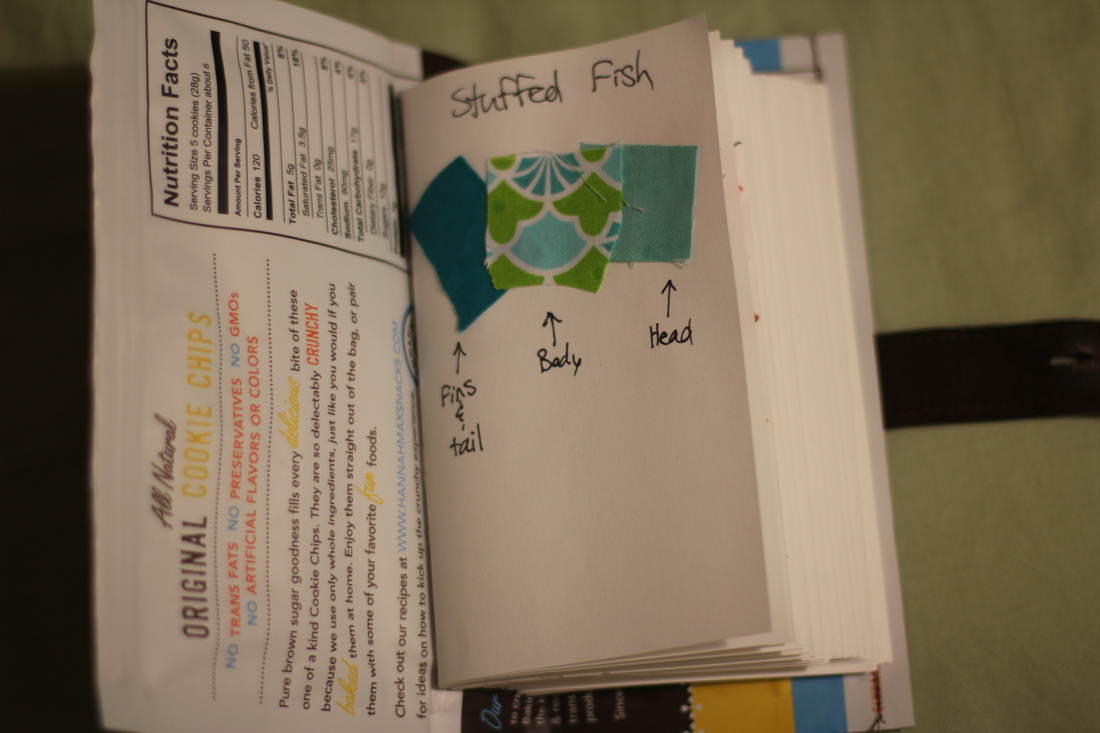
Your booklet is now ready to be used for sketches, swatches, notes, or other projects. The zipper pouch is perfect for holding small supplies such as pencils, pens, fabric pieces, etc.
If you use this tutorial to make a notebook of your own, feel free to link to it in the comments. I enjoy seeing what others have done.
Happy crafting!
Happy crafting!