When I get around to cutting fabric for the quilt I'm designing, I want to be able to look at the squares before sewing them together to make sure I made the right color selections. Professional quilters have what is called a design wall, which is basically a wall covered in white flannel. The neat thing about flannel is that quilting cotton sticks to it, allowing the designer to stand back and get a better idea of how the colors and block placements will look. Since I don't have a whole wall to dedicate to this, I made a smaller-scale version using what I had available. Here's how you can make one of your own.
Flannel Design Board Tutorial
Materials:
- 1 cork board, or other board
- 1 yard (minimum) white flannel
- 4 or more mitten clips
- 4 or more long pins
Instructions:
Flannel Design Board Tutorial
Materials:
- 1 cork board, or other board
- 1 yard (minimum) white flannel
- 4 or more mitten clips
- 4 or more long pins
Instructions:
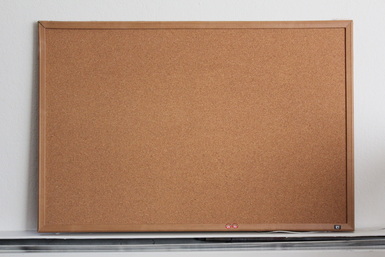
Measure your board to make sure its widest dimension is no more than 36 inches. If it is more than this, you will need to sew together multiple panels of flannel.
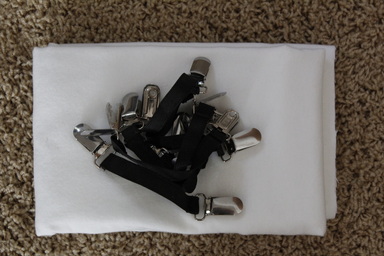
Gather your other materials. A basic flannel is inexpensive, especially when there is a sale. Elasticized mitten clips can often be found at dollar stores in the winter.
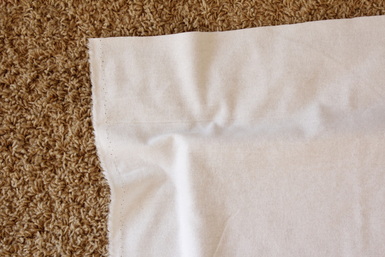
Lay your board on the floor and drape the flannel over it right side up so it is centered top to bottom and side to side. There should be several inches of flannel on all sides.
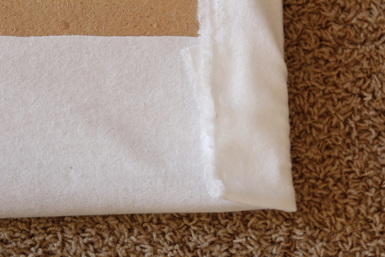
Turn the board over, being careful to keep the flannel in place. Give the flannel a tug on all sides to get it as taut as possible. Fold the top and bottom over and then do the same for the sides. Try to keep the corners nice and sharp.
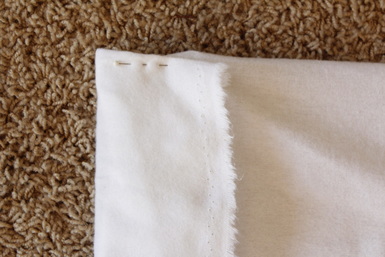
Pin the corners through all layers. Go down and up twice and then down once more to keep the pin from poking your fingers when you move or hang the board.
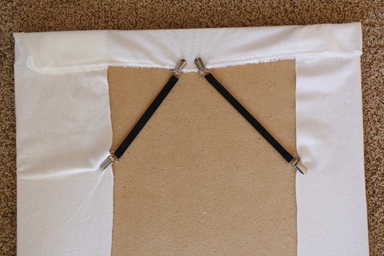
Use several mitten clips to secure the fabric. If there is enough excess flannel on the back of the board, you may be able to clip across rather than just on the diagonal. In hindsight, I would have bought 1 1/4 yards for my 2' x 3' board so the clips could reach across.
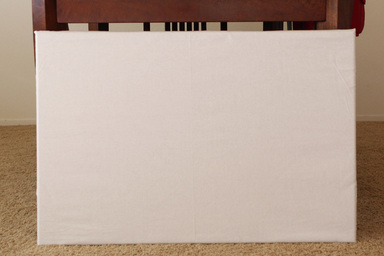
Your flannel board is now ready to assist you in all your quilt design needs.
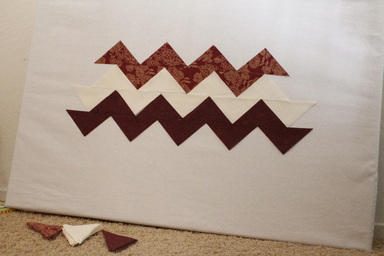
Quilting cotton sticks to the flannel quite well. Just place the fabric on the flannel and press it down with your hand. Play around with design ideas and fabric selections, then stand back to get an idea of how it will look in the finished project.

