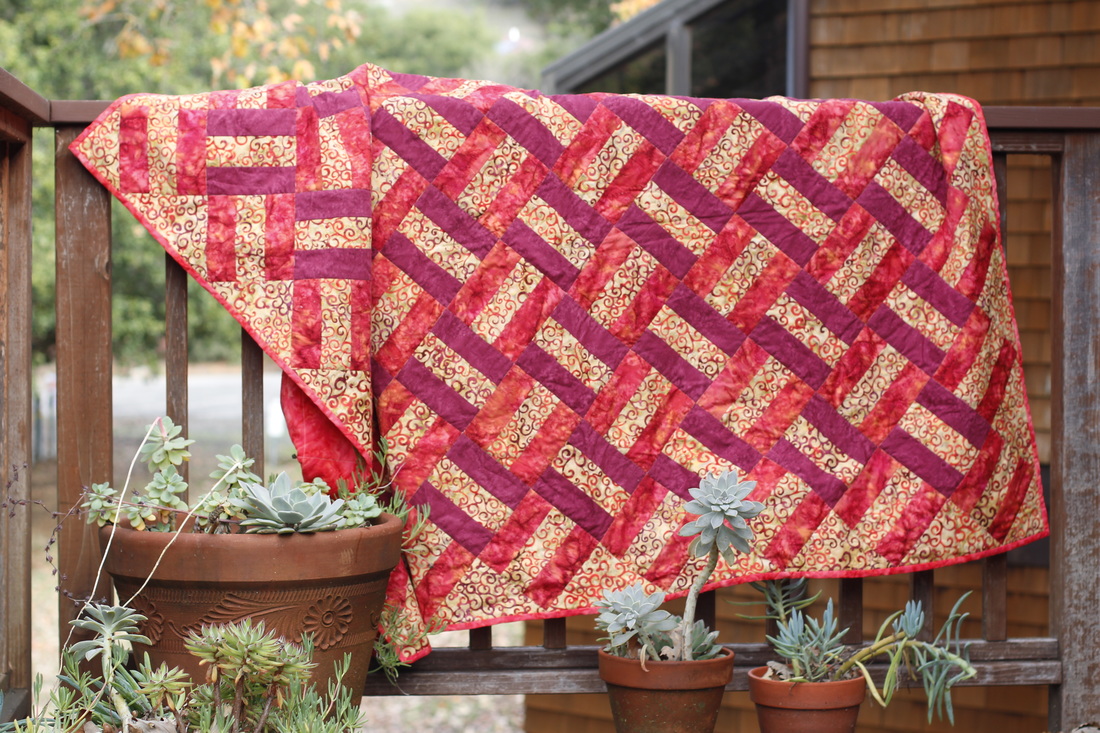
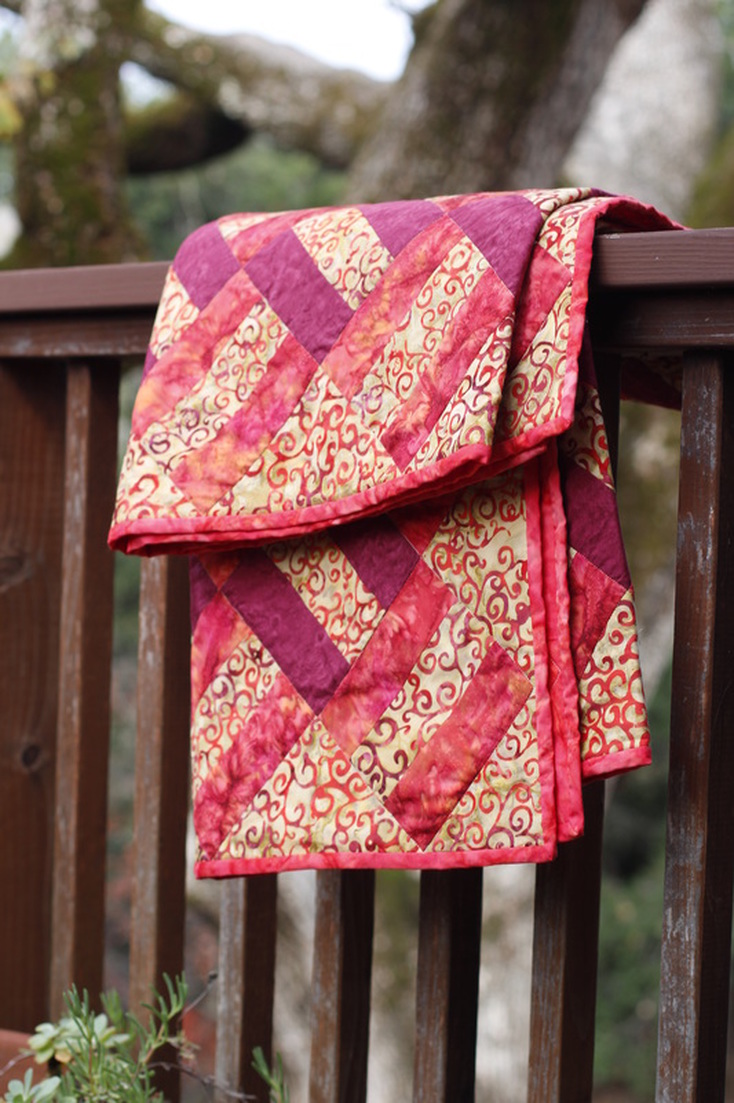
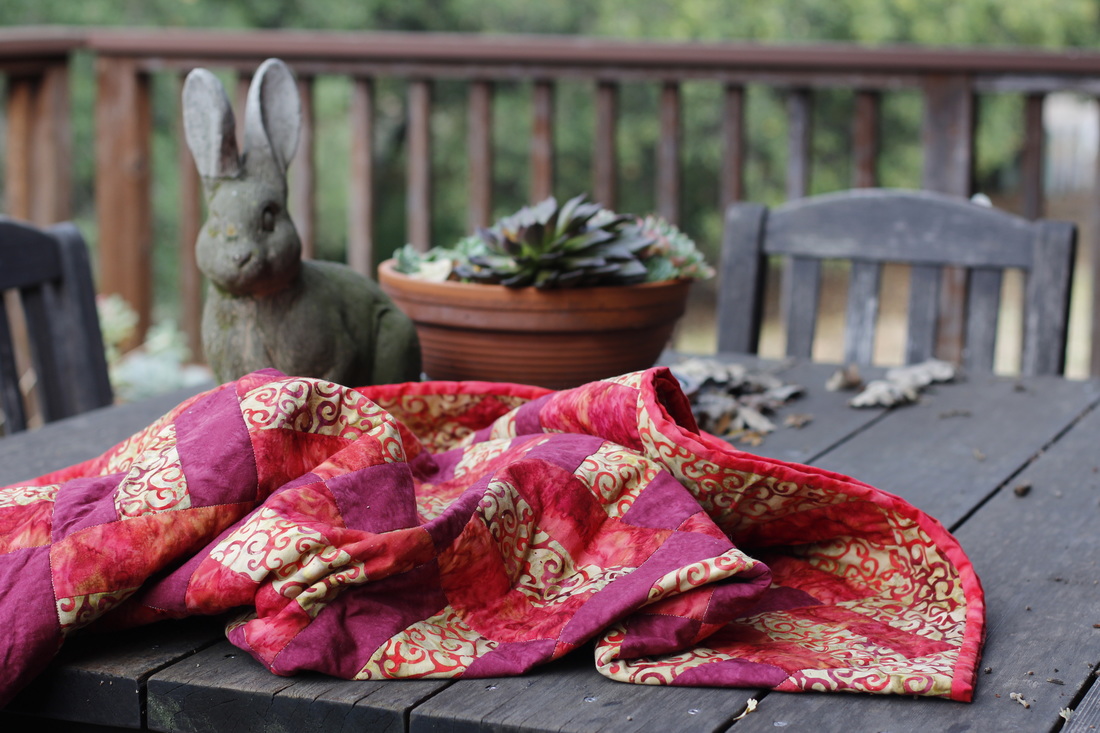
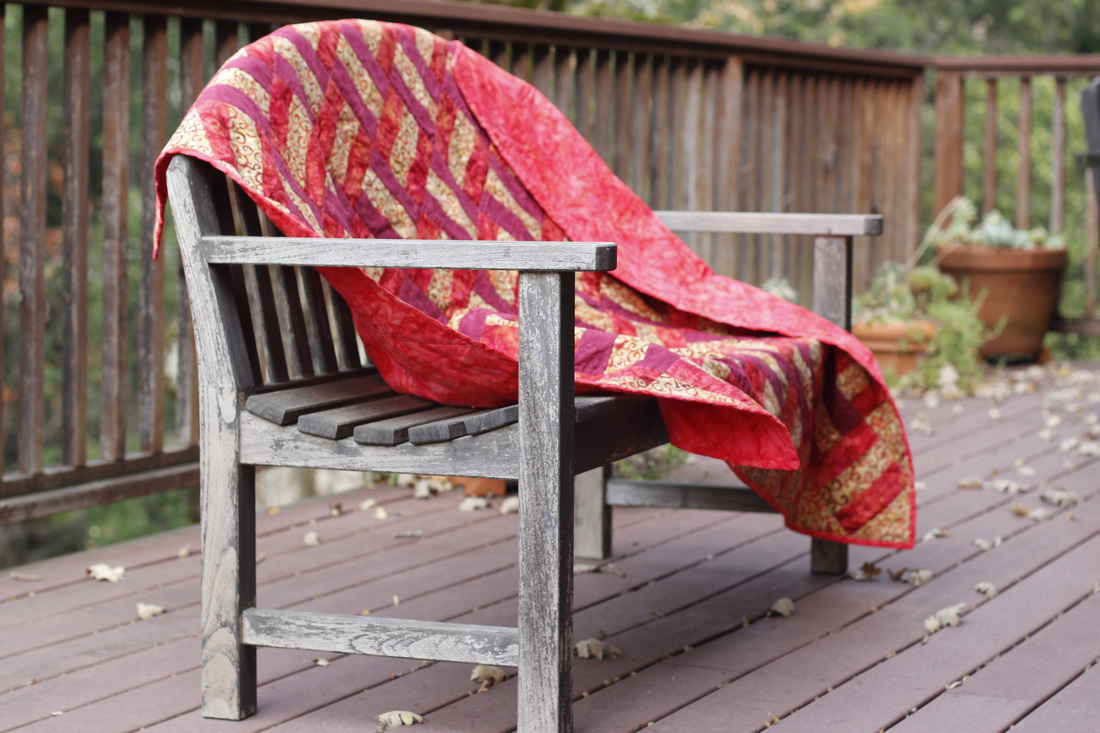
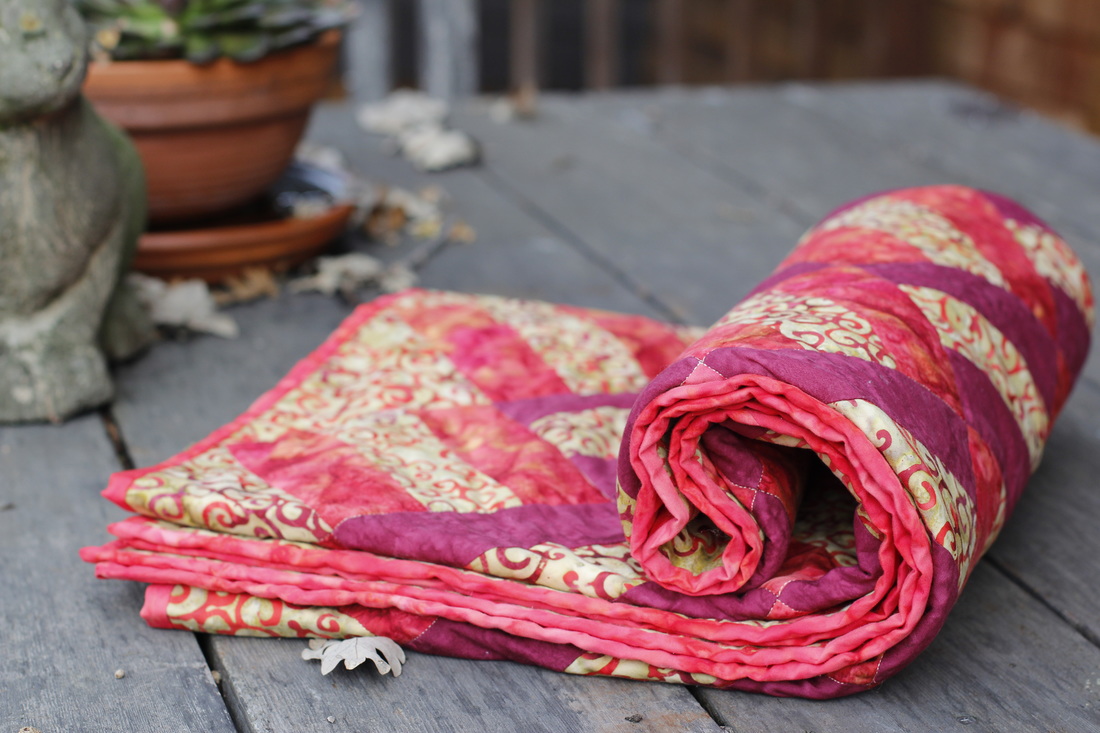
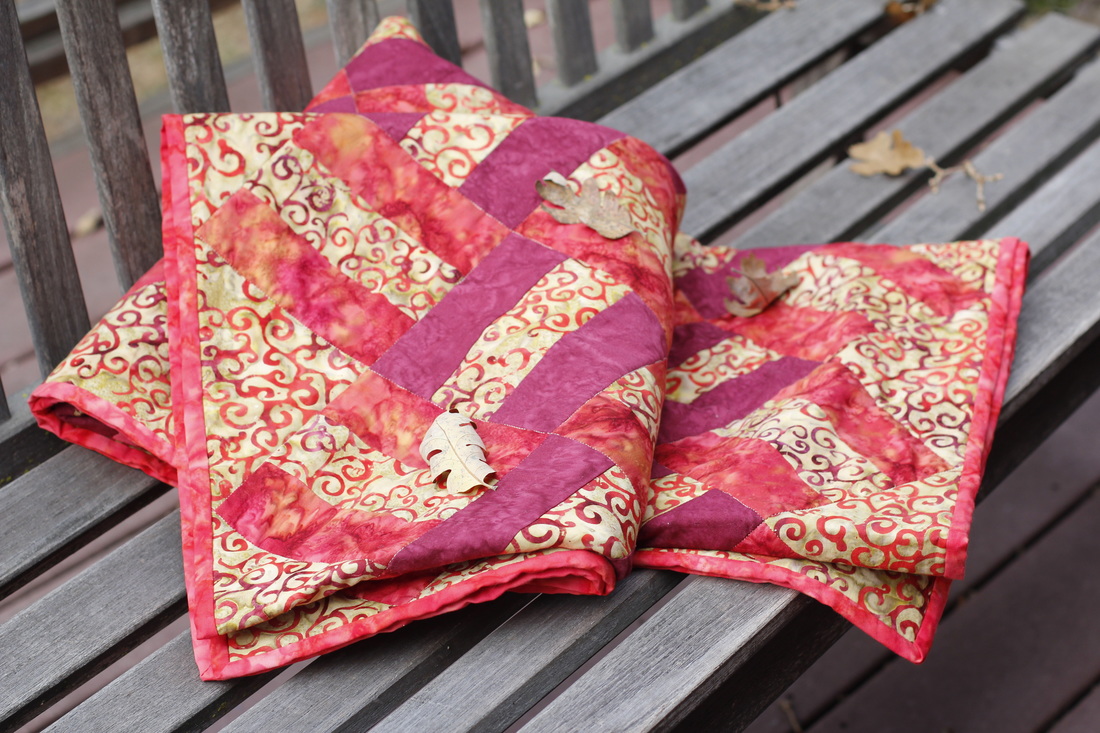
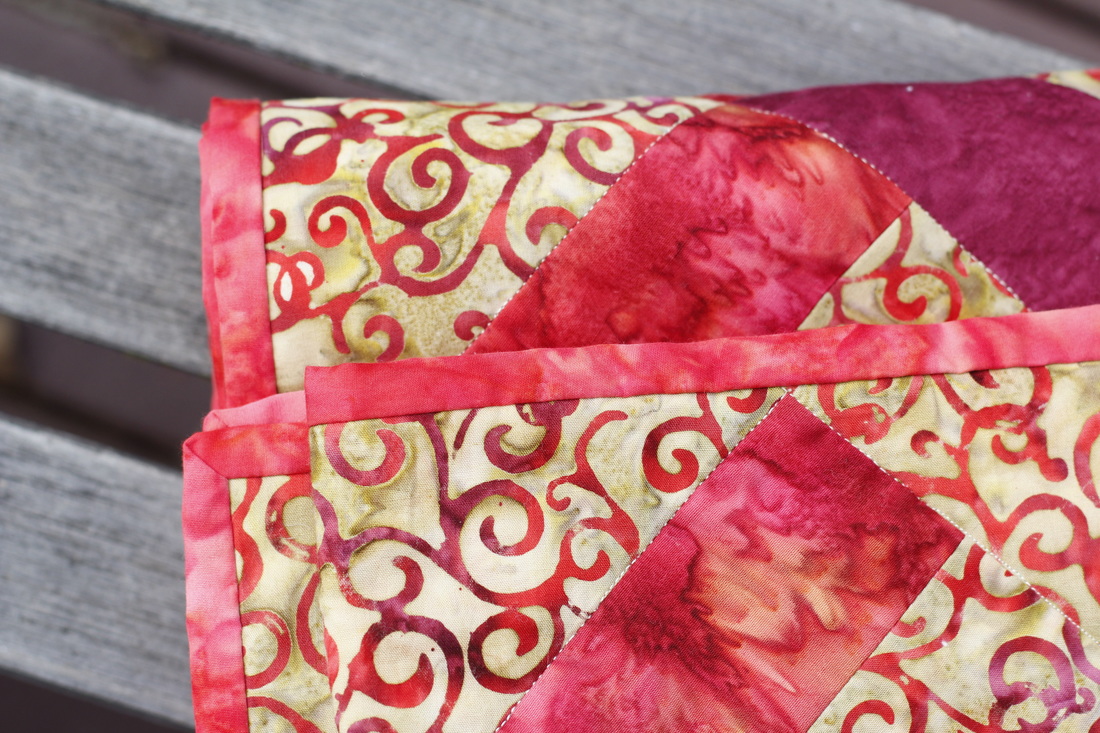
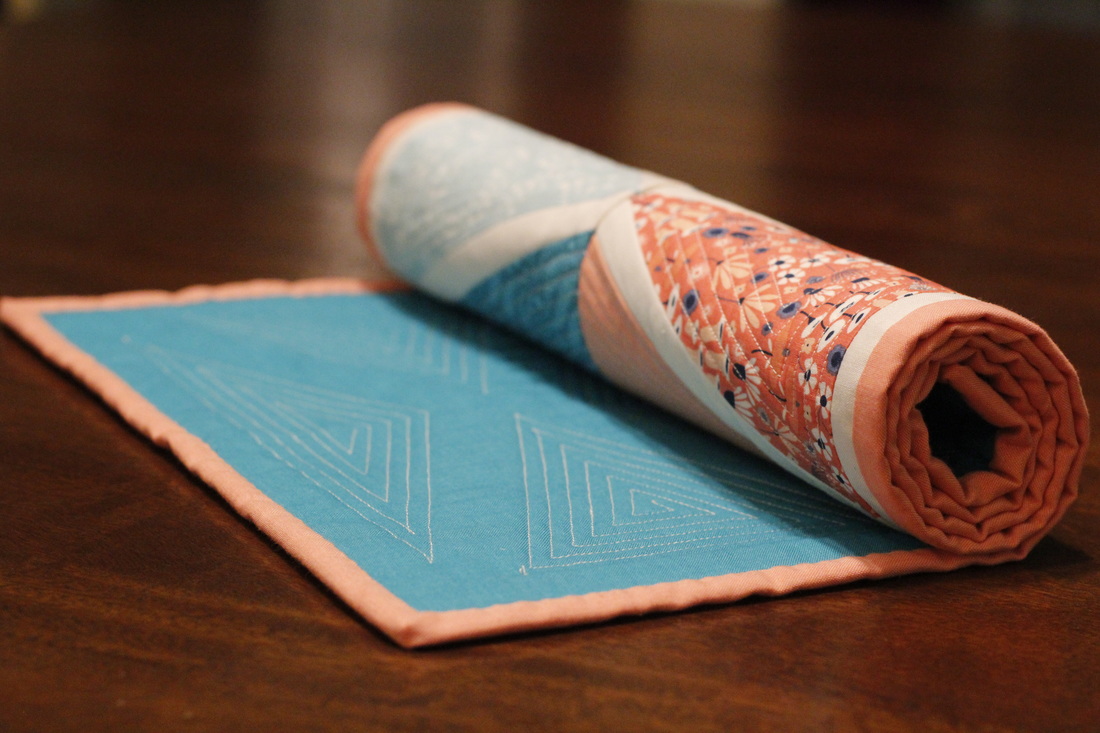
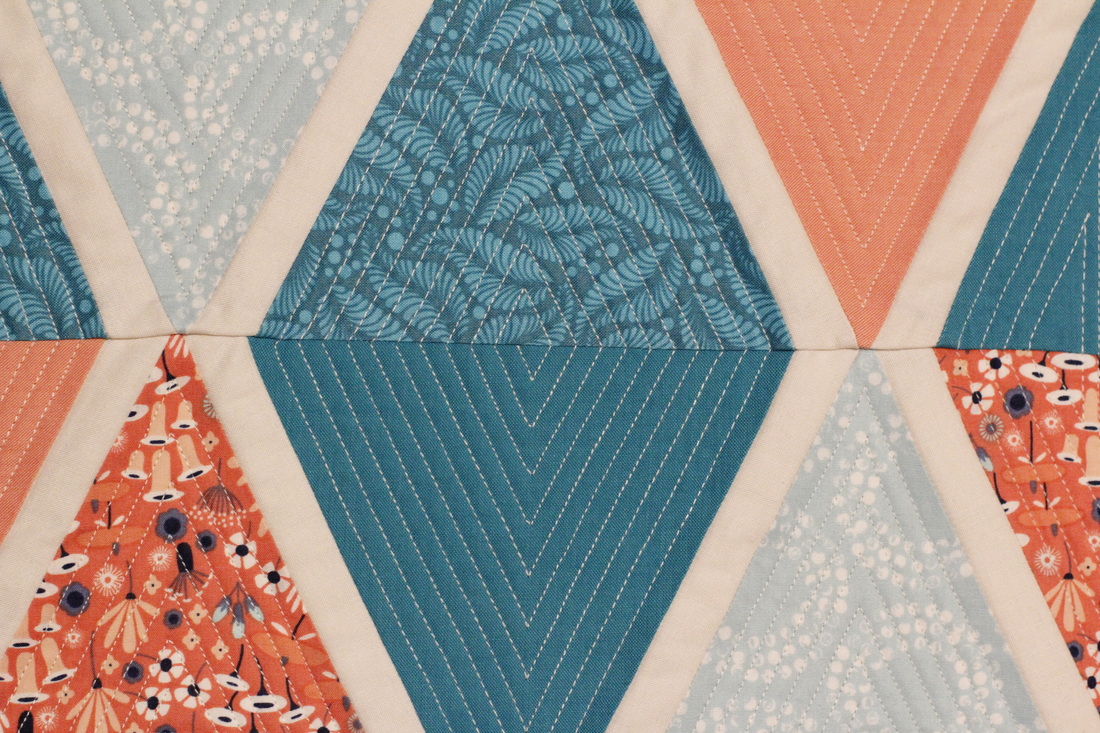
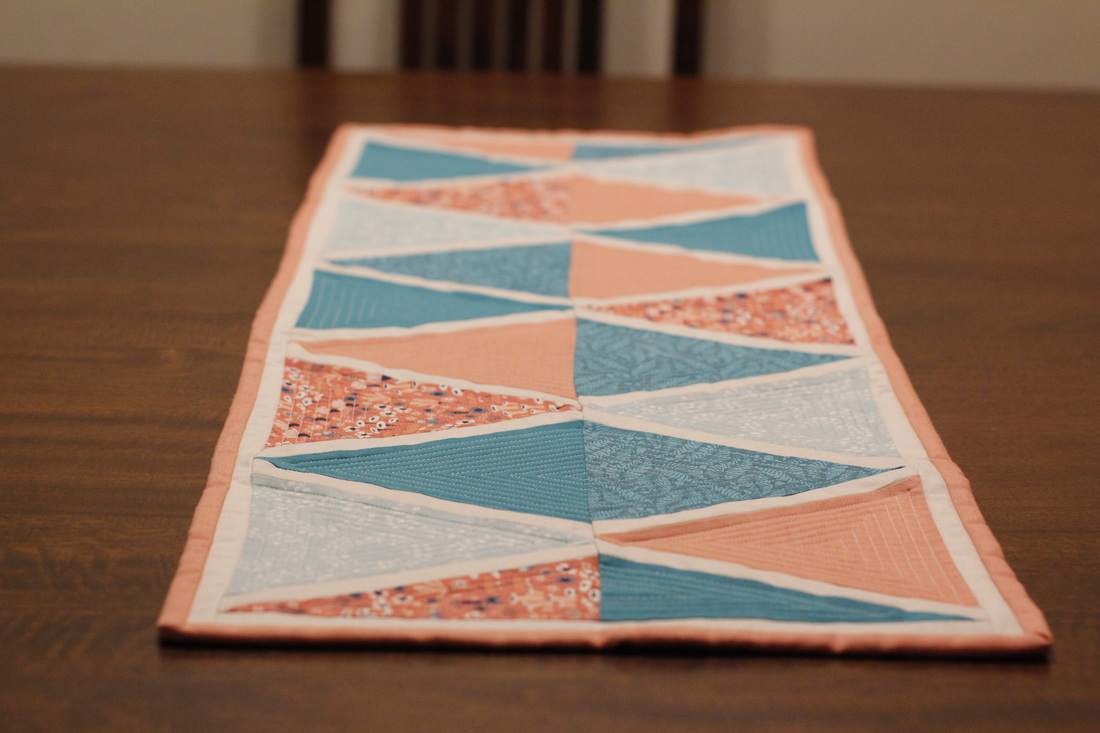
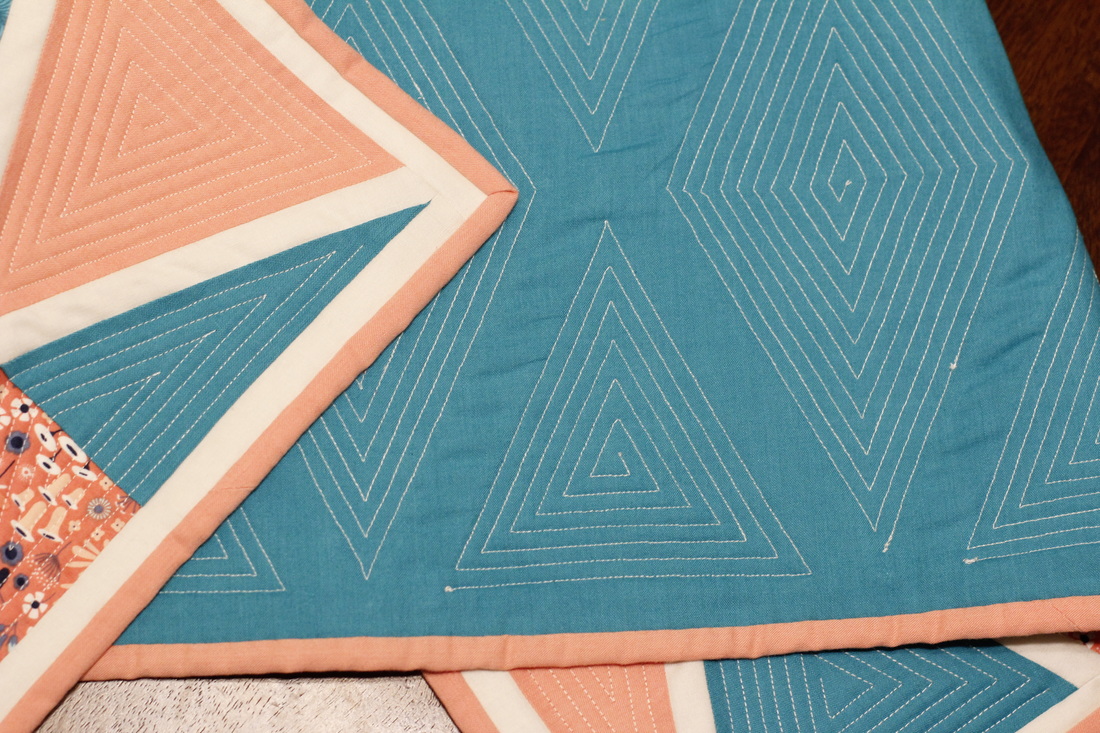
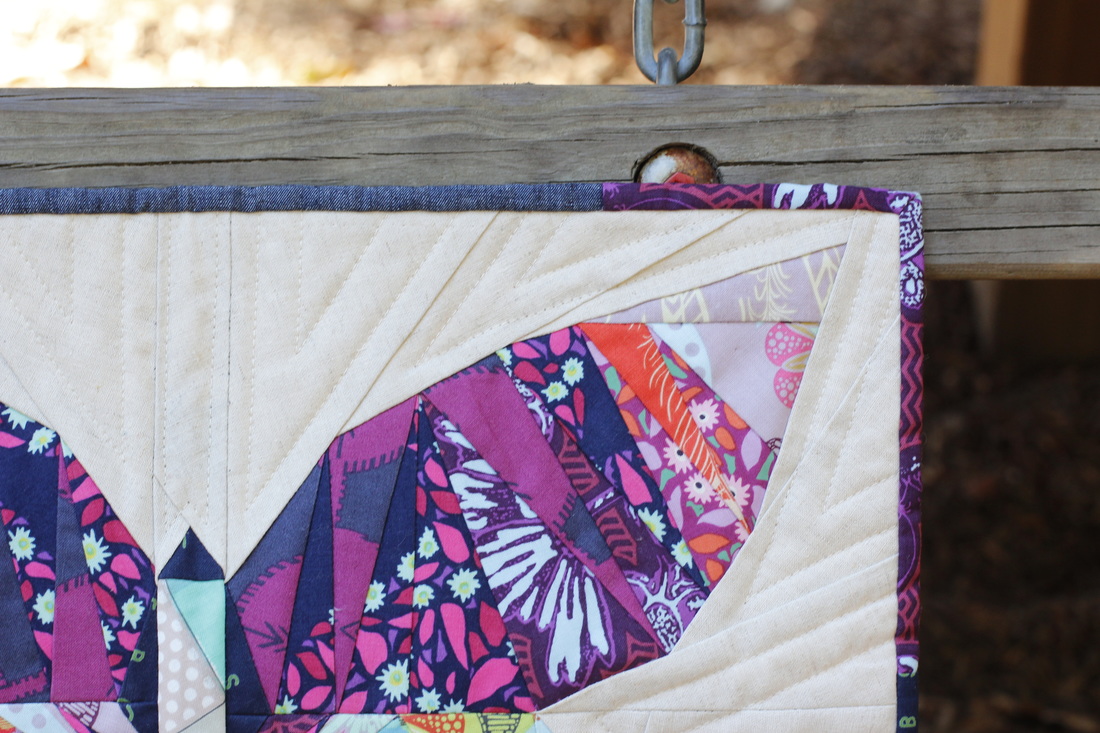
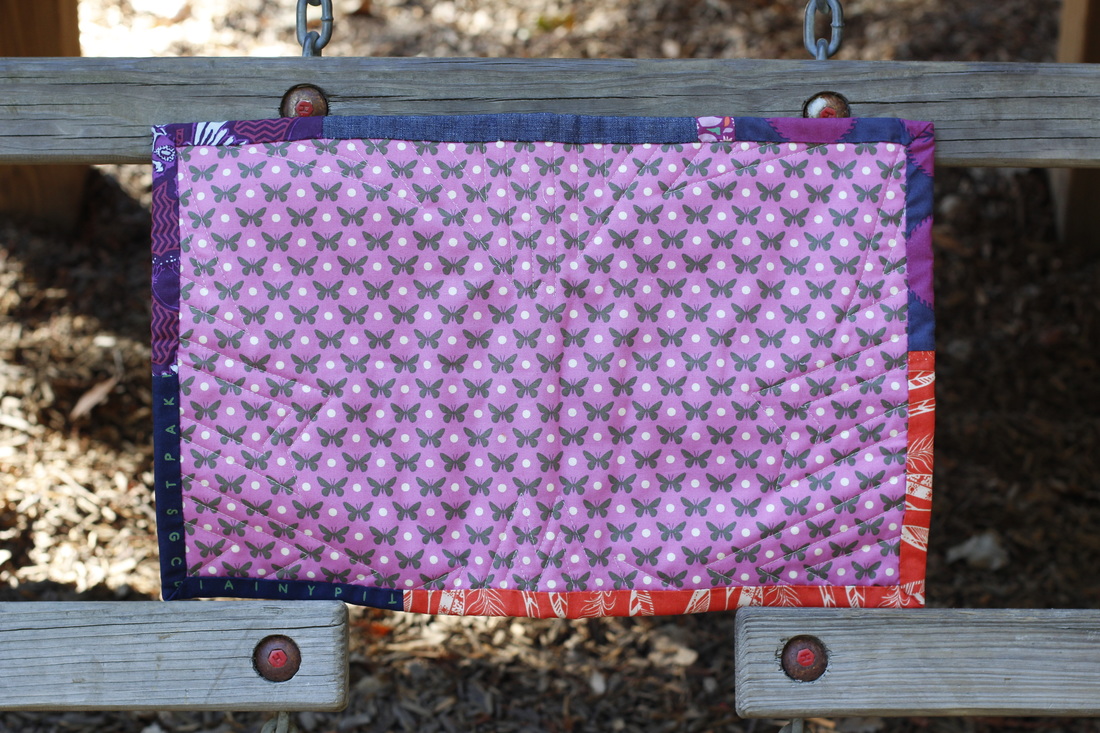
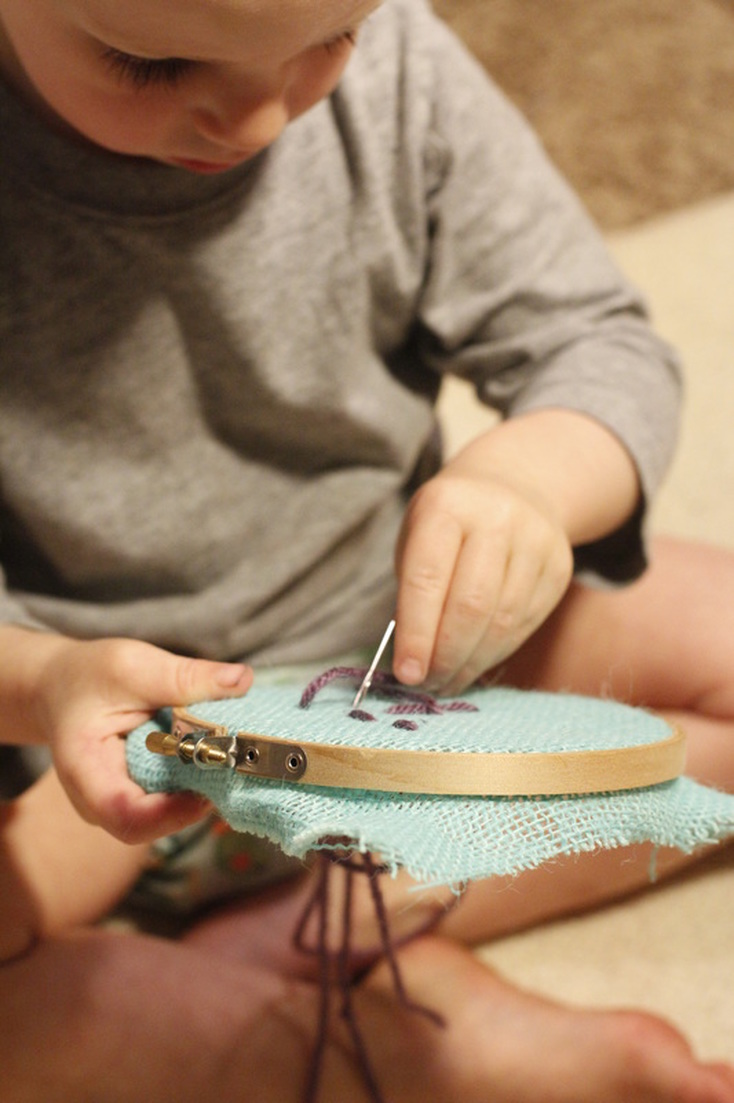
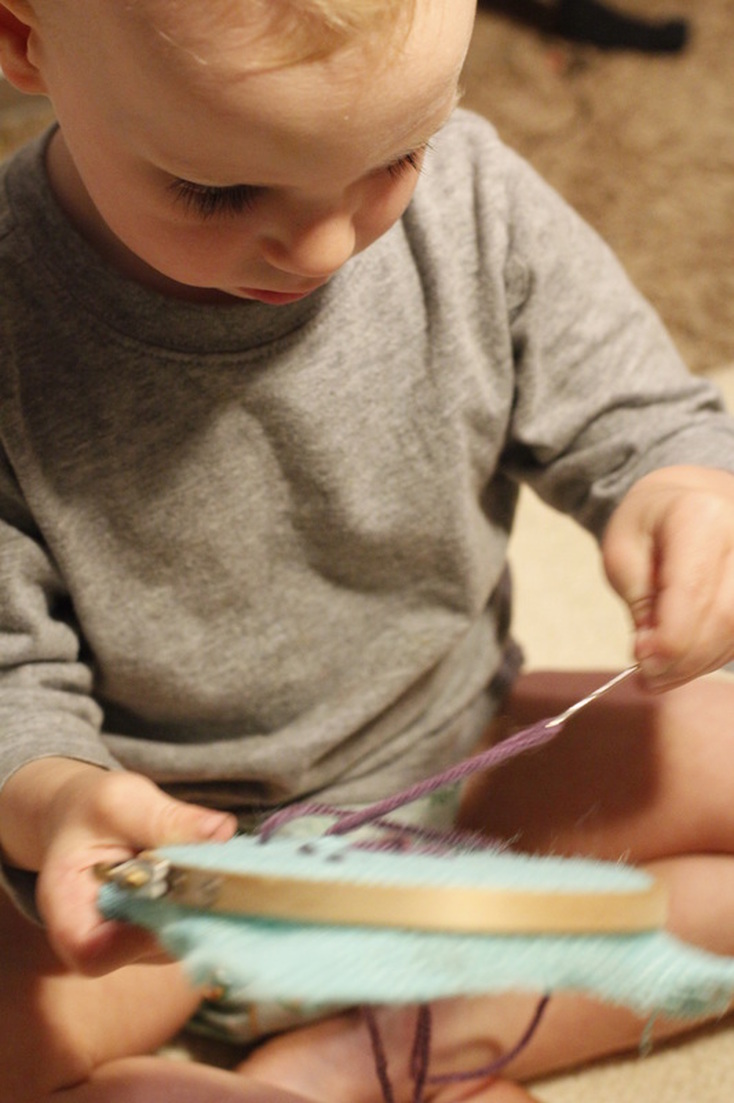
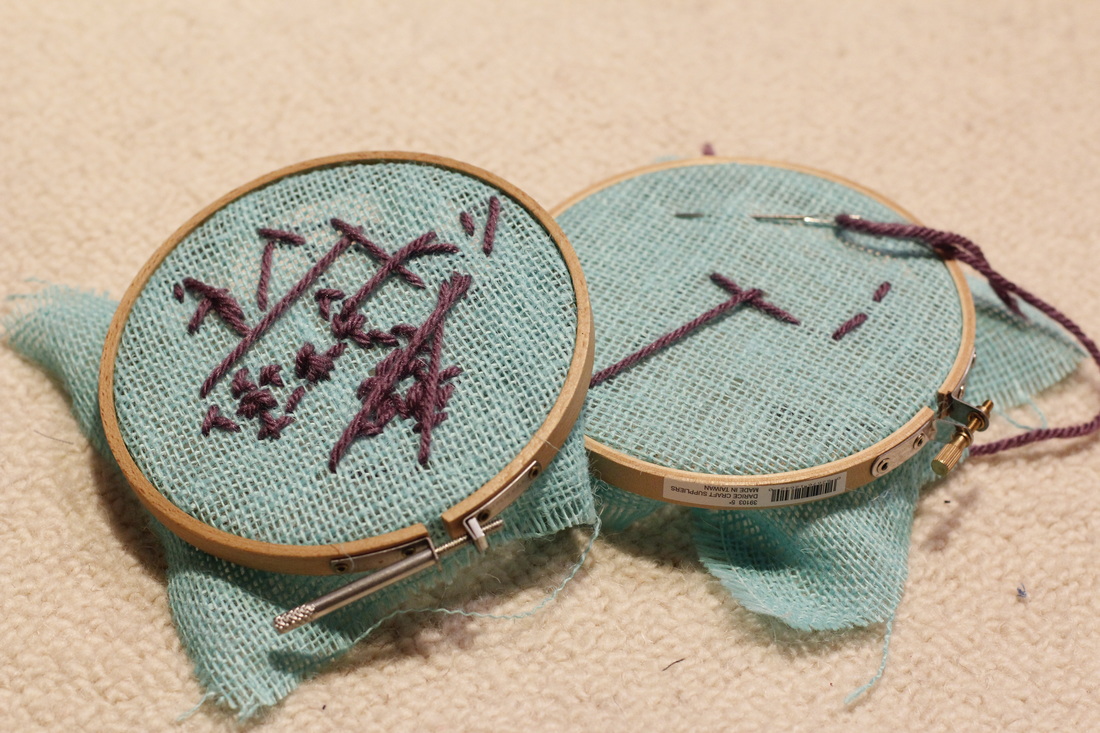
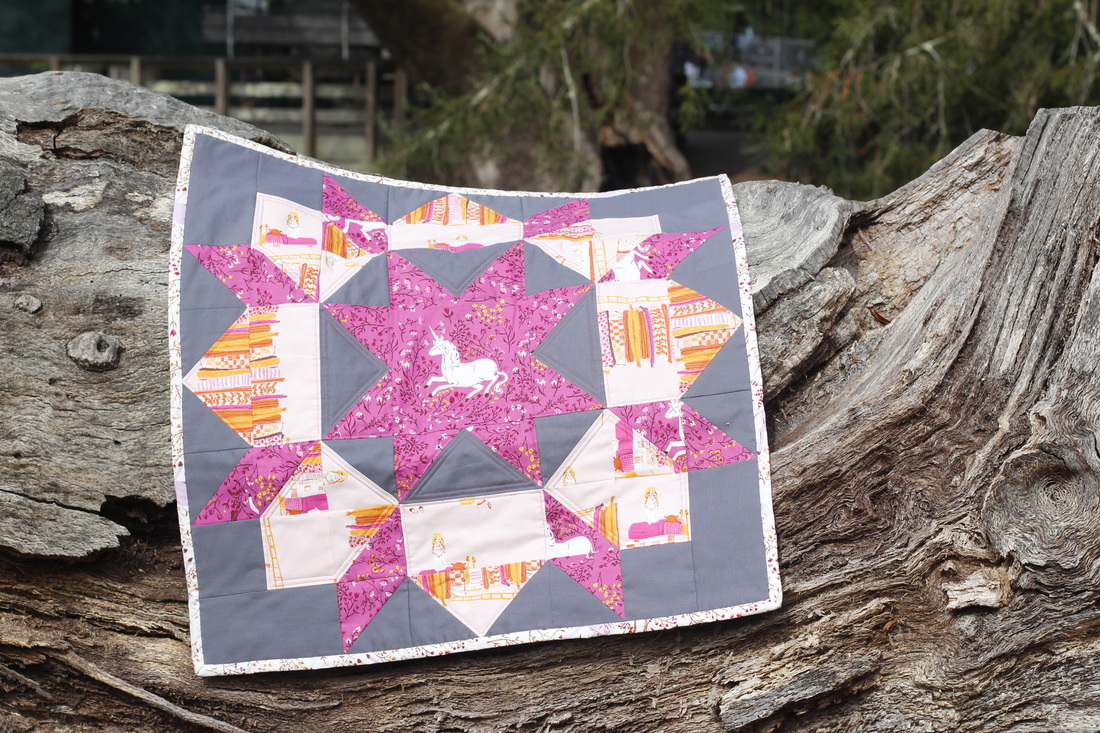
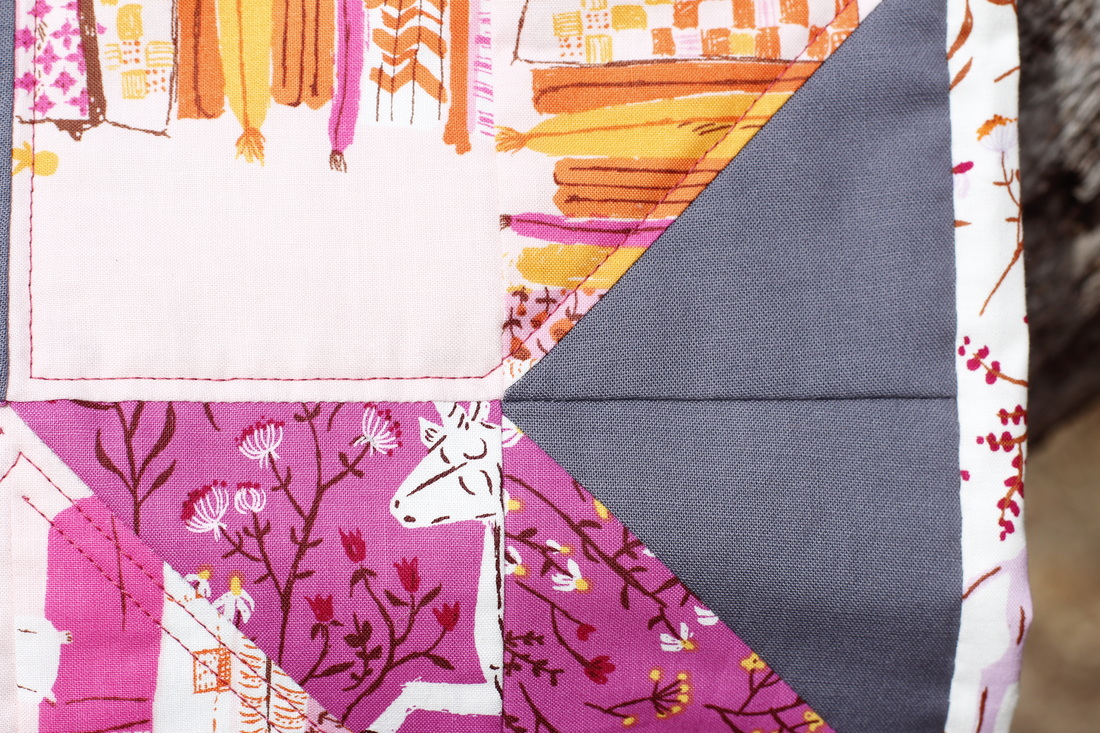
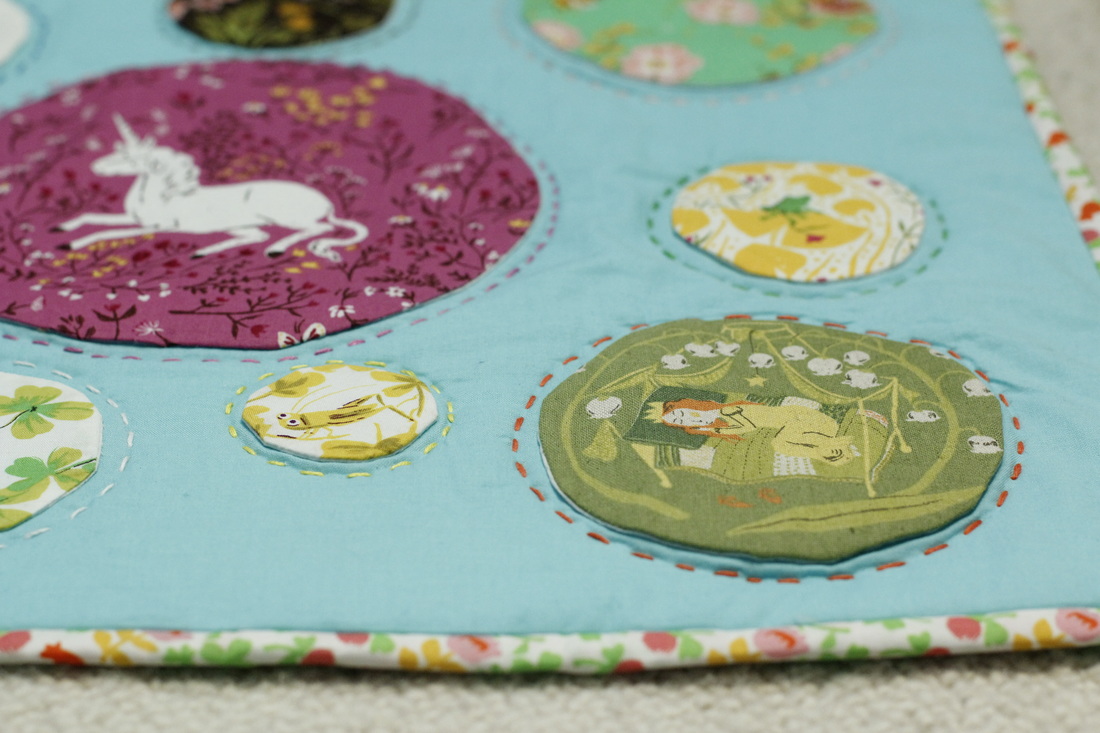
About a year and a half ago I pulled out a quilt top I made when I was a teenager. I added batting and a backing and basted it all together. My intention was to hand quilt it, and I gave it my best effort. But, being a complete novice, and having no one to teach me (I tried YouTube, but the angles were always wrong), my stitches were terrible and my frustration led me to put it away for several more months. Then, I got a walking foot and decided to machine quilt it instead. After all, twelve years is quite long enough to let a quilt sit unfinished. I did a simple stitch in the ditch around each of the blocks. Not all of the thread actually ended up in the ditch, of course, but I decided I like the antique feel the imperfect stitching gives to the quilt. The binding is made from the same fabric as the backing. Sadly, it was the only part sewn by hand. But now the quilt is done, and I'm so glad. It's the first full-size quilt I've ever made. And it only took twelve years to do it.
4 Comments
OK. Another quick swap report. I signed up for the super-popular Schnitzel & Boo mini quilt swap. It was a fun one, but the time seemed to go by so fast that I found myself finishing almost at the last minute. My partner, who lives in Germany, mentioned in her comments that she doesn't have much wall space and would actually like something that could double as a table runner. I went with this idea and chose a simple design with bold fabric colors and equally bold quilting. Most of the fabric is Cloud9 organic cotton. When it was done, I realized it matched my own aesthetic so well that I wanted to keep it for myself (a first for me). And here's what I received from my swap partner. The design is the Take Wing pattern. I love the colors she chose, as well as the texture of the linen. She even matched the backing to the design on the front with purple butterfly fabric. While I was photographing everything, my little guy kept pointing at the mini and saying "buh-fy." It was so cute! I think I'm going to copy her scrappy binding technique for my next mini. It adds such an interesting feature and keeps your eye moving around the whole thing. The extras she sent were amazing as well, but my favorite was the pre-cut squares. So many beautiful colors in there. Of course, the chocolate she also sent didn't make it to the photo shoot. It's much too dangerous to have chocolate within sight of my son as he will snatch any within reach. That's all my swap news for now, but I've got one more ending soon and I signed up for two more that will wrap up in January and February. I'd love to hear if you've got any swaps you're working on as well. I'm always interested in finding new ones to get involved in and seeing what other people make. When everyone knows you like to make things, they tend to give you things that they think you'd find interesting. Such was the case several months ago when my sister-in-law gave me an envelope she found. It was simply a piece of textured brown card stock folded then stitched on the sides and around the flap. I loved it immediately and put it on my list of things to make. Of course, the list then sat untouched for a bit when other things came up. Then one day I signed up for a polaroid quilt block greeting card swap (more details on this soon). This envelope design was the perfect handmade touch to send each of the greeting cards and blocks in. And I think everyone loved receiving one. The envelopes I made are six inches wide and just over four inches tall (smaller than the one I was given), but they could be made in almost any dimensions. You could even experiment with stitching two pieces of card stock together instead of folding one. The downside of these dimensions, though, is that the envelopes don't exactly fit a standard 4 x 6 greeting card since the stitching on the sides takes up about a quarter inch total. So, of course I had to make special cards to go inside them. You could also trim standard cards to make them fit. Either way, it's a fun and simple way to make snail mail even more special. Here's how you can make some, too. Materials: - 12" x 12" sheet of card stock - Paper cutter or scissors - Ruler (preferably clear acrylic) - Cutting mat - Pencil - 6" bowl or plate - Scoring tool - White glue (optional) Instructions: Use your paper cutter or scissors to cut the 12 x 12 sheet of card stock in half. Set one piece aside for now. Lay one of the sections of card stock on your work surface. A cutting mat works best since it has measurements on the sides, top, and bottom. Place your ruler so that one edge is at the 4 3/8" mark. Make sure it is aligned properly. Use your scoring tool to score along the 4 3/8" mark Fold the card stock along the score line and use your thumbnail to press down on and smooth the crease. This will be the back side of the envelope where the flap will rest. Lay your paper so that the fold is on the left. Place your ruler so that the edge lines up with the edge of the paper that you folded inward in the previous step. It sounds confusing, but the picture is pretty clear. Score the paper along the ruler edge of the ruler (in the picture, it is the right edge. The scoring should appear on what will be the inside of the envelope). Fold the card stock along the score line and use your thumbnail to press down on and smooth the crease. This will be the flap of the envelope. Unfold the flap you just made. Set your bowl or plate so that the sides match up with the corners of the back side of the envelope. Draw a line around the bowl, beginning at one corner of the back side and ending at the other. This will give a rounded flap. Feel free to experiment with other shapes. Use a pair of paper scissors to cut along the line you drew. Your envelope should now look like this. Now to sew. Set your machine to a zig-zag stitch. The width is up to you, but keep in mind that the wider the stitch the smaller your greeting cards must be. I set my zig-zag to just over 1/8" wide. Manually move the needle to check where the edges of the zig-zag will be. Place a bottom corner of the envelope under the presser foot so that the needle will sew just past the right edge. In other words, the needle will pierce the paper on the zig but not the zag. Continue sewing along the side of the envelope. Make sure the flap is open. As you approach the flap, slow down so that you can adjust the paper without sewing off the edge. Continue sewing around the top and down the other side. Cut the threads at both corners. If you want to keep the stitches fro coming out, you can put a tiny dap of glue at each corner where you cut the threads. Make sure to let it dry before stacking or using your envelopes. Your envelope is now ready to use! Repeat the steps with the other section of card stock, and as many more times as you want. Don't forget to cut cards to go along with them. My next project will be to make a complete set of notecards for myself so that I always have some on hand for birthdays or holidays or greeting card swaps. I'd love to see what you make with this tutorial. Drop me a line or tag me on Instagram so I can check it out. A month ago I was invited to have a booth at a winter festival. I almost declined because I've never done one before, but then I thought "If I never do one because I've never done one, then I'll never do one." After all, you gotta start doing something do learn how to do it. And so I said yes. I immediately started planning what to make and what to bring from my current inventory in my shop. I'll be taking some of my diamond crocheted garland, a few mouse pincushions, and my hand embroidered sheep softie. I'm also making reversible chalkboard placemats, quilted chalkboard coasters, sewing kits for kids, tree softies, and little wood people. Even though I'm making all this to sell at the festival, I'll be sure to list a few in my shop in the next week or two. In the meantime, I'll be sewing up a storm and crossing my fingers that I'll have enough stock and variety to make it all worth it.
I've got about five minutes before I gotta leave to pick my little guy and my husband up from the park, so I'm gonna make this quick. Another swap I signed up for that recently ended was the Around the World Craft Swap. I'd heard from people that craft swaps aren't always the best for sewists to sign up for, but, luckily, I had a really good experience with this one. I decided to make something useful to send to my partner, so I made a Sew Together Bag (you can read more about what I thought of the pattern here). My partners favorite place is London, so my package had a London theme. In addition to the bag, I included an "I Love London" key chain, a leather scissors case, a special little wood doll (not pictured here, but you can scroll down to see her), and a postcard from a place I like to visit in Southern California (where I grew up). The front of the bag is hand-embroidered with a line drawing of famous London sights. I used my sewing machine to add the name "London" underneath in red thread. I think it looks so cool against the navy blue background. The back of the bag has a whole line of "London"s from top to bottom. My machine did these so fast, but it really adds a neat detail. On the inside I used some "I Love London" fabric I got from Hawthorne Threads. For the zipper pockets I used three different colors: dark blue, light blue, and white. I like the idea of being able to keep track of what is in each pocket this way. As a last-minute addition, I made a little wooden doll of the Queen of England. I modeled her outfit on this picture here. She's got a partial crossover dress with buttons at the side, black gloves, and a simplified pill-box-style hat made from wool felt. It's a simple doll, but the perfect way to round out the extras for a London theme. I finished my swap package a while ago, but put off sending it for so long that I received my own package first. When I signed up for the swap, I put that Australia is my number one favorite place (though of course I've never been). Here is what my partner sent me with that in mind. In the package was a foundation paper pieced mini quilt of a koala (my most favorite animal ever, though she didn't know it), a zippered pouch, Australian-style licorice, and even a book and animal figurines for my little guy (which reminds me. My five minutes are up). The details are amazing, but, since I'm out of time, I'll have to let the pictures speak for themselves. So take a look. I spend a lot of time with a needle and thread in my hands. Either at the park while Goen plays or stealing a few minutes at home when I think no one is watching. But I am being watched, of course. Goen sees me at the park as he runs by and he comes looking for me when I sneak away. For the past several months he has been especially interested in what I do. When I pull out my box of pins, he joins in and sticks all the pins in my pincushion. When I thread my needle, he wants to feel how sharp it is. When I'm at my sewing machine, he wants to sit on my lap while I try to maneuver the fabric around him.
Sewing with my child can be a very slow process, but at least I'm getting some sewing time, right? Having him involved has, in a way, actually increased my productivity. Before, he would have been more interested in pulling things apart and grabbing my scissors. Now that he's used to seeing my sewing things around, they are not so novel anymore and I'm not as worried about letting him be with me when I sew, by hand or machine. In fact, lately I've been putting some of the same tools I use in his hands. I started off small with a bit of burlap in an embroidery hoop, along with a tapestry needle and yarn. I used my hoop to show him how to put the needle up through the fabric, then pull the yarn through, then put the needle down and pull again. It took several reminders of the process (and I'll probably have to remind him again next time), but he started to understand. He sat in my lap with his hoop, needle, and yarn as I listed off the next step. "Up...Okay, pull...Now down...Nope, down from the top...Good!" And over again until, a few minutes later, he was able to do one (almost) all by himself. He tends to forget the "pull" step, and his stitches are reeeaaalllly looooong, but I'll keep working on it with him A few days ago I even pulled out my old Kenmore sewing machine and let him "sew" with it. There's no needle in it, but he can press the pedal to make it go and the feed dogs will pull the fabric through just like he sees my new machine do. Luckily, he doesn't care so much about the fabric getting pulled through, otherwise I'd be reloading his machine ever term seconds. He really just wants to see the "needle" go up and down really fast and hear the sound it makes. It's an exciting thing, actually. He's getting used to these tools, understanding how they work, and learning how to use them safely. I can't wait to see what's in store for him (and the two of us) as we continue our creative journey...together. It's only been about ten months since I began joining swaps. This one, this one, and this one are the three main ones I've done. My latest swap, the Heather Ross Mini Quilt Swap, was my first with a fabric designer theme. I only recently discovered Heather Ross prints, but there are already several that I really love. One of my favorites, Mendocino, is soon to be re-released. I had fun picking fabric for this one. I went with some prints from the Far, Far, Away collection, which really pop with a dark gray background fabric. I don't know where it will be hung on, but the low-volume binding I put on would would look really neat on a brightly-painted wall. I also went with the "Swoon" pattern that I used for my last mini quilt swap. It was great practice and went much better this time. I ignored the seam pressing directions and did what I thought would work, and it did. But, before I ramble on too much, here is a look at the finished mini. I had my two favorite men help me hold it up for photographs, and to add a little cuteness. I had just enough fabric to fussy cut the princess into several different places. And there's only one spot (in the lower left) where she isn't standing upright. I had even more fun deciding how to quilt the mini. I went with a thread color to match the unicorn fabric. I love the look of thread on a contrasting background, so most of the quilting is on the light pink and gray fabric. My favorite stitching motif is the triangular spirals on the gray background. I even used some of the fancy stitches on my new sewing machine (more on that soon) to make a special tag with the maker, recipient, swap hashtag, and year. The tag doubles as a way to hang the quilt. There is a matching triangle on the other side. All it needs is a rod tucked under the triangles to hang it with. And I must point out, of course, how nicely my corners match up. I found a really neat tip in the book Travels with Peaky and Spike by Doreen Speckman. In essence, you put the fabric right sides together, align the points that should align by pealing the fabric gently apart, then sew an inch or two just at that point. Check to make sure everything is still aligned. If it's not, you only have to rip out a little bit. If it is, then go ahead and sew the rest of the seam. It saved me a lot of work, let me tell you. And I got pretty, straight lines. As an extra, I sent along a fat quarter-friendly mini quilt book with lots of patterns and ideas. I wrapped it all up in tissue paper and string and sent it off. My partner loved it, which I'm so happy about. But now it's time to show you what I received from the swap. This is a sweet little mini with appliqued circles from several different Heather Ross collections, including the newest one, Tiger Lily. I love the added tag on the bottom corner that has "Dream" hand embroidered in cursive. Paired with the hand quilting, this mini just screams "hand made," in the best possible way, of course. The grasshopper and the sleeping princess circles are my favorites, though the gnome comes in a very close second. The extras that came with the mini are so neat. There's a little sewing kit with my even more favorite purple sleeping princess print and a scrappy pincushion, which has so many little details that it could have been the main part of the swap package. I mean, seriously, an appliqued strawberry with hand embroidered leaf detail? Awesome! Well, that's all the swapping news I have for now, but I've got a couple other swaps I signed up for that I'll be able to write about soon. I'd love to hear about any swaps you've joined. With all the hand sewing I've been doing lately (particularly since I discovered All Points Patchwork and English Paper Piecing), I've learned lots of ways to make my piecing easier and more accurate. Here is my list of top EPP tips. I hope they are as useful to you as they have been to me. Relax your thread before sewing. I picked this tip up from one of Natalie Chanin's books. After you cut a length of thread, hold it at one end and slowly run your fingers down the length of the thread with your other hand. This releases some of the twist and prevents some tangling. If you use cotton thread (which I like to do sometimes), try using a thread conditioner or a light coat of beeswax to prevent curling and tangling. Get accurate placement. With thread basting (as opposed to glue basting), it can be difficult to get perfect placement of a specific design on the right side of the fabric. To help position the fabric, lay the paper piece centered on the wrong side of the fabric piece then put it up to a bright light source so that the design shows through. Nudge the paper piece around until you have the fussy cut design where you want it. If you use thicker paper like I do, you will only be able to gauge accuracy from the overhanging fabric, or what will be the seam allowance. Baste with removal in mind. Make the tacks and basting stitches large enough to easily slip a seam ripper under to pull the stitches out. Also, for tacking stitches, don't insert the needle in the same place or the thread will go thorough itself, making it difficult to remove without cutting the thread. Get accurate corners. When it comes to obtuse angles, the fabric does not always hug the corner of the paper piece, no matter how carefully you baste and tack. If you find this happening to you, use your fingernail to check where the corner is before aligning and sewing pieces. Avoid thread catching. I often have trouble with my working thread catching on the knot or on edges of the pieces I'm sewing together. If this happens to you, try keeping a finger on that spot. Your fingertip should extend just beyond the top and side edges. The next time the thread catches in that spot, your finger will be there to nudge it away. Let gravity help. If your pieces are too large for your finger to reach the edge and prevent the thread from catching, turn the pieces upside down as you pull the thread through. The weight of the thread, although slight, will pull itself away from the places it might catch. Avoid shifting pieces. One of the benefits of using the whip stitch is that it allows slight adjustments by shifting the pieces after you have already begun sewing. This ability to shift can also be a negative thing, particularly if you want to keep the pieces in the exact position they started in. You can minimize shifting by taking two or three stitches very close together when you begin sewing. Are there any tips you've learned along your hand sewing journey? I'm sure there are lots more ways I could improve my own. If you have any tips or techniques you'd like to share, add them in the comments. |
Carley Biblin
Hi. My name is Carley. I love to sew, craft, and create. As a Jane-of all-crafts so to speak, I enjoy sewing, writing, cooking, drawing, photographing. But the constant thread (if you'll excuse the pun) throughout my weeks is needle arts. Archives
January 2017
Categories
All
|