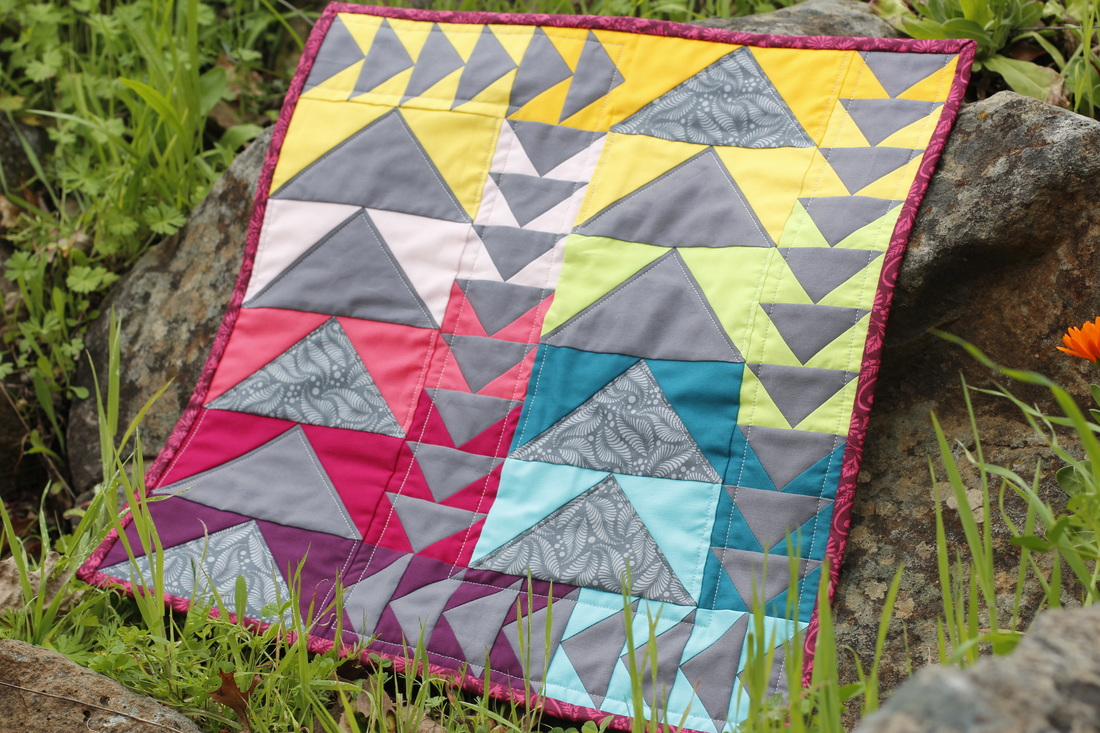
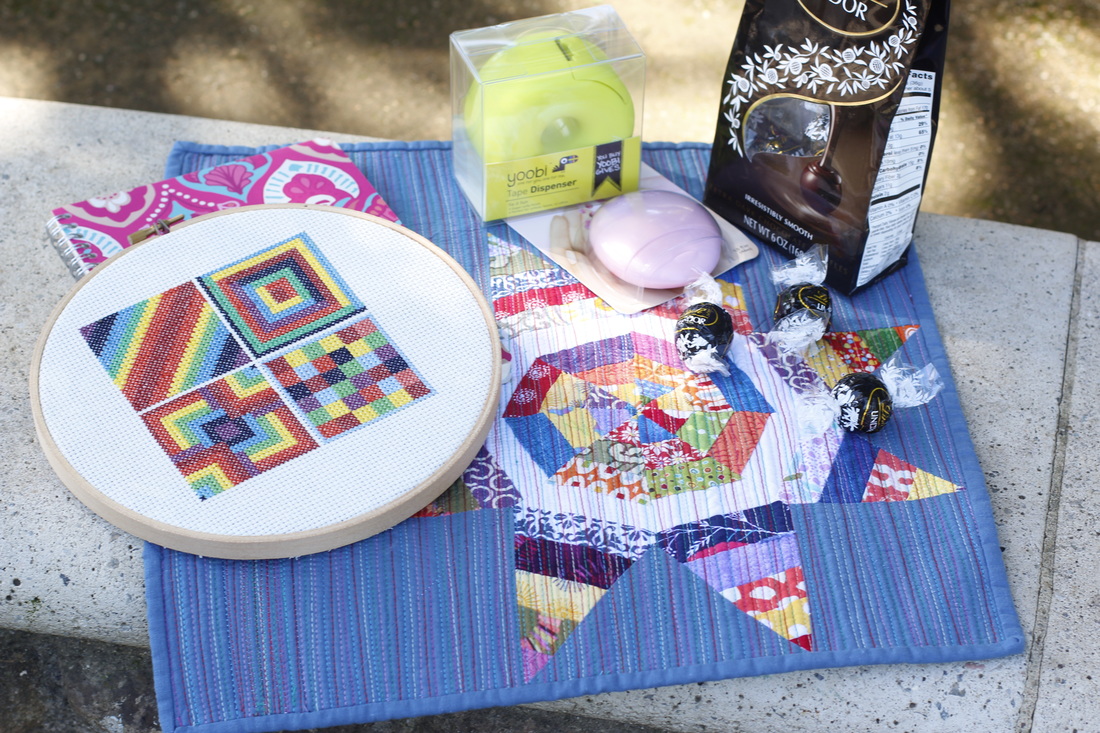
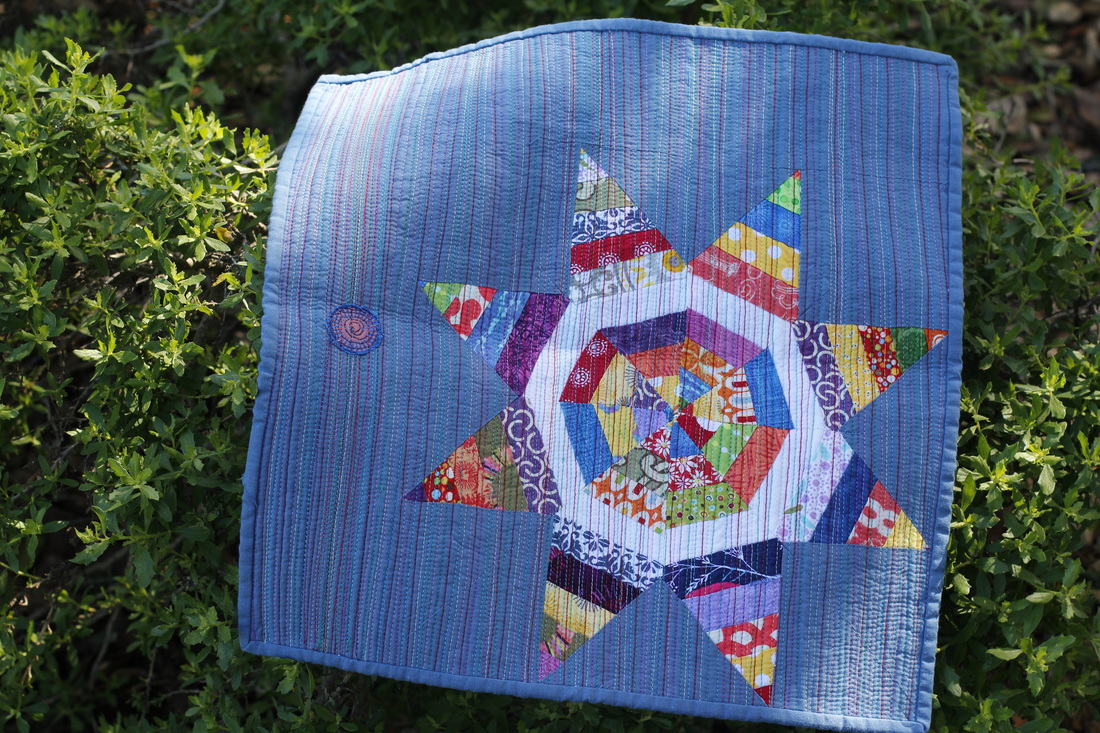
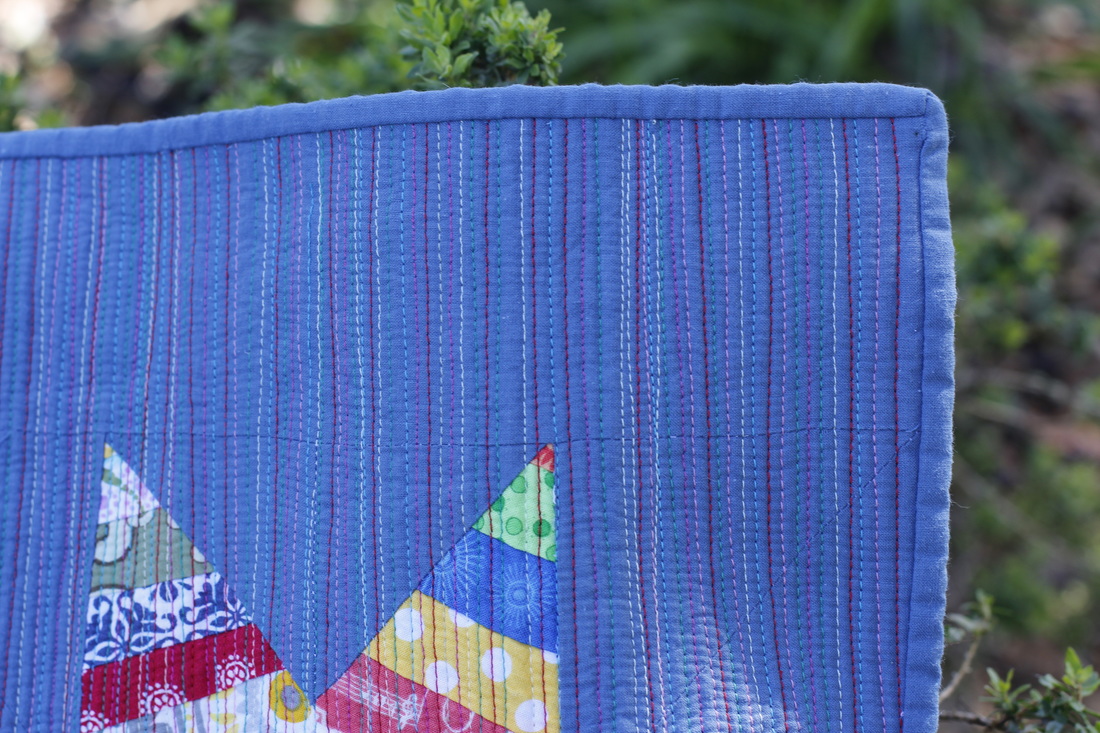
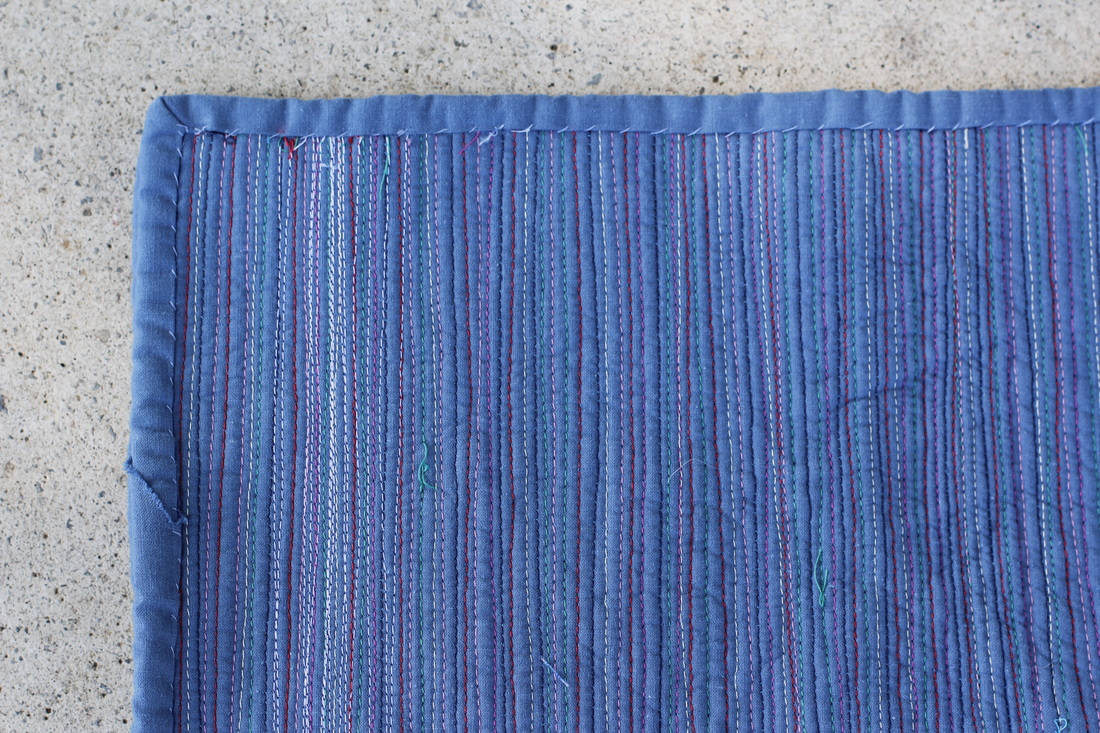
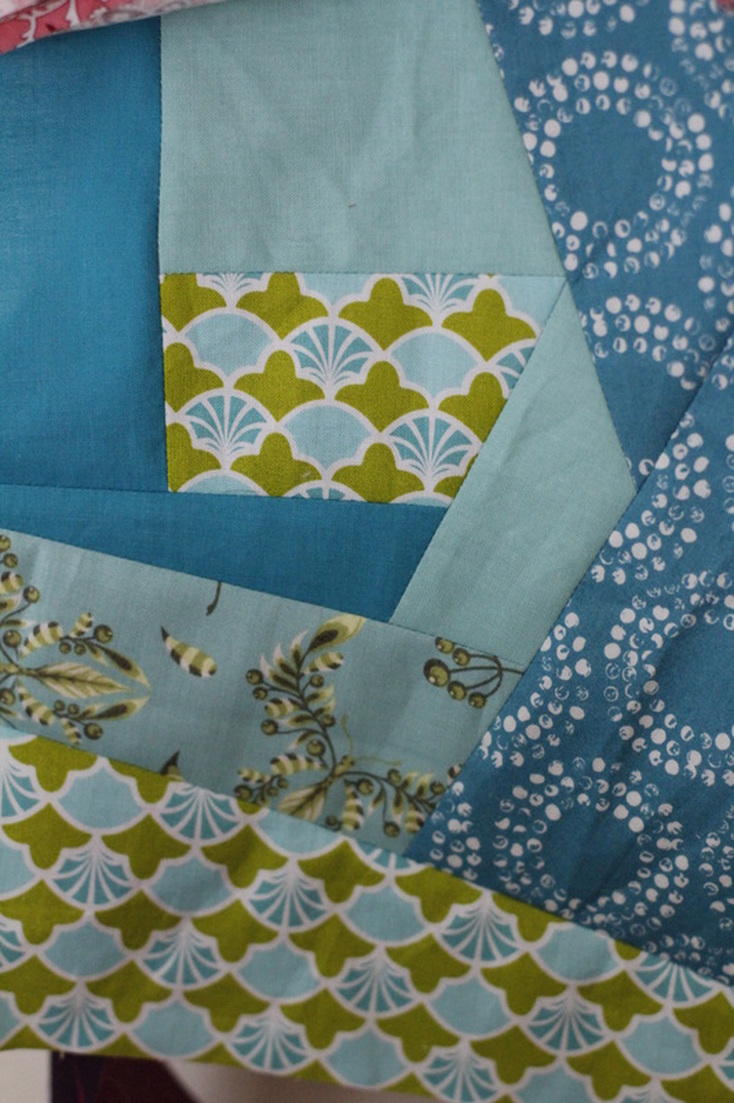
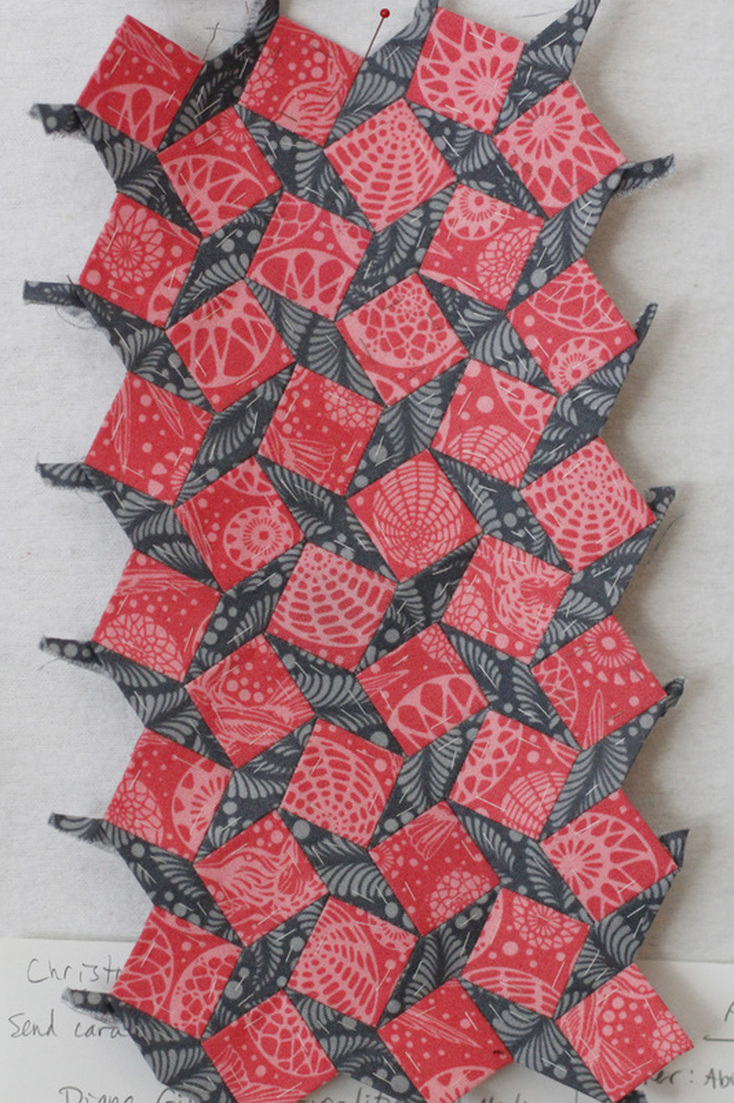
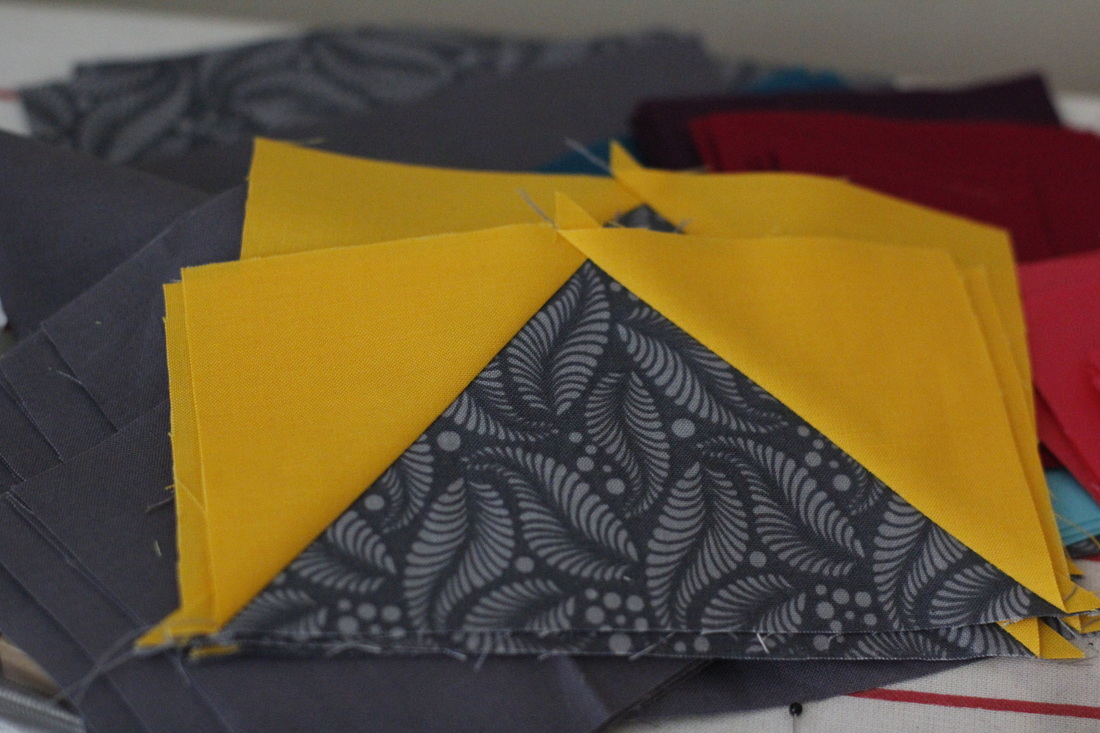
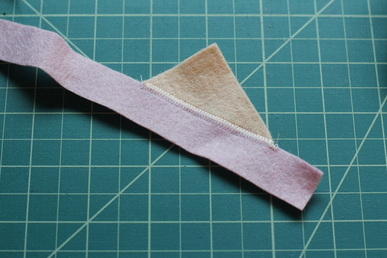
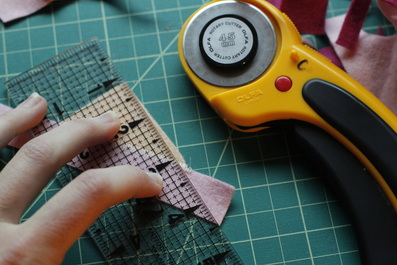
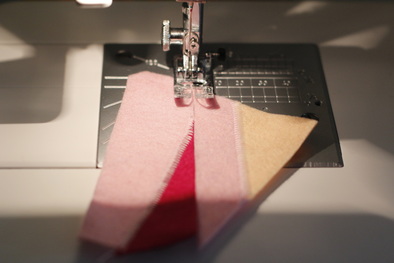
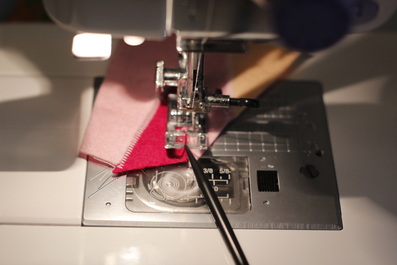
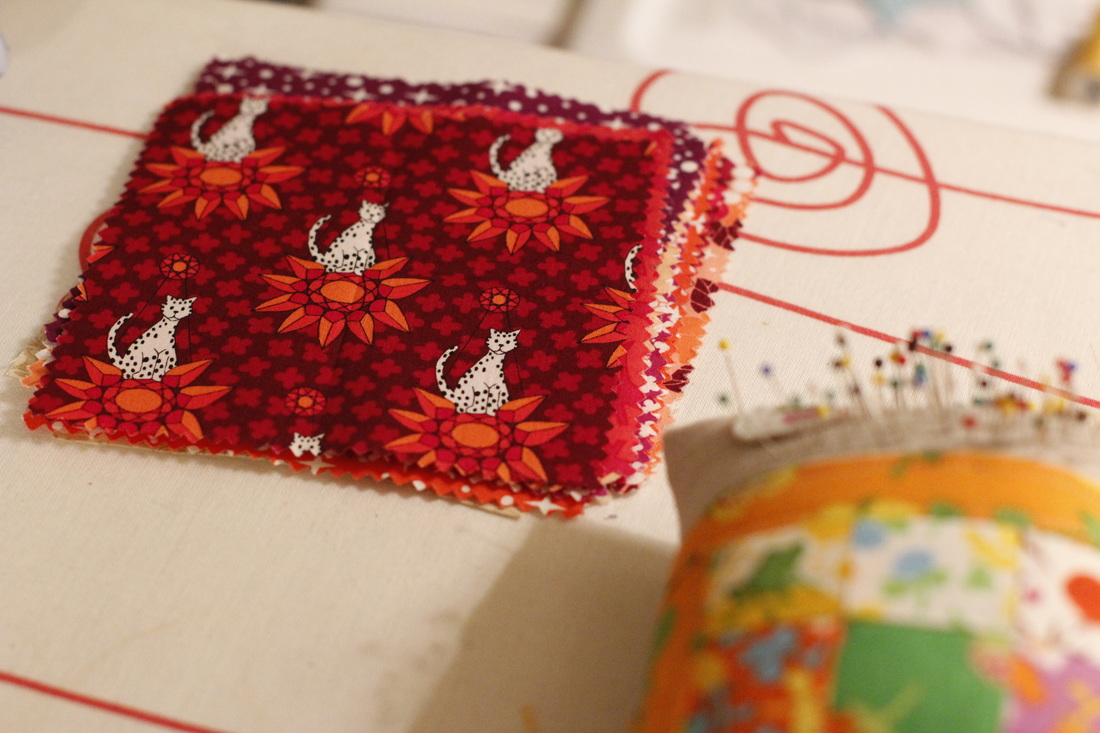
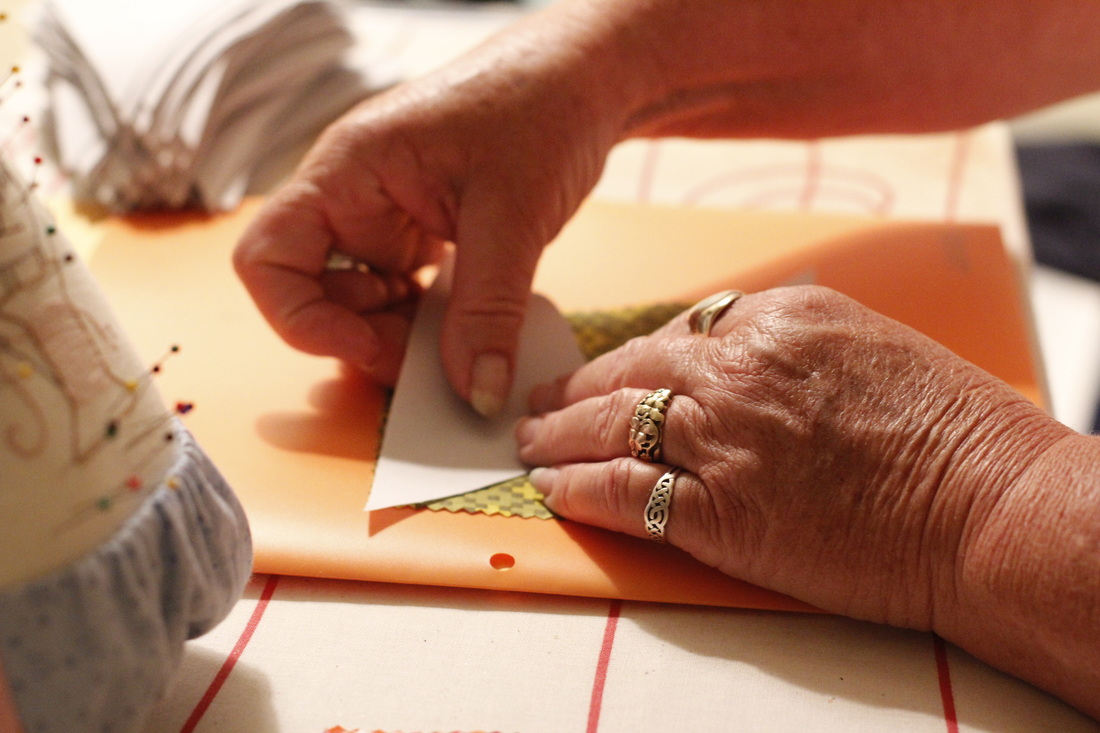
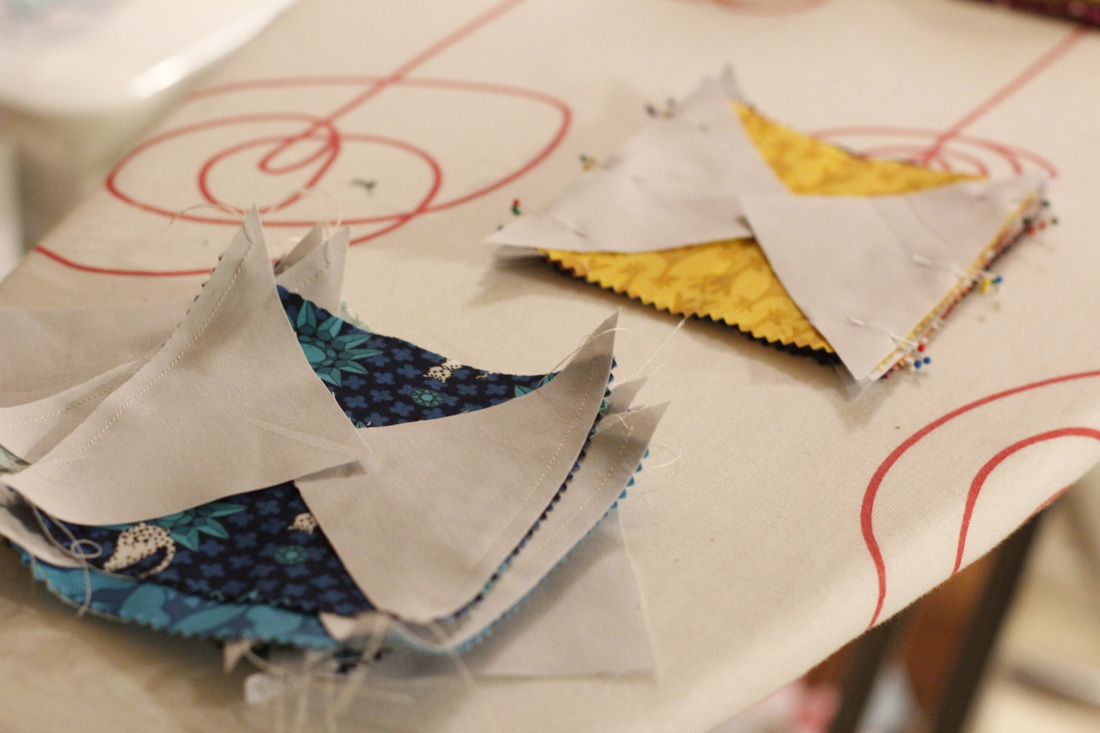
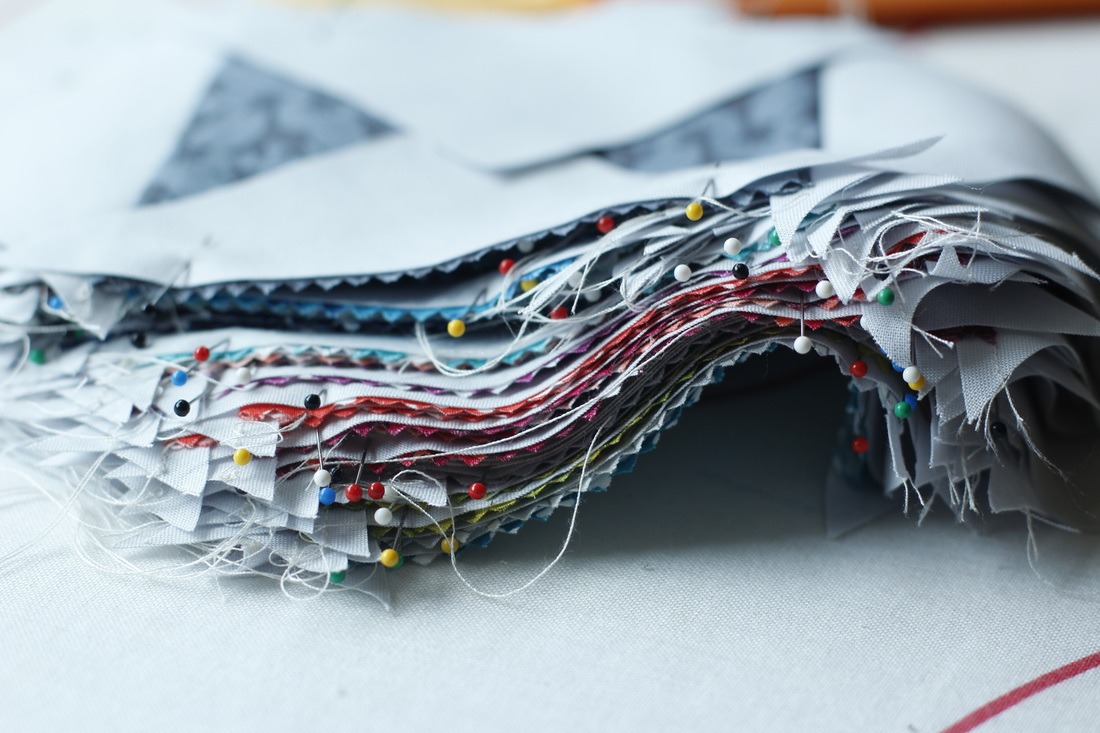
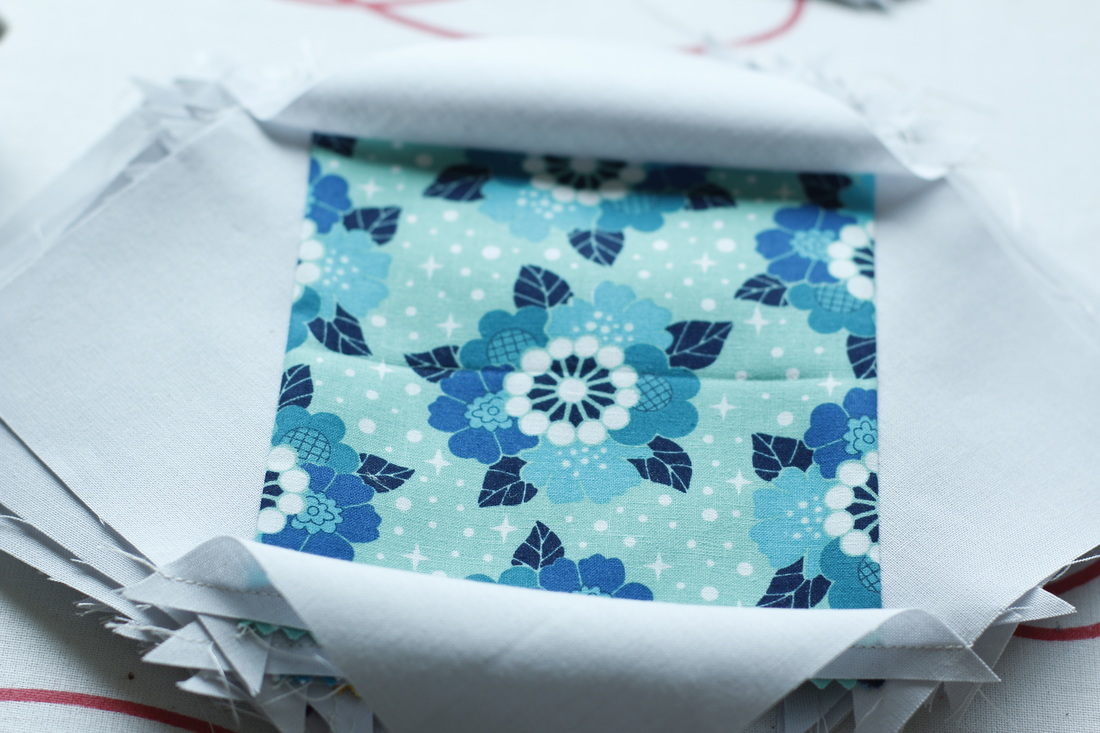
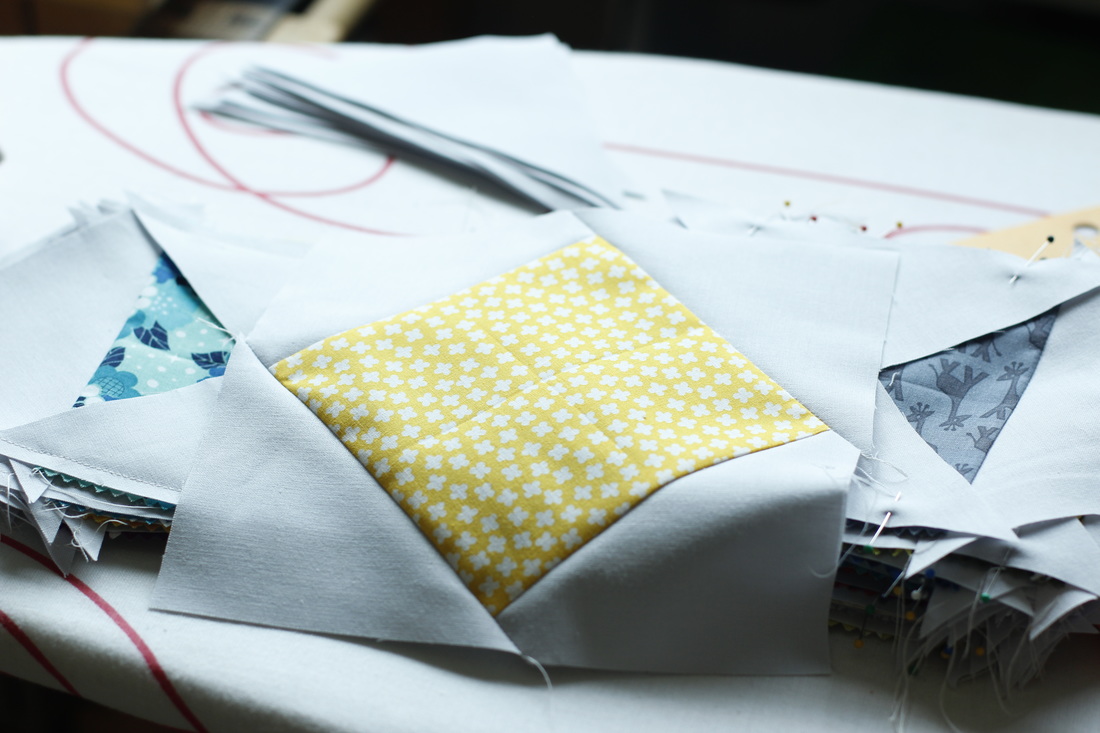
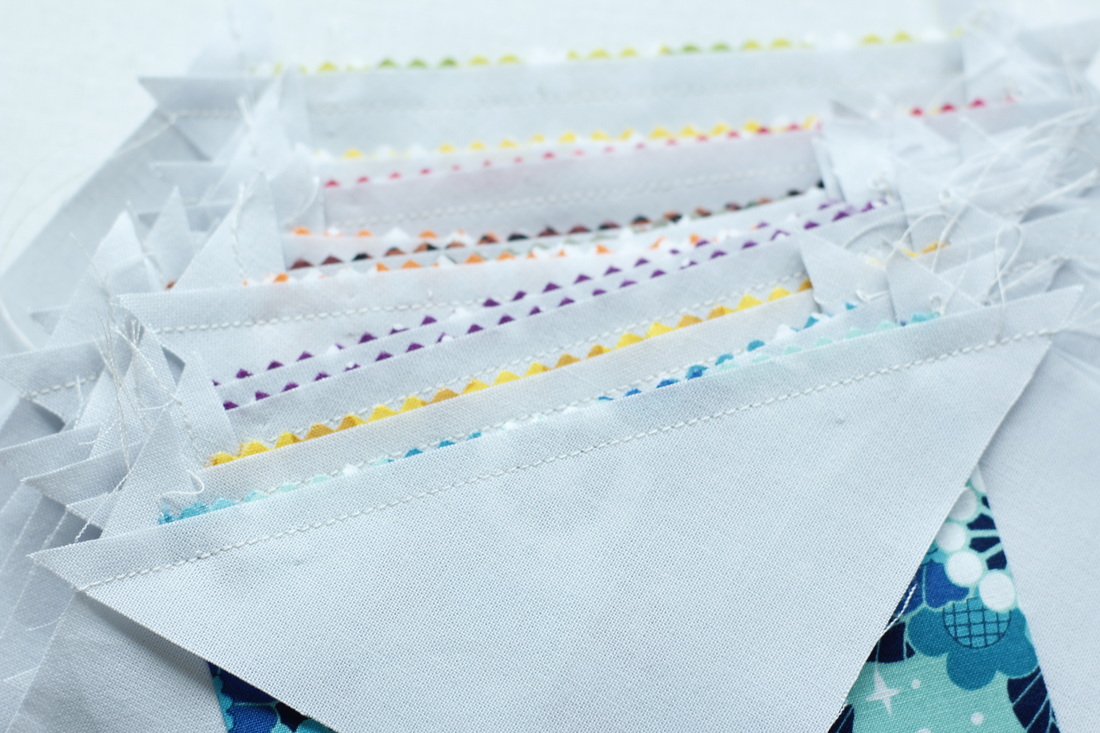
My mom came for a visit this past weekend from Southern California. She was here with my dad and adopted brothers and sister for Goen's party last month, but this time was all about doing grandma stuff with Goen and mom stuff with me. She taught me how to make three of my favorite dishes from when I was a kid: lasagna, sweet and sour chicken, and potato salad (that last one handed down for generations, and changed just a bit each time). The other big thing we did together was start a sewing project. A quilt seemed like the classic mother/daughter project. We started with a charm pack of Rhoda Ruth I had in my fabric collection from a swap last year. Since a charm pack by itself isn't nearly enough to make a quilt, we made them larger by making on-point-star blocks (inspired by Blair Stocker's beautiful scrappy version). We only had a few short hours to get it started, but we did make some great progress. And now I have a simple project I can do on my machine whenever I have a few minutes to spare, which I love because there is something very satisfying about machine-sewing a few blocks and seeing so much progress. I haven't laid it out yet, though, so I don't know if I'll need to buy another charm pack to get the look I want. But it's all about the process on this one, and I can't wait to see how it turns out. But best of all is that it will always hold the memory of sewing with my mom.
0 Comments
You may remember that about seven months ago I replaced the brim binding on Goen's sun hat because it was falling apart from so much use (it had already been worn for a few years before he was born, so it had a head start). (By the way, I'm still laughing about the little pun I just made.) This past week I had to revisit the hat and replace the circular top piece because it was paper thin and had a hole. After removing the bound seam and the circular piece, I traced a new one from the old. The fabric I chose is similar in color, so it's difficult to notice it isn't the original. Goen didn't even notice, and I decided not to bring it up. I'm sure it won't be long before the hat needs more love, though. The whole thing is close to falling apart. But every time I fix it, it adds more personality and I just can't see myself parting with it yet. I'm in the middle of making my third English Paper Piecing pattern (the first one is still being written, but you can see it here, and the second one is currently for sale in my Etsy shop). Every time I work on a new design, I learn something or realize I've been doing a technique differently that others may find helpful to learn as well. Here is a roundup of techniques all related to troubleshooting or polishing the look of your finished piece. When you have a problem (big or small), it can often be traced to one of these seemingly minor fixes. If you need help with basic stitching techniques, you can see Part I of my EPP Tips. Tighten loosely-wrapped fabric. Sometimes, after basting, you might find that the fabric is too loose on the paper piece. There a couple things you can do about this. First, make sure to finger press as you baste and tack the fabric to the paper piece. Second, make sure each of the folded sides of the fabric is flush against the edge of the paper piece before basting or tacking that side. Third, after basting, use the tip of a hot iron to nudge the fabric from the edge to the center to tighten it up as you press. You can also use a fingernail to gently pull the seam allowance towards the center of the paper piece to tighten it as you iron (just be careful not to burn yourself). Hide the knot in the seam allowance. When I first started out with English Paper Piecing, I didn't pay any attention to knot placement...until my working thread got caught on it over and over while sewing. Then, while watching a video on EPP, I heard about hiding the knot in the seam allowance. I started doing it, but I hid the knot in the seam allowance of the piece closest to me. It worked fine, but it threw off the look of the whipstitch because I had to do a bit of crisscrossing to make sure the corners were securely stitched together. Then, one day, I realized that the better way would be to hide the knot in the seam allowance of the piece farther from me in order to maintain the rhythm and appearance of the stitch. So I changed my method and my sewing became faster and easier. Ease pieces together. There are times when you will find that your pieces do not meet up perfectly. There are a few ways to handle this. The first thing to try is gradually easing the pieces together from the beginning of the length of the sides, using the natural stretch in the fabric where possible. This is easiest when the side you are stretching is on the bias, less easy when the side you are stretching is with the cross grain, and very difficult when the side you are stretching is with the grain. In the latter instance, it may work better to ease the larger piece down a little by warping the paper piece slightly while stretching the shorter piece.
Prevent gaps at corners. One of the biggest problems EPP-ers face is a gap where points come together. This is particularly common when you have lots of points meeting or when you are assembling segments that include several points in each. One way to combat this situation is to take an extra stitch or two right at the meeting of points as you sew them together and make sure the stitches are taut. Another way is to make sure to sew through the very tip of every point, even if it means making your stitches closer together for adjacent points. Fold paper pieces accurately. With some EPP patterns, you will have to fold the paper pieces in order to sew sides together. When I first started with EPP, I folded without thinking about how I did it. What I soon found was that I had to exert extra force with my fingertips in order to keep the alignment of the sides I was sewing. This tired out my fingers faster. I found that folding the paper pieces in a line that corresponds to the sides you are sewing makes them much easier to sew. You can see in the image at the right that the fold creates a straight line that follows from the sides being stitched. I hope these tips help you in your EPP journey. If there are any issues you've faced that you're unsure how to solve, let me know in the comments and I'll try to give an answer by replying to your comment or in my next post of EPP tips.
One of the great things about Instagram is that you can find out about lots of sewing swaps and, even though I'm not a quilter generally, I enjoy making minis for other people and stretching my skills. Most recently I finished a mini quilt for the Rainbow Mini Quilt Swap (Round 2). Among other things, my partner said she likes flying geese, so I chose that as my theme. I sewed together lots of flying geese using gray for the geese and rainbow-colored fabrics for the backgrounds. I made up my own design, arranging the smaller geese in a sort of curve around strips of the larger geese. I was going for a gradient effect and I thing it turned out pretty well. I went simple for the quilting, but with a contrasting light gray thread, which adds just the right amount of brightness to the darker colors. The stitching for the small geese follows along with the direction of the geese to evoke a flight plan of sorts. The stitching for the larger geese goes along the top sides of the "wings" with a connecting line to one side. On the back it looks like a chevron pattern. I went above and beyond for the backing, especially considering it isn't usually the displayed side. I carved my own rubber stamps (you can find out more about how I learned here). One is a flying goose and the other reads "flying geese" and is written in a text that reminds me of feathers and flying. The label was made on my sewing machine (I love that it can do text!). You can see the chevron quilting better here, too. Since the mini is mostly solid fabric, I decided to go with a fancier print for the binding. It's a two-tone magenta that provides a nice contrasting border but still matches the simple colors theme. Of course, I sent some extras along with my mini. I made a stitched mini paper banner with the word "STITCH", picked a fat quarter of fabric that I thought my partner would like, bought some adorable tiny clothespins in rainbow colors, and added some Starburst candies in rainbow colors. My partner received it all and loved it! It's fun to make these minis, but it's even better to make something for someone else and have them appreciate it. A few days after my partner got her package, I received mine from the person assigned my name. I was so excited to open it! Inside was a rainbow cross-stitch design in a hoop, a lined notebook, a tape dispenser (because you can never have too much tape), moisturizer, dark chocolate candy, and the mini quilt. My favorite part of the mini is the matchstick quilting in rainbow colors. It must have taken forever, there is so much of it! I can't wait for the next mini swap! I've got a pouch swap I'm supposed to be working on, so you can look forward to seeing that soon. I'll also be working on lots of English Paper Piecing, which you see my day by day progress for on Instagram. I'd love to see what you're working on, too, so leave a link in the comments if you'd like to share. Here's the first post in my birthday prep series. Only 27 more days until Goen turns three (I bought myself a few days by waiting for the weekend to have the party) and still so much left to do. Today I'm sharing a tutorial for a stitched mini paper banner. It's a great project that you can make as simple or as fancy as you want. For mine, I had Goen help me paint the paper before I punched my shapes, and he even pressed the foot pedal on my sewing machine while I ran the paper through. If your kid likes to help make things, this is a fun way to do it. Materials: - Paper (cardstock or similar weight) - Paper punch (I used a Fiskars tag punch) - Paper scissors - Sewing machine - Sewing thread - Well-used sewing machine needle Instructions: The first thing you will need for this project is a piece of paper. You can use plain paper or stamp and paint it first (a great kid project!). Use your paper punch to create shapes for your banner by punching along one side of your sheet of paper. *Alternatively, you could cut shapes with scissors using printed templates or freehand. Once you've punched the first row, use your scissors to cut off the scrappy bits so you have another straight edge to work with. Continue punching and cutting until you have the number of pieces you want. If you are making more than one banner at a time, sort and stack the paper pieces into piles. If you have a well-used sewing machine needle lying around, now is the time to use it. Paper will dull your needle, so don't waste a good one on it. Thread your machine with a coordinating or contrasting thread. Set your stitch length to three or thereabouts. Pull several inches of your top and bobbin thread to create a tail. Begin sewing the first paper piece across the top edge. Add a second piece, leaving a quarter to half an inch space between them. Continue sewing until you have used all your shapes. Before cutting the thread, pull another tail for the end. Use the tails to tape or tie your banner for display. There are lots of ways to personalize this project. In addition to the banners above, I created a special birthday banner for my little guy. I used paper with a colorful painted background, then used sharpies to write "Happy Birthday" on it. You could get really fancy and use scrapbooking supplies to decorate the banner. Letter stickers, flat wood shapes, or sequins are great ways to give it your own spin. As 2015 drew to a close, I knew I wanted to set an ongoing goal for the new year to encourage myself to create, but it wasn't until January 1 (after I set my goals for the year) that I settled on what that would be. I decided to commit to a year of daily sewing. At first, the goal seemed impossible. I mean, sometimes weeks go by before I get a chance to use my sewing machine. So I set some guidelines. My daily sewing could be by machine or by hand. It could be an entire project from start to finish or just a few stitches. And, to make myself accountable, I post a progress picture to Instagram every day. I'm so glad I made the commitment. As a result, I tried out improvisational piecing, finished a months-long English Paper Piecing project, re-started a stagnant project, and lots more. I'm a month-and-a-half in and I can't wait to see what else I accomplish. Here are some of the things I've been working on, or you can check out my #dailysewing posts and more on Instagram.
What are you working on? I just finished up my second Artist Trading Card swap with Ali of the Very Berry Handmade blog. It was so much fun! I even contributed a guest post on construction techniques for this one. If you even find yourself in need of stabilizer for an ATC, but without any of the traditional ones available, definitely check out that post. The theme for this swap was "Winter Comforts" and we were allowed to interpret that any way we wanted. I thought and thought about what I wanted to put on the front of my ATC that went with the theme. My first idea was to have a fire and something edible on a table, but then I realized that fire was probably a total cliche winter comfort, so I tried to think of something else. Try as I might, everything I came up with included fire. Kind of strange, really, since I grew up in Southern California and, even though we had a fireplace, we hardly ever lit a fire. However, when there was a fire, I would sit as close to it as humanly possible, soaking up the warmth and glow, sipping hot cocoa. To me, there is nothing better than that during winter. So, I went with cliche and did a fire theme. The window fabric I used is a Cloud9 print designed by Eloise Renouf. It's one of my favorite prints from her and it made perfect "snow out the window" fabric. The satin stitched border provides a bit of dimension that makes the "snow" look like it is actually outside. Below the window is a bookcase made from a scrap of brown flannel with simple embroidered books lining the shelf. On top is a single red flower in a glass vase beside another book (the one I'm reading by the fire, of course). The fireplace is a simple gray fabric with embroidered mortar to make it look like a stone chimney (a much nicer version of the one we had in my house growing up). The flames are embroidered in red and orange using a version of the stem stitch to give it a nice curve and flow. I'm so happy with the way it turned out! For the back of my card, I used a piece of veg tanned split hide that is super stiff. I chose it so that I could use my woodburner to write in my name and the swap details. I think it adds a nice bit of warmth, which is really what cold winter days are all about, right? I finished the edge with a simple (yet time-consuming since I was going through leather) embroidery stitch of unknown name. I just stitched through each hole two or three times to get a triangular edging. It turned out great. And the card has just the feeling of warmth I was going for. And we could all use a bit of warmth right about now. Whether it's snuggling up in front of a fire with a book or, as I do now, turning up the heater just a bit to get that extra bit of cozy. I absolutely love the ATC I received from the person assigned to me. I'm sure you can see why! Tiny applique attached with tiny stitches, an embroidered marshmallow, a steaming mug, and a background filled with a list of other winter comforts. By far, my favorite part is the appliqued and embroidered flames. At first I thought the thread was one of the variegated variety, but it's not. The different colors of thread were masterfully mixed to create dimension and movement for the fire. The back of the card is a super cozy fuzzy green fabric with a printed tag. From the moment I opened the envelope, there was so much presentation and care, I couldn't help but feel special. A postcard with a short note, a ribbon that said "made by me" tied around pretty red and white tissue paper, and then the beautiful card inside. It really makes me wish the next swap started tomorrow. Please, Ali, please start the next one soon! If you have bits of scrap wool felt hanging around your craft room that you just can't throw away (it's expensive stuff, after all) but don't know what to do with, today's tutorial is for you. I'll show you a fun way to use those leftover bits to create a scrappy felt patchwork that can be used to make softies, accessories, or other projects that call for felt. Patchwork Felt Tutorial Materials: - Scraps of wool or wool blend felt - Ruler - Rotary cutter and matt - Sewing machine - Thread - Fusible web (optional) - Cotton fabric (optional) Instructions: Gather all your felt scraps. They can be larger pieces, smaller pieces, pieces with straight sides, or pieces with funky shapes cut out of them. With the right tool, even tiny bits can be used here. Set your sewing machine to the widest zig zag stitch with a short stitch length. I chose 0.8 for my stitch length, but you can experiment to find what you like best. Select a piece of felt to start with. Use a rotary cutter and straight edge to cut it to the size and shape you want. It helps if this first piece is large enough to easily hold with your fingers as you sew. You can add tiny bits later or cut it down after you sew. Select a second piece with a side at least as long as the side you are joining it to (or the length you want the piece to be after cutting it down). Longer is fine since you will trim it down. You have the option of cutting the second piece to the right size either before or after sewing. Lay the pieces on your sewing machine and arrange them so that the edges meet but do not overlap. Place the felt pieces under your presser foot so that the line where they join falls about at the center of the zig zag stitch. Lower the presser foot and secure the thread with a backstitch or two. Continue sewing until the end of the line, then backstitch to secure. Use your rotary cutter and matt to trim the uneven edges of the resulting patchwork piece. All edges should be straight to make joining the next scraps easier. Don't worry if you cut off your securing stitches. They will be stitched over later when you add more scraps. Continue trimming and adding scraps to the patchwork. You can keep building onto the original piece only or you can create patchwork sections that will be joined together (as I have done here). To keep sharp corners and small pieces in place while you sew, it helps to have a stiletto or other pointed tool. My tool here came from a craft kit for kids. You could also use a sharpened pencil that has been dipped in glue and dried If you want to cut a specific angle from a scrap of felt, simply lay the patchwork on top of the scrap until only the portion you want to fill in the space is sticking out. Lay your ruler over the patchwork so that it meets up with the edge, then cut the scrap piece along that edge. After sewing the scrap to the patchwork, trim any sides that are not straight. Continue adding scraps and segments until the felt patchwork is the size you want. Once you patchwork is complete, you can leave it as is or line it with fabric to hide the stitching on the back side. To line it, iron fusible web to the back side of a piece of cotton fabric. Trim the fabric to size then iron it to the back of the patchwork felt. Trim any loose threads. Your felt patchwork is now ready to be sewn into your next project. This here was made into a cute little pouch for business cards, but you could also use it for softies, bunting, ornaments, quiet books, and more. Happy scrap-busting! |
Carley Biblin
Hi. My name is Carley. I love to sew, craft, and create. As a Jane-of all-crafts so to speak, I enjoy sewing, writing, cooking, drawing, photographing. But the constant thread (if you'll excuse the pun) throughout my weeks is needle arts. Archives
January 2017
Categories
All
|