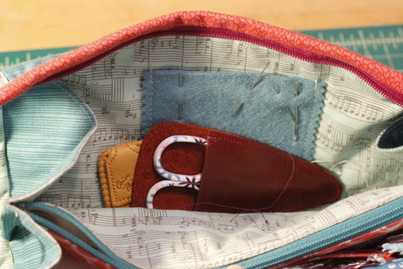
My Sew Together Bag is one of my favorite things right now. It is so useful and the perfect size to take on outings. In addition to my projects, I keep a few handy tools in it. Some needles in the felt needle minder, all-purpose thread, and a pair of small scissors. With my scissors, I used to just toss them in loose, but then I started to worry that they would wear a hole in the lining. Considering how much time it took me to make the bag, that would not have been good. I thought about making a fabric case for them, but I figured I would have the same hole problem there as well. So, I decided to use some of my leather scraps to make a case for them. If you'd like to make one too, here is how I did it.
Leather Scissor Case Tutorial
Materials:
- scissors you want to make a case for
- blank paper
- pencil or pen
- paper scissors
- leather scraps
- matching thread
- leather scissors (or multi-purpose scissors)
Instructions:
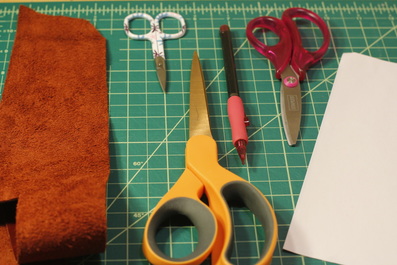
Gather your materials. Yes, you will need three pairs of scissors: the pair you're making the case for (usually thread snips), a pair for cutting paper, and a pair for cutting leather. Make sure your leather scraps are at least a half inch wider and a half inch longer than the scissors you will put in the case.
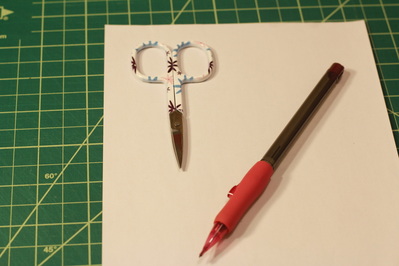
Lay your sheet of paper on a flat surface and put the scissors you want to make a case for at least 1/2" from the edges.
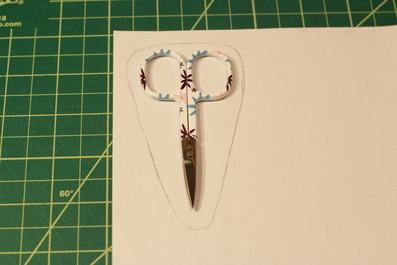
Draw a loose outline around the scissors, ignoring the dip in the handle and the inward curves below. Draw the line about 1/8" from the finger holes and the scissor tip. You should end up with a sort of flat-bottomed, upside-down raindrop shape. This line is about where your stitching line will be.
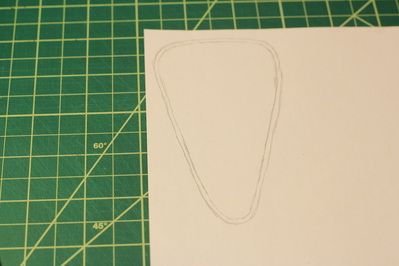
Draw another line 1/8" from the first to create a seam allowance. Cut out the template along the outside line.
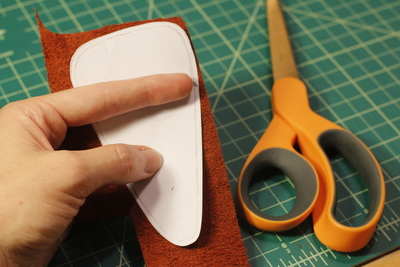
Lay the template on a scrap of leather and cut out the shape. If the leather you are using is thinner, such as suede, consider cutting out a second piece to add stability to the finished case. This will be the backing piece.
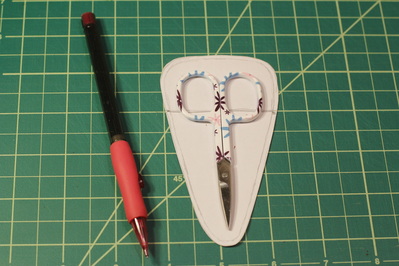
Lay your scissors on the template once more, centered. Mark a line on either side 1/4" to 1/2" above the bottom of the finger holes. Make sure they are even, then connect them with a straight line.
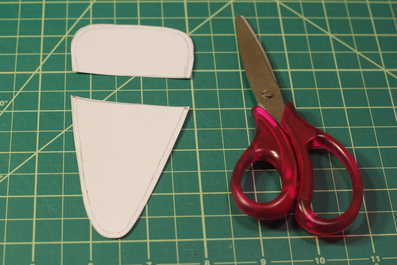
Cut across the line you just drew on the template. If you plan on making more cases, set aside the wide top piece. You can tape it back together later.
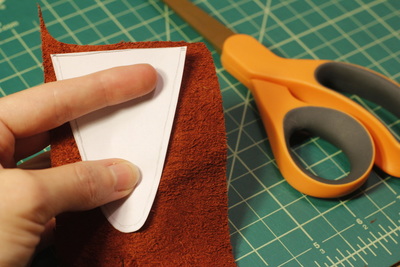
Lay the v-shaped template on a scrap of leather and cut around the shape.
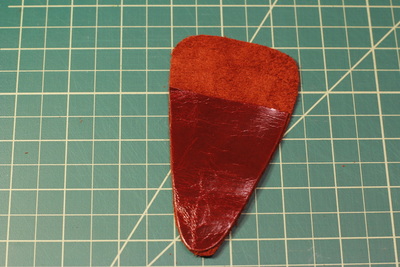
Now to assemble. If you're using two layers for the backing, put the pieces wrong sides together and lay them down on your work surface. If you're using a single layer backing, lay the piece right side down on your work surface. Put the v-shaped leather piece on top of the backing piece, wrong side down.
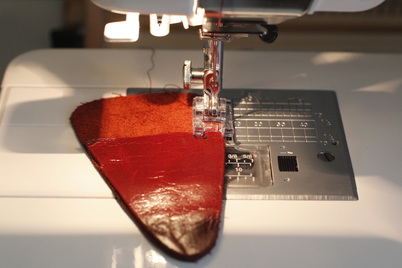
Sew the pieces together using a seam allowance just over 1/8" (about where you traced your first line). For a double layer backing, sew all around. For a single layer backing, sew from one side of the front piece, around the bottom, and end on the other side. Backstitch at the beginning and end of the front piece to secure it. Depending on the thickness of your leather, you may want to increase the stitch length to 3 or more.
Note: Consider adding a layer of tear-away paper to protect the leather against the feed dogs.
Note: Consider adding a layer of tear-away paper to protect the leather against the feed dogs.
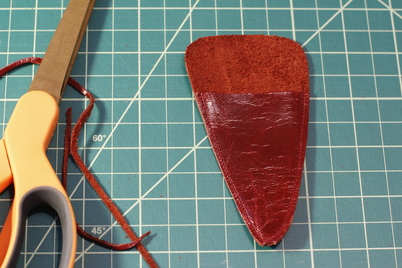
Trim away some of the the seam allowance to even out all the edges.
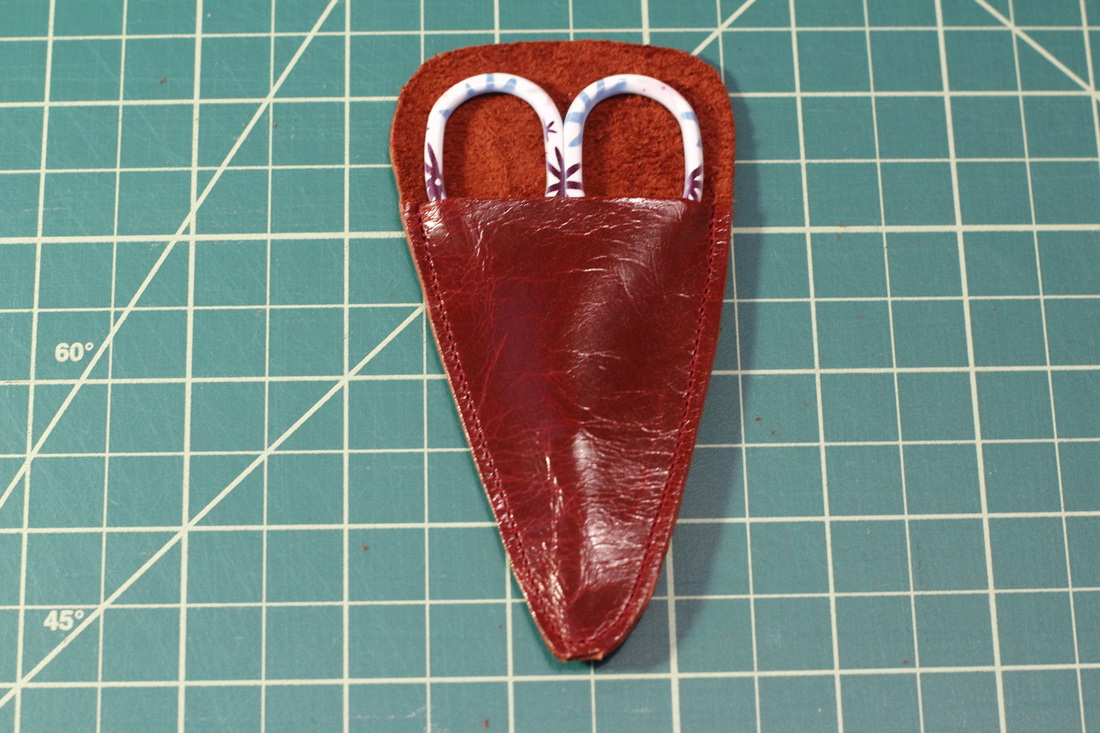
Your leather scissors case is now ready to hold your scissors and protect your bag from holes.
These cases come together fast, so make several extras to give as gifts (or for all your other scissors). And let me know if you have any questions or want to show off your own creation made with this tutorial. I'd love to see!

