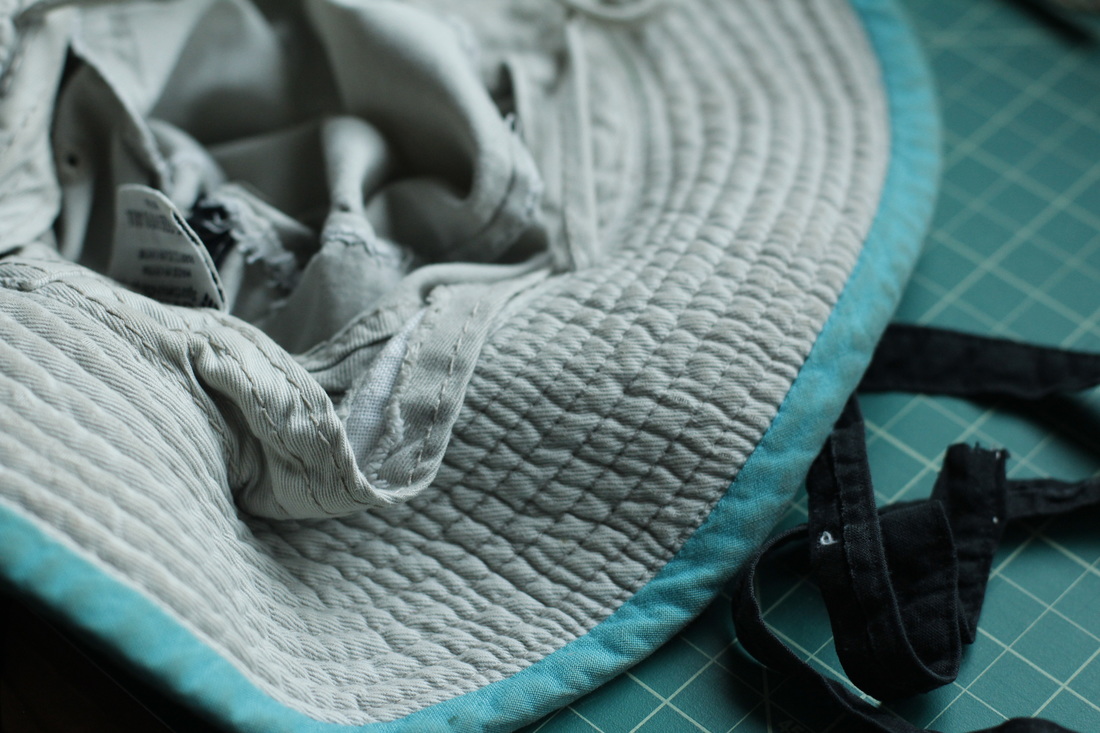
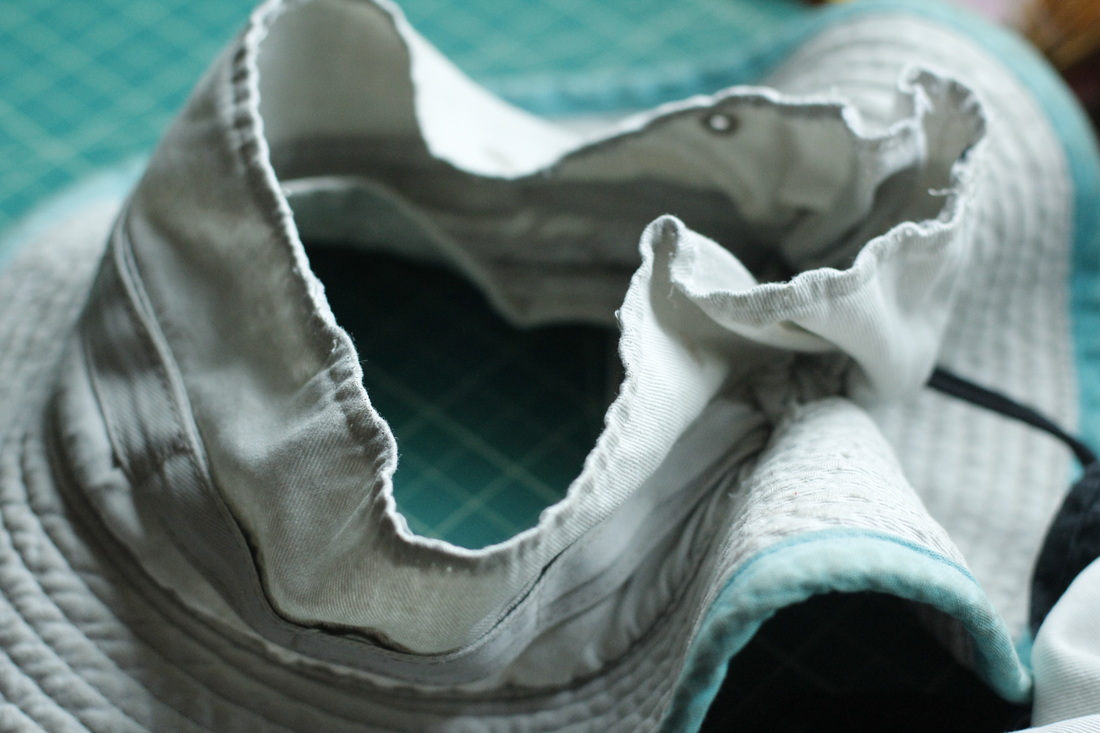
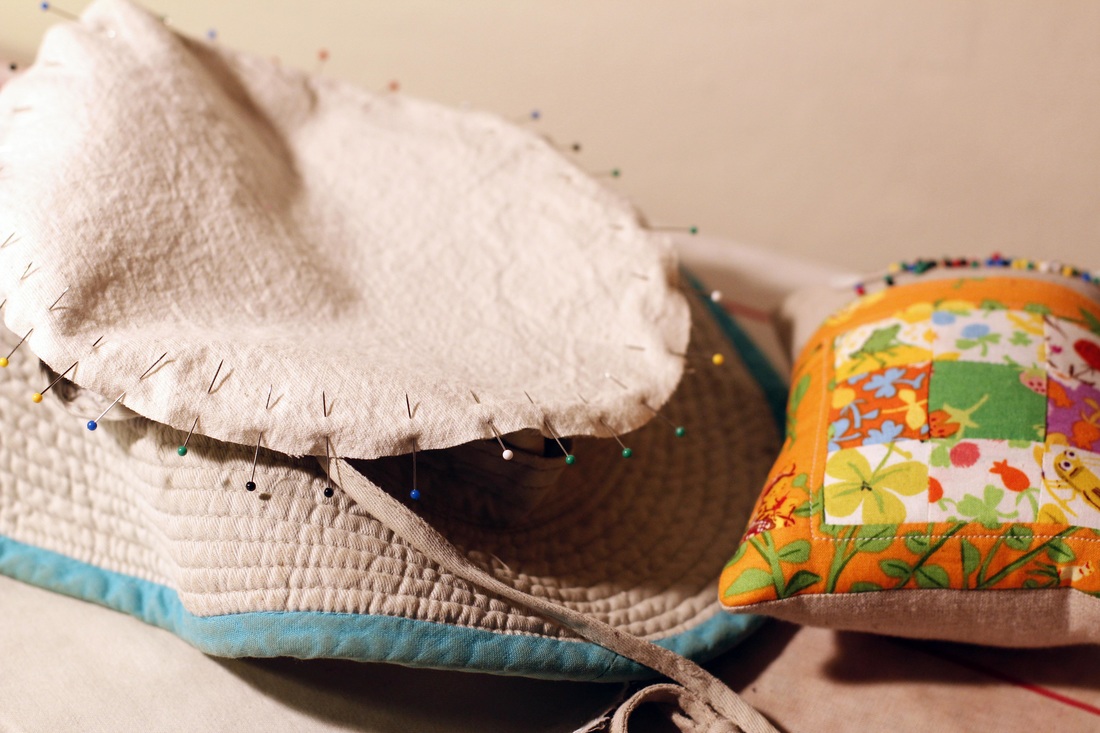
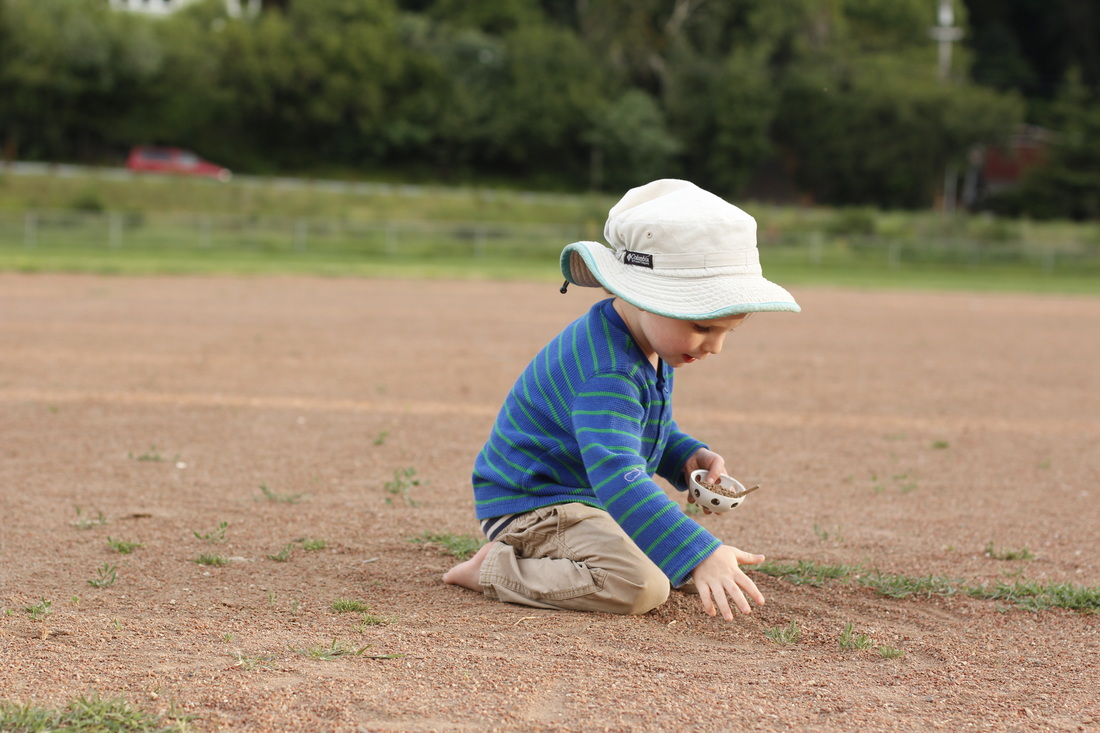
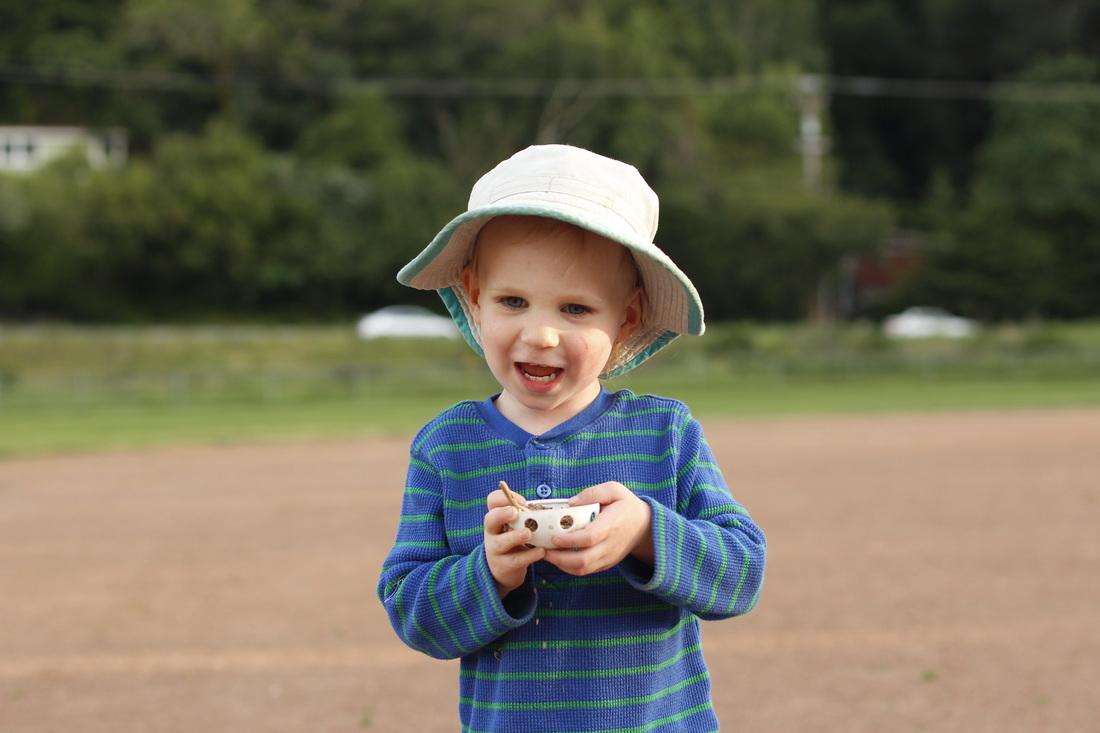
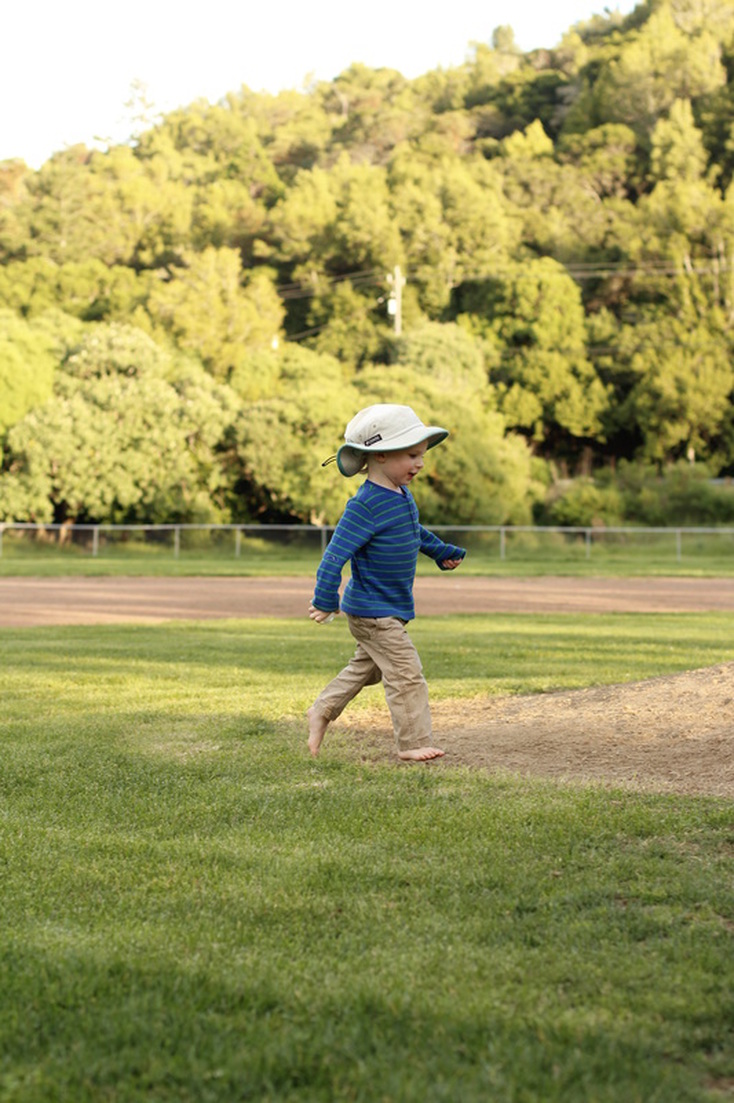
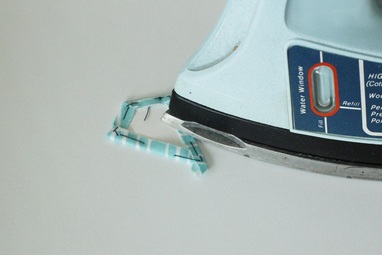
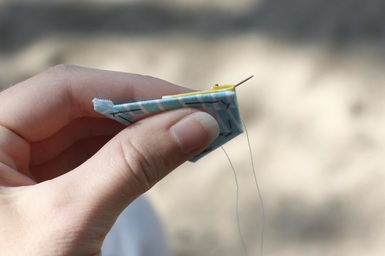
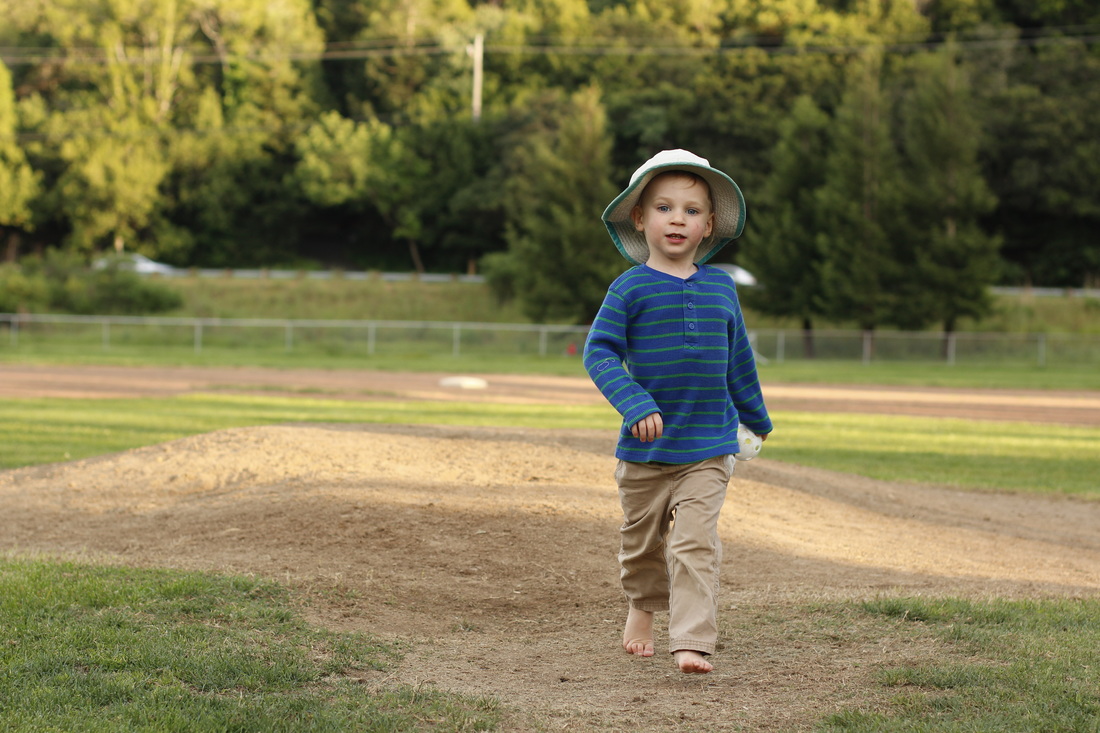
You may remember that about seven months ago I replaced the brim binding on Goen's sun hat because it was falling apart from so much use (it had already been worn for a few years before he was born, so it had a head start). (By the way, I'm still laughing about the little pun I just made.) This past week I had to revisit the hat and replace the circular top piece because it was paper thin and had a hole. After removing the bound seam and the circular piece, I traced a new one from the old. The fabric I chose is similar in color, so it's difficult to notice it isn't the original. Goen didn't even notice, and I decided not to bring it up. I'm sure it won't be long before the hat needs more love, though. The whole thing is close to falling apart. But every time I fix it, it adds more personality and I just can't see myself parting with it yet.
0 Comments
I'm in the middle of making my third English Paper Piecing pattern (the first one is still being written, but you can see it here, and the second one is currently for sale in my Etsy shop). Every time I work on a new design, I learn something or realize I've been doing a technique differently that others may find helpful to learn as well. Here is a roundup of techniques all related to troubleshooting or polishing the look of your finished piece. When you have a problem (big or small), it can often be traced to one of these seemingly minor fixes. If you need help with basic stitching techniques, you can see Part I of my EPP Tips. Tighten loosely-wrapped fabric. Sometimes, after basting, you might find that the fabric is too loose on the paper piece. There a couple things you can do about this. First, make sure to finger press as you baste and tack the fabric to the paper piece. Second, make sure each of the folded sides of the fabric is flush against the edge of the paper piece before basting or tacking that side. Third, after basting, use the tip of a hot iron to nudge the fabric from the edge to the center to tighten it up as you press. You can also use a fingernail to gently pull the seam allowance towards the center of the paper piece to tighten it as you iron (just be careful not to burn yourself). Hide the knot in the seam allowance. When I first started out with English Paper Piecing, I didn't pay any attention to knot placement...until my working thread got caught on it over and over while sewing. Then, while watching a video on EPP, I heard about hiding the knot in the seam allowance. I started doing it, but I hid the knot in the seam allowance of the piece closest to me. It worked fine, but it threw off the look of the whipstitch because I had to do a bit of crisscrossing to make sure the corners were securely stitched together. Then, one day, I realized that the better way would be to hide the knot in the seam allowance of the piece farther from me in order to maintain the rhythm and appearance of the stitch. So I changed my method and my sewing became faster and easier. Ease pieces together. There are times when you will find that your pieces do not meet up perfectly. There are a few ways to handle this. The first thing to try is gradually easing the pieces together from the beginning of the length of the sides, using the natural stretch in the fabric where possible. This is easiest when the side you are stretching is on the bias, less easy when the side you are stretching is with the cross grain, and very difficult when the side you are stretching is with the grain. In the latter instance, it may work better to ease the larger piece down a little by warping the paper piece slightly while stretching the shorter piece.
Prevent gaps at corners. One of the biggest problems EPP-ers face is a gap where points come together. This is particularly common when you have lots of points meeting or when you are assembling segments that include several points in each. One way to combat this situation is to take an extra stitch or two right at the meeting of points as you sew them together and make sure the stitches are taut. Another way is to make sure to sew through the very tip of every point, even if it means making your stitches closer together for adjacent points. Fold paper pieces accurately. With some EPP patterns, you will have to fold the paper pieces in order to sew sides together. When I first started with EPP, I folded without thinking about how I did it. What I soon found was that I had to exert extra force with my fingertips in order to keep the alignment of the sides I was sewing. This tired out my fingers faster. I found that folding the paper pieces in a line that corresponds to the sides you are sewing makes them much easier to sew. You can see in the image at the right that the fold creates a straight line that follows from the sides being stitched. I hope these tips help you in your EPP journey. If there are any issues you've faced that you're unsure how to solve, let me know in the comments and I'll try to give an answer by replying to your comment or in my next post of EPP tips.
As part of my daily sewing commitment, I made some felt pouches that are the perfect size for business cards, gift cards, jewelry, and other small or delicate items. I drew up a quick pattern to use and share with you. They sew up pretty fast (especially if you have an automatic button stitch on your sewing machine). There are lots of ways to customize the pattern, including changing the length of the flap, using snaps instead of buttons, and adding a lining. Of course, if you want to go all out and make something really special, you can use my patchwork felt tutorial to make the rectangle piece. Either way, the finished pouch will help protect and organize your stuff. Materials: - Downloadable template - Felt - Clips or pins - Sewing machine - Matching or contrasting thread - Fabric pencil - Button - Handsewing needle and thread Instructions: Use the template or an acrylic ruler with a rotary cutter and mat to cut a rectangle of felt 8" x 4". Fold the bottom edge of the felt rectangle up where indicated on the template. Use clips or pins to hold it in place. Set you stitch length to about 3 (go longer or shorter depending on your preference). Begin sewing on one side where the felt goes from one layer to two (no need to backstitch here). Sew to within about one stitch length of the bottom edge of the pouch. With your needle in the down position, lift your presser foot and turn the felt piece to sew the bottom edge. Use your fingers to flatten the crease and keep the layers taut. Continue all around the pouch, backstitching where the felt goes from two layers to one to reinforce it. When you get back to your starting point, sew over the first few stitches to lock them in place and reinforce the overlapped section. Trim all your threads. Using the template and a fabric pencil, mark the buttonhole placement. If your button is larger than the one indicated on the template, use a ruler to measure and mark the buttonhole (make sure to mark evenly from the center of the pouch flap). Sew the buttonhole, then use a pair of sharp scissors or a craft blade to carefully cut between the lines of stitching. With scissors, it is easiest to fold the felt in half and make a small snip at the center of the buttonhole, then open it back up and cut all the way to either side. Fold the flap down along the fold line indicated on the template. Use your fabric pencil to make a mark at the center of the buttonhole. Press the pencil firmly and twist to get a clear mark on the felt. Open the flap back up and sew the button over the mark you made, making sure to center the button on the mark. Because felt is so thick, it is important to leave space between the button and the layer of felt you are attaching it to. You can use a fancy button spacer or just use your fingers to pull the button away from the surface. Your pouch is finished! It's such an easy pattern, you can probably make them in your sleep now! Make more for you or as gifts for friends and family. The pattern is simple, but there are many variations that you can do to make it all your own. You can use strips, squares, or scraps of felt for more impact, you can add a lining from quilting cotton, and you can use snaps or a statement button for even more interest. Here are a few examples of the pouches you can make. I'd love to see how you use the pattern. Send me a note or tag me on Instagram (@carleybiblin). Party day was yesterday! I feel terrible, though, because I didn't take very many pictures, and almost none of the decorations I worked so hard to make. I hung the yarn-embroidered party signs, the stitched mini paper banner, and some crocheted garland (just like what I have for sale in my Etsy shop). In fact, the only pictures I took that are worth posting are of Gown wearing his crown... ...Goen trying to blow out his candle... ...Goen trying a second time to blow out his candle (before his papa gave him some help)... ...Goen playing with the trucks his best buddy gave him... ...and the adults playing with one of Goen's other gifts after all the kids finished the art activity. So, that's it. No pictures of the embroidered signs, no pictures of the paper banner, no pictures of the crocheted garland, and not many pictures of the guests. I'll chalk it up to being a good hostess and having fun at my kid's party. Maybe next year I'll glue the camera to my hand and be sure to get more pictures. Sigh. Goen's third birthday is officially today, though we won't have a party until next Sunday. Even so, I figured it would be fun to have his crown ready in case we decide to have some cake and blow out candles today, too. For his first birthday I made a felt crown using a pattern I designed (which you can purchase through my Etsy shop). In the center of the crown is a tree on which I plan to stitch a leaf for every one of his birthdays. You can see pictures from his first year here and his second year here. Each leaf is added with a simple backstitch to outline and stabilize the felt and to add texture. I'm currently drawing up these designs and more to include with the pattern I have for sale, including a fully-photographed tutorial. That means I'll be making another crown, which might make it into my shop. I'll let you know when that happens. Sign up for my newsletter near the top right if you'd like first access to the updated pattern, as well as a coupon code. I've still got lots to do before party day next week. I'll have at least one more party-themed tutorial to share, so stay tuned for that. And I'll definitely have pictures of his party and all the decorations in action. I can't wait! One of the great things about Instagram is that you can find out about lots of sewing swaps and, even though I'm not a quilter generally, I enjoy making minis for other people and stretching my skills. Most recently I finished a mini quilt for the Rainbow Mini Quilt Swap (Round 2). Among other things, my partner said she likes flying geese, so I chose that as my theme. I sewed together lots of flying geese using gray for the geese and rainbow-colored fabrics for the backgrounds. I made up my own design, arranging the smaller geese in a sort of curve around strips of the larger geese. I was going for a gradient effect and I thing it turned out pretty well. I went simple for the quilting, but with a contrasting light gray thread, which adds just the right amount of brightness to the darker colors. The stitching for the small geese follows along with the direction of the geese to evoke a flight plan of sorts. The stitching for the larger geese goes along the top sides of the "wings" with a connecting line to one side. On the back it looks like a chevron pattern. I went above and beyond for the backing, especially considering it isn't usually the displayed side. I carved my own rubber stamps (you can find out more about how I learned here). One is a flying goose and the other reads "flying geese" and is written in a text that reminds me of feathers and flying. The label was made on my sewing machine (I love that it can do text!). You can see the chevron quilting better here, too. Since the mini is mostly solid fabric, I decided to go with a fancier print for the binding. It's a two-tone magenta that provides a nice contrasting border but still matches the simple colors theme. Of course, I sent some extras along with my mini. I made a stitched mini paper banner with the word "STITCH", picked a fat quarter of fabric that I thought my partner would like, bought some adorable tiny clothespins in rainbow colors, and added some Starburst candies in rainbow colors. My partner received it all and loved it! It's fun to make these minis, but it's even better to make something for someone else and have them appreciate it. A few days after my partner got her package, I received mine from the person assigned my name. I was so excited to open it! Inside was a rainbow cross-stitch design in a hoop, a lined notebook, a tape dispenser (because you can never have too much tape), moisturizer, dark chocolate candy, and the mini quilt. My favorite part of the mini is the matchstick quilting in rainbow colors. It must have taken forever, there is so much of it! I can't wait for the next mini swap! I've got a pouch swap I'm supposed to be working on, so you can look forward to seeing that soon. I'll also be working on lots of English Paper Piecing, which you see my day by day progress for on Instagram. I'd love to see what you're working on, too, so leave a link in the comments if you'd like to share. My little guy's birthday is creeping ever closer, and there is still so much left to do. I gotta figure out what cake to bake, some favors to give to the guests, and a gift to sew for him. For that last one I was thinking about "big boy" underwear using some really soft knit fabric I've got in my closet. Any pattern suggestions? Tips? I don't sew with knit very often, so I'm a bit worried about how it will go. I'll just have to decide on a backup in case it goes badly. My tutorial is all about creating signage to direct guests to the celebration. We're just doing the party at our local park, but some guests have never been there before and I want to make sure they find the right spot. The supplies are pretty simple and the options for design are limitless and open to your imagination. I went with a simple, two-word phrase and three arrows that can point any direction I want. Here's what you'll need. Materials: - Cardboard (I used cereal and cracker boxes) - Craft paint (acrylic, washable kid paint, etc) - Large paint brush - Pencil - Awl (or other strong pointed tool for poking holes) - Tapestry needle - Yarn - Scissors - Tape (optional) Directions: Gather all your supplies first. Cut pieces of cardboard to the size you want. It's best to cut out the creased sections and only use smooth, flat pieces. Paint a base layer on your cardboard. Mine warped from the wet paint, but it dried pretty flat so don't worry too much if it happens to yours too. After the first layer dries, add any additional layers until you get the effect you want. Use a pencil to sketch your chosen design on the painted side of cardboard. Avoid touching the pencil lines because they can smudge onto your hands and across the painted surface. Do this for all your pieces. Use you awl to poke evenly-spaced holes along the pencil lines. The distance between holes depends on the size of your letters or shapes. Mine are 1/4" to 1/2" apart. You may want to space holes closer along curved sections to get a smoother line. Make the holes big enough to fit the eye of the needle through without hurting your fingers (trust me on this). Also, try to poke holes along parallel lines at about the same level to achieve a more symmetrical look. Once all the holes are poked you're ready to embroider Thread a length of yarn onto your tapestry needle. Push the needle up from the back to the front of the cardboard and pull the yarn through, leaving a 3" tail. You can either knot the tail or tape it down to keep it in place. To create fill lines, cross the yarn to the other side of the shape or letter and put the needle down through the appropriate hole. Bring the needle back up through the next hole where you want a stitch to begin on the front. Continue until all your fill stitches are complete. As you can see, you may not use all the holes you made for your fill stitches. Don't worry about that, though, because they can be covered up with a border stitch. For the border stitch, you can use every hole or skip several. Either way, try to keep the distance of each stitch under about 2" to help the yarn lay flush with the surface. Continue the border stitch all around the shape alternating straight stitches and back stitches. For large letters with only an outline, the easiest thing to do is to go around once with a running stitch and then around a second time with a running stitch to fill in the gaps. To end a length of yarn and begin another, take the yarn to the back side and tape or knot it. Begin a new length in the same way as before. Once all your embroidering is done, your signs are ready to lead your guests to the right place. You can display them on steps, pin them to a wall, or use another length of yarn to hang them on a fence post. No matter which way you show them off, your guests will be able to find the way. Unless, of course, a wily toddler decides to flip the arrows around... Several weeks ago, in my newsletter, I mentioned wanting to make my own watercolor paints using this recipe, but using a custom-made box for a travel set. Well, I did it. I bought a couple different plastic hinge-lidded containers, the kind that click shut. One was a bobbin case and the other a pencil box. I made additional dividers by hot gluing in pieces of plastic from washed-out food containers. Then I mixed the paint base and poured it into the compartments. Right away I could tell that I should have spent more time gluing because the paint base was getting through. I kept going anyway. I added the food coloring to each compartment and mixed it with a plastic stick. The clear containers made it easy to see where I needed to keep stirring. I filled each compartment to within a millimeter or two of the top, and I'm so glad I did. By the time the paints were set and the excess liquid on the top soaked up with paper towels (a fun art project in itself), it was actually much lower. There was a little color mixing because of the gaps, but it wasn't too bad. Goen and I did a test of the paints yesterday. They look pretty good. A couple of the colors weren't as dark as I would have liked, so next time I will add more food coloring to those. It's really trial and error with this if you're not measuring precisely and keeping notes (which I'm not). The pencil box set is our at-home set and holds several paintbrushes. The bobbin case is my travel set to take to the park or wherever. I'm still trying to figure out how to make my own paintbrushes that can unscrew to go in the case and then screw back together and be long enough to use. I'll let you know what I come up with. In the meantime, definitely give this watercolor activity a try. |
Carley Biblin
Hi. My name is Carley. I love to sew, craft, and create. As a Jane-of all-crafts so to speak, I enjoy sewing, writing, cooking, drawing, photographing. But the constant thread (if you'll excuse the pun) throughout my weeks is needle arts. Archives
January 2017
Categories
All
|