
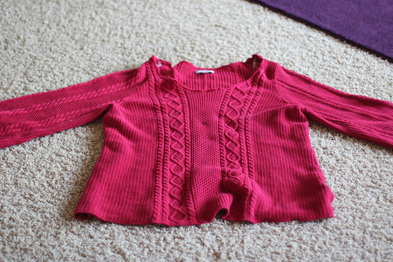
I stopped at my local thrift store on Wednesday after library story time and found this. It is an extra large women's cable knit 100% cotton cowl-neck sweater (I removed the cowl before I took the picture). It was on the sale rack so I only paid $4 for it. I bought it because I needed a naptime project (I let my little one sleep on my lap so I need something to occupy my hands). I think there is enough knit fabric in this sweater to make a baby beanie, a newborn blanket, a stuffed animal, and possibly more. I'll take it one at a time, though. Today's post is the beanie. I got the inspiration from this tutorial, but, since I can't get near my sewing machine without a small hand pressing the reverse button, and since I need a handwork project anyway, I used crochet.
Here is what I did:
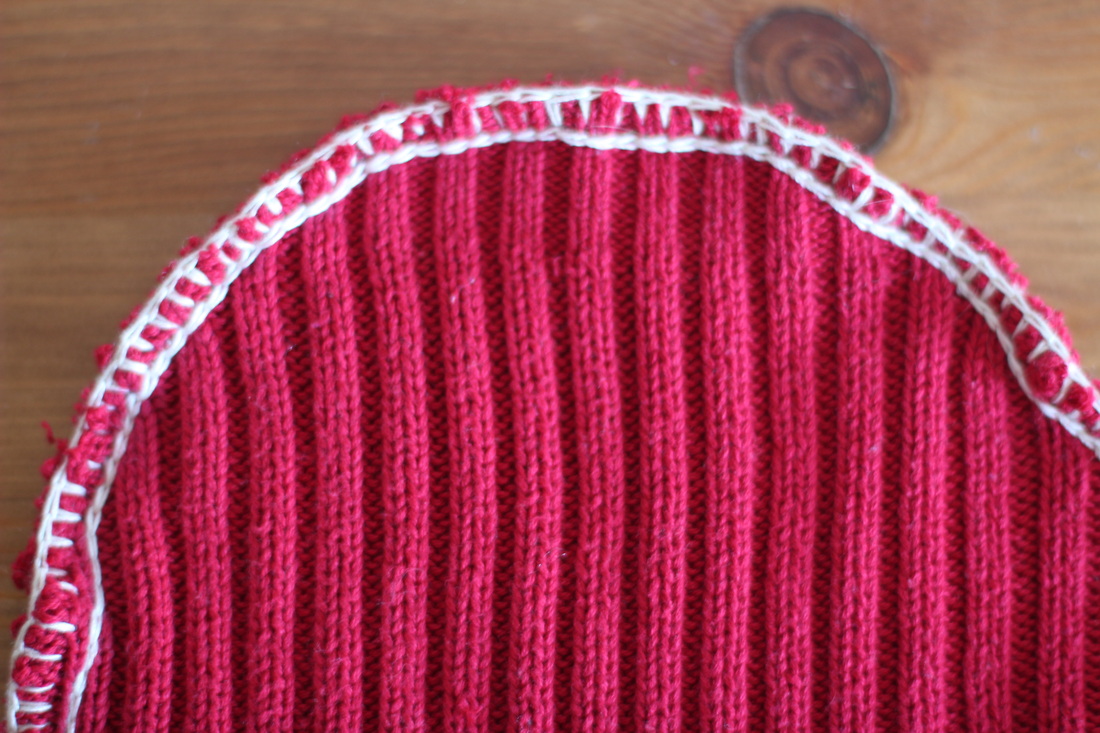
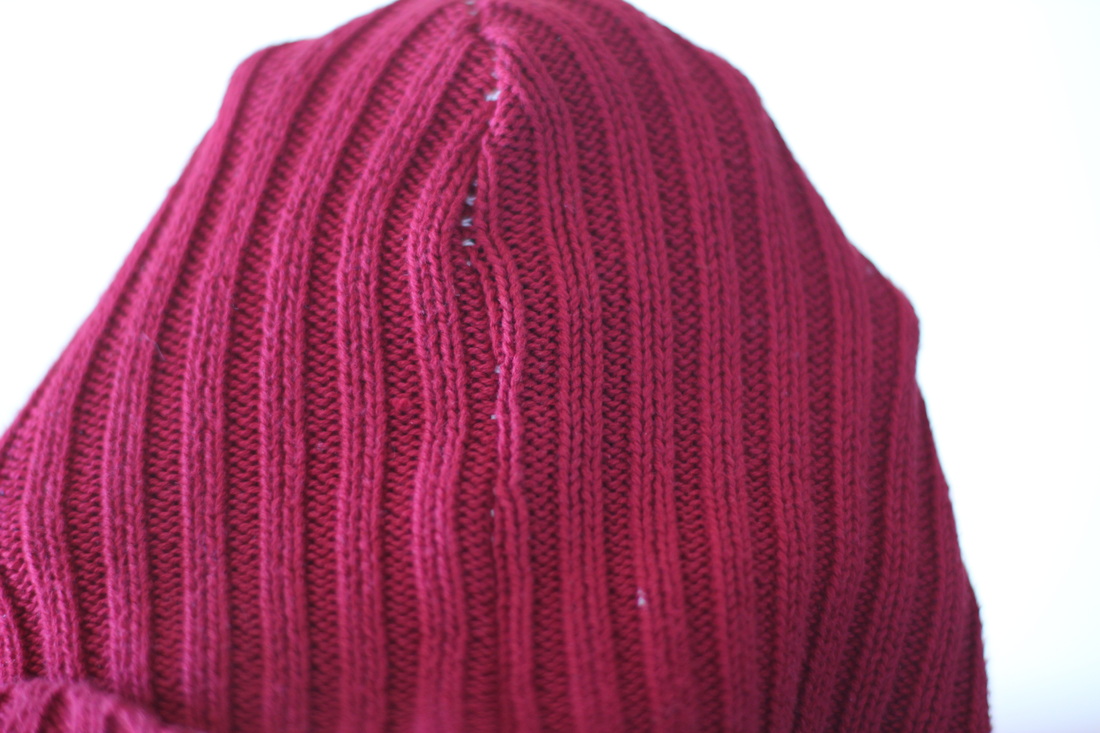
Cut the cowl piece off the neckline close to where they had been sewn together. Lay the resulting tube on a table so all the edges lined up. Then, using a hat that is the size you want to make, draw a chalk outline around the hat model. Make sure that the bottom of the hat lines up with the finished edge of the knit fabric. Without cutting yet, begin crocheting along the chalk line (I used a thin bamboo rayon yarn with a 1.5 mm hook). This does not require any sort of knot to begin. The yarn begins on the underside of the fabric (leave a long tail to weave in later) and the crochet hook goes down through both layers of fabric. Yarn over and pull through carefully so you don't grab the knit, too. Then, taking small "bites," continue to work this chain stitch (the basic crochet stitch) around the chalk line. When you reach the end, leave the yarn connected and cut the hat shape out (quietly so you don't wake the baby) about a quarter inch from the stitching. The next step is to prevent the yarn from unraveling and the hat from coming apart. Going in the reverse direction, work a chain stitch along the edge of the fabric by inserting the hook right next to the first row of stitching, yarning over, pulling the yarn through the fabric, and then yarning over again and pulling through both loops on the hook. It should look a bit like a blanket stitch on one side (see first picture below) and a bunch of triangles on the other. Continue around the entire seam edge, making sure that you get the entire quarter inch of fabric (of both layers) into the stitch. Finish the end using your preferred method (I just cut the yarn, pulled the tail through the last stitch, and wove it in). Weave in the beginning tail, turn the hat right side out, and wear (or put it on the recipient's head if he will let you). Be aware that the yarn may show through the seams when the hat is stretched (see third picture below).
Cut the cowl piece off the neckline close to where they had been sewn together. Lay the resulting tube on a table so all the edges lined up. Then, using a hat that is the size you want to make, draw a chalk outline around the hat model. Make sure that the bottom of the hat lines up with the finished edge of the knit fabric. Without cutting yet, begin crocheting along the chalk line (I used a thin bamboo rayon yarn with a 1.5 mm hook). This does not require any sort of knot to begin. The yarn begins on the underside of the fabric (leave a long tail to weave in later) and the crochet hook goes down through both layers of fabric. Yarn over and pull through carefully so you don't grab the knit, too. Then, taking small "bites," continue to work this chain stitch (the basic crochet stitch) around the chalk line. When you reach the end, leave the yarn connected and cut the hat shape out (quietly so you don't wake the baby) about a quarter inch from the stitching. The next step is to prevent the yarn from unraveling and the hat from coming apart. Going in the reverse direction, work a chain stitch along the edge of the fabric by inserting the hook right next to the first row of stitching, yarning over, pulling the yarn through the fabric, and then yarning over again and pulling through both loops on the hook. It should look a bit like a blanket stitch on one side (see first picture below) and a bunch of triangles on the other. Continue around the entire seam edge, making sure that you get the entire quarter inch of fabric (of both layers) into the stitch. Finish the end using your preferred method (I just cut the yarn, pulled the tail through the last stitch, and wove it in). Weave in the beginning tail, turn the hat right side out, and wear (or put it on the recipient's head if he will let you). Be aware that the yarn may show through the seams when the hat is stretched (see third picture below).
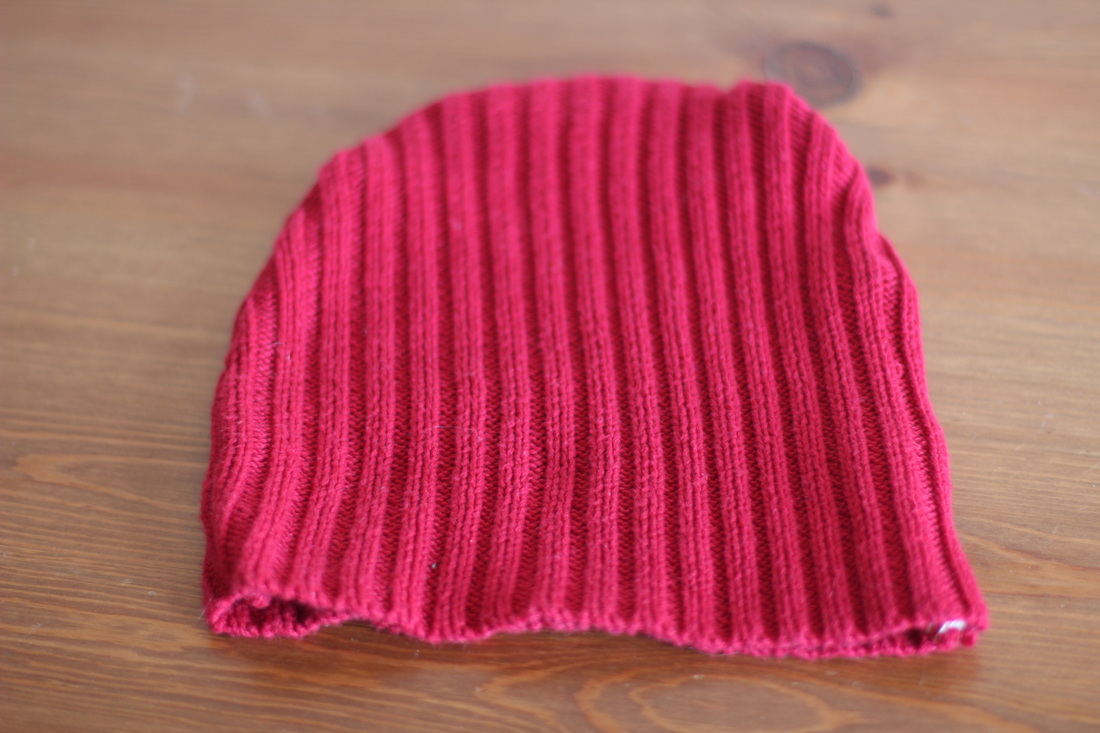
Unfortunately, summer is coming upon us so this beautiful beanie may sit in the closet for a few months before it gets worn again. But, since it's a pretty stretchy knit, it should still fit. This was such a fast project that I am once again in need of something to do during naptime. Maybe the upcycled sweater newborn blanket. I'll let you know what I come up with.