More than two years ago my sister asked me if I would make her wedding cake. At the time, Goen wasn't even an idea, and I enthusiastically said "yes." Although I was involved in the planning of the cake, I was unable to help out with its creation as much as I had intended. Circumstances being what they are, I spent those five days as a single parent. My sisters Annie and Kristin did all of the mixing, baking, frosting, and chocolate drizzling. I did help by finding this delicious recipe, shopping for the ingredients, giving input, dipping strawberries in melted chocolate, trimming the layers to flatten them, and assembling some of the cake before it was brought out. It sounds like a lot, but, compared to everything that needed to be done, it was very little.
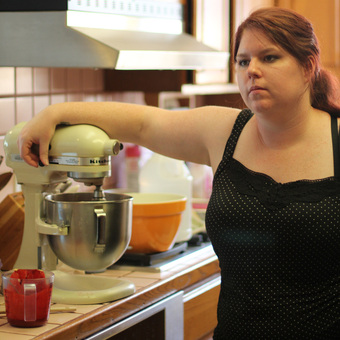
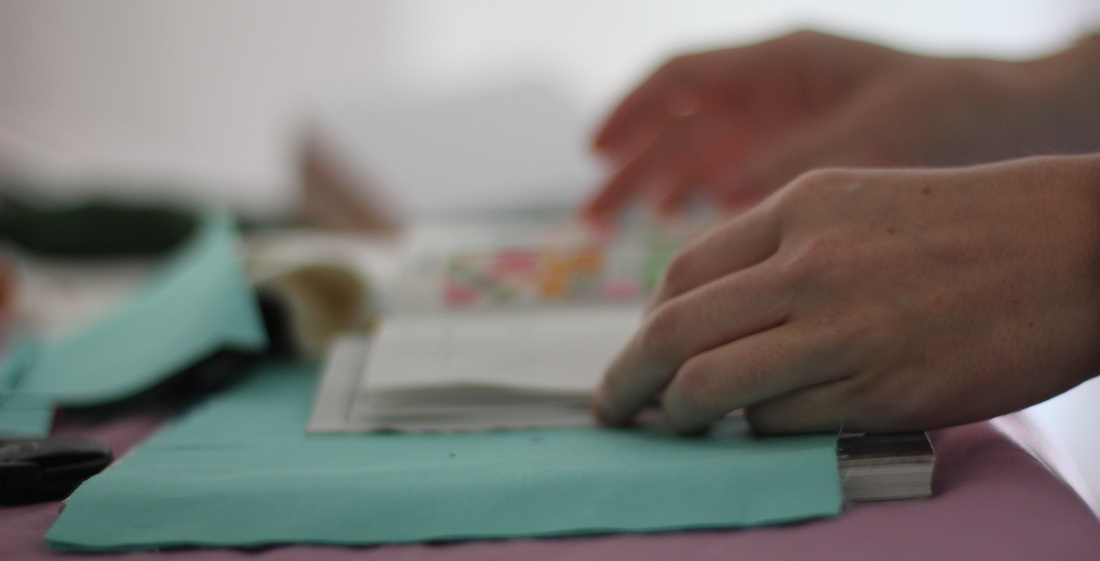
Here, Kristin is mixing up the batter for one of the batches of red velvet cake. Since she wanted three layers, 6 inches, 8 inches, and 10 inches, and the recipe only made two 9 inch cakes, we had to triple it in order to have enough. Of course, we didn't need all of the third batch so we made red velvet cupcakes, which we (mostly I) ate as we (mostly they) made the cake. Instead of red food coloring, we used red velvet emulsion (like the professionals use). The recipe includes a filling/frosting made with cream cheese and mascarpone cheese. It is a whipped-like frosting that is light and not too sweet. Just watch out that you do not beat the frosting too much or the heavy whipping cream will separate and you will get butter (not that we did that...).
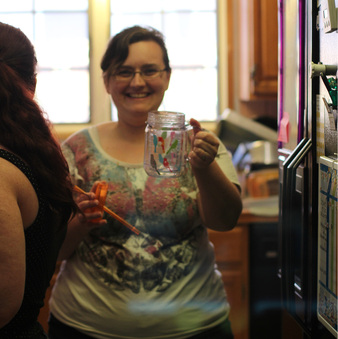
Annie rehydrates during a grueling baking session. She helped out a lot. She watches Cake Boss, so she was whipping up the cake like a pro. Annie managed the whole baking operation and made sure that Kristin and I were doing what needed to get done.
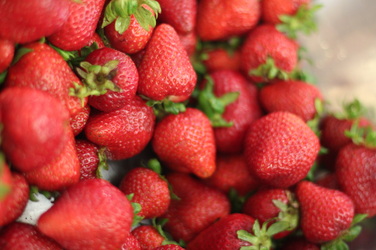
Fresh California strawberries straight from the fields of Oxnard. Yum! We selected a bunch of these to go on and around the cakes, but first we dipped them in chocolate.

Kristin is washing and prepping the strawberries for dipping them in chocolate. I helped with the dipping so there are no pictures of that, but you can see the results in the final pictures. We used Wilton's melting chocolate pieces, but we added a bit of crisco (as recommended by this tutorial). Make sure the strawberries are dry before dipping them or you will end up with clumpy chocolate (not that this happened to us...).
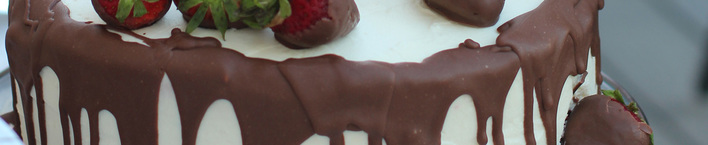
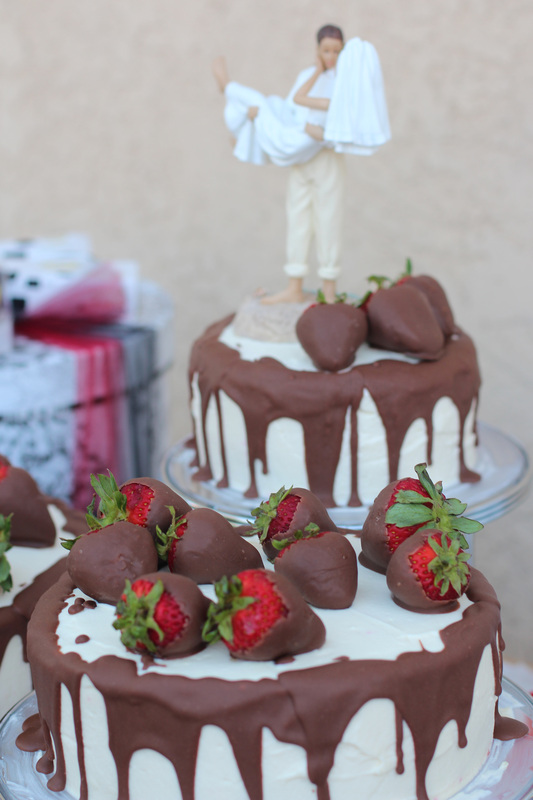
I didn't get any pictures of frosting the cake, but we basically followed this tutorial showing how to do a crumb coat before doing the rest of the frosting. I also missed out on the chocolate drizzle because of a nap, but this tutorial does a good job of explaining and showing how to do a nice and neat drizzle. My sister preferred something a little less "perfect" so she opted for drizzling with a spoon.
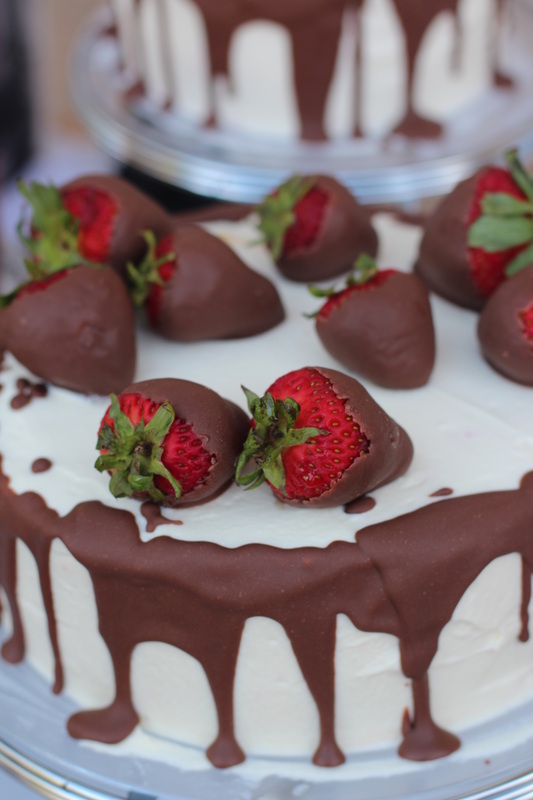
The cake turned out beautifully, and it was delicious! It was moist and smooth and creamy. Going along with the beach theme, the cake topper is a groom carrying his bride over the sand.
The cake turned out beautifully, and it was delicious! It was moist and smooth and creamy. Going along with the beach theme, the cake topper is a groom carrying his bride over the sand.

Wedding Week is officially half over. I hope you have enjoyed it so far. But there is still lots more to come. Tomorrow's post is all about the bouquet.