Making It Up as I Sew Along
  • Blog
  • About
  • Gallery
  • Shop

Take a Hike 2015

1/1/2016

2 Comments

 
Picture
Picture
Picture
Picture
Picture
Picture
Picture
Picture
Picture
Picture
Picture
Picture
Picture
Picture
Picture

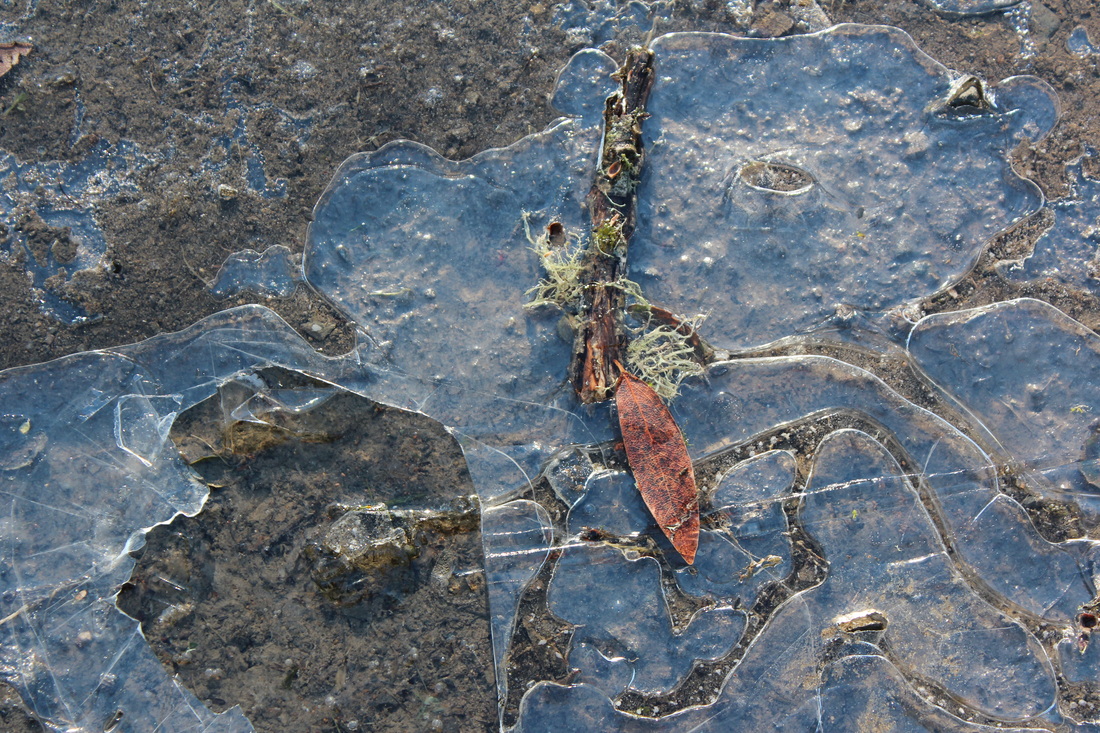
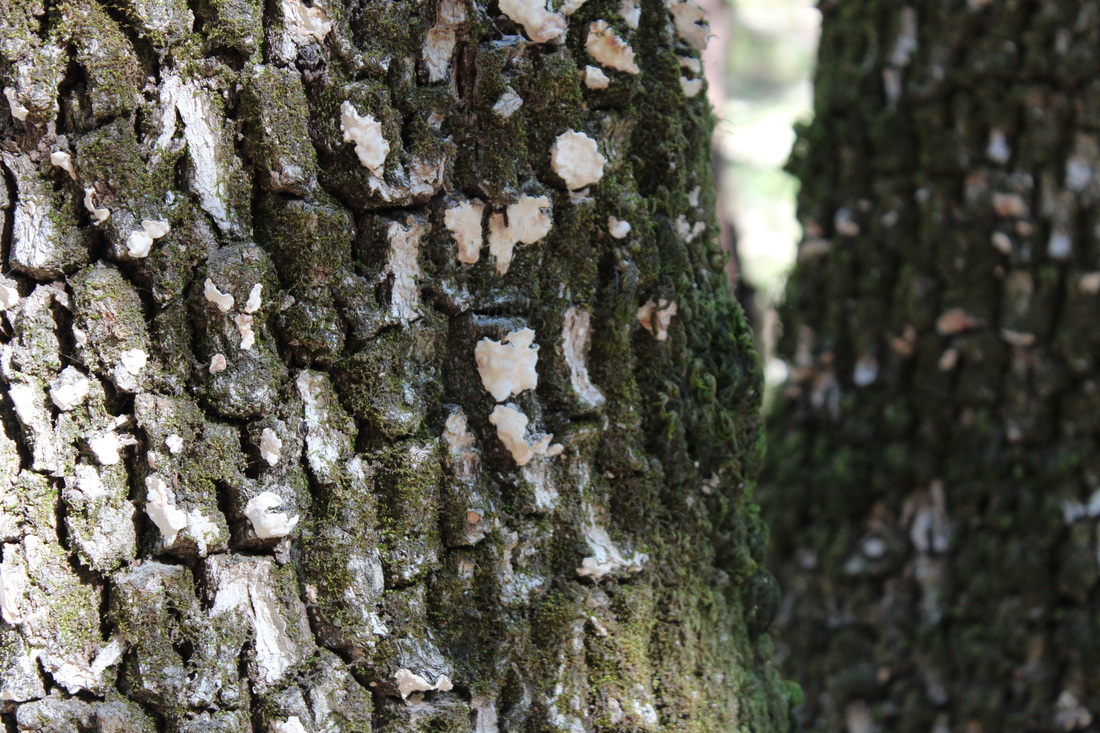
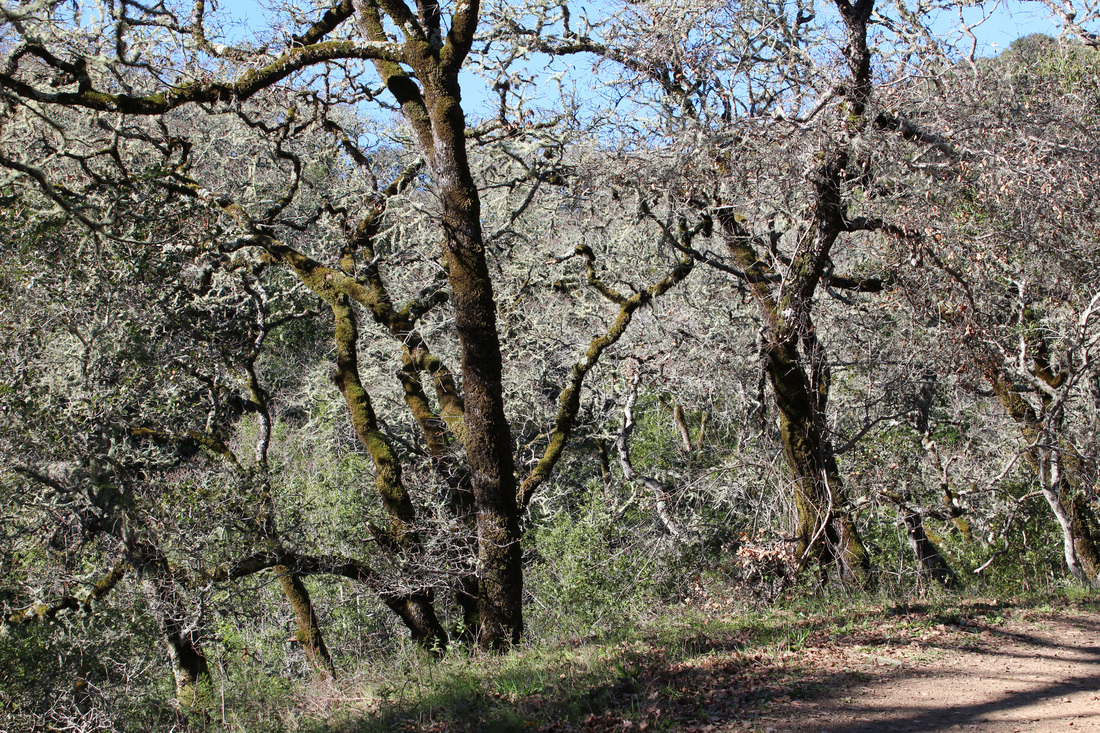
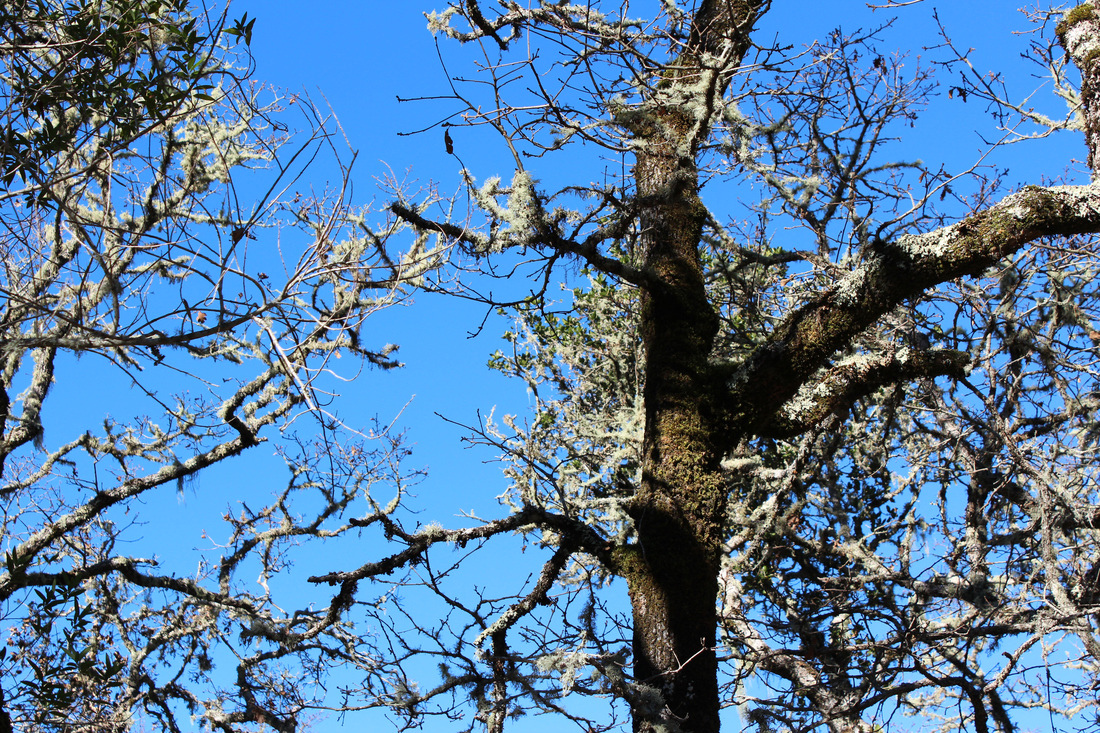
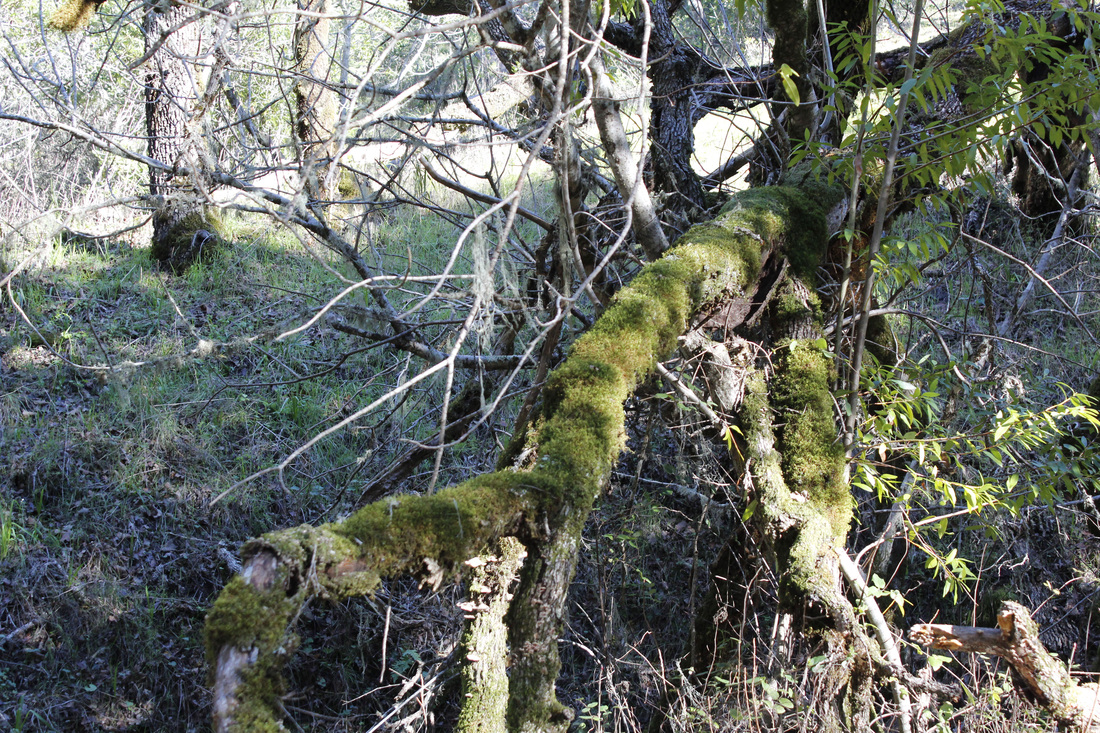
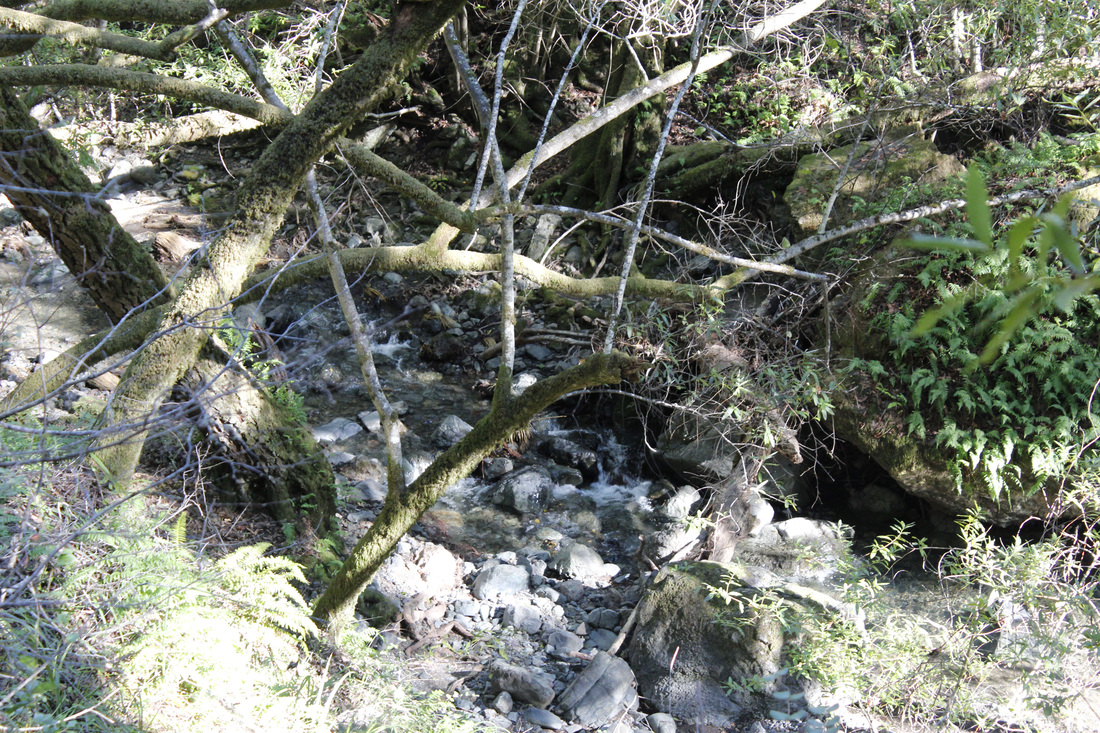
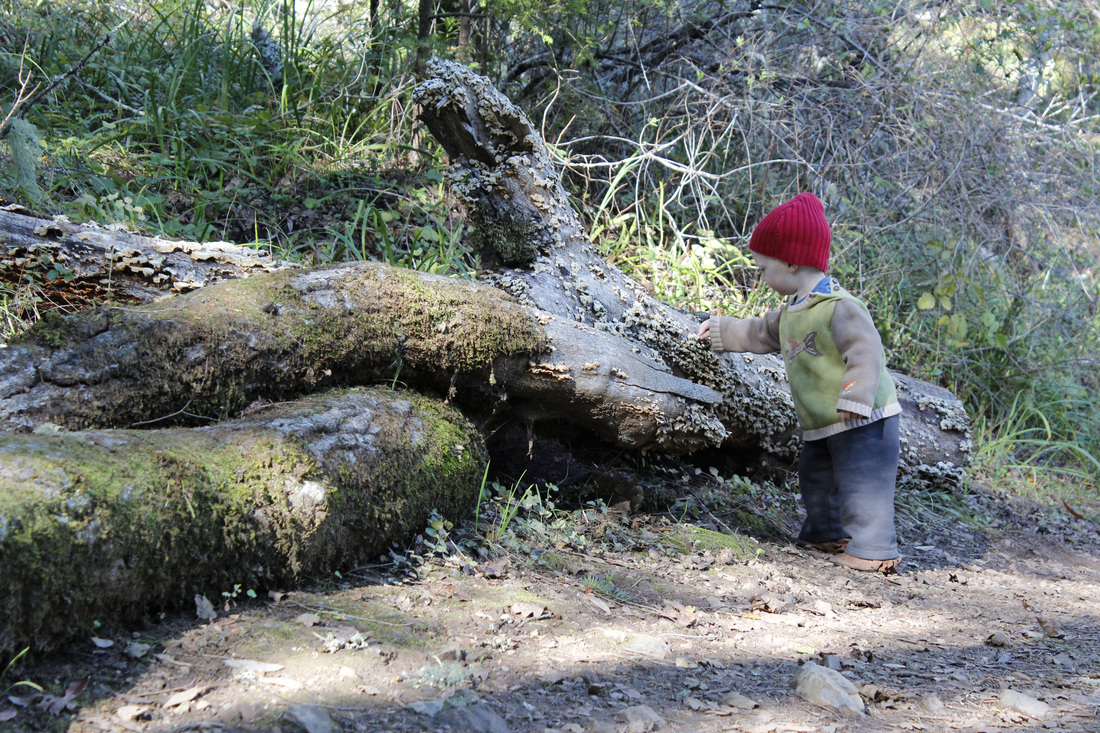
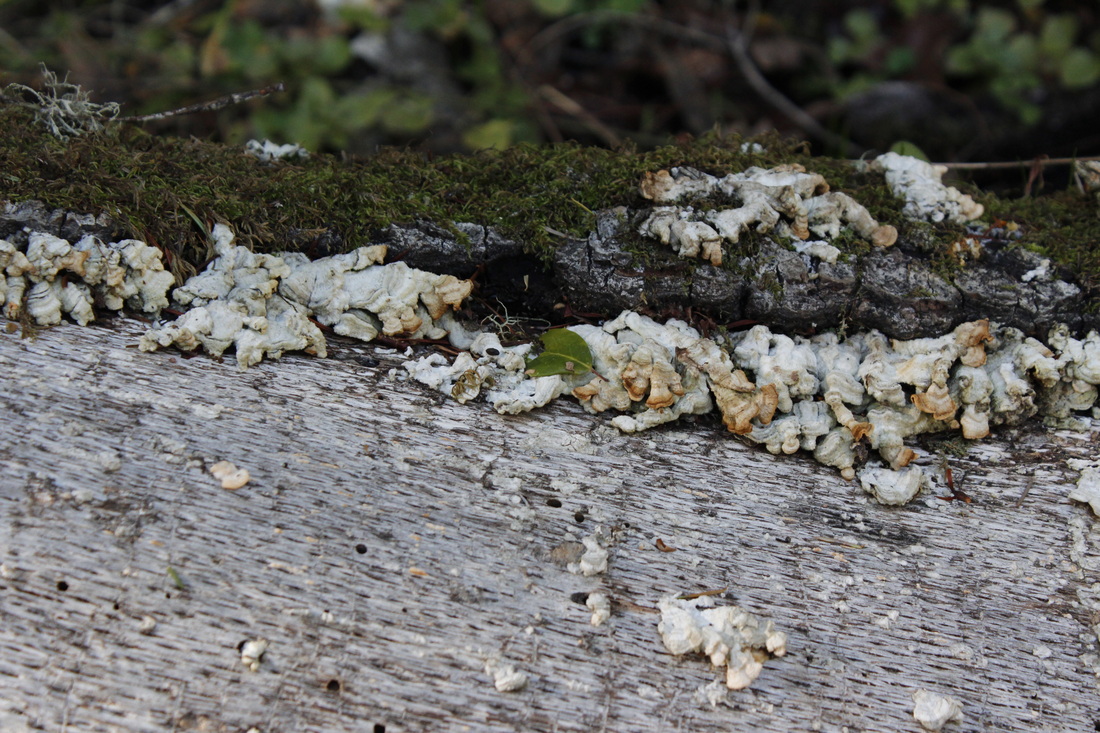
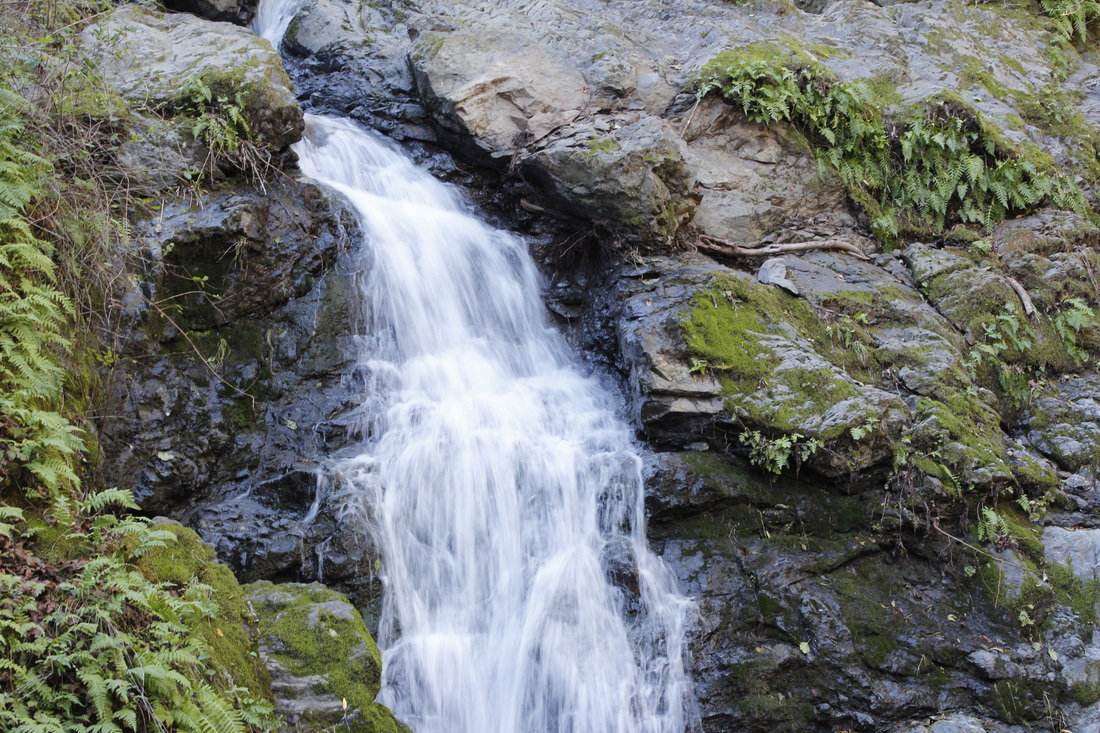
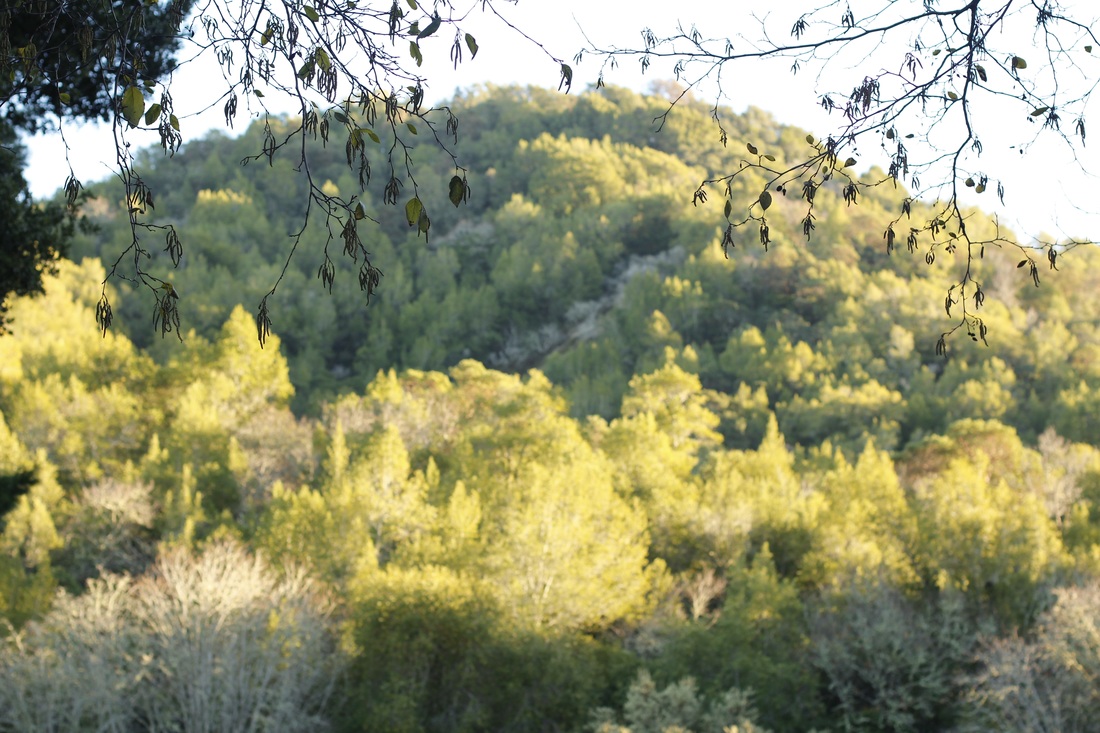
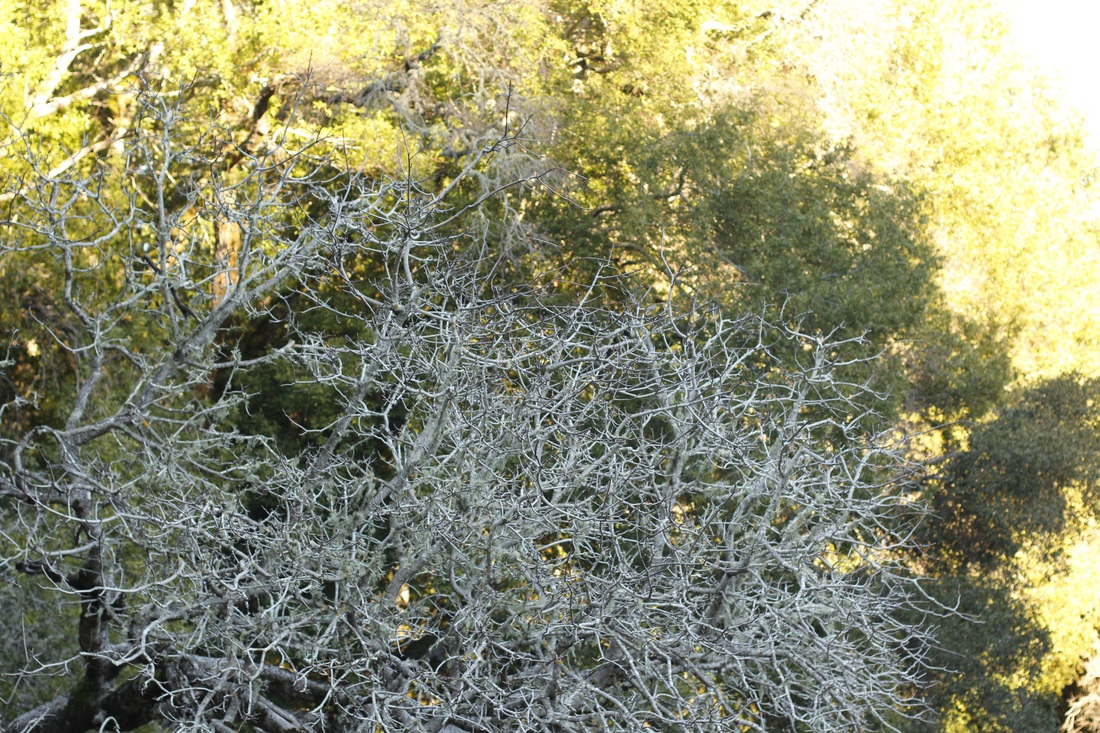
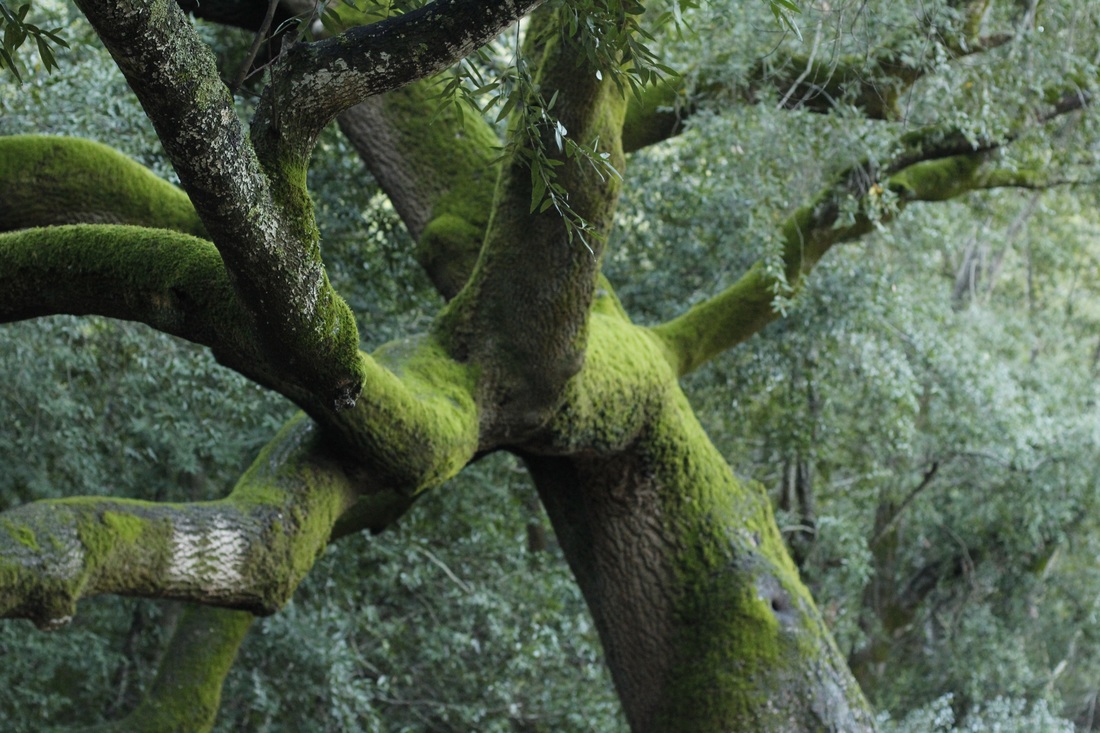
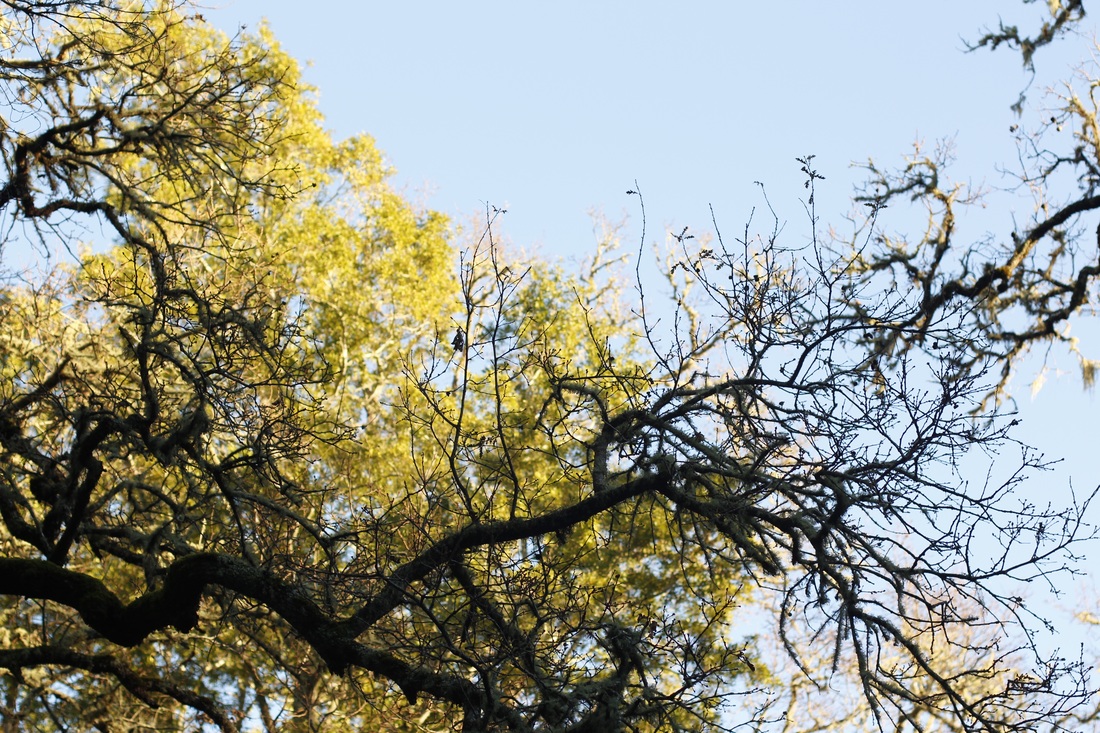
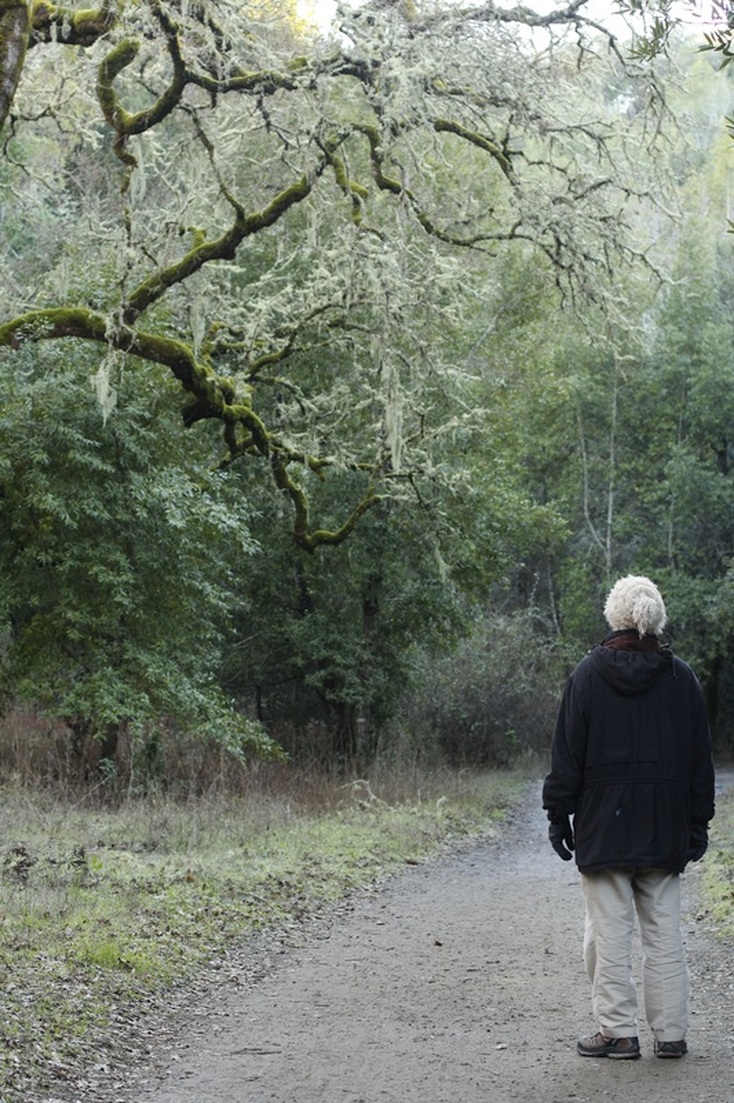
Nature is constantly destroying and renewing itself.  In autumn, the leaves fall, break down, and become food for other living things.  Then those living things grow and die and continue the cycle.  So, what better way to say farewell to the old year and hello to the new one than by visiting nature in all her splendor, to view the gentle destruction and grand creation in person.  

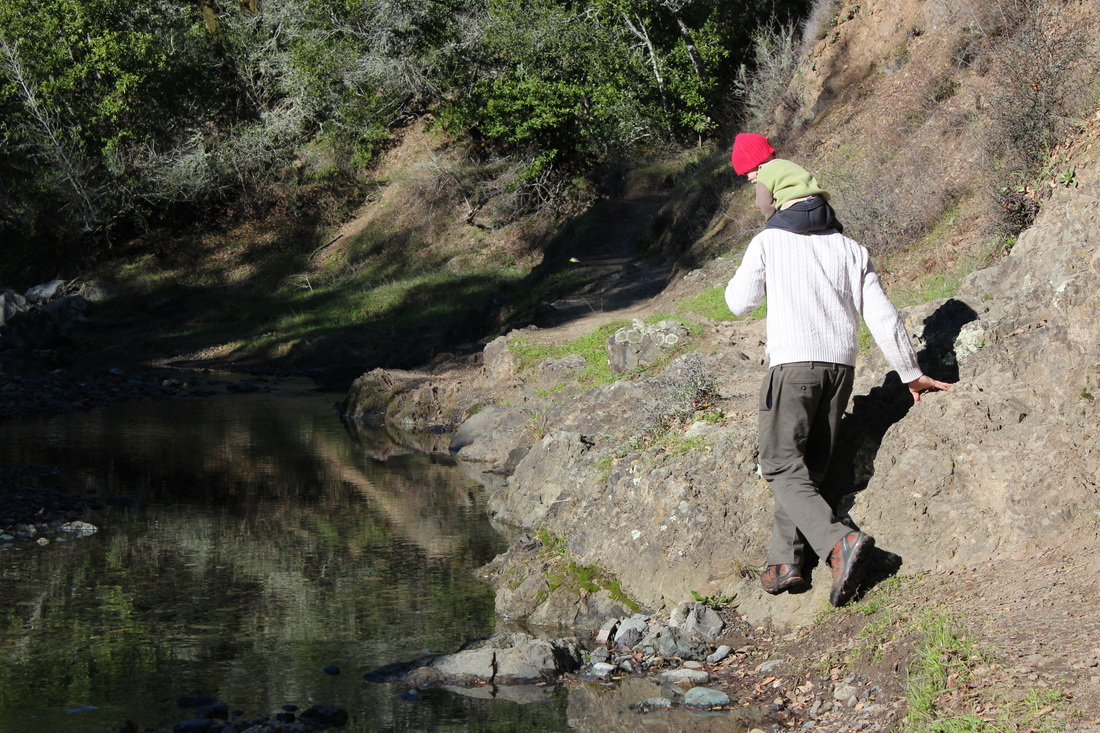
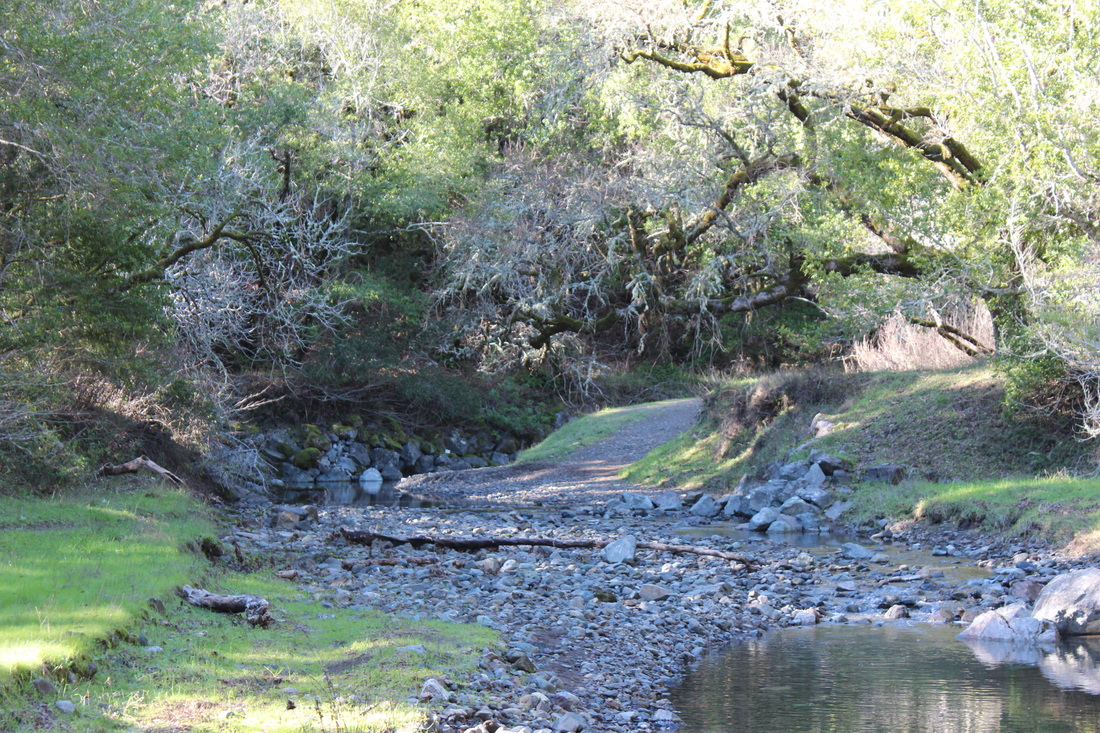
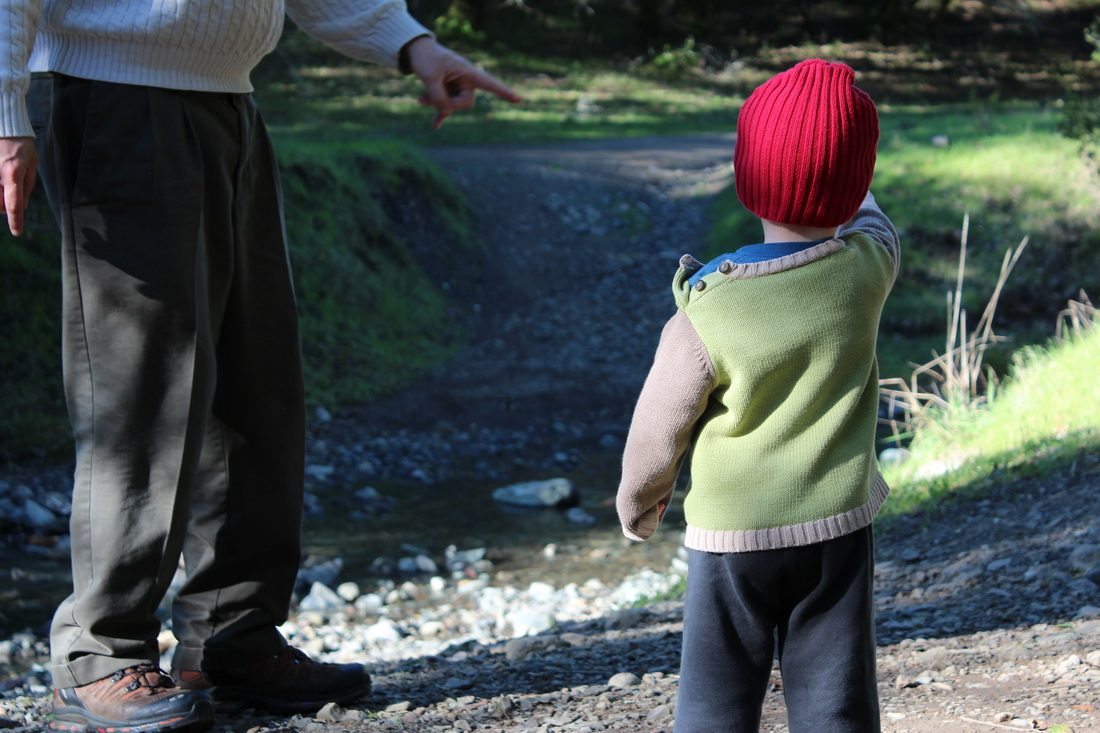
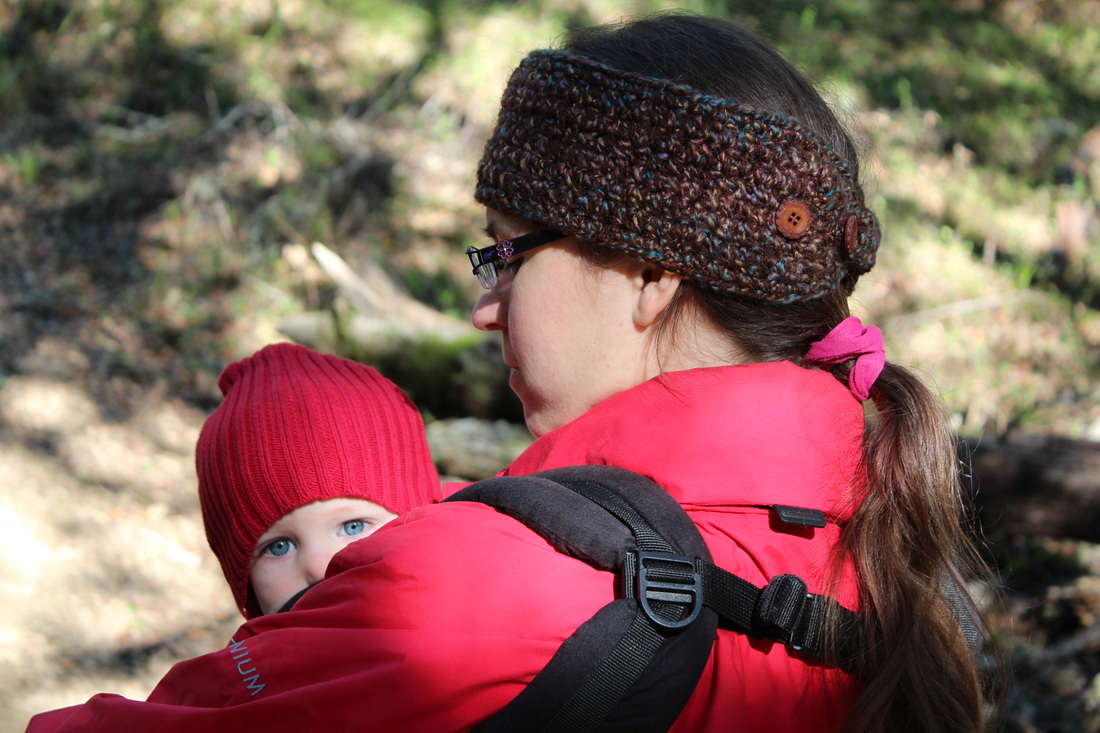
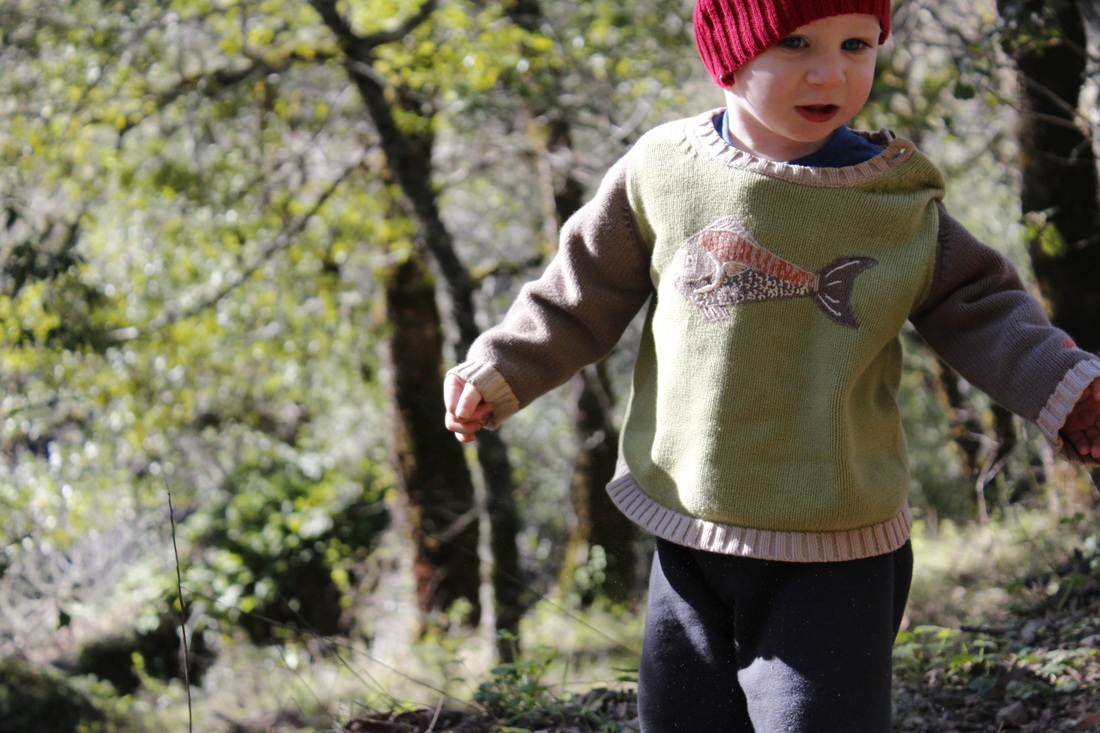
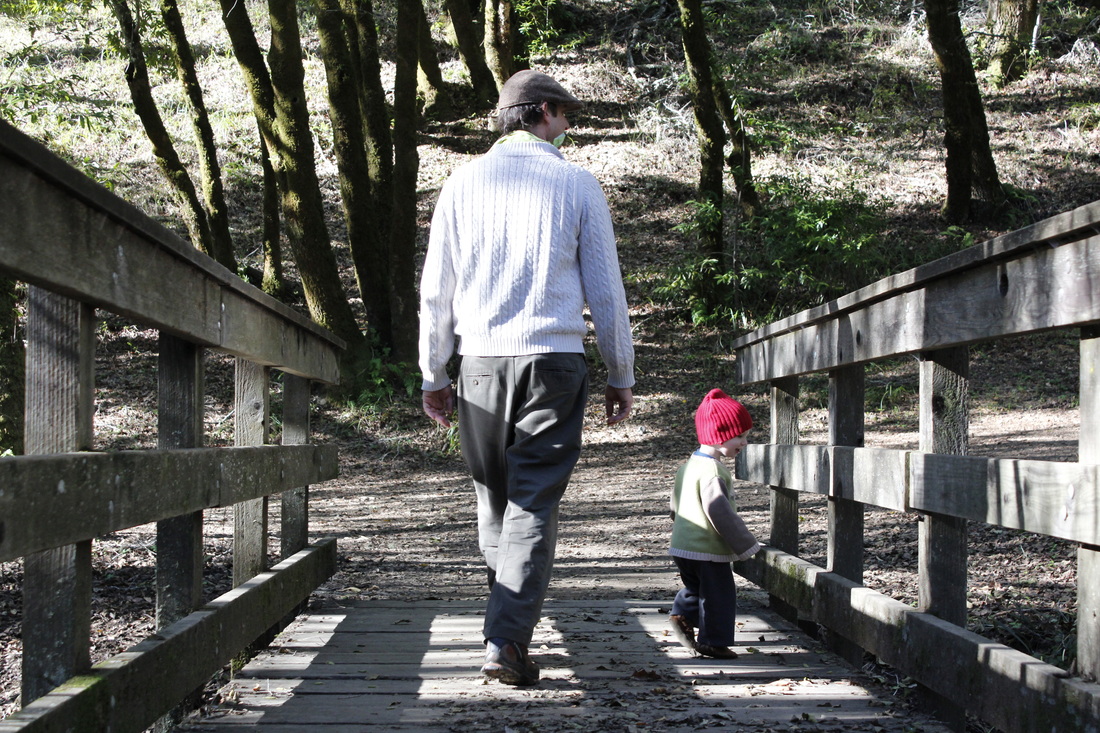
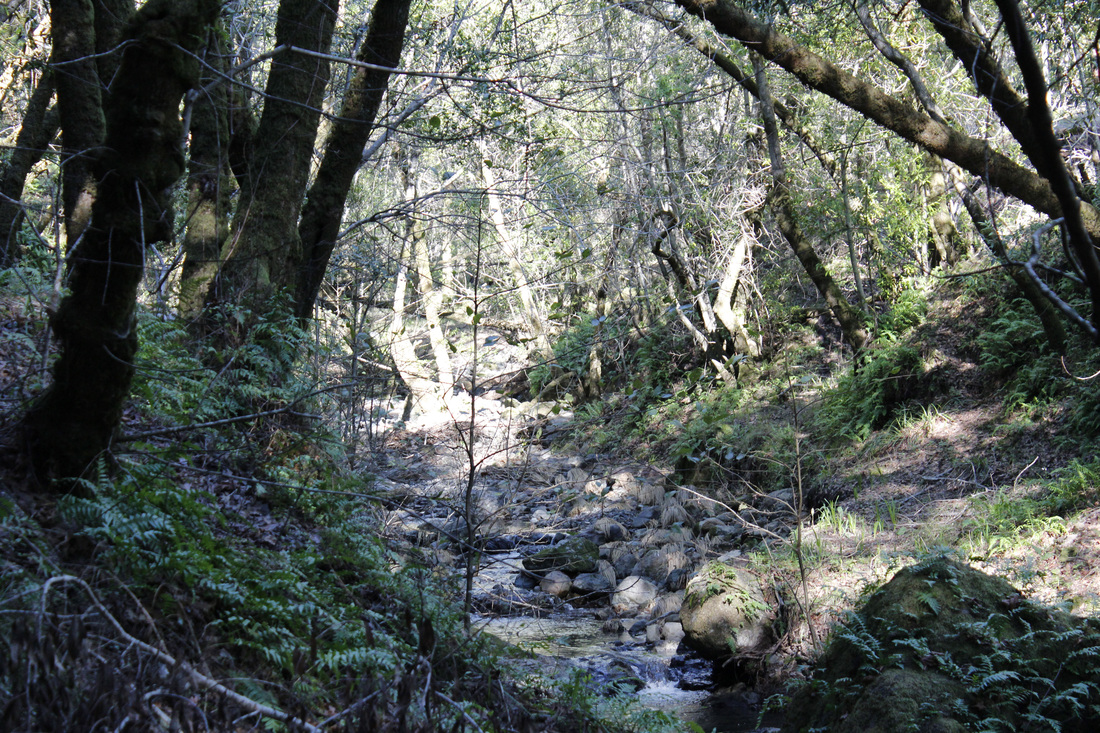
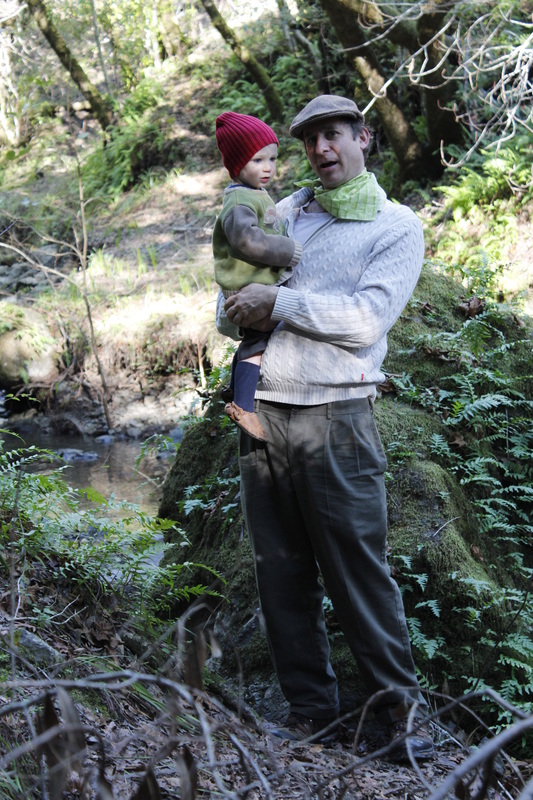
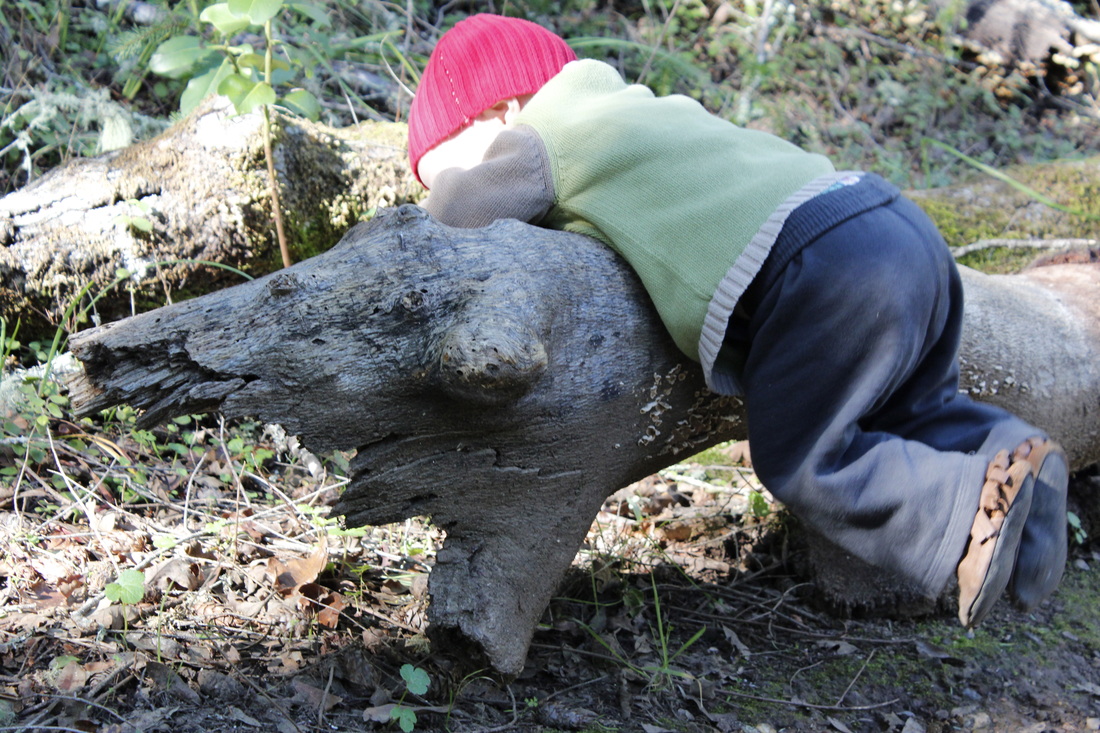
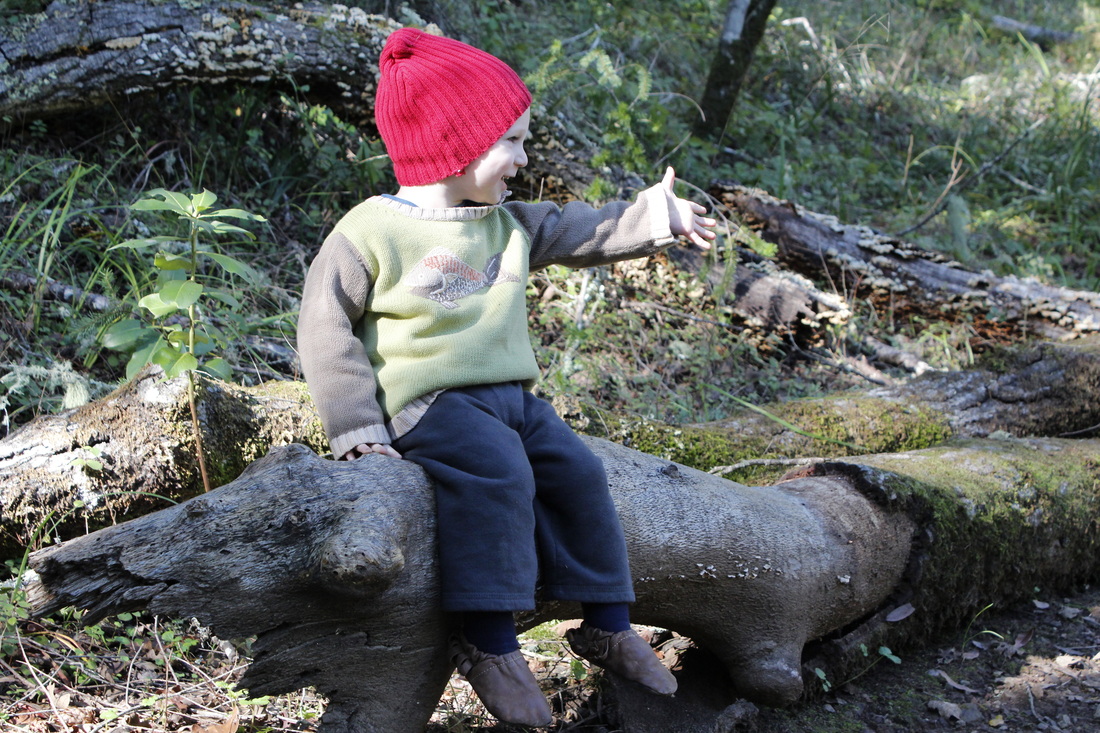
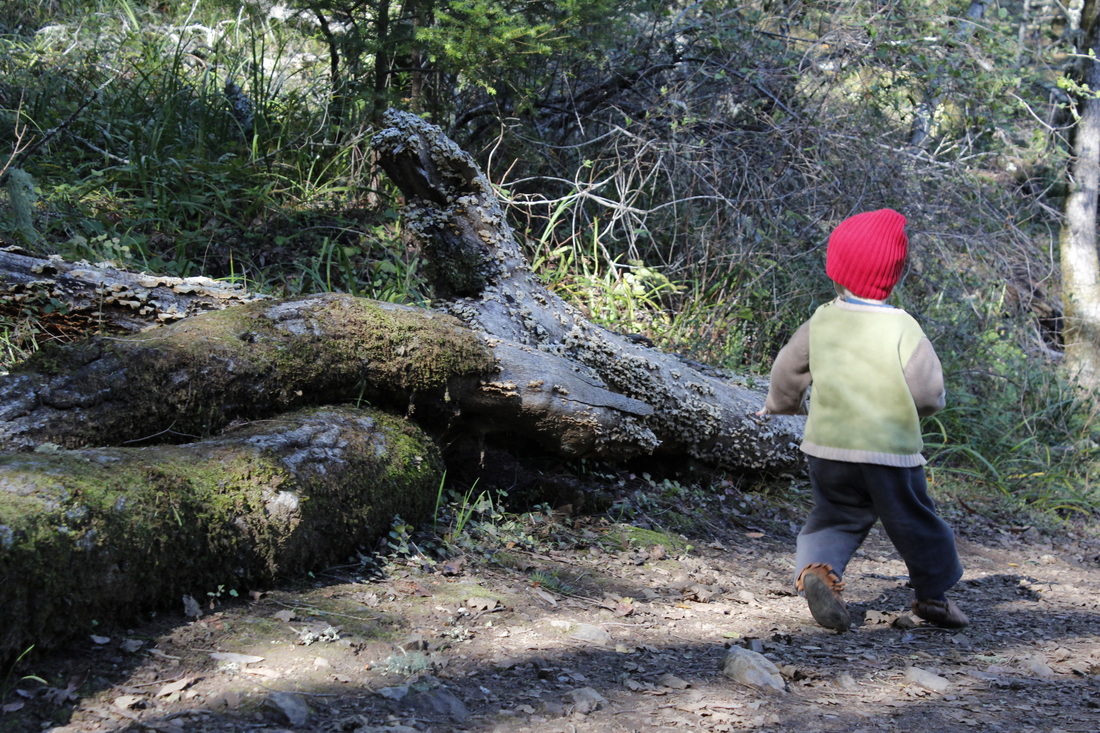
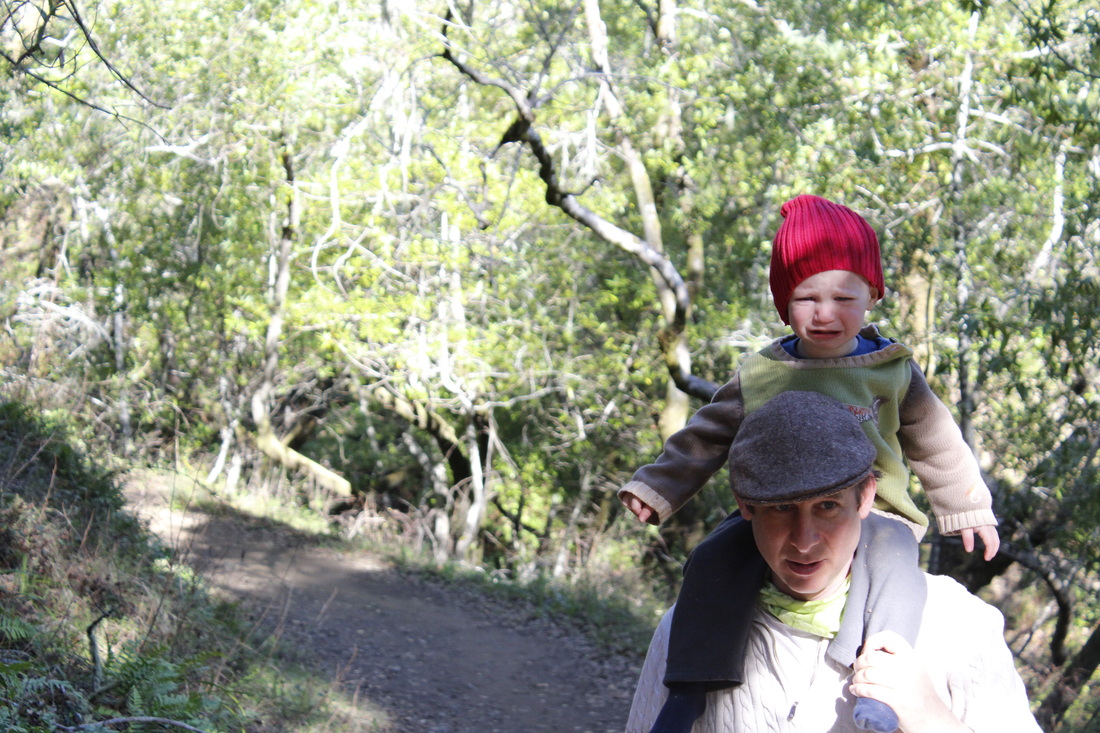
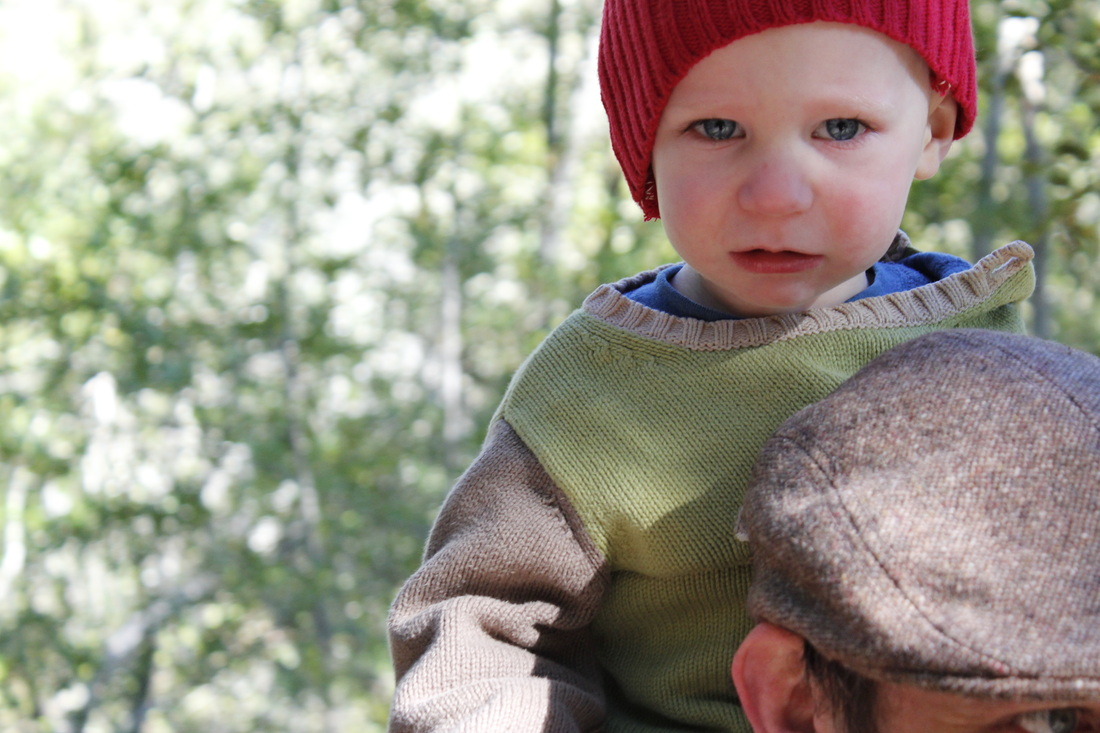
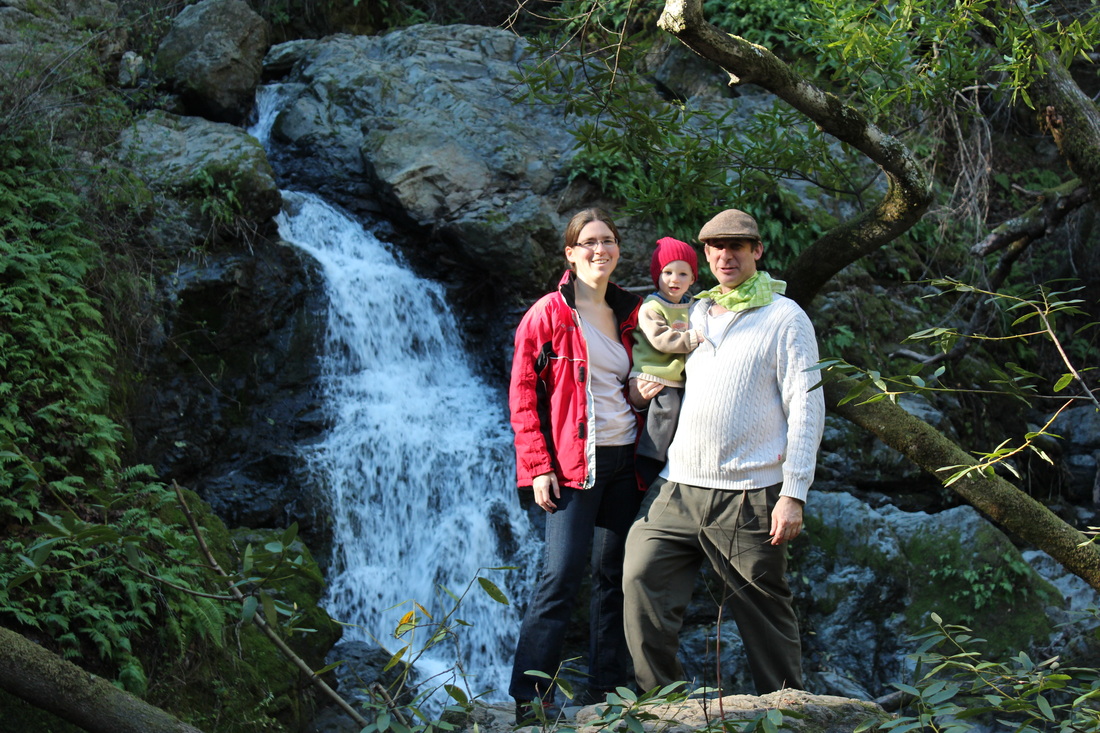
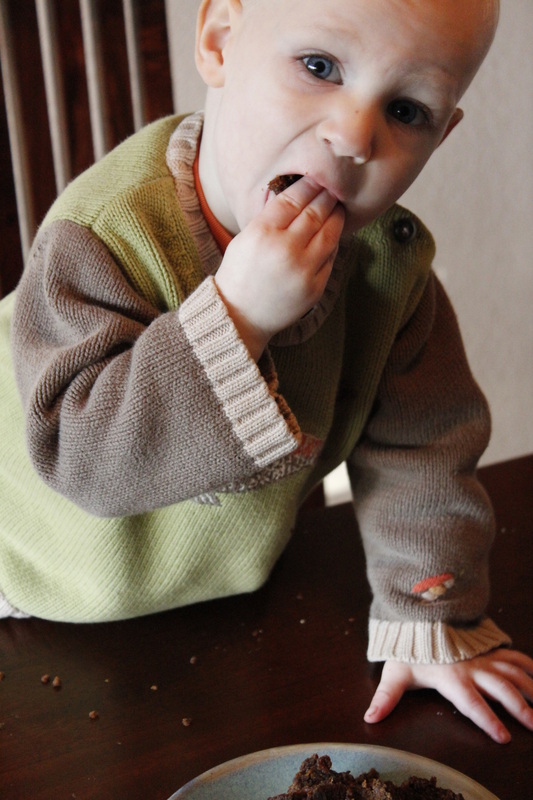
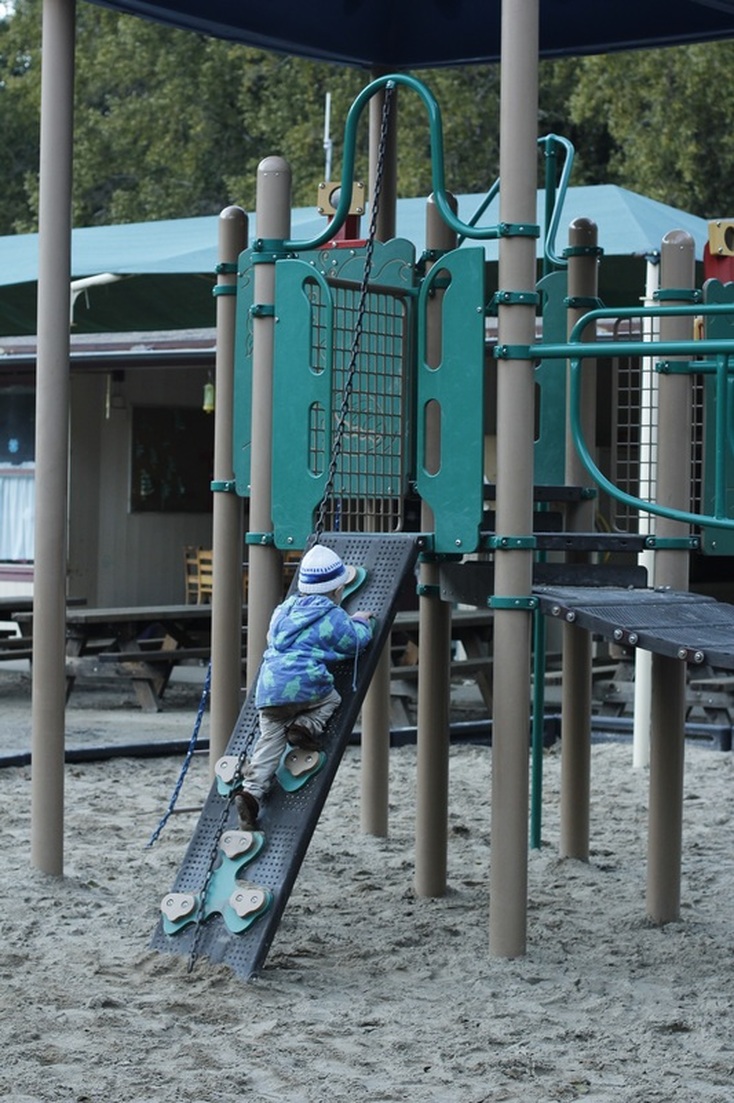
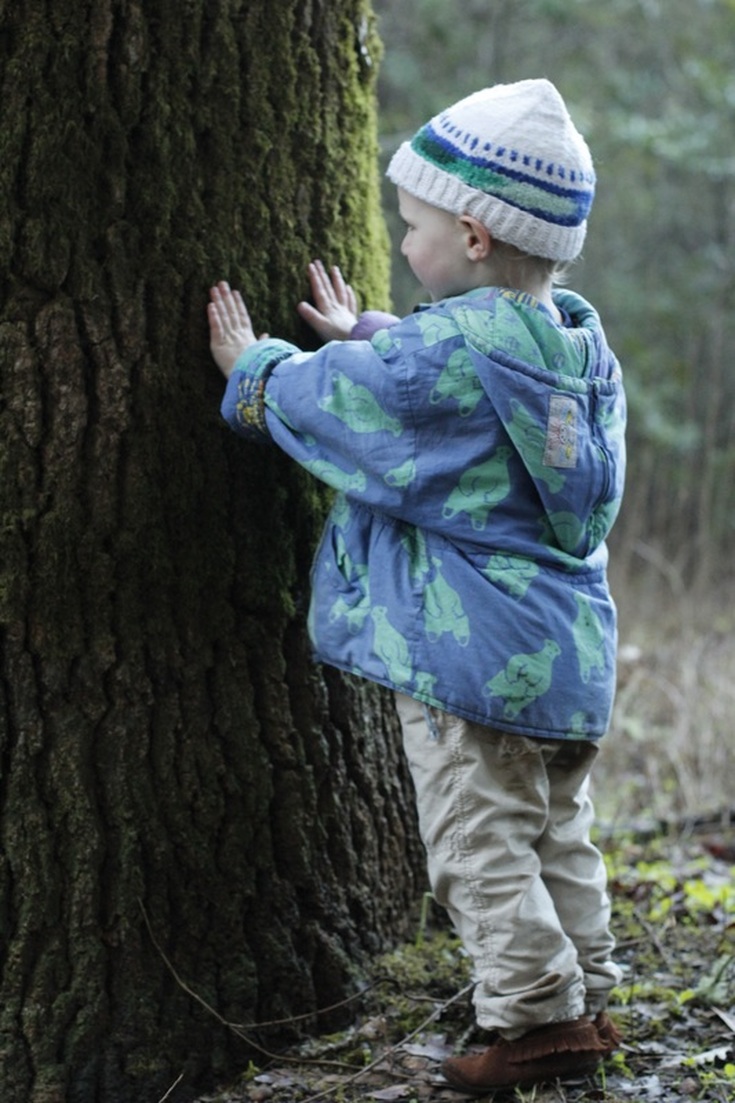
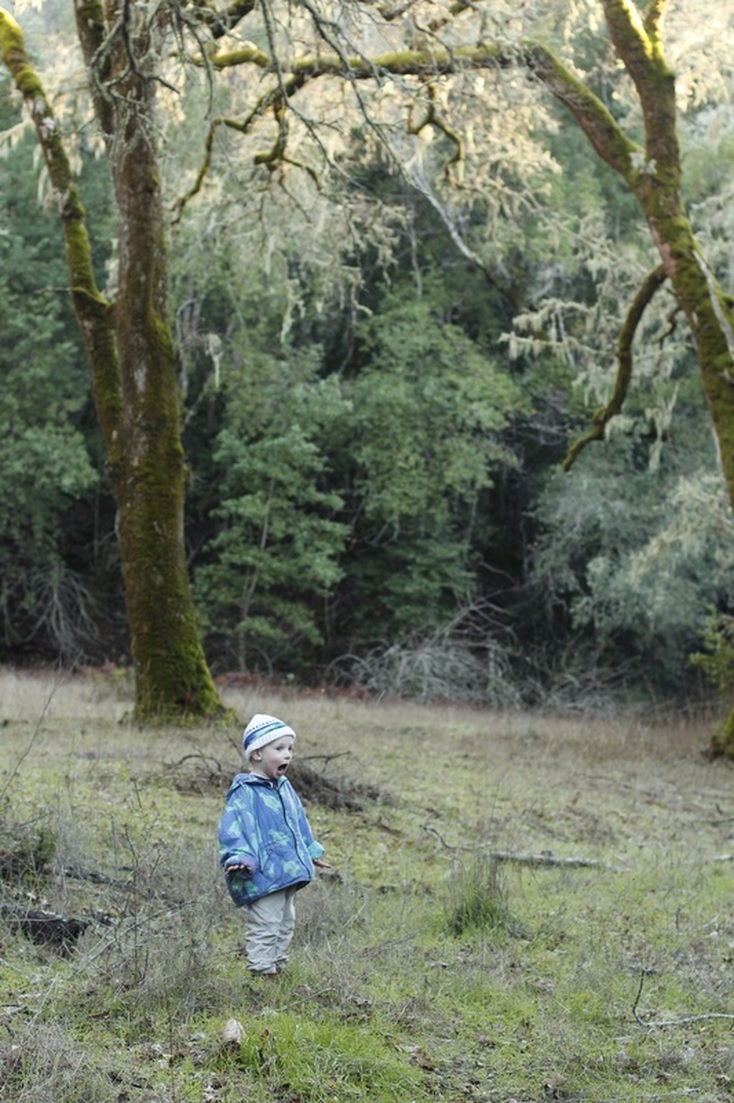
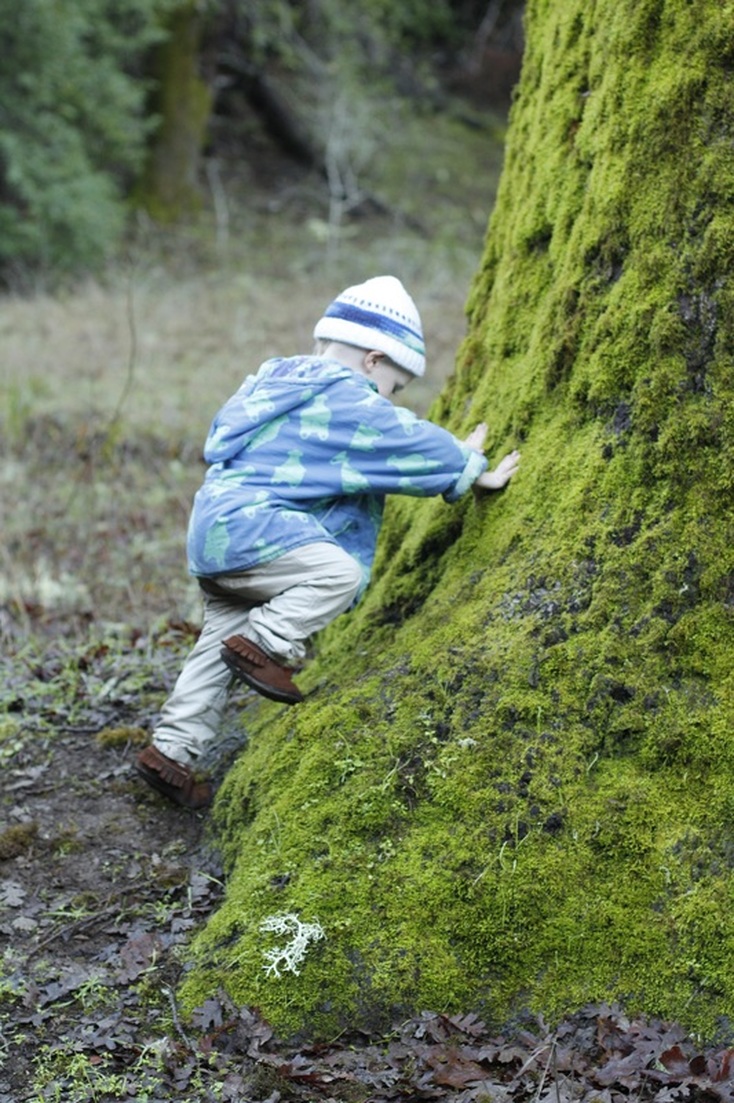
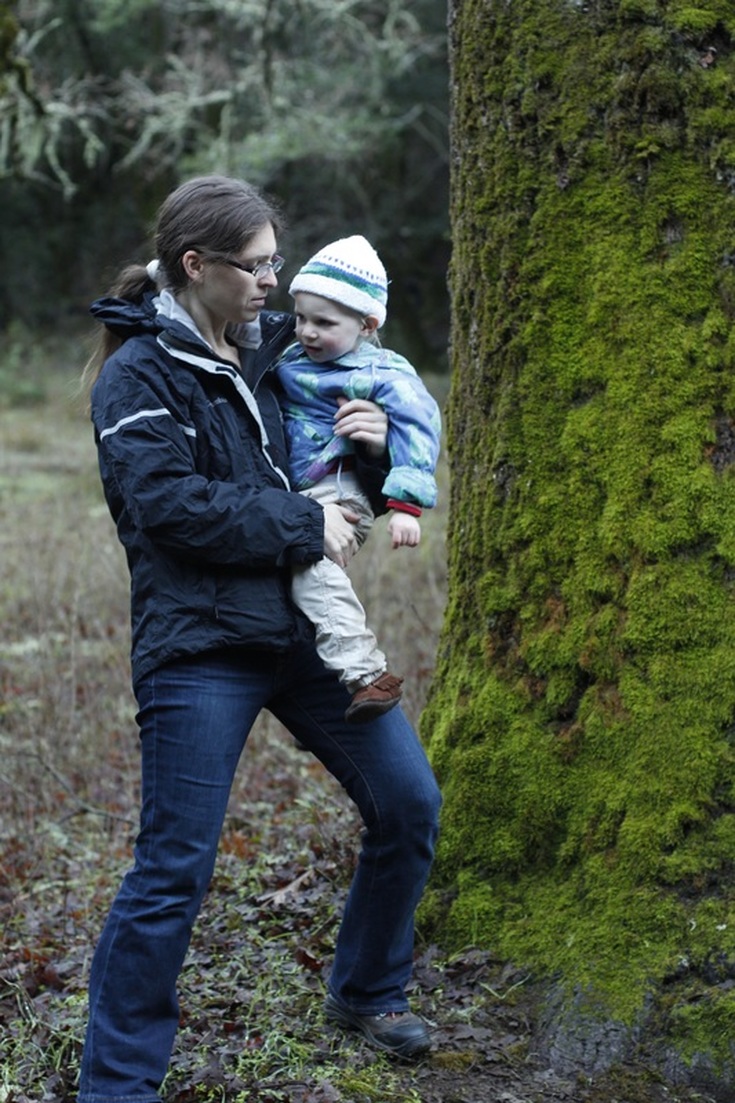
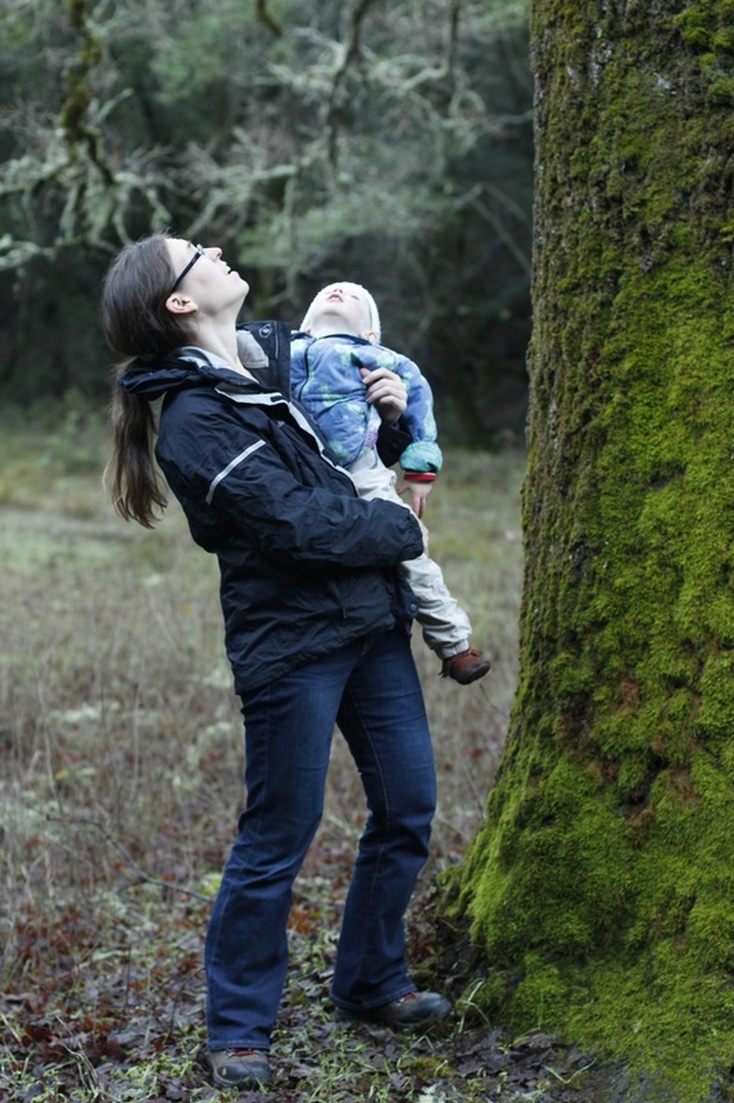
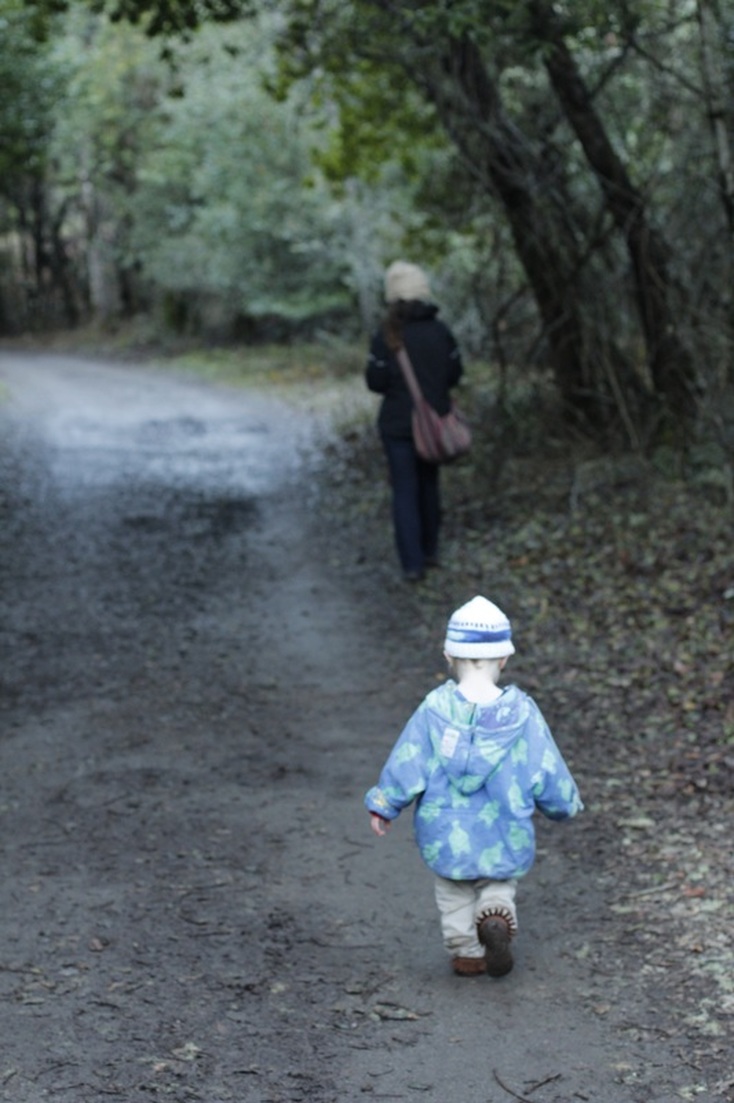
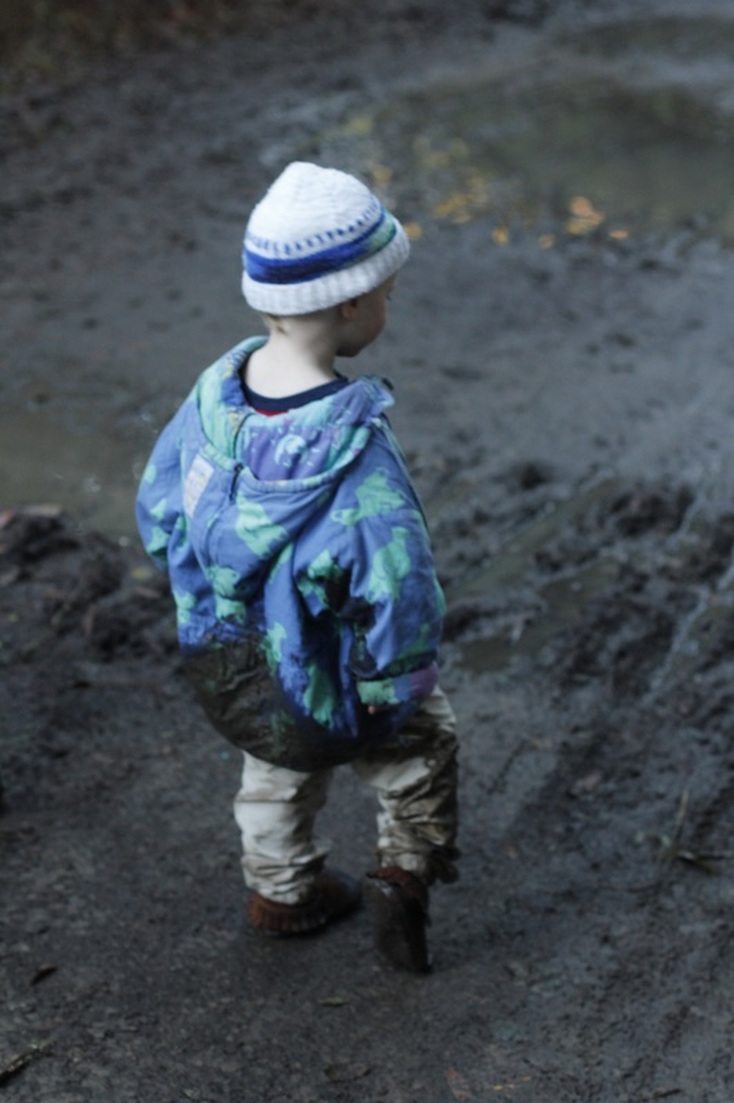
Continuing a tradition I started last year (though, I suppose having done it only once I can't really call it a tradition, but I will anyway), we went on a hike near where we live.  This year we went to a place we'd never been (not hard considering we've only been living here since April) called Deer Park.  It's a multi-use trail for walkers, joggers, mountain bikers, etc.  The entrance was behind an old school, so of course we had to stop at the playground for a few minutes so Goen could play.  But, once we coaxed him away, we finally got to our hike.  You know the thing about hiking on a winter afternoon, though, is that it gets really cold really fast.  A few hundred feet in and my shutter finger was starting to feel numb.  A few hundred feet more and Goen started asking to back to our car.  Ah, well, at least we tried.  And it's really the thought that counts, right?  Well, as we started back, Goen decided to jump into a muddy puddle and promptly slipped, landing bottom first into the brown water.  And so ended our second annual "Take a Hike" hike.  

So long, 2015.  I'll miss you and all that you brought us.
​

If you'd like, you can check out last year's hike here.
2 Comments

Post-Pumpkin

11/1/2015

0 Comments

 
Picture
Picture
Picture
Picture
Picture
Picture
Picture
Picture
Picture
Picture
Picture
Picture
Halloween was a pretty restful day for us.  We avoided the crowds of trick-or-treaters by going to a small party in the afternoon and then hanging out at the (completely empty) park until dusk.  Goen fell asleep on the car-ride home.  All in all, we saw very few people in costume, which was fine with me since the little one doesn't really understand it all yet.  He was pretty clingy with the few costumed people we saw.

Last weekend we went on our first-ever family pumpkin picking.  We went to a nearby farm that was nestled in rolling golden hills.  It was dry and dusty and hot.  But it was nice, especially since winter will follow along soon enough and the cold weather will have me begging for summer heat.  Pumpkin patches have become something of a mini amusement park, so the tickets and rides were impossible to avoid.  The bouncy houses sure are a fun place to take pictures, though.

After looking and looking for the perfect pumpkin, we chanced on a small one that was perfect for Goen to carry.  I think that is the perfect size pumpkin to buy, one that your kid can carry.  That's a tradition I'd like to continue.  

I hope you had a fun Halloween, whatever it looked like.
0 Comments

A Fathers' Day Tutorial: Toddler's Handprint

6/20/2015

0 Comments

 
One of the quintessential Fathers' Day gifts is a handprint of a child.  In my own family, I remember one year when we made a t-shirt for my dad that had six sets of handprints on it, one from each child.  I remember him wearing it proudly.  My youngest sister must have been about four or five when we made it, so she (and everyone else) was old enough to understand the concept of keeping a steady hand.  But anyone with a very young child knows how difficult it can be to get a satisfactory handprint.  When I made the fabric memory book for my son's first birthday, I discovered the perfect solution to this problem.  The answer was photography.  Okay, stay with me here.  I've got a short tutorial that will explain everything.


Toddler Handprint Tutorial

Materials:
 - Digital camera
 - Computer
 - Tracing paper or equivalent
 - Pencil
 - Ruler


Instructions:

First, find a low, flat surface that your child can easily reach, such as the floor, a bed, or coffee table.  Get your child to place their hand flat on this surface.  It might take some time, coercion, and modeling. Take lots of pictures.  Try to get a shot from above to get the best perspective with the least distortion.  Then, measure your child's hand from the crease in the wrist to the tip of the middle finger.  Write this measurement down.

Picture

Download the best picture onto your computer.  Resize the image until the measurements are life-size. 

Picture

Lay a sheet of thin paper, tracing paper is best, over the computer screen.  A bit of tape can be helpful to keep the paper in place. 

Picture

Using light pressure, trace the hand image with a pencil.  Cut out the resulting handprint shape.

Picture

I used my handprint shape to make an embroidery pattern, but you could also use the shape to make a stamp, trace it onto pretty paper to make a card, or get creative with an idea of your own.  There are only a few short hours until Fathers' Day.  Use this quick and easy tutorial to make something special for the special man in your child's life.  Happy crafting!

Picture
0 Comments

His Second Year

3/29/2015

4 Comments

 
Picture
Picture
Picture
Picture
Picture
Picture
Picture

My little guy turned two yesterday.  We started the morning with a few rounds of "Happy Birthday" and then slowly went on with our usual weekend tasks.  Every once in a while, my husband would initiate another happy birthday song, which, of course, Goen loved and kept asking for "more, more, more."  I stitched a second leaf onto his birthday crown and he wore it for, hmmm, about thirty seconds.  That's ten times longer than he wore it last year.  At the end of the day, we went to our favorite Thai food restaurant for dinner (which Goen also loves).  When we got home I let him open the gift I made for him.  He got right to work moving the chalk across the surface of the chalkboard fabric, just experiencing and living in the moment.  Such a joy to watch!  I can hardly believe it, how quickly his second birthday crept up on me.  He is active, energetic, and, well, opinionated.  And, as hard as it is sometimes, I don't think I would want him to be any other way.  He keeps me on my toes and makes sure I'm practicing patience and taking deep breaths, and, oh my, it can be hard at times.  But he's perfect and I love him.  I can't wait to celebrate another year with him.
4 Comments

I Love You More Than...

2/14/2015

2 Comments

 
Picture
Picture
Picture
Picture
Picture
Picture
Picture
Picture
Picture
Picture

Ever since I was a kid, toast was a breakfast staple.  Sourdough being the preferred bread.  Paired with eggs and bacon or cereal, toast was always there.  But, as often as not, toast all by itself was breakfast.  Butter was the usual condiment, but cream cheese or jam were also added (yes, added) on occasion.  My favorite way to eat toast, though, is spread with butter and grape jelly and then topped with cheddar cheese.  An unusual pairing that is the height of toast deliciousness.  My husband also grew up eating toast most mornings with or for breakfast, though with different topping combinations.  Soon after we were engaged, we were joking around, as couples do, about how much each of us loved the other.  "I love you this much" he said indicating with his arms spread wide.  "I love you to the moon and back" I countered.  "Well," he said, "I love you more than toast."  I looked at him quizzically as I had never heard it put quite that way before.  Noticing this, he explained that he had once contemplated which foods he could live without and which foods he could never give up.  Toast, of course, came up on the second list, with only a couple other foods receiving his "essential" rating.  "You know what?" I said, "you're right.  And I love you more than toast, too."  Now that is true love.

Happy Valentine's Day!

2 Comments

Take a Hike 2014

1/1/2015

2 Comments

 
The morning of New Year's Eve dawned bright and cold.  The night before, we made plans to go for a hike before lunch.  I feel so lucky to live in an area filled with natural places.  This county has 34 open space preserves alone.  We chose Cascade Canyon Open Space Preserve, which has wide trails along most of it, is relatively flat, and ends in a waterfall during the winter.  In short, it's toddler friendly.  Even though we got a bit of a late start, there were puddles with patches of ice left from the night before.  That's how cold it's been here lately.  It's a strange thing for this SoCal girl to see, to be sure.  The trail is perfect for taking little ones.  Goen was able to walk, run, inspect, and explore.  David carried him over the steep or dangerous parts and I carried him when he got tired.  Since it was our first time there and the trail markers were not clear, we weren't sure which forks to take in the trail.  At one point, we almost turned back without getting to the end, thinking that we had missed the waterfall.  Luckily a couple mountain bikers came up behind us and let us know it was just ahead.  Sure enough, around the bend we heard sounds of splashing water.  I was especially glad because I wanted to try out photographing the waterfall with a slow shutter speed to get that cool smooth effect.

It was our first true hike as a family, with Goen able to run along beside us.  And it was a great way, I think, to round out the old year and welcome the new.  I've already put it on my calendar for next year in hopes of making it a tradition.  Our way of telling the old year to take a hike as we take one of our own.  Cheers to you on this first day of the year!  May it be filled with plenty of hikes and fresh air.
Picture
Picture
Picture
Picture
Picture
Picture
Picture
Picture
Picture
Picture
Picture
Picture
Picture
Picture
Picture
Picture
Picture
Picture
Picture
Picture
Picture
Picture
Picture
Picture
Picture
2 Comments

Holiday Cooking - Part II

12/31/2014

2 Comments

 
Picture
Picture

To combat my lack of Christmas cheer and melancholy about being far away from my family during the holidays, I made some traditional gingerbread on Christmas Eve.  My hope was that the delicious smells would permeate my house and lighten my mood.  I chose this recipe because it used fresh ginger and freshly-grated nutmeg.  I didn't have quite enough ginger (it calls for 2/3 cup!).  The amount I put in was closer to 1/2 cup, and I could tell that the typical ginger kick was lacking.  Even so, it tasted good, especially with the addition of a little more butter on the side (because the 2 1/4 sticks in the recipe just wasn't enough, hehehe).  Vanilla ice cream would have been the perfect accompaniment, though.  The gingerbread smelled so good when it came out of the oven that we just couldn't wait for dessert to eat it.  We cut a piece right then and there.  And then we cut another...and another.
  I just couldn't get enough.  In fact, I made another, gluten-free version of gingerbread the next day (scroll down to see the recipe).

Picture

On Christmas Day we were scheduled to have dinner with relatives in the area.  Since one of them can't have gluten, I decided to try my hand at making a bread everyone could eat.  I don't care for the starchy flours used in most gluten-free breads, and the texture of baked almond flour reminds me of coconut (which I love), so I tried adapting an almond flour-based bread recipe into a gingerbread.  One of the cookbooks on my shelf is
Cooking with Trader Joe's, which includes just such a recipe.  My version is a mashup of the cookbook recipe with the flavorings of the gingerbread recipe I found online.  This time I made sure to have plenty of ginger on hand to make the kick really stand out.  I actually like it better than the wheat flour bread.  Even if your diet doesn't require going gluten free, I totally recommend giving this recipe a try.  It's super moist and flavorful.

Picture
Picture
Gluten-Free Gingerbread Recipe:

Adapted from the Almond Bread recipe in the Cooking with Trader Joe's cookbook.

Ingredients:
DRY
 - 16 ounces almond flour (about 4 1/2 cups)
 - 1/2 cup sugar
 - 1 teaspoon salt
 - 1 teaspoon baking soda
- 1 tablespoon baking powder
 - 1/3 cup minced fresh ginger (or more to taste)
 - 1 teaspoon ground cinnamon
 - 1/2 teaspoon freshly grated nutmeg
 - 1/4 teaspoon ground cloves (I replaced this with more nutmeg)
 WET
 - 5 large eggs
 - 1/2 cup molasses
 - 1/2 cup whole milk

Instructions:
 - Preheat your oven to 325 degrees.
 - In a large bowl, combine all the dry ingredients.
 - In a medium bowl, whisk together the wet ingredients.
 - Pour the wet mixture into the dry and mix thoroughly.
 - Grease an 8x8 baking pan (I prefer glass) and pour the batter into it.
 - Immediately place the pan into the oven on the center rack.
 - Bake until a toothpick or fork inserted into the center comes out clean, about 30-40 minutes.

Picture

Have you ever experimented with combining recipes to get something new or different?  I know I have, with varying success.  But part of the fun is testing out how ingredients go together and what happens when you change something.  And who knows, maybe you'll come up with something your family loves.

Picture
Picture
Picture
2 Comments

Holiday Cooking - Part I

12/27/2014

0 Comments

 
I decided almost at the last minute that I wanted to make a special meal for Christmas Eve dinner.  I sent David to the store to "pick up some delicious meat."  He came home with three pounds of pork loin and I got to work finding a recipe I liked.  I found this Fig-Balsamic Roasted Pork Loin recipe that I had most of the ingredients for.  For the things I didn't have, I just improvised.  The pear became an apple (I left the peel on).  The stuffing mix became croutons and seasoning.  The chicken broth became plain old water.  The fig preserve became rehydrated figs simmered in a balsamic reduction. Plus I added some cooked quinoa for a little texture.  The meal was complete with a side of sliced oranges.  It was delicious.  Come back tomorrow to see what was for dessert!

Picture
Picture
Picture
Picture
0 Comments
<<Previous
Forward>>
    Picture


    Carley Biblin

    Hi.  My name is Carley.  I love to sew, craft, and create. As a Jane-of all-crafts so to speak, I enjoy sewing, writing, cooking, drawing, photographing.  But the constant thread (if you'll excuse the pun) throughout my weeks is needle arts. 
    I hope you'll join me in
    Making It Up As I Sew Along.
    Learn More...

    My Etsy Shop

      If you'd like to sign up to receive my newsletter, type your email address in the box below and get news, tips, and other neat stuff delivered to your inbox.

    Submit
    Instagram

    Archives

    January 2017
    December 2016
    November 2016
    October 2016
    September 2016
    August 2016
    July 2016
    June 2016
    May 2016
    April 2016
    March 2016
    February 2016
    January 2016
    December 2015
    November 2015
    October 2015
    September 2015
    August 2015
    July 2015
    June 2015
    May 2015
    April 2015
    March 2015
    February 2015
    January 2015
    December 2014
    November 2014
    October 2014
    September 2014
    August 2014
    July 2014
    June 2014
    May 2014

    Categories

    All
    Arts & Crafting
    Books & Music
    Celebrations
    Embroidery
    Family Photos
    Fixing
    Guest Posting
    Inspiration
    Kids & Family
    My Week
    Parenting
    Photo Tour
    Present Moment
    Recap And Goals
    Recipes & Food
    Reviews
    Sewing
    Shop Update
    Swaps
    Tips And Techniques
    Travel
    Tutorials

Powered by Create your own unique website with customizable templates.