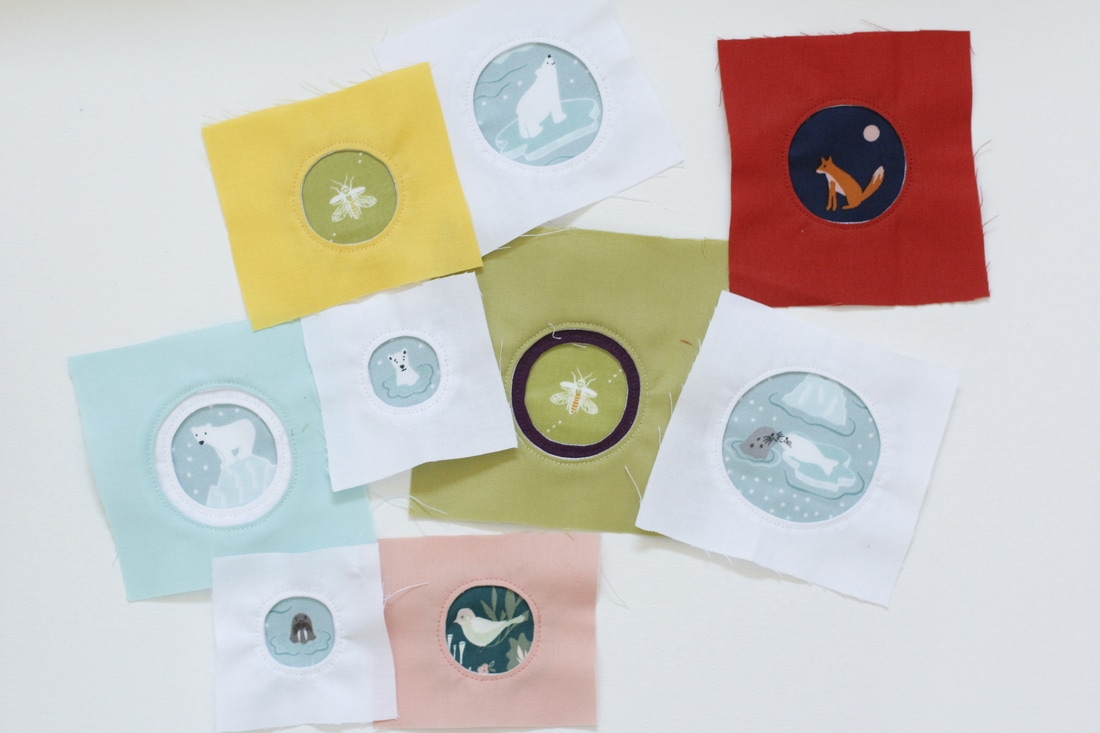
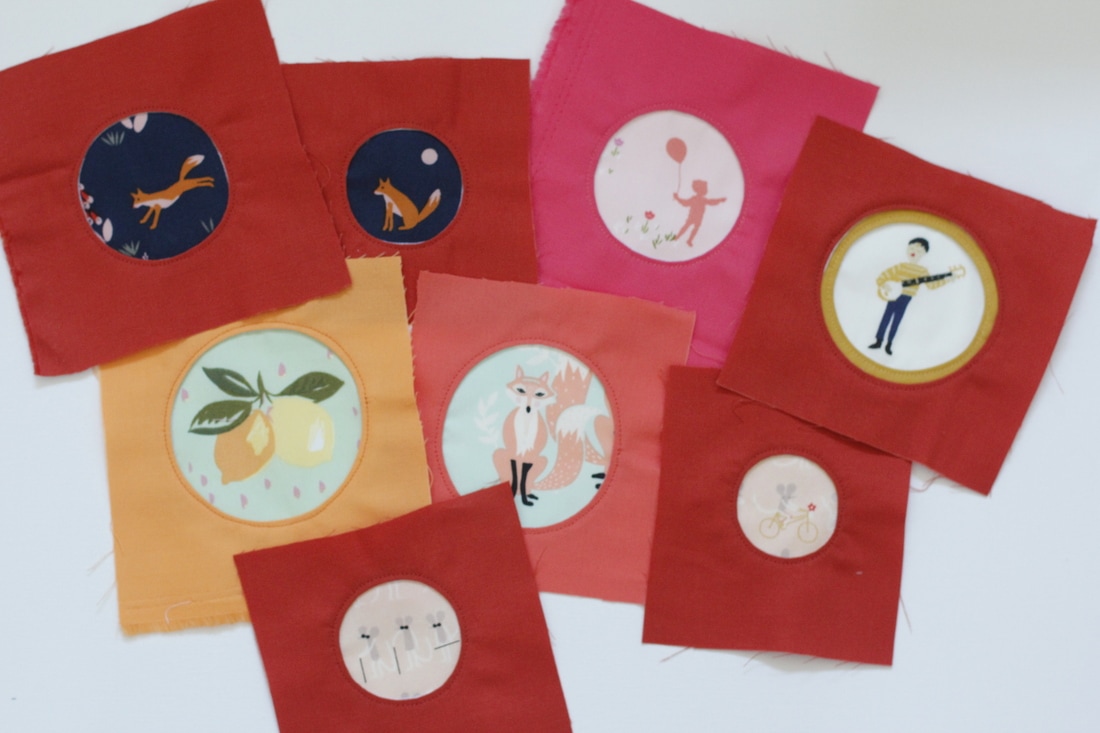
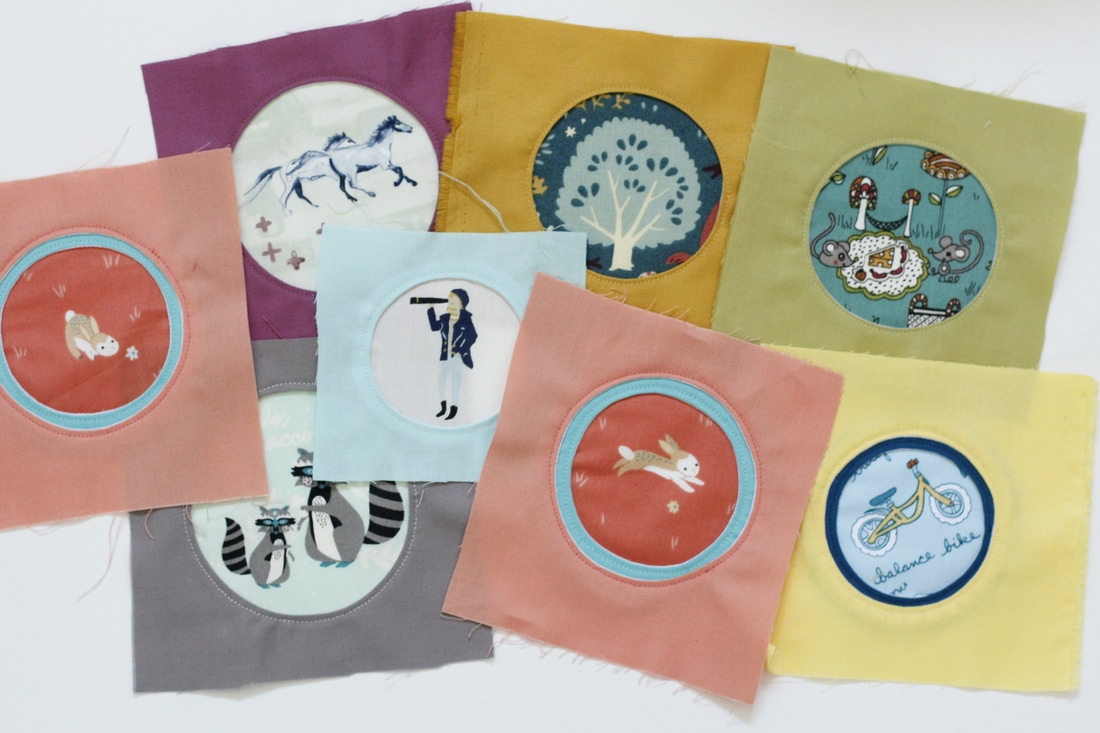


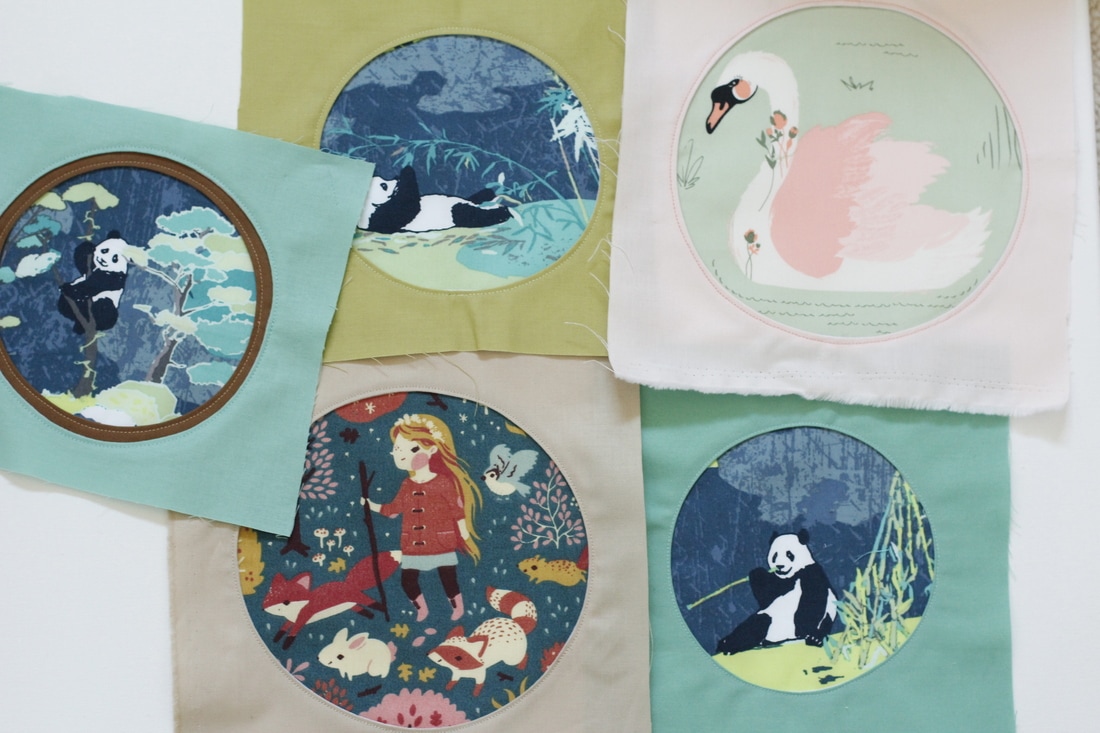
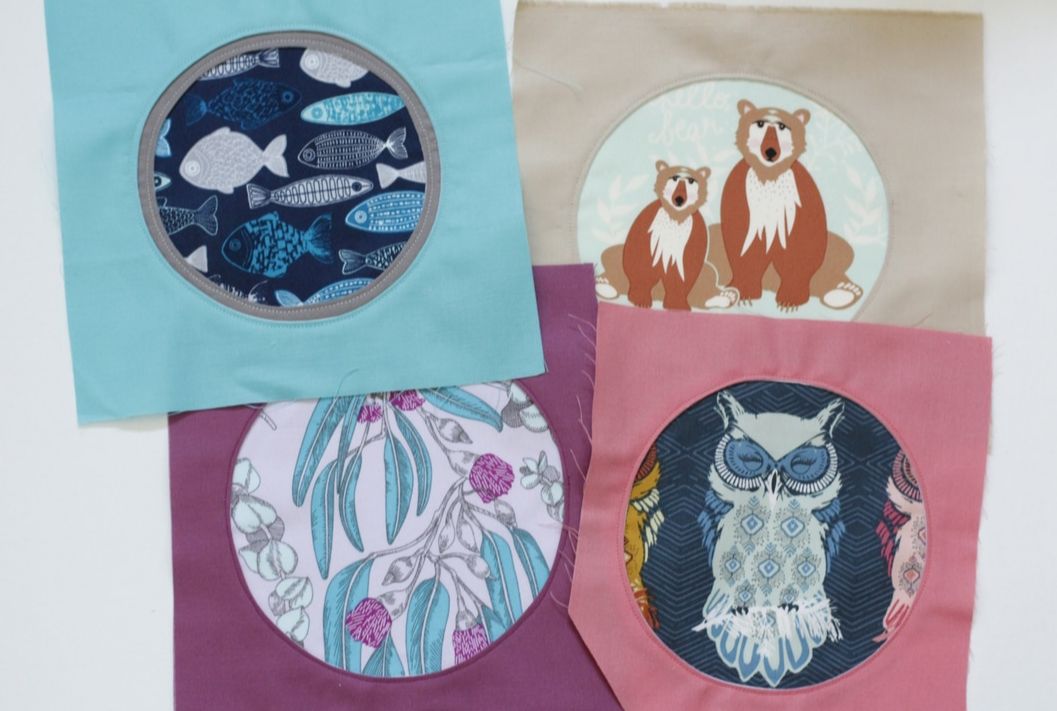
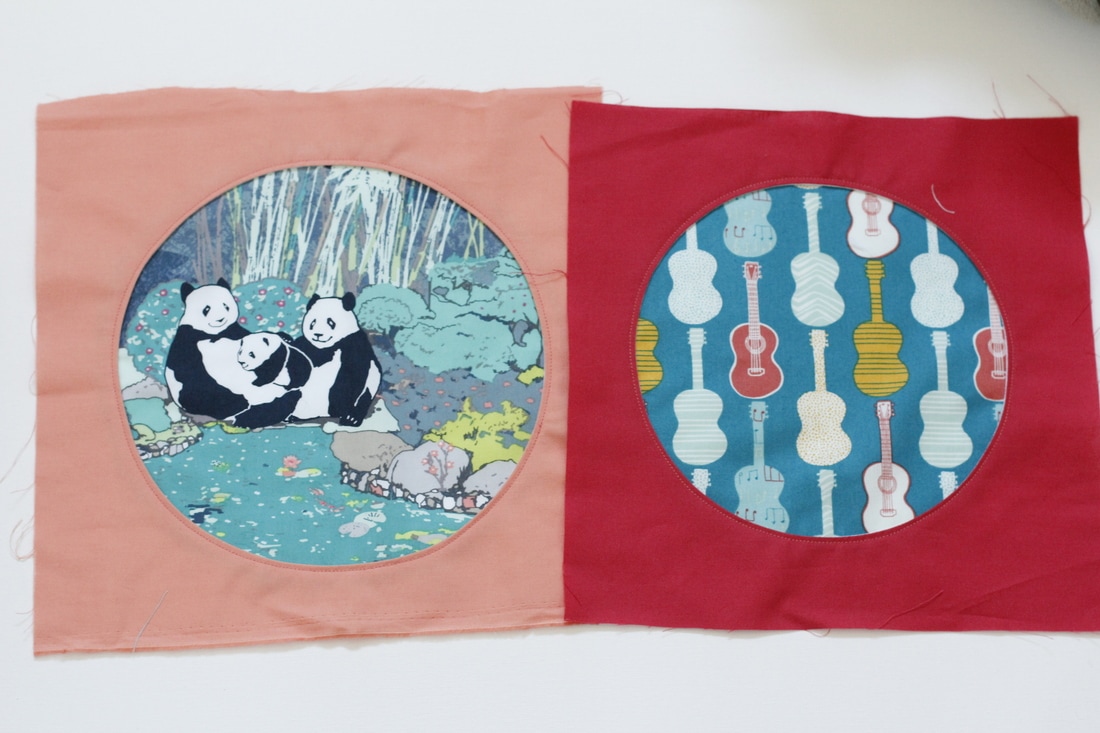
I've been working on the porthole quilt for my soon-to-be-four-year-old son for about two months now (you can see my first few blocks here) and I've made so much progress. I have a nice stack of single and double porthole blocks, most of which you can see in the pictures above. I'm planning to add a few more once I find the perfect fabric and I'll likely weed out some that don't fit right. As you can see, I went for a wide variety of colors and styles. My main design parameter was that all the prints I chose should fit into the "whimsical realism" category. You know, stylized but recognizable images. I also wanted each print to have at least three colors (to maintain realism) and provide some sort of context so the images didn't look like they were just floating in space. For the most part, I succeeded with these guidelines, though there are a few exceptions that I decided to include for significance reasons.
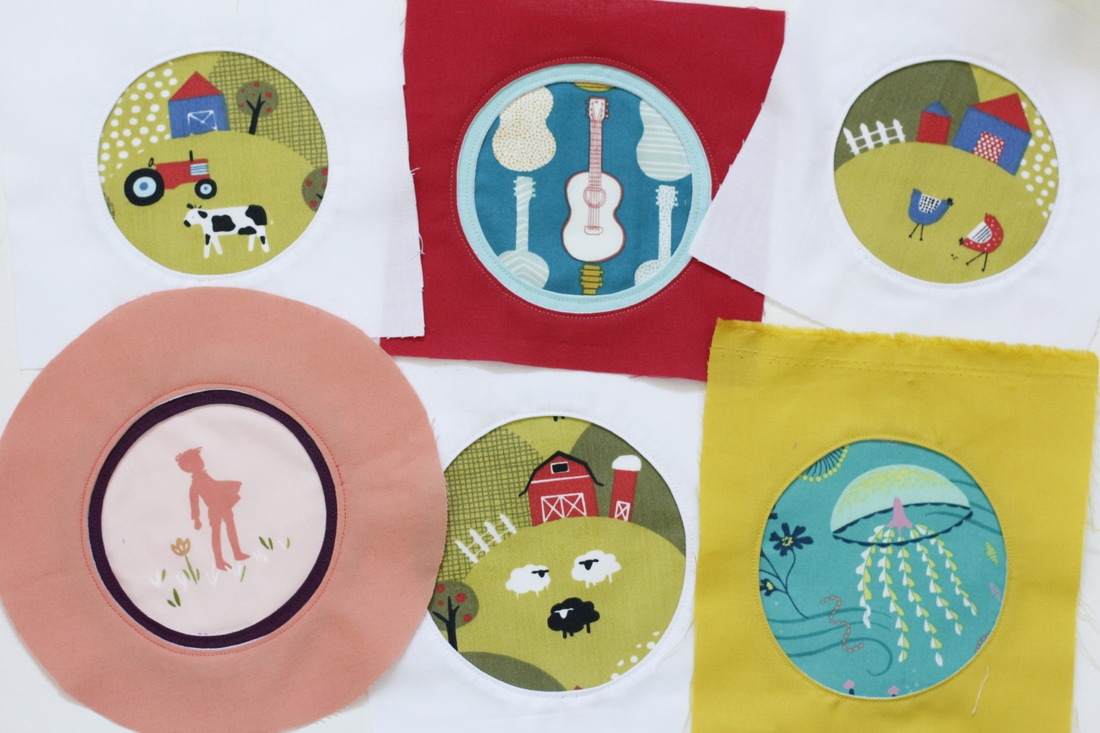
Each porthole was created with a Kona solid to coordinate with the print. In my original design idea, the portholes would be inserted behind yet another porthole stitched directly into the "whole cloth" quilt top. I still don't have an exact layout in mind, though. It'll be difficult to find a layout that works well with both the myriad sizes and colors I used. A couple images I'm using for inspiration are here and here. I especially like the "ghost" circles quilted in the second one. I also have to decide on a size, which will be effected by my preferred layout, but I'm thinking lap quilt or a little bigger, something he can use for a while.
If you have any tips for quilting around circles in an interesting way, please let me know. I'll probably machine quilt, though, since all the top-stitching for the portholes is already done by machine. Once I'm done making porthole blocks, I'll have some tips to share with you in case you decide to make some yourself. They're pretty easy, really, and can be used in more ways than I'm using them, so stay tuned for that.

