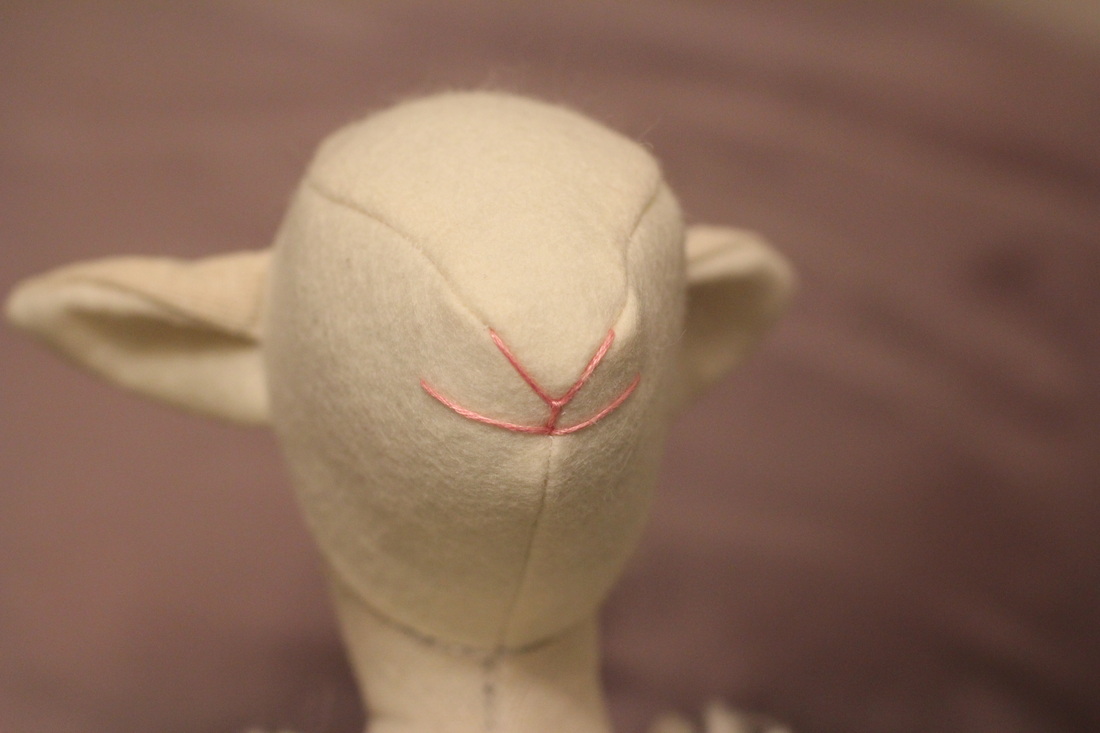
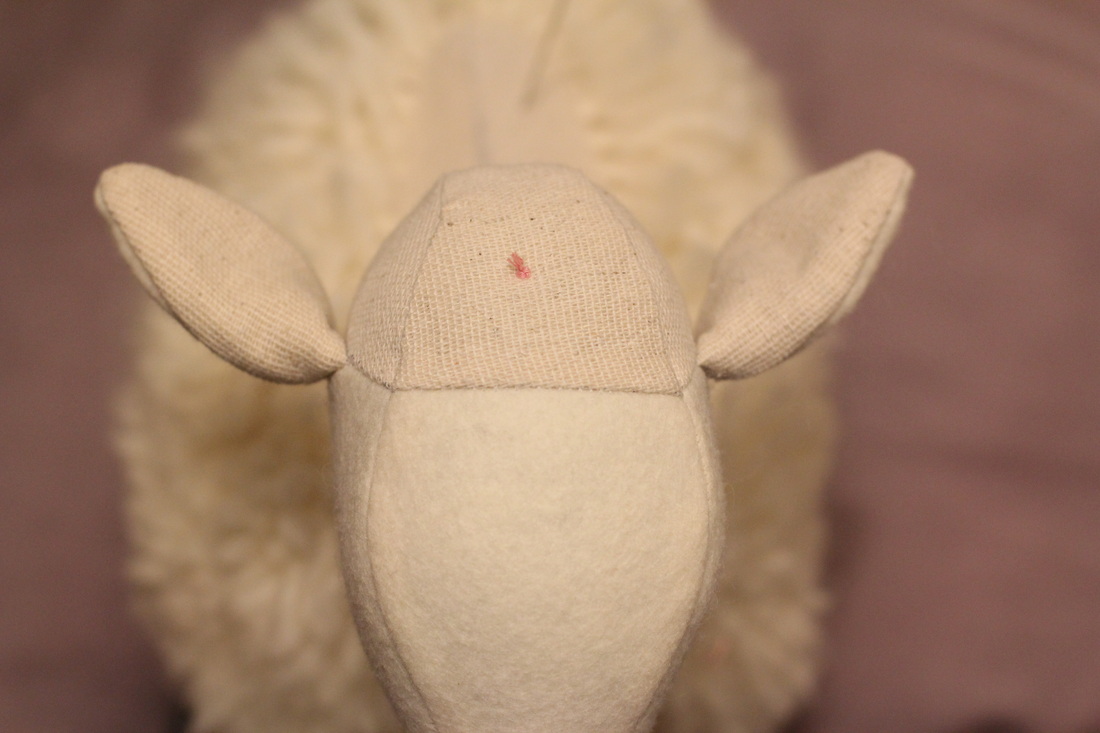
Phew! After weeks (though it feels like months) of working on the fur for my ram, it was time to take a break and work on the face. For some reason, stitching on facial features makes a project seem more finished than anything else. And I need so badly to feel that progress. In anticipation of this next step, I purchased a pair of doll needles. Those things are loooong! When I took one out, I felt like Dr. Frankenstein about to hodge podge a creature together out of bits and pieces. The needles made sewing the nose and eyes so much easier, especially since I stitched the eyes on after sewing and stuffing my ram.
The nose and mouth are the same as on the ram in the pattern. I was able to securely knot the floss at the top of the head since it will be covered by fluffy yarn fur. For the eyes, I made three different versions in an attempt to find the perfect fit (Dr. Frankenstein, indeed!). I'll show you all three in a trilogy of tutorials below. This will be the last tutorial before the big reveal of my stuffed ram. Can you feel my excitement? Eep!
The nose and mouth are the same as on the ram in the pattern. I was able to securely knot the floss at the top of the head since it will be covered by fluffy yarn fur. For the eyes, I made three different versions in an attempt to find the perfect fit (Dr. Frankenstein, indeed!). I'll show you all three in a trilogy of tutorials below. This will be the last tutorial before the big reveal of my stuffed ram. Can you feel my excitement? Eep!
Felt 2-D Eye Tutorial:
Materials:
- Felt scrap in your choice of color (2" square should be more than enough)
- Circle templates (your choice of sizes, one for the eye and one for the pupil)
- Ink (e.g. pen, marker, stamp pad)
- Black embroidery floss
- White embroidery floss (optional)
- Embroidery needle
- Black thread
- Doll needle
Instructions:
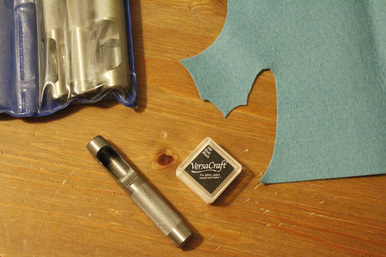
Gather your tools and materials. If you are using a pattern, reference the materials list for the recommended eye size. Find or make a circle template of the recommended size, then find or make a second, smaller circle template for the pupils. I used leather punches for my circle templates and a fabric stamp pad for my ink.
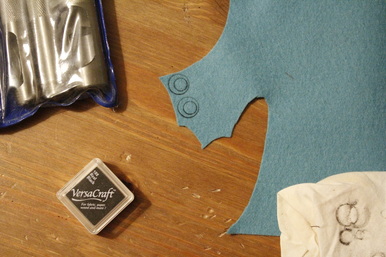
Use your larger circle template and ink to make two circles side by side on the felt. Use your smaller circle template and ink to make a circle inside each of the larger circles for the pupils. You can change the character of your stuffed animal's face by putting the pupils off center. The stamped side will be the back of the eye, so don't worry about the ink showing.
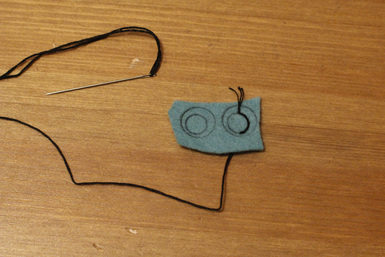
Cut a length of black embroidery floss and remove three strands. Thread the remaining three strands onto a needle. Working from the back of the felt (the inked side), backstitch all around the pupil circle. Don't worry about making the front look nice since it will be covered up by the next step. Repeat for the second eye.
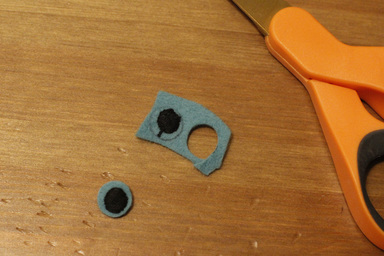
Cut the eyes out following the larger circle as a guide. Since the ink will be on the back, you can cut on the outside of the line to make the eye larger. Don't cut too close to the embroidery stitches.
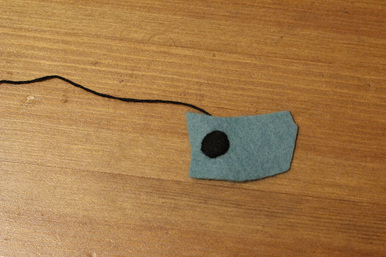
Turn the felt piece over. Working from the front, sew a sating stitch so that it covers all of the backstitching. When deciding on the orientation of the satin stitch (right to left, top to bottom, or diagonal), consider how the eyes will be placed on the face. The eyes will look best if the direction of stitches is symmetrical once they are attached to the face. Tie off the floss at the back of the felt. Repeat for the second eye.
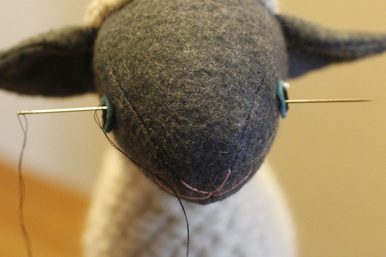
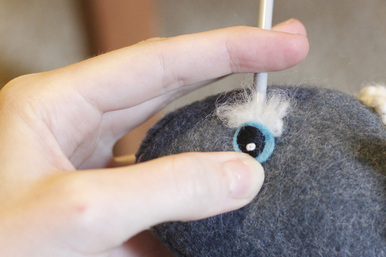
Place the eyes on either side of the head and pin in place. Make sure you like how the placement affects the character of the face. Check that the eyes are symmetrical when seen from the front, top, bottom, and all around. Thread a length of black thread onto the doll needle and knot the end. Bring the needle up through one of the eyes right at the edge of the pupil (so the stitching is hidden) and pull the thread through. The knot should be hidden between the face and the back of the eye. Sew the eyes on at the same time by going down through one eye and up through the opposite eye, keeping the stitches close to the edge of the pupils. Once the eyes are sewn on, make one last tacking stitch and then cut the thread where it comes out of the fabric.
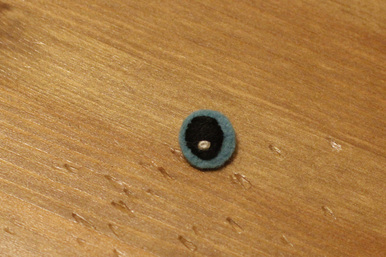
You can add more interest and dimension with a reflective dot on the pupil. Thread a short length of white embroidery floss onto your needle and knot the end. I used all six strands to make it bolder. Use a white-tipped pin placed against the pupil to determine where you would like the dot to be. Bring the needle up at this point and pull the thread through. Make a french knot and bring the needle down right next to where it came up. Make a tacking stitch in the felt at the back of the eye and cut the floss.
Felt Puffy Eye Tutorial:
Note: This method works better for larger eyes (e.g. 1/2" or more).
Materials:
- Felt scrap in your choice of color (2" square should be more than enough)
- Circle templates (your choice of sizes, one for the eye and one for the pupil)
- Ink (e.g. pen, marker, stamp pad)
- Black embroidery floss
- White embroidery floss (optional)
- Embroidery needle
- Black thread
- Stuffing
Instructions:
Follow the instructions for the 2-D Eye until you get to the point of attaching the eye. Begin sewing on the eyes in the same way. When the eyes are three quarters of the way attached, stuff the eye with a very small bit of stuffing or leftover yarn. It doesn't take much. The end of a small crochet hook works well for stuffing. Finish attaching the eye and cut the thread.
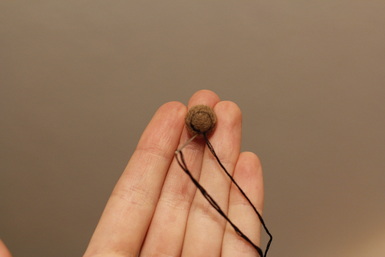
Felt Ball Eye Tutorial:
Materials:
- wool felt ball (one ball makes one pair of eyes)
- Craft knife/blade and cutting surface
- Black embroidery floss
- White embroidery floss (optional)
- Embroidery needle
- Black thread
Instructions:
Stamp circles.
Knot a strand of embroidery floss. I used three strands. Bring the needle up through the center back of the eye (the flat part is the back). The needle should come up on the circle line from the previous step. Backstitch all around the circle and then continue with the same strand to satin stitch over the backstitch, making sure to cover both the stitching and ink lines.
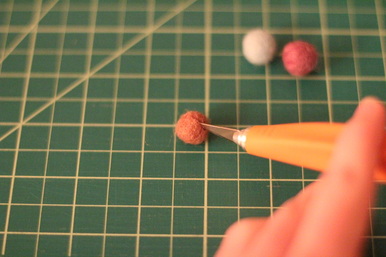
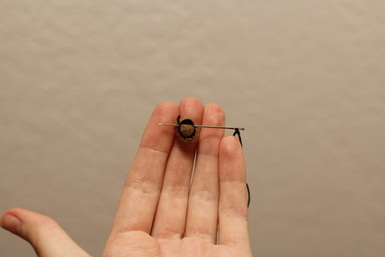
Gather your tools and materials. If you are using a pattern, reference the materials list for the recommended eye size. Some independent crafting stores sell wool felt balls in many different colors. Find a ball the size you want. Use a sharp blade to cut the felt ball in half. Press the pointed tip of the blade into the center of the ball to start and then saw through some of the fibers. Remove the blade, turn the ball, and repeat the cutting motions until the ball is cut in two pieces. Trim any stray fibers with a pair of scissors.
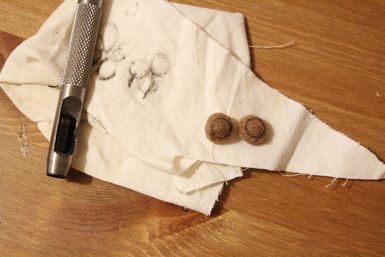
Use a circle template and ink to mark where the pupils will be. I used a leather punch (ideal for the rounded surface) and stamp pad. Play around with placement since this can affect the resulting character of your animal's face.
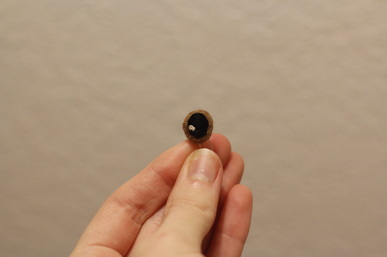
Cut a length of black embroidery floss and remove three strands. Thread the remaining three strands onto a needle. Backstitch all around the pupil circle. Cover as much of the ink line as possible. Repeat for the second eye.
Sew a sating stitch so that it covers all of the backstitching. When deciding on the orientation of the satin stitch (right to left, top to bottom, or diagonal), consider how the eyes will be placed on the face. The eyes will look best if the direction of stitches is symmetrical once they are attached to the face. Tie off the floss at the back of the felt. Repeat for the second eye.
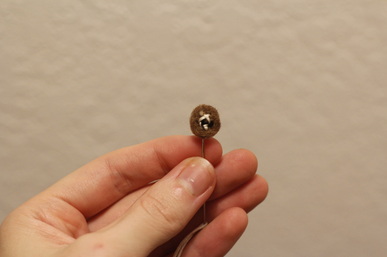
You can add more interest and dimension with a reflective dot on the pupil. Thread a short length of white embroidery floss onto your needle and knot the end. I used all six strands to make it bolder. Use a white-tipped pin placed against the pupil to determine where you would like the dot to be. Bring the needle up at this point and pull the thread through. Make a french knot and bring the needle down right next to where it came up. Make a tacking stitch in the felt at the back of the eye and cut the floss.
If the felt ball half has flattened out during stitching, you can pull it back into shape by making a few stitches on the back from side to side and top to bottom to help pull it back into shape.
And there you have it. Three different ways to make felt eyes for your critter. Do have a special method for making stuffed animal eyes? Any techniques you've discovered? I'd love to learn something new. And stay tuned for the big reveal. My ram is just about done.

