My second stuffed animal adventure from Abby Glassenberg's book Stuffed Animals: From Concept to Construction (which I first talked about here) is the elephant. I made two. One for Goen, and one for another of my adopted nieces. The instructions in the book are so well written that I don't have much more than simple tips to share with you on this one, and some pictures of the finished elephants, of course.
Two different books (including this one) that I have read recently mention that stuffed animals should be turned by first inserting their extremities into the body cavity and then turning the rest of the shape to the right side through the gap in the body. I can say from experience (I have done it both ways) that this is definitely easier. However, I had trouble with long and narrow extremities (such as arms) until I read about using the "tube and poker" method. Okay, so I made that name up myself, but that is essentially what it is. Although there are special tools that can be purchased from doll-making supply stores, I will describe the method using tools that are readily available.
The "Tube and Poker" Turning Method Tutorial:
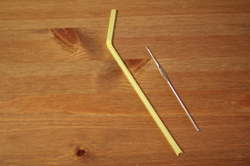
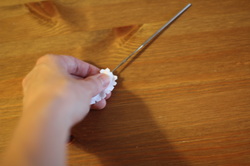
For this method, you will need a long hollow tube, such as a drinking straw, and a thin poking instrument, such as a crochet hook (mine is 1.5mm).
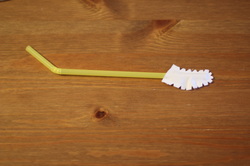
Insert one end of the straw all the way into the shape to be be turned so that it touches the farthest point (or one of them in the case of more complicated pieces).
Holding the straw in place with one hand, use your other hand to poke the crochet hook towards the hollow end of the straw (you may need to use the dull end of the hook if your stitches are far enough apart that the hook can squeeze between them). This should cause the straw to be pushed out as the piece is inserted into itself. At this point, the straw can be removed completely.
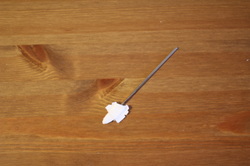
Continue to ease the shape into itself. If it is a standalone piece (such as this elephant tusk), simply turn it all the way to the right side. If it is part of a larger piece to be turned right side out (such as a leg on a body), push the extremity into the main cavity.
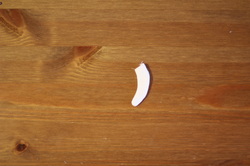
That is all there is to it. For a complex shape, once all the extremities are inside the main cavity, the entire shape can be turned right side out through the gap and all those little, hard-to-turn pieces will already be turned right side out. The whole process is quite simple, and made even simpler with a couple handy tools.
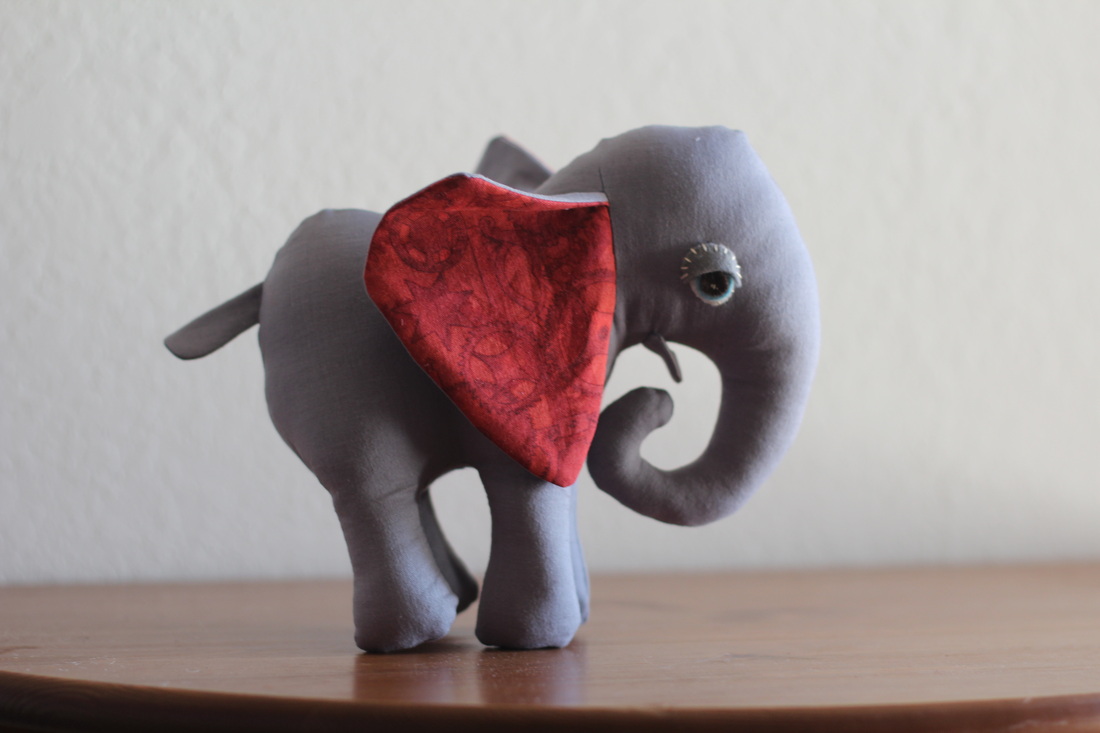
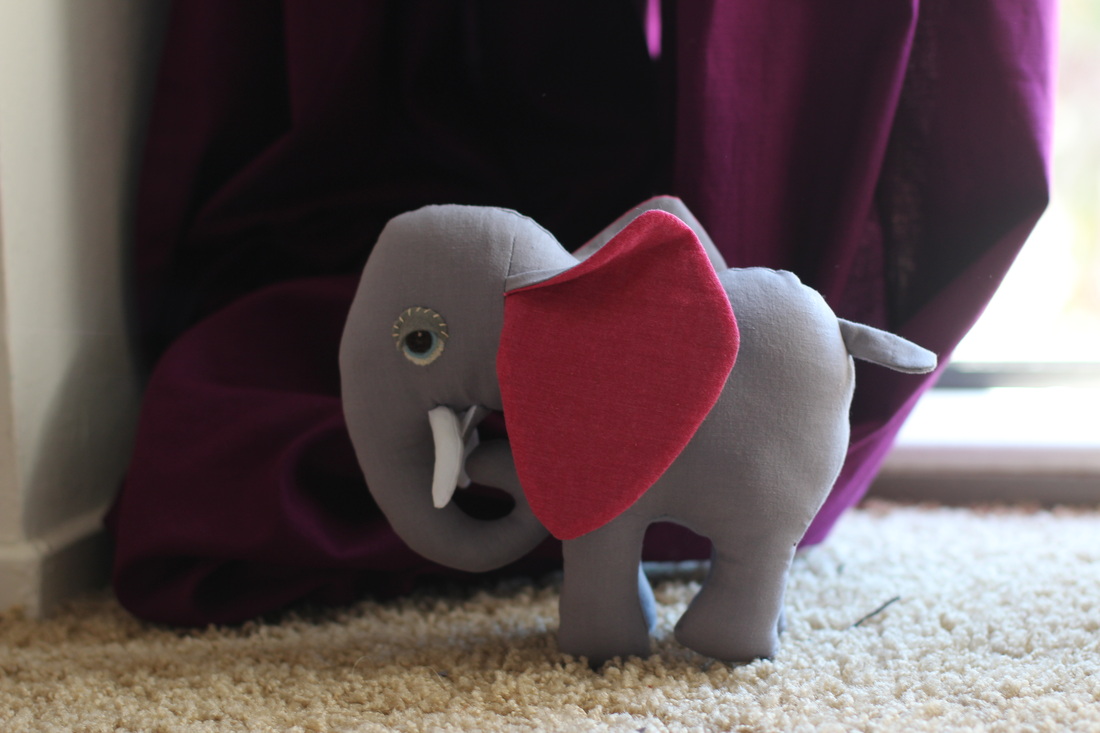
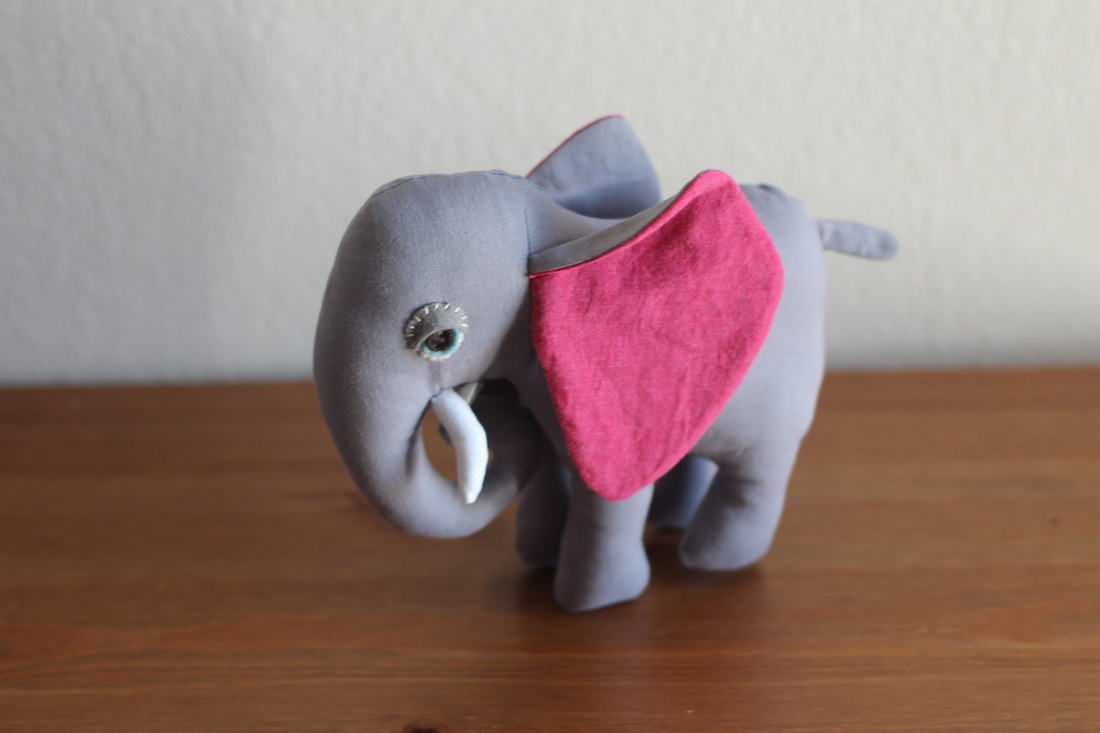
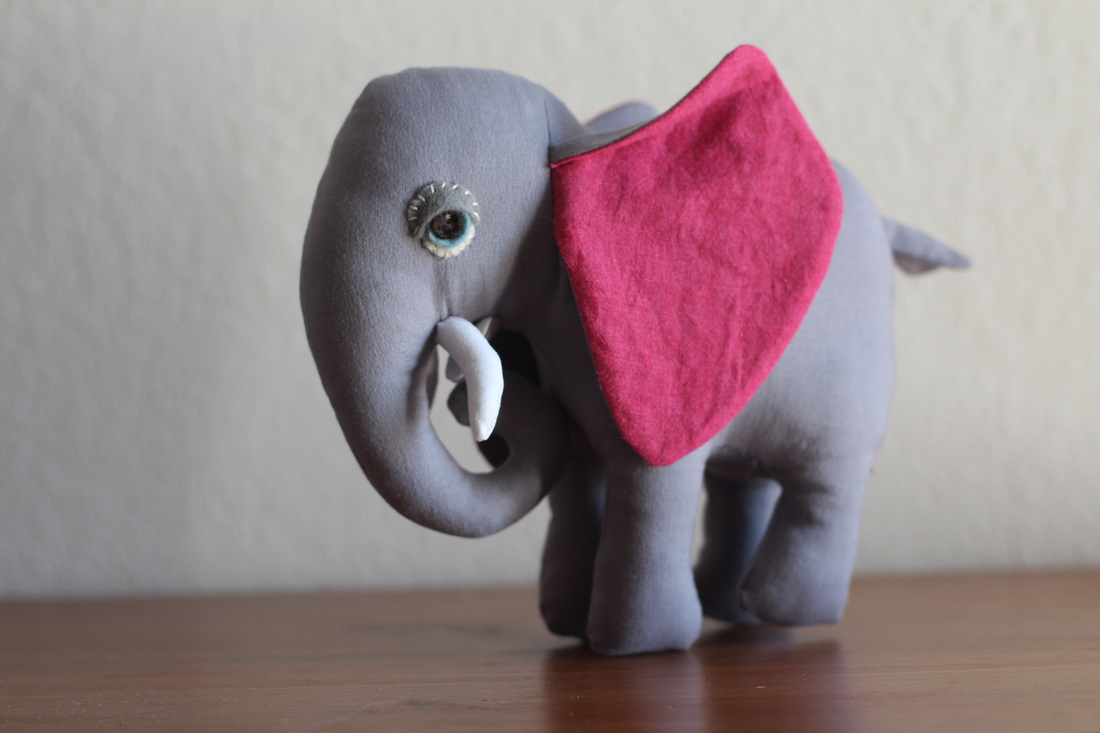
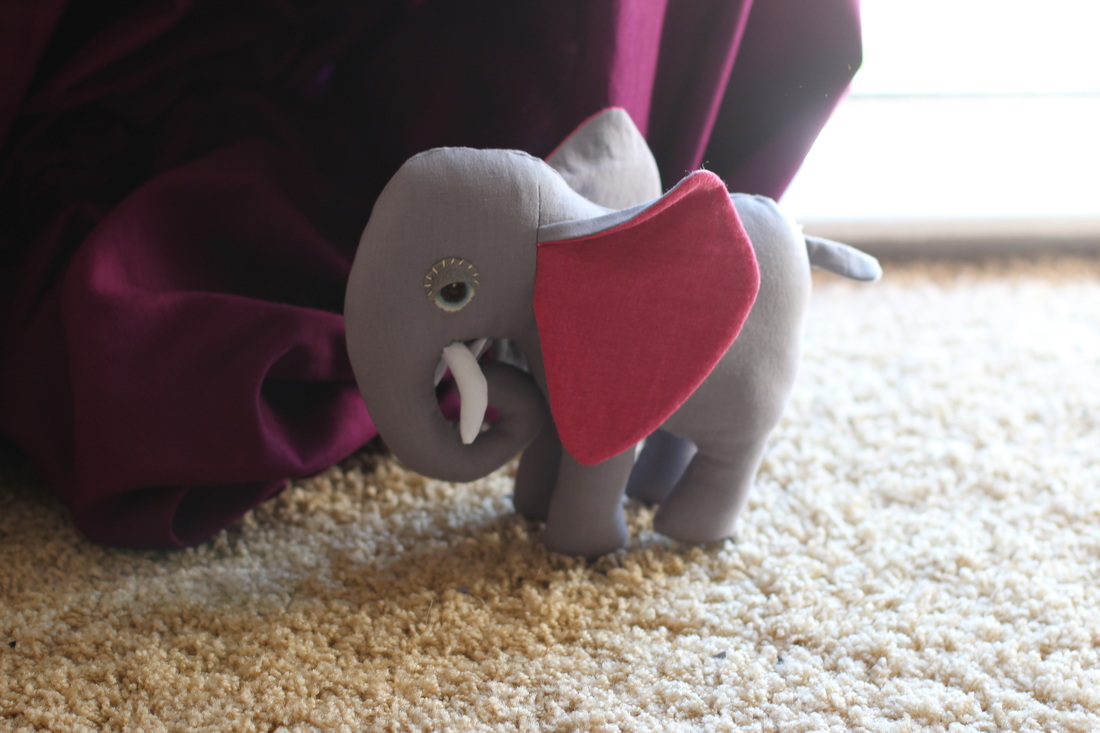
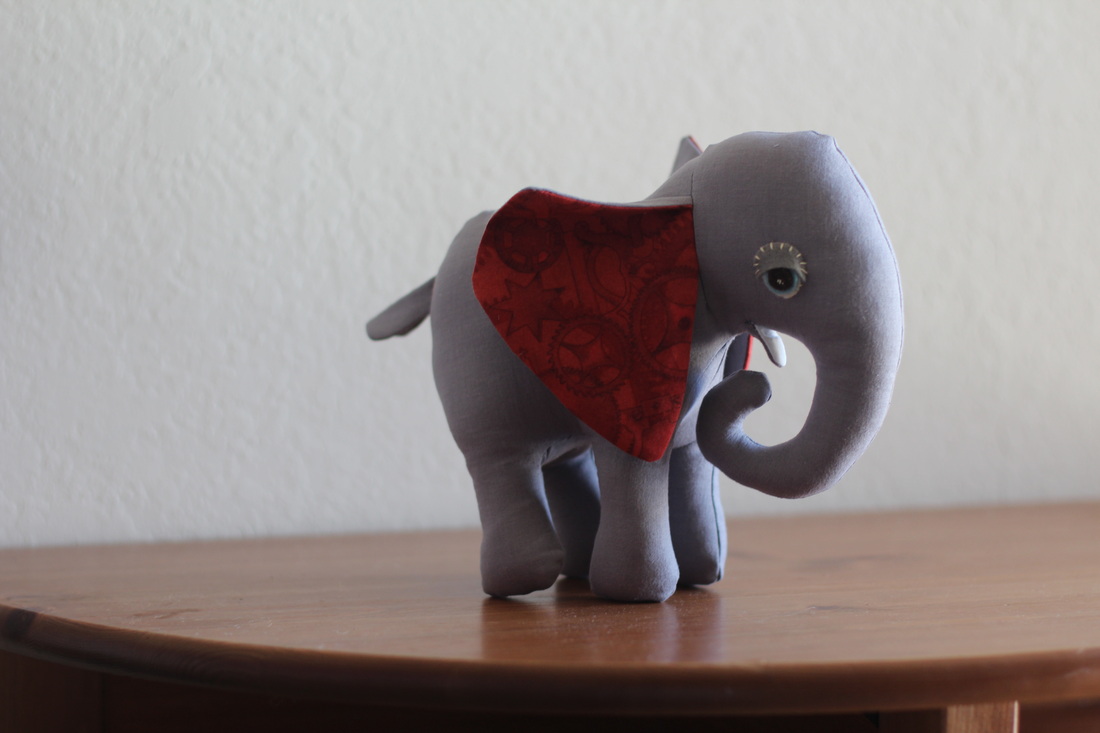
And here are my finished elephants. The perfect Mr. and Mrs. (except, of course, for the sad fact that they will now be separated by many hundreds of miles). For those of you who delight in a little wordplay, take note of the fact that the fabric on the female elephant is a gear print (Get it? G-ear! Hehe!). If you try out any of the patterns from this book, feel free to link to them in the comments.