Making It Up as I Sew Along
  • Blog
  • About
  • Gallery
  • Shop

Take a Hike 2016

1/7/2017

0 Comments

 
Picture
Picture
Picture
Picture
Picture
Picture
Picture
Picture
Picture

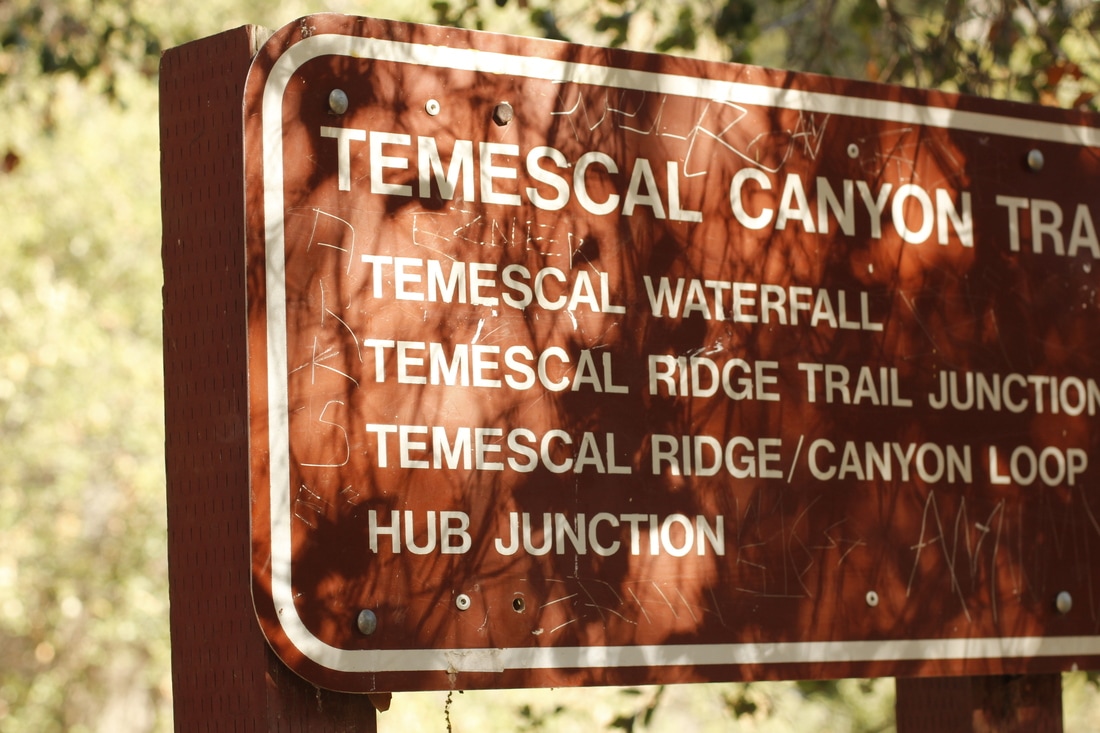
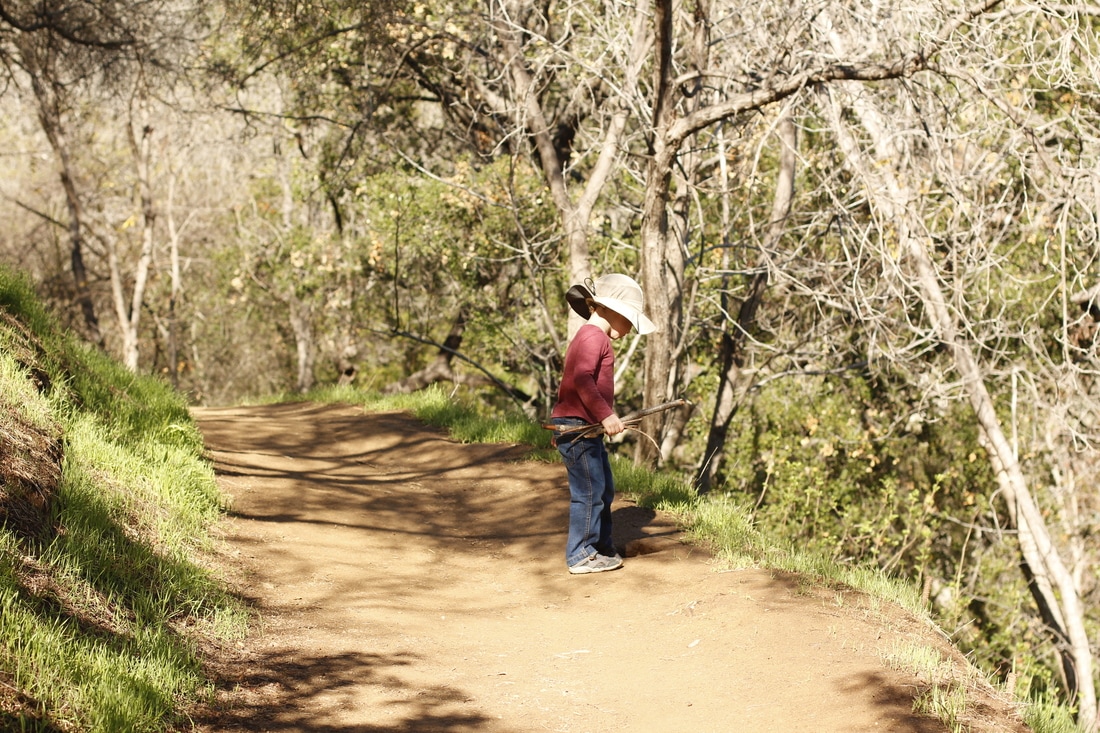
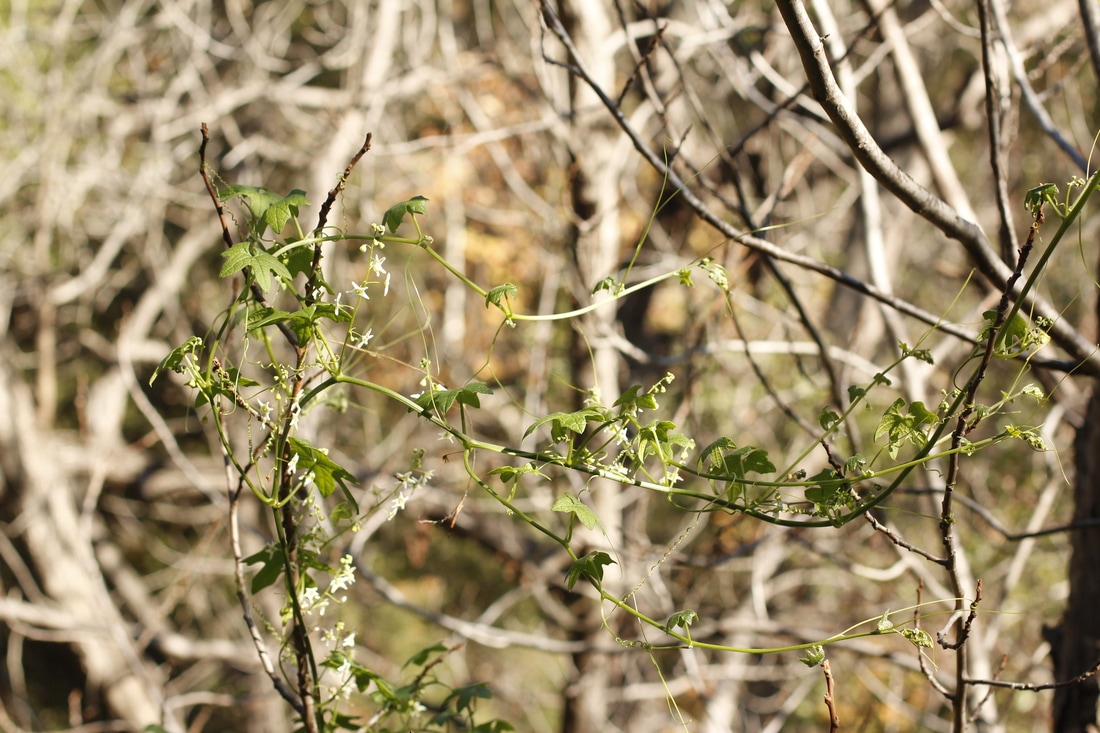
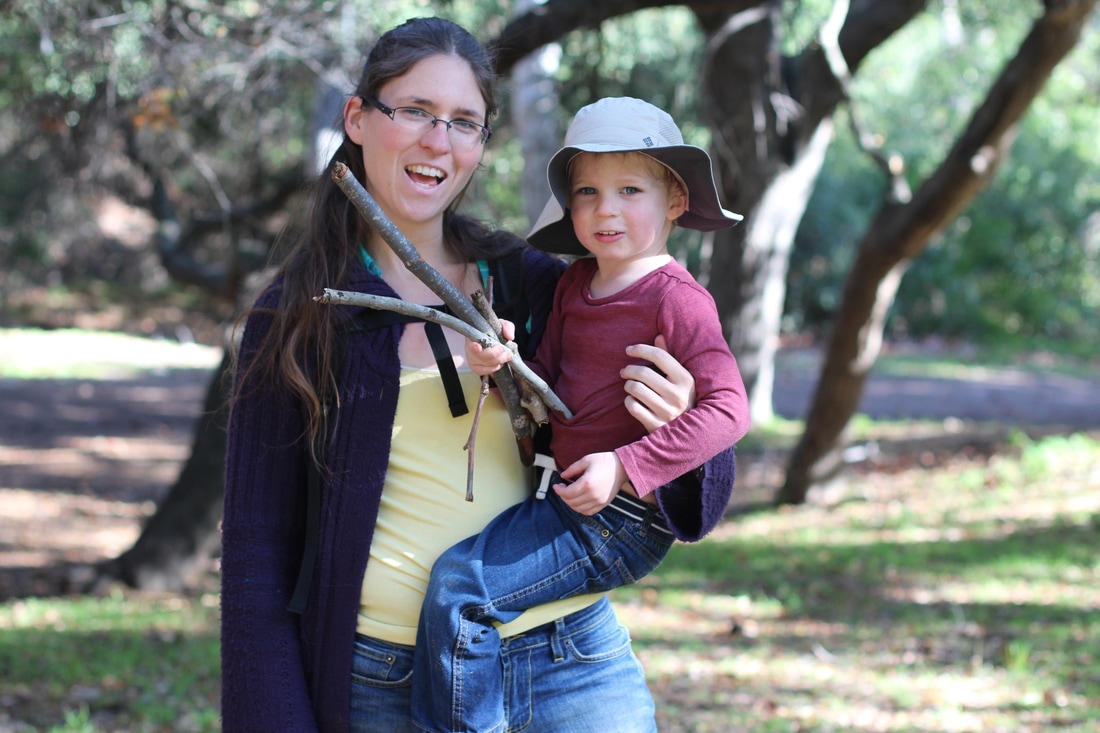
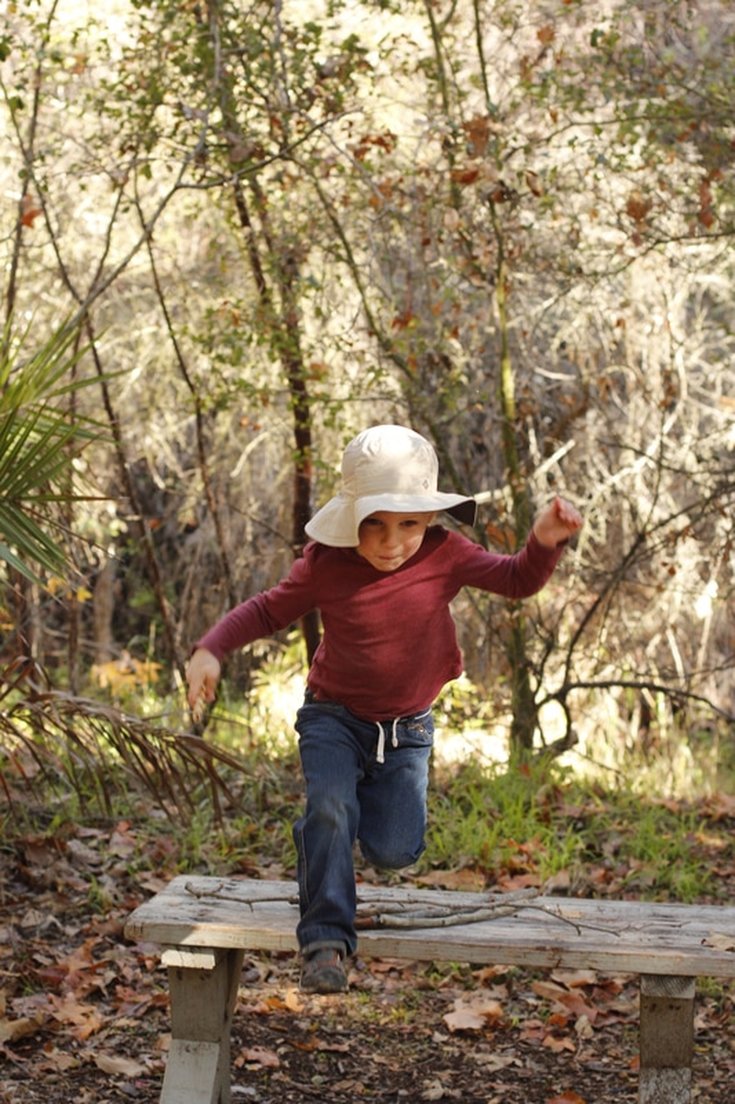
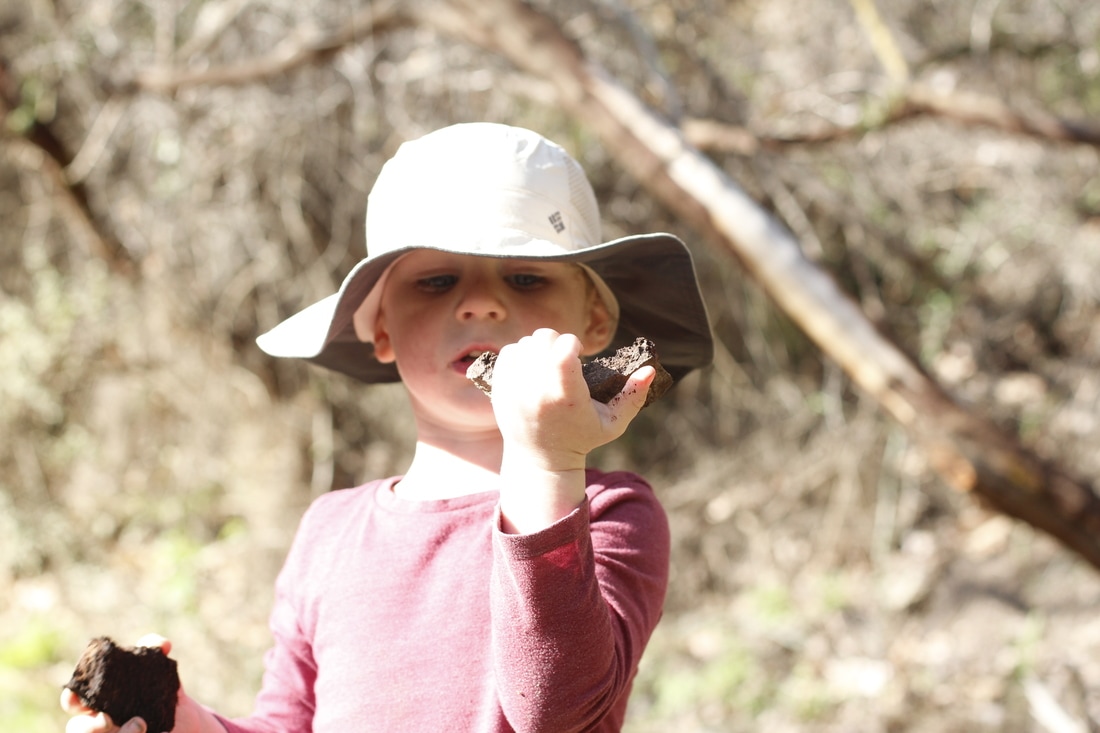
​Two years ago I started a tradition of taking a New Year's Eve hike.  It's a fun way for us to get out, move around, shed some holiday calories, get an interesting family photo, and tell the past year it can take a hike.  Even with all the good things that have happened, I like to at least pretend that I have a fresh start, wipe the slate clean, and leave memories as just that.  This year's New Year's Eve was rained out, so we didn't get to it until New Year's Day.  And, since we were visiting family in Southern California, I chose a hike in the area we were staying: Temescal Canyon.  My husband stayed behind because of foot pain, but Goen and I had a mostly fun time exploring the trail and seeing all the new growth after the rain.  Goen spent lots of time collecting sticks, jumping off things, and throwing rocks.  Of course, because of that, it took us about two hours to go 3/4 of a mile and back, so not the most prolific hike ever, but more successful than last year's slip-and-fall-in-the-mud fiasco.  Even so, I can't wait until next year's hike!

You can take a look at our 2015 hike here and 2014 hike here.
0 Comments

Finished Quilted Pillow

12/8/2016

2 Comments

 
Picture
Picture
Picture
Picture
Picture

A couple years ago I made a pillow cover out of a pretty purple plaid men's button-up shirt.  Unfortunately, I'd made it just a little too small, so the buttons of the shirt that became the closure at the back of the pillow never stayed buttoned.  It frustrated me to no end.  Finally, I decided to just make a new one using a large English paper pieced hexagon I made a while back.  The hexagon, which was the test piece for a design idea, didn't come out right either and wouldn't lay completely flat.  A pillow was the perfect way to use it since a pillow is curved and would fill out the wrinkles.  After appliqueing the hexagon to a 20" square of kona cotton matched to the flowers within the circle shapes, I quilted straight lines parallel to the sides of the hexagon.  As I was quilting, I had the idea to leave a gap after four lines of stitching on each side to add a bit of interest.  I'm glad I did.  The gap breaks up the stitching, giving the eye something to be drawn to.  In the pictures I paired my new pillow with the quilt I won as part of the Wisecraft Handmade book release prize I won with my bunting banner a couple years ago.  They look so good together!

Overall, I'm pleased with the way it turned out.  You can still see the wrinkles caused by the un-flat-ness of the hexagon, but it's much better than it would have been if I'd put it on a quilt or something.  I turned a learning experience from my design into a pillow.  Now I just have to perfect the design and turn it into a pattern.  
2 Comments

New Weaving Kit in the Shop!

12/1/2016

0 Comments


​Meet the newest kit now listed in my Etsy shop!
​
Picture

The weaving kit, the third in my series of Maker Kits for Modern Kids, comes with everything you need (except scissors and a bit of tape) to make at least three beautiful woven projects.  The instruction booklet includes photographs illustrating the processes for basic weaving as well as tapestry weaving.  Plus, you'll get a package of wood beads that I dyed by hand in coordinating colors.  The version listed in my shop is the mini version (with a loom measuring 3.5" x 6"), with the large version (with a loom measuring 6" x 10") to be listed soon.
​
Picture
Picture

Every kit comes packaged in a sturdy cardboard box.  And, because details are so important to me, I added a special wrap closure with yarn and wood buttons to keep the lid secure so the pieces never fall out.​
Picture
Picture

​With each successive Maker Kit for Modern Kids, I have increased the earth-friendliness of the materials.  Everything in this kit, from the box to the materials inside, is reusable, recyclable, or biodegradable.  Even the "plastic" bag with beads is made from plants.  I want to continue this theme with my next kits as well.  (I have a really fun kit in the pipeline that I can't wait to share.)

​If you'd like to purchase a weaving kit for yourself or as a gift, please visit my Etsy shop and I'll mail it out right away.  Thanks for your support!
0 Comments

New Quilt in Progress

11/21/2016

0 Comments

 
Picture
Picture
Picture

Despite the many, many projects I've got under way right now, I got it in my head that it was time to start a quilt for my toddler son.  So, without really thinking, I told him right then that I was going to make him a quilt.  Well, in the world of toddlers, making a quilt is as easy as saying "turn on the sewing machine."  In other words, he pretty much expected it to be done that day.  Of course, it didn't happen that way.  But, I did get a pretty good start on it, which is to say that I decided on the overall design and picked out a few fabrics.  

Ever since I read through the book Quilt Improv by Lucie Summers, I've wanted to make a porthole quilt.  In essence, the technique uses two layers of fabric that are sewn together with a circle in the size you want.  The inside is then cut out, leaving a quarter inch seam allowance that is clipped to allow the fabric to stretch, then the lining layer is pushed through the hole to the back.  Once ironed, you should have a perfect circle that you can look through.  This porthole acts as a window for whatever fun fabric you want to applique behind it.  You can continue this process indefinitely to create layered portholes.  You can see the end result above.

​​The idea forming in my head is that I will have a whole cloth quilt top (a top made from a single piece of fabric) that will have portholes in it and these blocks will be stitched behind.  At the end, my blocks will have thicknesses ranging from three layers (for those with only a single porthole through the quilt top) to potentially seven layers depending on how much I trim from the layers beneath.  All this is to say that I may have to make the quilting fairly simple to avoid breaking needles from all the layers, even to the point of avoiding quilting over any of the porthole seams.

One of the nice things about my design is that I can make individual porthole blocks without having to finish any other part of the quilt.  I don't even have to make the top until all the blocks are done.  Plus, the final layout of the blocks is extremely flexible and does not require precise seam matching.  I've been working on it for about a week now and I've got a small pile of blocks on my ironing board.  My problem now is finding interesting prints to applique behind the portholes.  I'm going for a sort of "I spy" theme where each porthole is looking onto an animal or object.  I've pretty much worn through my collection of such prints.  I'm sure I'll find the perfect ones to add, and hopefully it won't take long, because I'm still riding the momentum of interest in the project.  I have a promise to keep, after all.
0 Comments

Patchwork Show 2016 Recap

11/8/2016

1 Comment

 
Picture
Picture
Picture
Picture
Picture

Well, I finished my first official big-time craft fair this last Saturday.  I was excited and nervous to find out I was accepted into Patchwork show, and both those feelings continued until the day of the event.  During those weeks, I finished hundreds of stitched envelope and note card sets, thirty-something zipper pouches, 48 weaving kits (my newest kit addition), scrap fabric earrings and necklaces, bunny ear teething rings, and other projects.  I lost track of the number of hours I spent making things.  Add to that the work of buying, preparing, setting up, taking down, and putting away everything for the show and you end up with a lot of hours.  

Despite all my efforts, I didn't really sell much.  I sold several of my Maker Kits for Kids, particularly the Stitch Kit and Stamp Kit.  I also sold a few stitched envelopes and a zipper charm.  All told, it was about $600 in sales.  After subtracting the cost of goods sold and the cost of renting space and buying displays, I don't think it was worth it.  I got lots of compliments on how pretty everything is, how unique the kits are, and how talented I am, which was nice.  But I'm starting to doubt myself and my ability to earn any real money selling at events like this.  The only thing that might make it pay off is connections that lead to future sales in my Etsy shop or teaching gigs.  While I wait for my last two events of the season, I'll try to work on a few leads and see what I can make happen.
1 Comment

Scrap Fabric Earrings

10/6/2016

0 Comments

 
Picture
Picture
Picture

I'm getting so excited about the upcoming Patchwork Show I'll be selling at in Oakland on November 5!  In addition to my usual items, I'll be selling a few new things.  I found an awesome photo tutorial on how to make beads from scrap fabric and decided to dive into my growing collection of tiny scraps to make some simple earrings.  No two earrings are exactly alike, which gives each pair a special charm that you just can't get from regular store-bought jewelry.  If you'd like to buy a pair, and support local makers, please come to Patchwork Show.  There will be so many neat handmade items for sale, I'm sure you'll find the perfect thing for you or your best friend or that special someone.  I hope to see you there!
0 Comments

Patchwork Show 2016!

9/25/2016

0 Comments

 
Picture

A little over a month ago I applied to be a craft vendor at Patchwork Show at Jack London Square in Oakland, California, which is just a hop, skip, and a jump from where I live.  Then, last week, I got an email saying that I was accepted to the event!  As excited as I am, I'm also a bit nervous.  I have so much to do before then to get ready and make sure I have enough items and enough variety in my stock.  Luckily, I have been making many things over the course of the year in hopes of doing a craft fair or two for the holidays, so I have a bit of a head start.  Still, lots to do.  Since it's my first major (major) craft fair, I decided to invite one of my sisters out to help me.  She'll be flying in a couple days before the show, and I just know she'll help make it a successful event.  If you're in the area, come check it out.  I'll have handstitched softies, a hand-embroidered sheep, zipper pouches, sewing kits for kids, and lots more.  I'll post more about my progress soon, and let you all know my booth number when I find out.

Wish me luck!
0 Comments

Felt Needle Book Tutorial

9/7/2016

1 Comment

 
Picture

​As needle books go, my new one is something of a tome. It's large enough to hold all my hand and machine needles, including my longest doll needle at 5 1/2 inches. It's ten (single-sided) pages include labelled storage for loose needles, small plastic needle cases, and a strap to hold packaged needles that I haven't opened yet.

I designed this needle book myself because I wanted one place to store all my needles. As usual, I took it one step further and made a beautiful paisley motif felt applique for the cover to make myself that much happier every time I open it. And, of course, it took me much longer than it should have to finish it. I mentioned it way back in this post, but it was already long in process at that point. Oh, well. I never do anything unless it's worth taking a long time to do (that makes me sound a bit like Treebeard, though. Hmmmm.).

Anyway, my needle book measure about six inches tall and four inches wide. It holds all my needles, which are organized by type and size so I will be sure to find the needle I want when I need it. Labels next to each type help me keep track of which needles are which. Basically, it keeps me organized and gives me a place to put otherwise homeless needles.


Here's how you can make one of your own.
​
Felt Needle Book Tutorial

Materials:
- Felt for pages (see below for my dimensions or customize as desired)
- Felt for pockets
- Felt for needle holders
- Felt for cover
- Thread
- Twill tape or ribbon for labels (optional)

​
Instructions:

​
Picture
Cut a piece of felt 6" x 8"
Cut a second piece 6" x 8.5"
Cut a third piece 6" x 9"


Stack the felt so that the largest piece is on the bottom, the second one is centered on top of it, and the smallest one is centered on the first two.  Use clips to keep the pages in place.  Find and mark the center of the pages (chalk is pretty useless on felt, but pins work well if you don't have disappearing ink).  Using a stitch length between 3 and 4, sew the pages together along the center line. ​

Picture
​The pages should fold nicely along the stitch line.  Close the book and trim the pages so that they are even along the edges.

Picture
Cut felt rectangles for the pockets.  Make them large enough for the sewing machine needles you want to keep in them.  I cut mine 1 5/8" x 2 3/8" to hold the larger plastic case of needles.  Two pockets will fit on each page.

Picture
Place two felt rectangles on a page of your needle book.  Pin them in place.  On the other side of the same page, place two more rectangles in alignment with the first two.  Each pair of opposite pockets will be sewn with the same lines of stitching.

Picture
Working one pair of pockets at a time, sew through the pockets and page.  Since this is felt and it shouldn't receive too much stress, you don't need much of a seam allowance.  Starting at one top corner, sew down to a bottom corner, along the bottom, and up the other side.  Remove the pins as you go.  Backstitch at the beginning and end to secure the stitches.

Note: I attached all my pockets toward the back of my book since I don't switch machine needle as often as I want a different hand sewing needle.  ​

Picture
Cut narrow strips of felt to hold loose hand-sewing needles.  I cut mine 1 3/4" x 1/4".  Each strip will hold up to 10 needles depending on the size.  Longer needles (such as doll needles) may span more than one strip downwards.

Picture
Place three or four narrow strips on a page of your needle book.  Stagger them as shown to maximize storage and make needle retrieval easier.  Pin them in place.  Working one strip at a time, remove a pin, holding the strip in place with your fingers.  Place the page under you presser foot and sew through both the strip and the page, backstitching at the beginning and end.  

​Note: Larger gauge needles and tapestry needles fit better with a longer stitch length.

Picture
On the last page of my book, I added a strip of twill tape to hold "homeless" needles and carded needles that don't fit anywhere else.  To make one for your book, cut a length of twill tape or similar woven ribbon and stitch it to a page along the top and bottom.  Fold under the ends of the ribbon before sewing for a cleaner look.

Picture
For the cover, start with a large piece of felt (or make a patchwork one).  Close the pages of your needle book and wrap the piece of felt around them to measure for the cover.  Decide how much of an overhang you want on all sides.  An eighth of an inch looked about right to me.  Mark the cutting places with pins on either side.  Use an acrylic ruler to cut the cover piece to size, removing the pins once the ruler is in place.

Picture
Embellish your cover before attaching it.  Applique, beading, embroidery, or stamping are just a few ideas for how to give your needle book that something extra.  Once the cover is all decorated, you can attach it to the pages.   ​

Picture
Since the felt pages and cover were too bulky to get under my presser foot, I attached the cover to the front and back pages only.  You can see the stitching on the front right side.  There is almost identical stitching for the back of the cover and last page.  Of course, this means that the sides of the pages facing the cover are not usable for storage.  It also means that my applique stitches were hidden.  If you need the extra storage, you could attach the cover by hand by sewing along the stitching keeping the pages together along the spine.

Picture
Your needle book is now ready for needles!  Play around a bit with placement, making sure the needles you want most handy are at the front.  As you put the needles in their slots, make a note of which ones you put where.  If you'd like, make some labels so you never forget what needles are on each page.  ​


​And my needle book is finally done! Okay, I may have a couple labels left to sew on, but, other than that, it's finished!


Although I designed the final needle book myself, I used lots of sources for inspiration. Here are some of my favorites:
​
Tiny Apartment Crafts Needle Book
Mmmcrafts Needle Book
Domestic Doozie Needle Book Tutorial
Little Birdie Secrets Needle Book Tutorial
Paisley Applique Design
Paisley Template
How to Draw Paisley

​
Do you have a favorite needle book? Does it hold all your needles or just the most used ones?
1 Comment
<<Previous
Forward>>
    Picture


    Carley Biblin

    Hi.  My name is Carley.  I love to sew, craft, and create. As a Jane-of all-crafts so to speak, I enjoy sewing, writing, cooking, drawing, photographing.  But the constant thread (if you'll excuse the pun) throughout my weeks is needle arts. 
    I hope you'll join me in
    Making It Up As I Sew Along.
    Learn More...

    My Etsy Shop

      If you'd like to sign up to receive my newsletter, type your email address in the box below and get news, tips, and other neat stuff delivered to your inbox.

    Submit
    Instagram

    Archives

    January 2017
    December 2016
    November 2016
    October 2016
    September 2016
    August 2016
    July 2016
    June 2016
    May 2016
    April 2016
    March 2016
    February 2016
    January 2016
    December 2015
    November 2015
    October 2015
    September 2015
    August 2015
    July 2015
    June 2015
    May 2015
    April 2015
    March 2015
    February 2015
    January 2015
    December 2014
    November 2014
    October 2014
    September 2014
    August 2014
    July 2014
    June 2014
    May 2014

    Categories

    All
    Arts & Crafting
    Books & Music
    Celebrations
    Embroidery
    Family Photos
    Fixing
    Guest Posting
    Inspiration
    Kids & Family
    My Week
    Parenting
    Photo Tour
    Present Moment
    Recap And Goals
    Recipes & Food
    Reviews
    Sewing
    Shop Update
    Swaps
    Tips And Techniques
    Travel
    Tutorials

Powered by Create your own unique website with customizable templates.